What is Amazon Workspace and how to create it on AWS
Amazon WorkSpaces is a Desktop-as-a-Service (DaaS) solution managed by AWS. We can use it to provision either Windows or Linux desktops. These desktops can be created in just a few minutes. They can quickly scale to provide thousands of desktops.
If we use AWS Workspace then we do not need to overbuy the resources, we can pay either monthly or hourly for the WorkSpaces we launch. It eliminates many administrative tasks associated with managing your desktop.
In this article, we will see the steps to create a simple Windows Workspace and access it from our machine
Pre-requisites
- AWS Account (Create if you don’t have one).
What will we do?
- Login to AWS.
- Create a Windows Workspace.
- Access the Workspace Machine.
Login to AWS
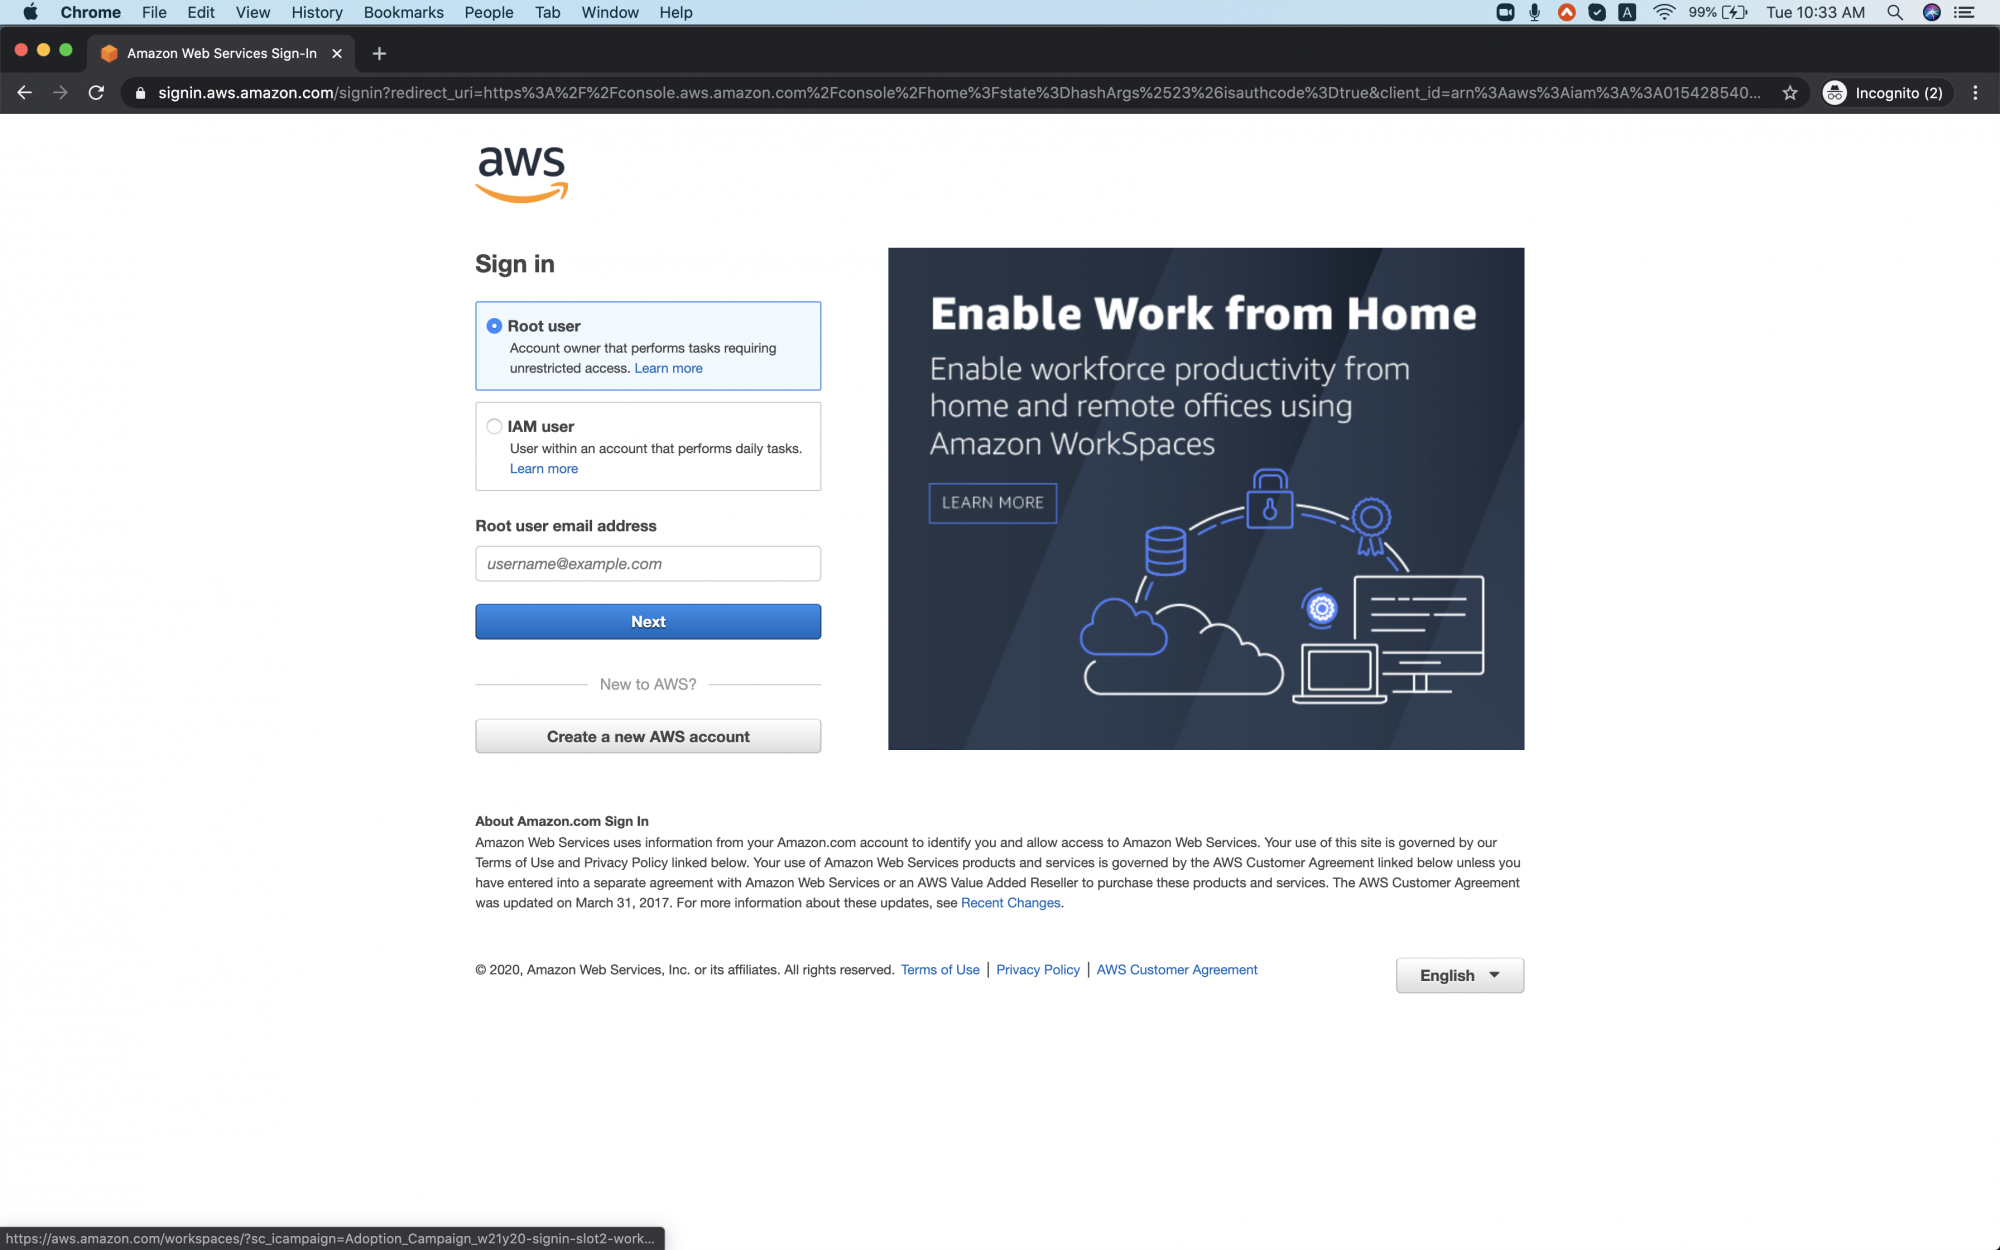
Click here to go to AWS Login Page.
When we hit the above link, we will see a web page as follows where we are required to login using our login details.
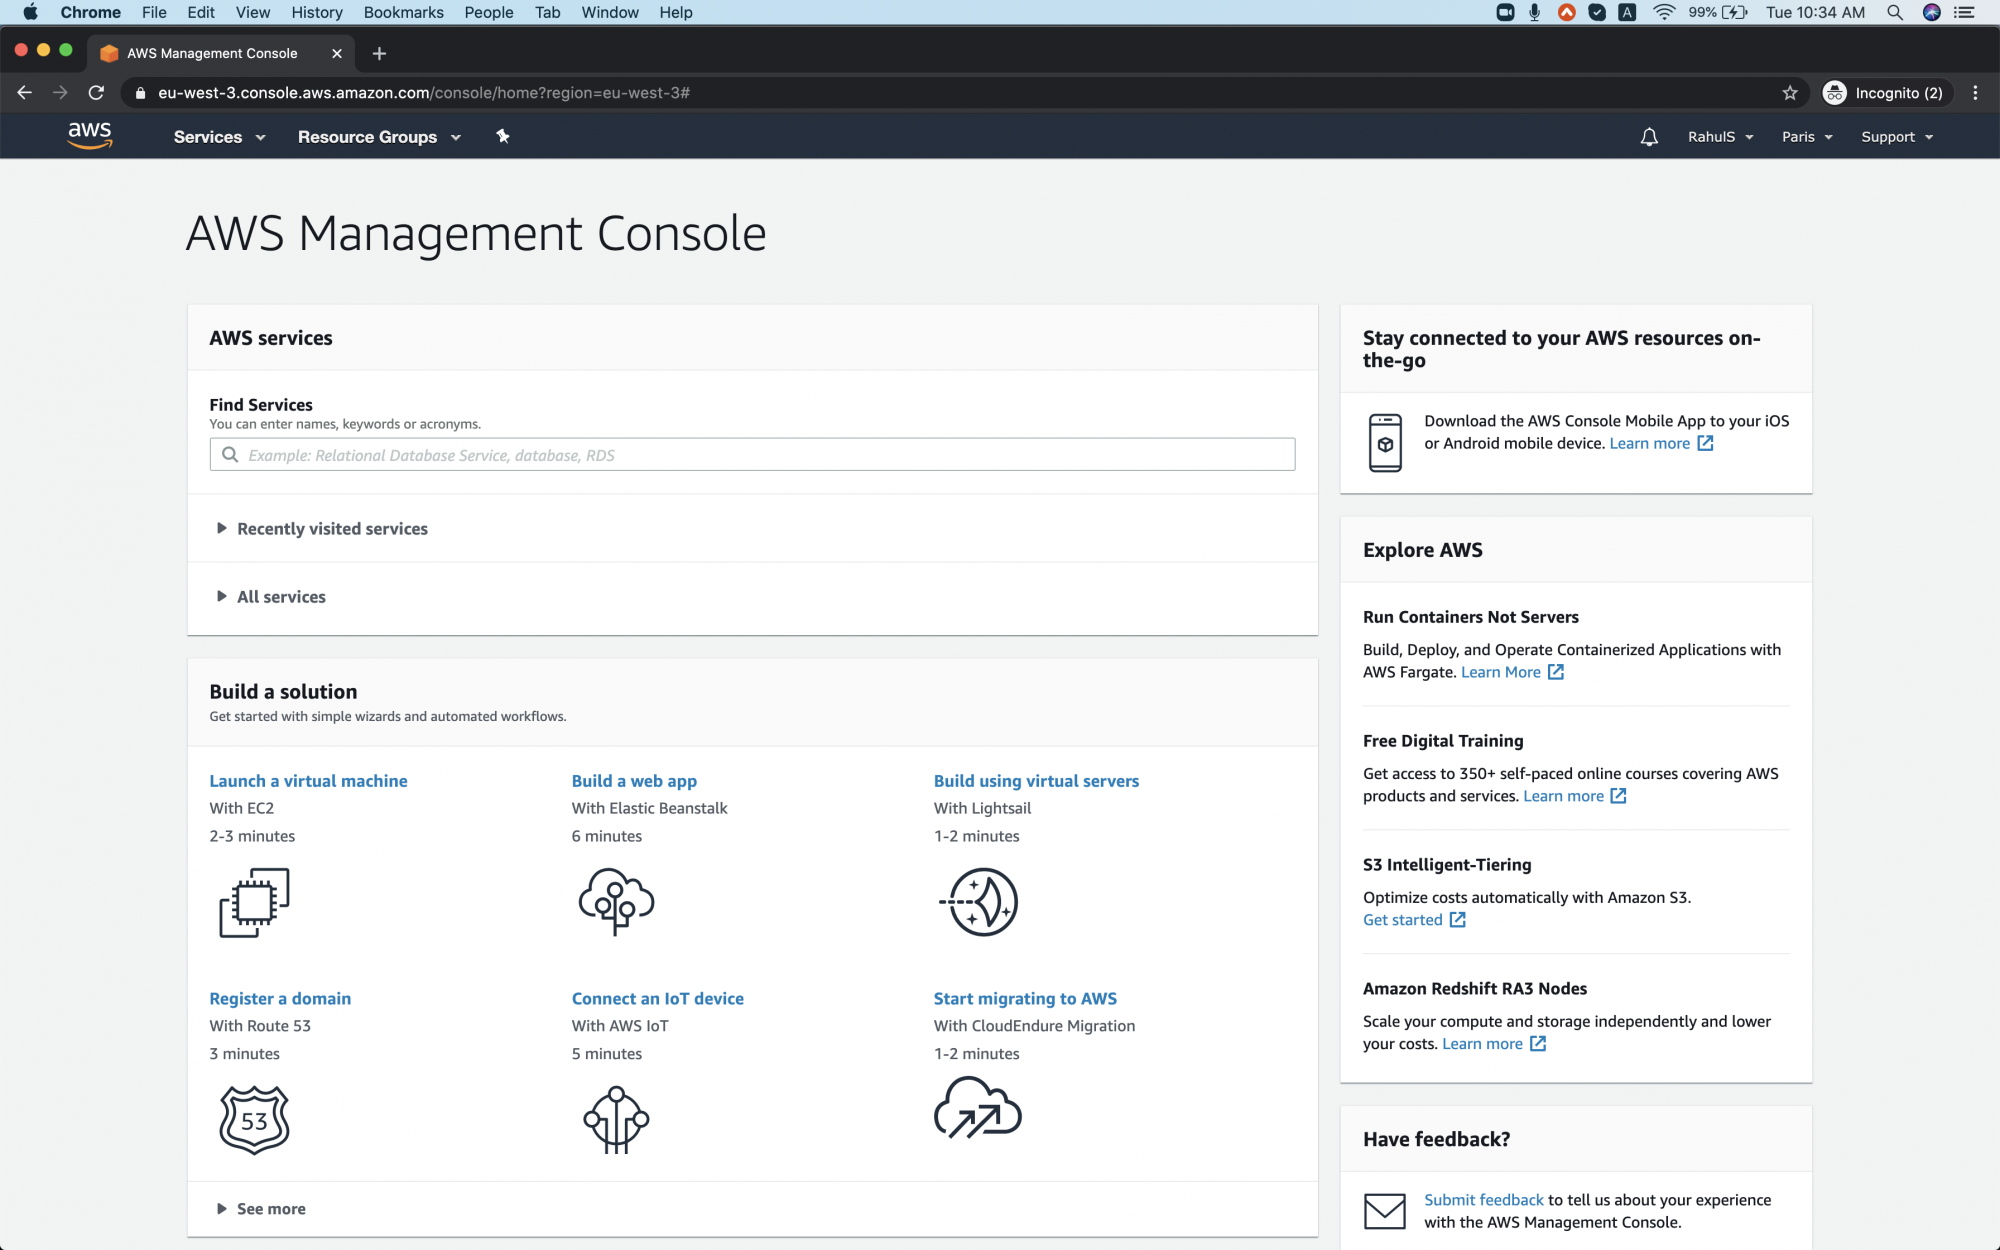
Once you successfully login in to your account, you will see the screen as follows.
Create a Workspace
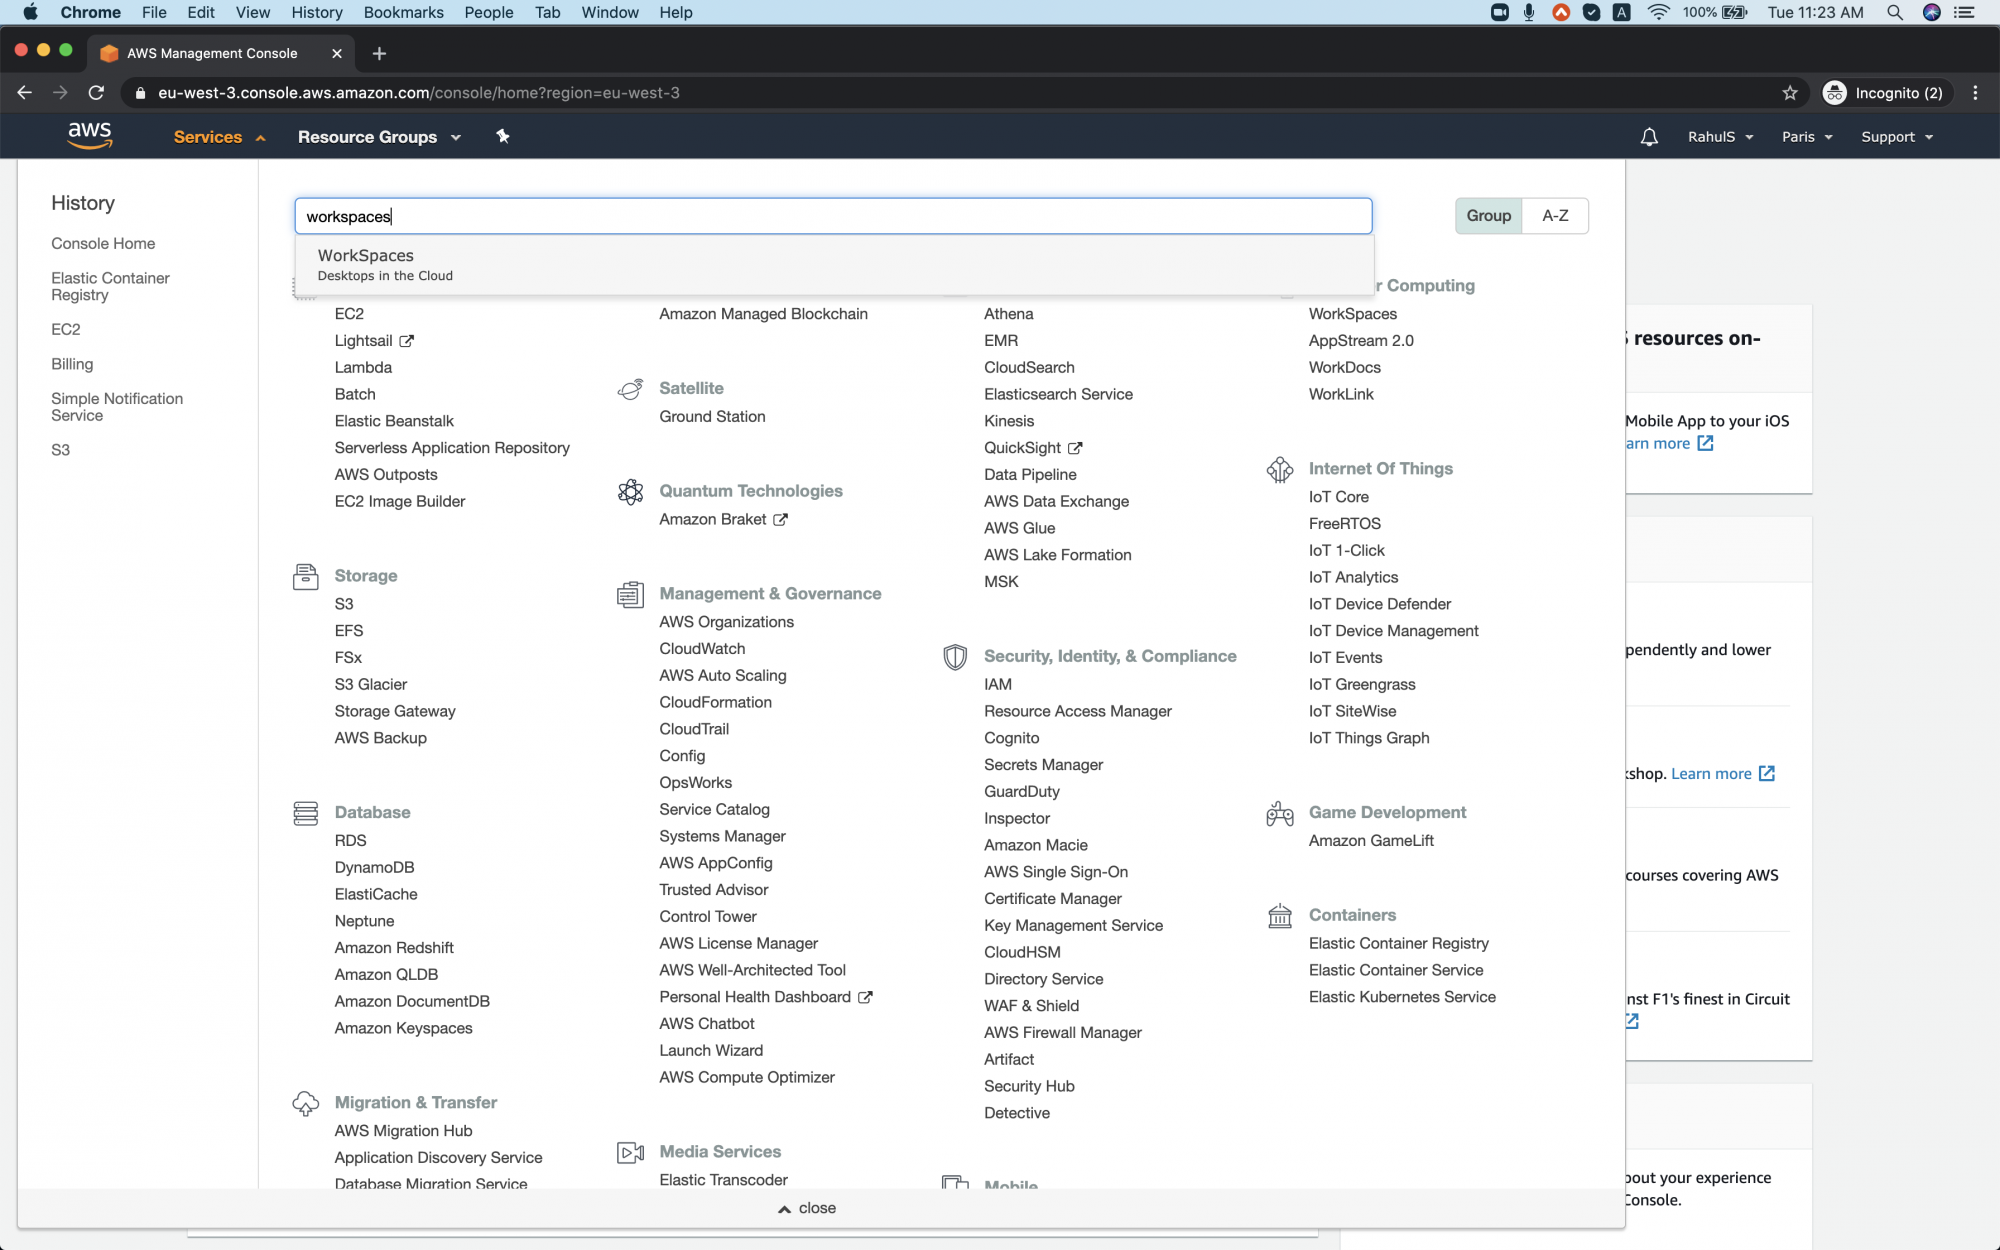
Search for "workspace" and click on the result to go to the main dashboard of AWS Workspace.
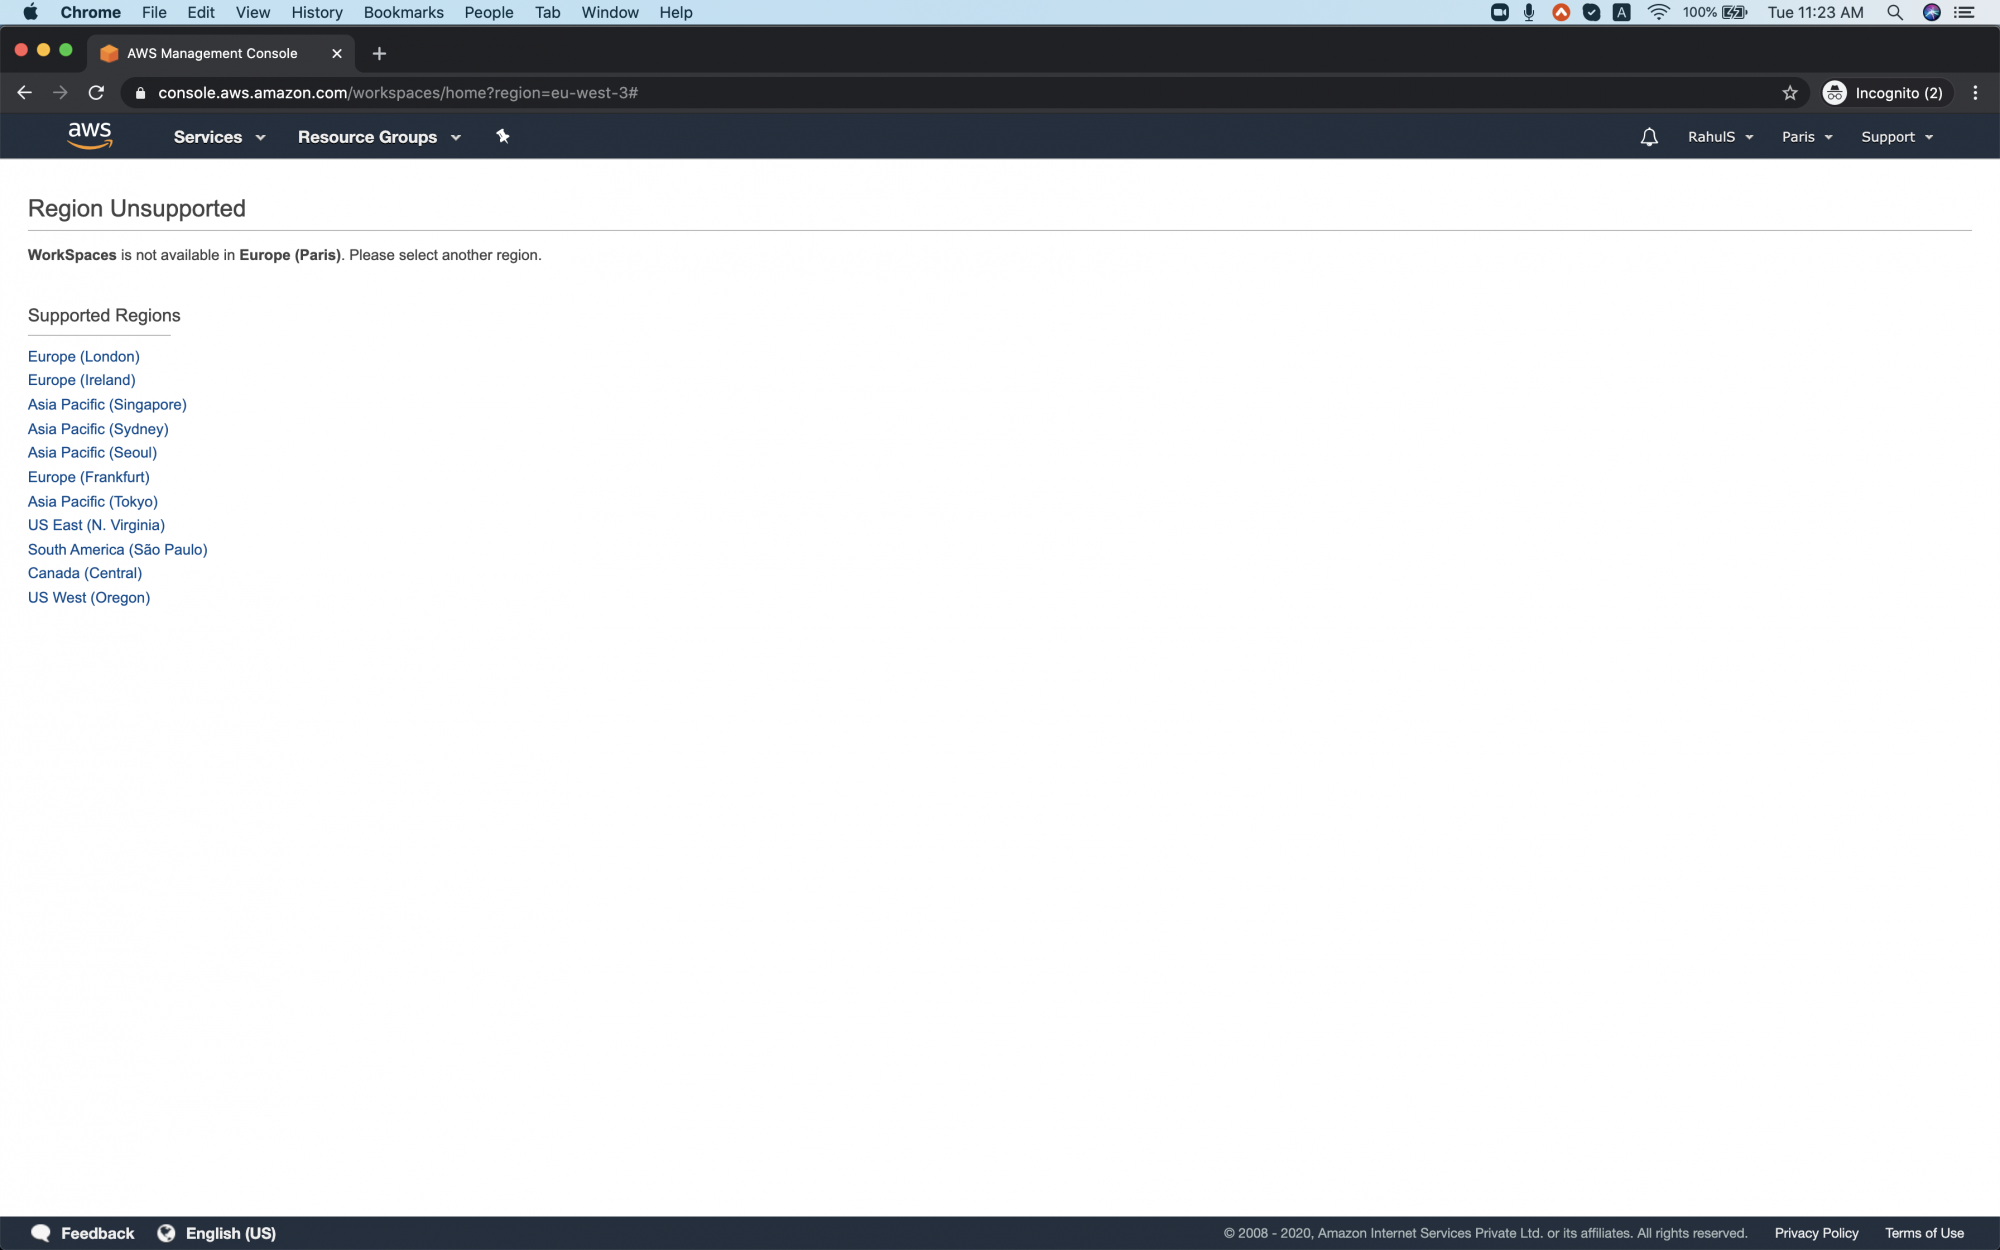
Workspace is not supported by all the regions, hence select the one from the list.
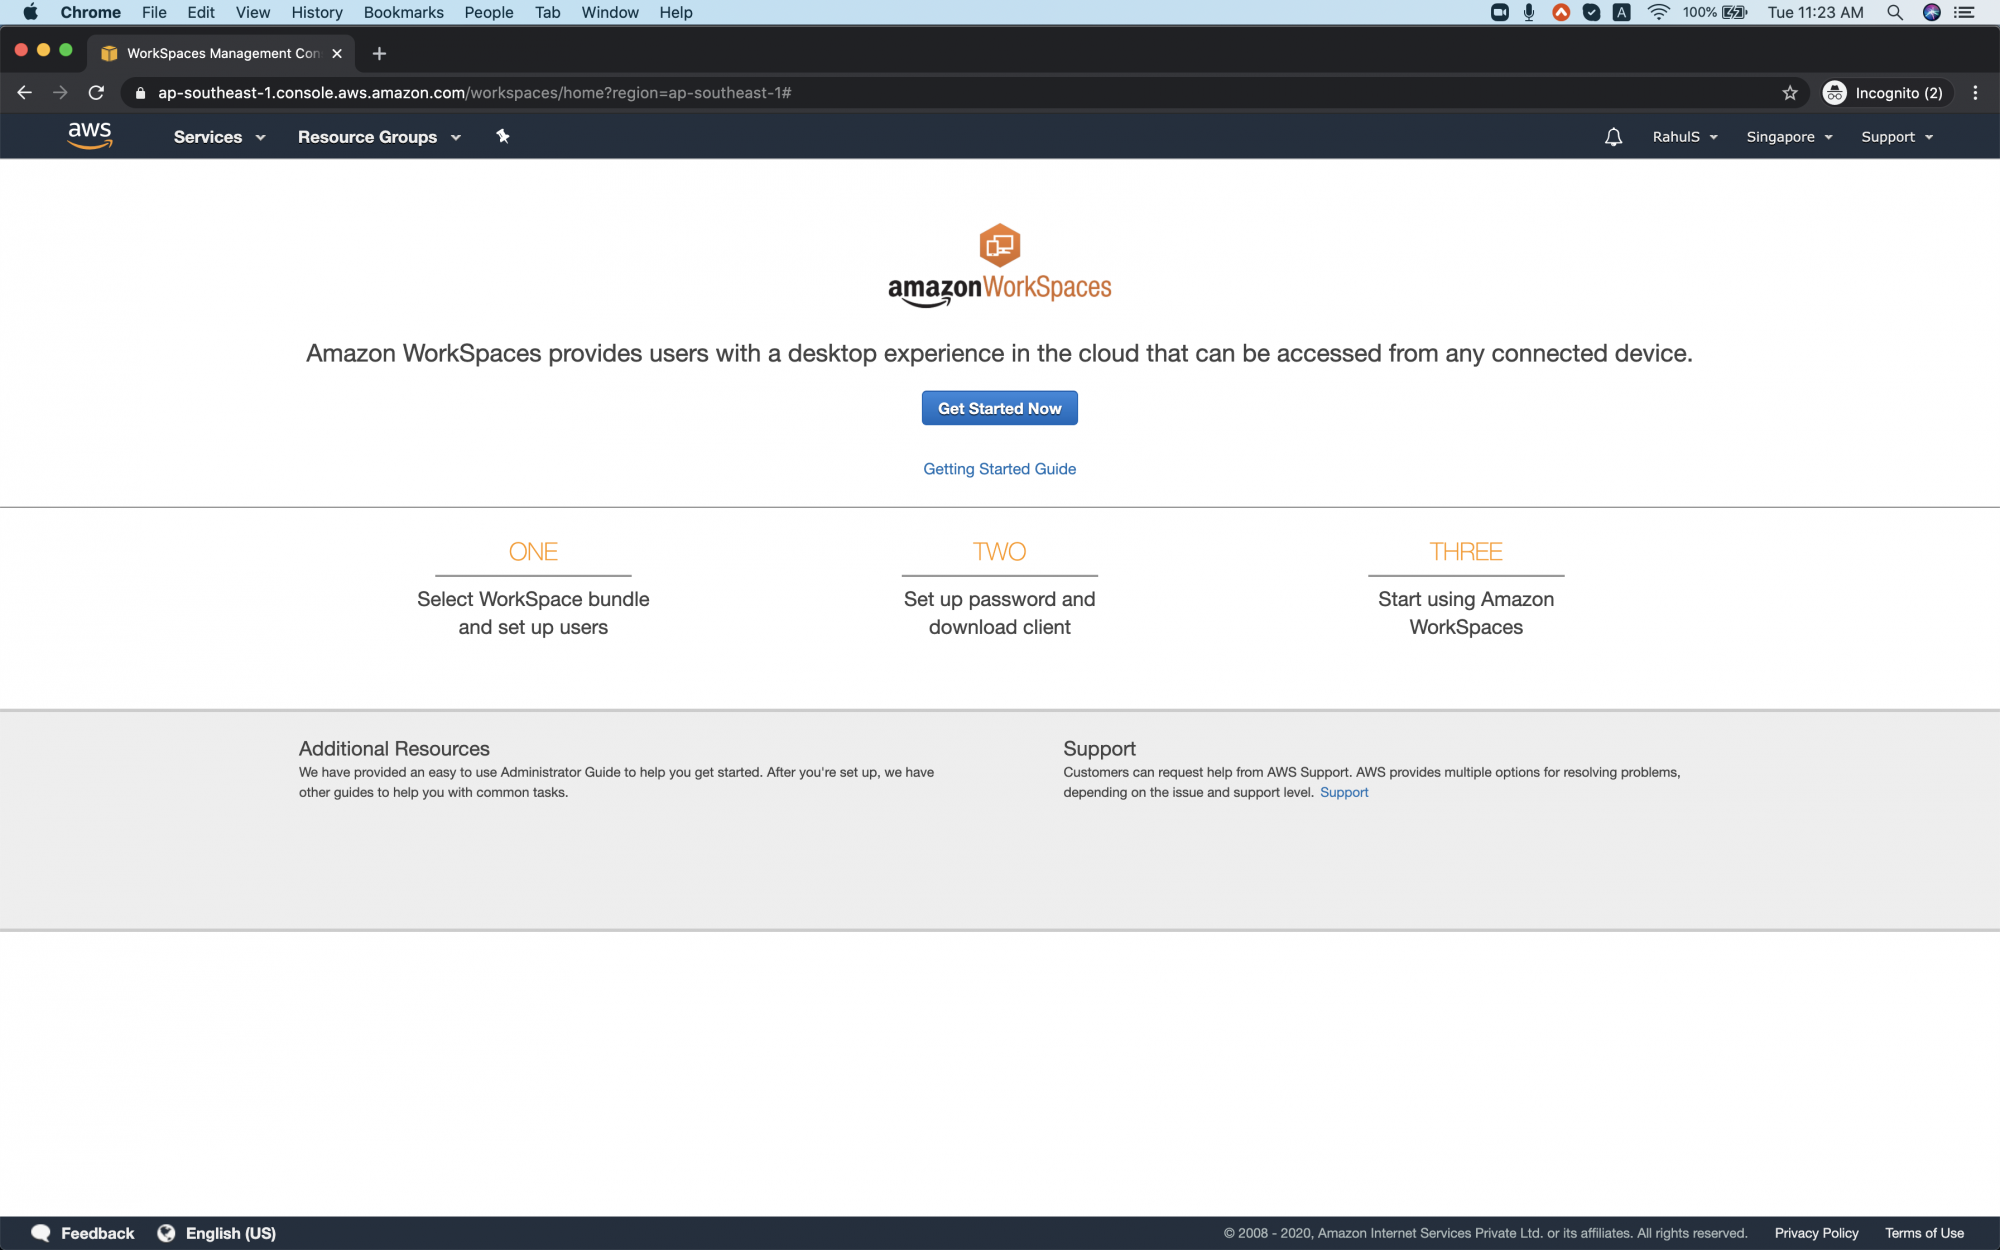
You will see the main dashboard as follows. Click on "Get Started Now" to create your first Workspace.
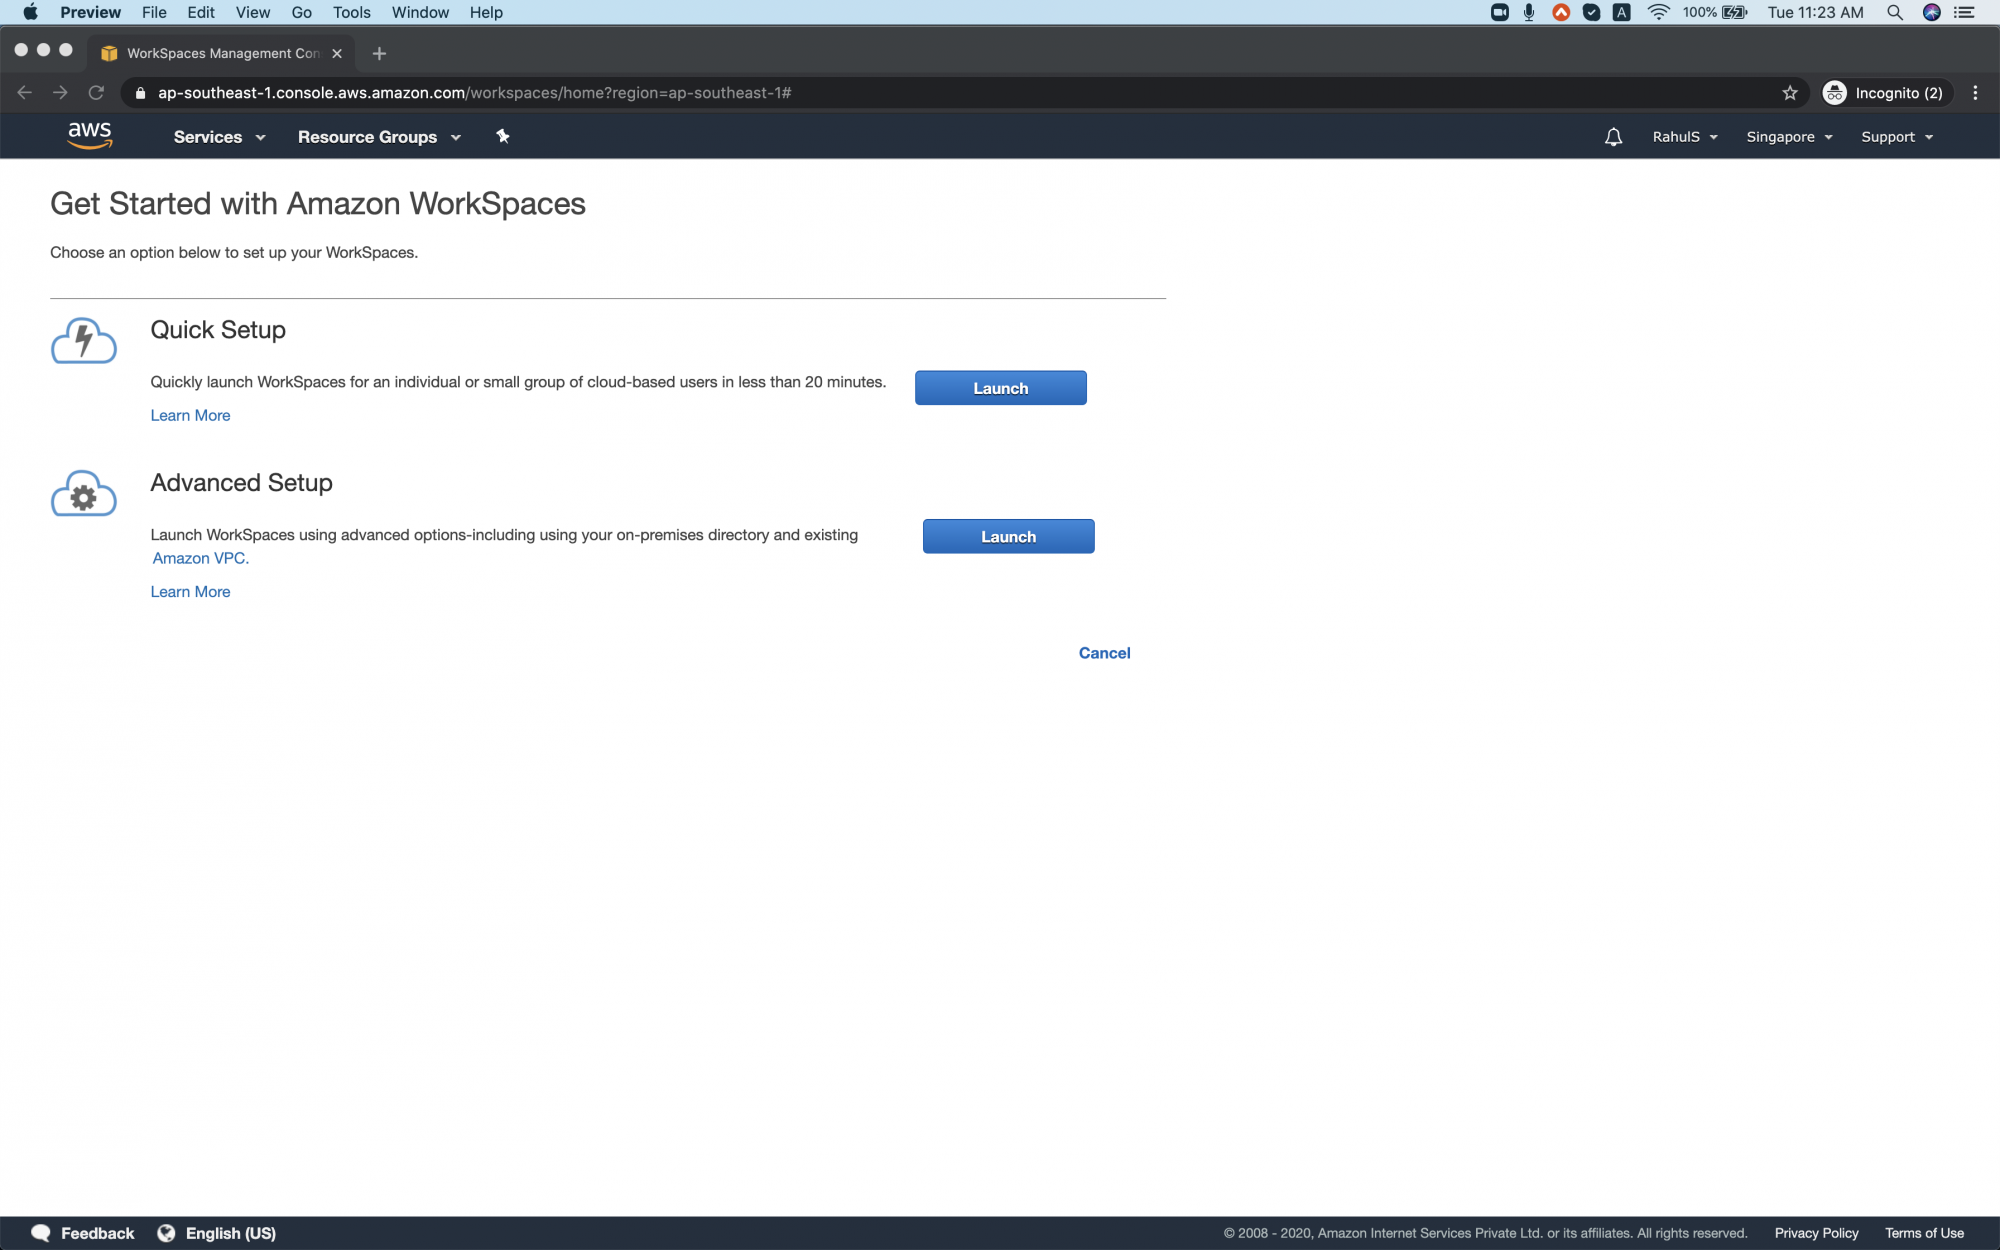
Select "Quick Setup" and click on "Launch".
Select the suitable template for you, select the one which is eligible for free-tier if you do not want to get charged. Specify the username and email-id.

Now, the Workspace is being launched. This will take around 20 mins.
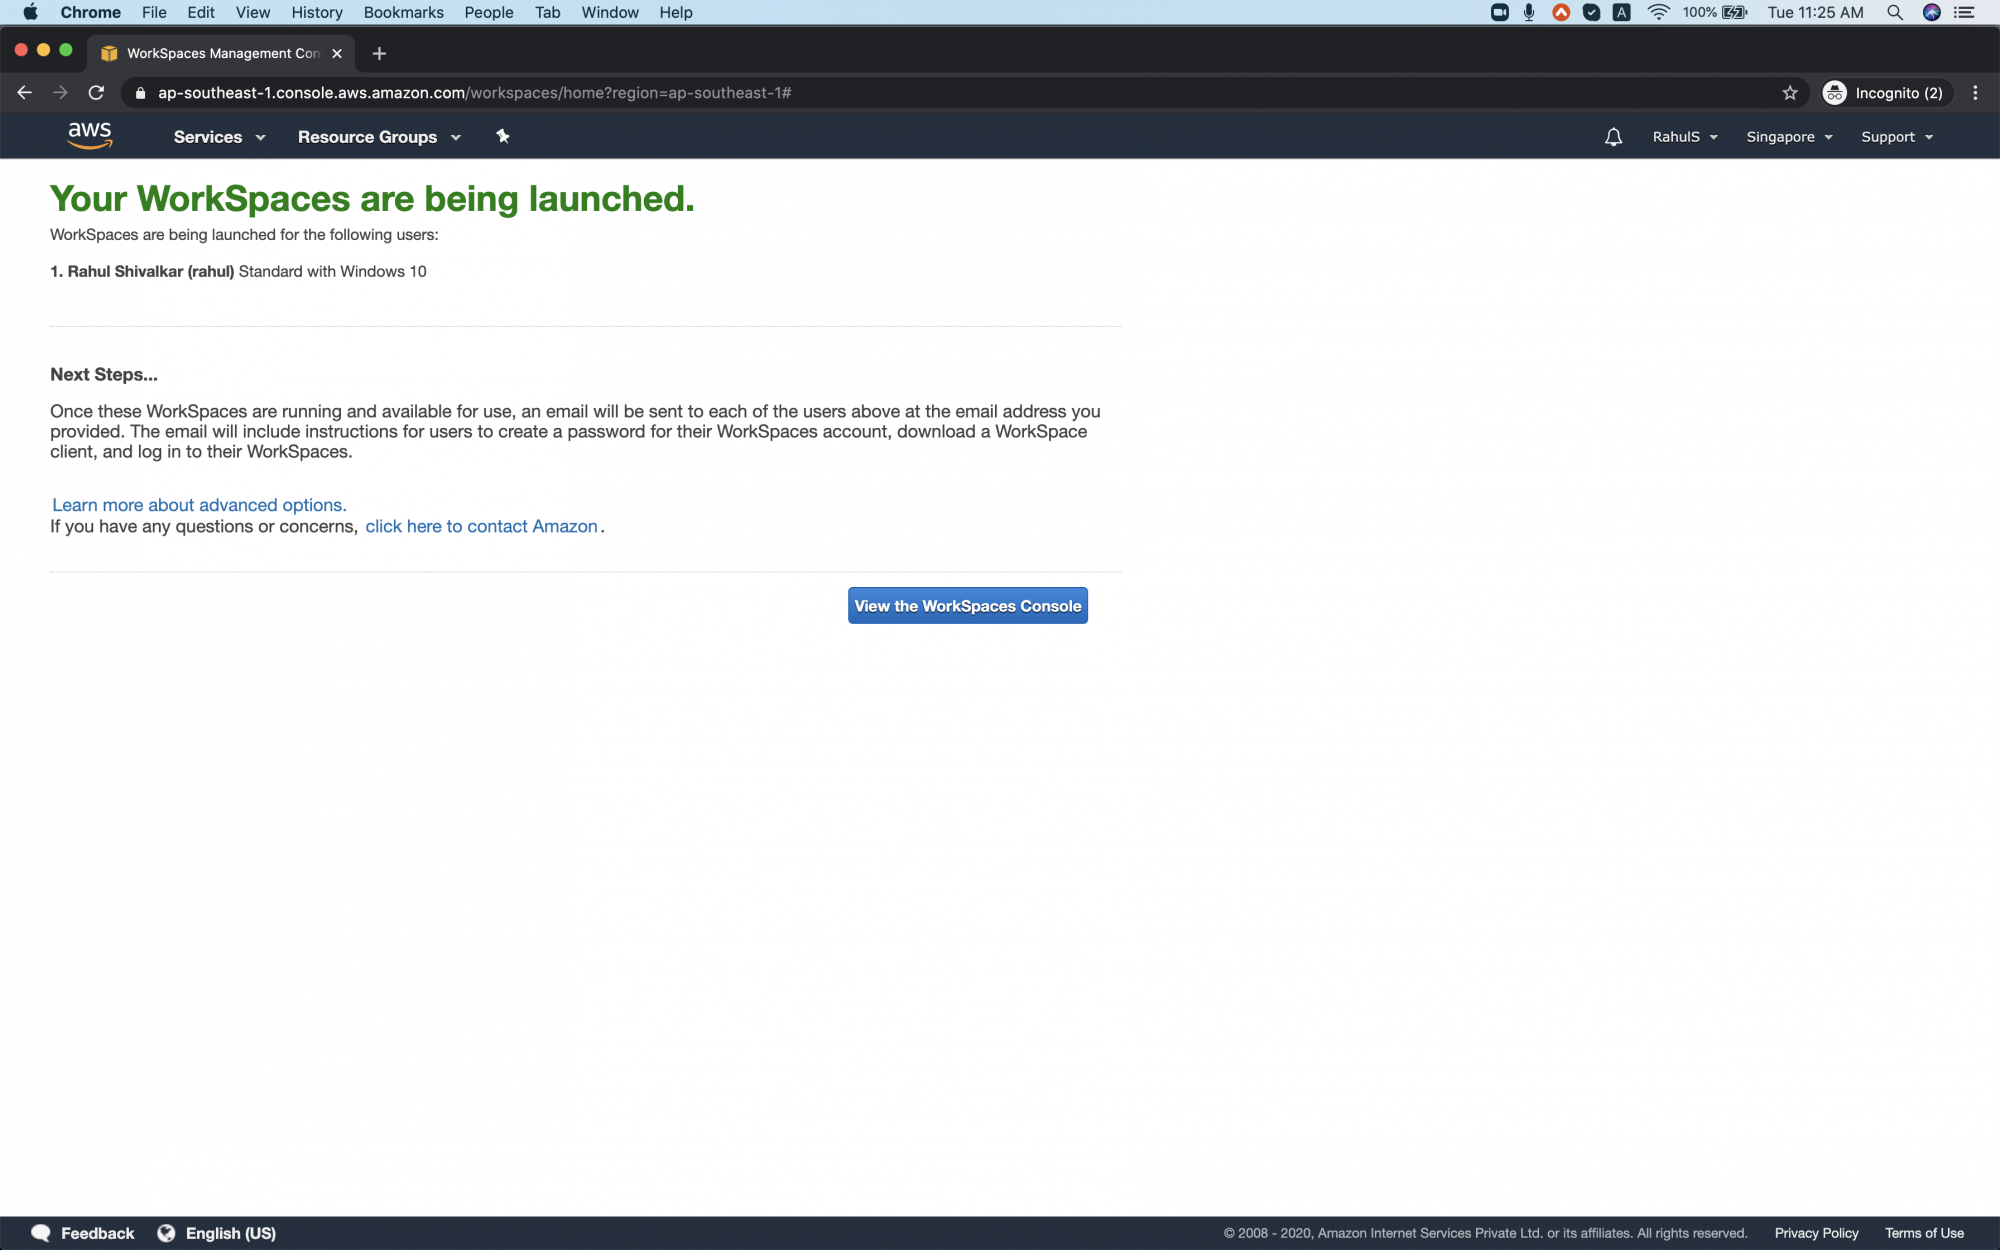
You can see the message that the workspace will require 20 mins to get launched.

Under "Directories", you can see the Status is "Creating".

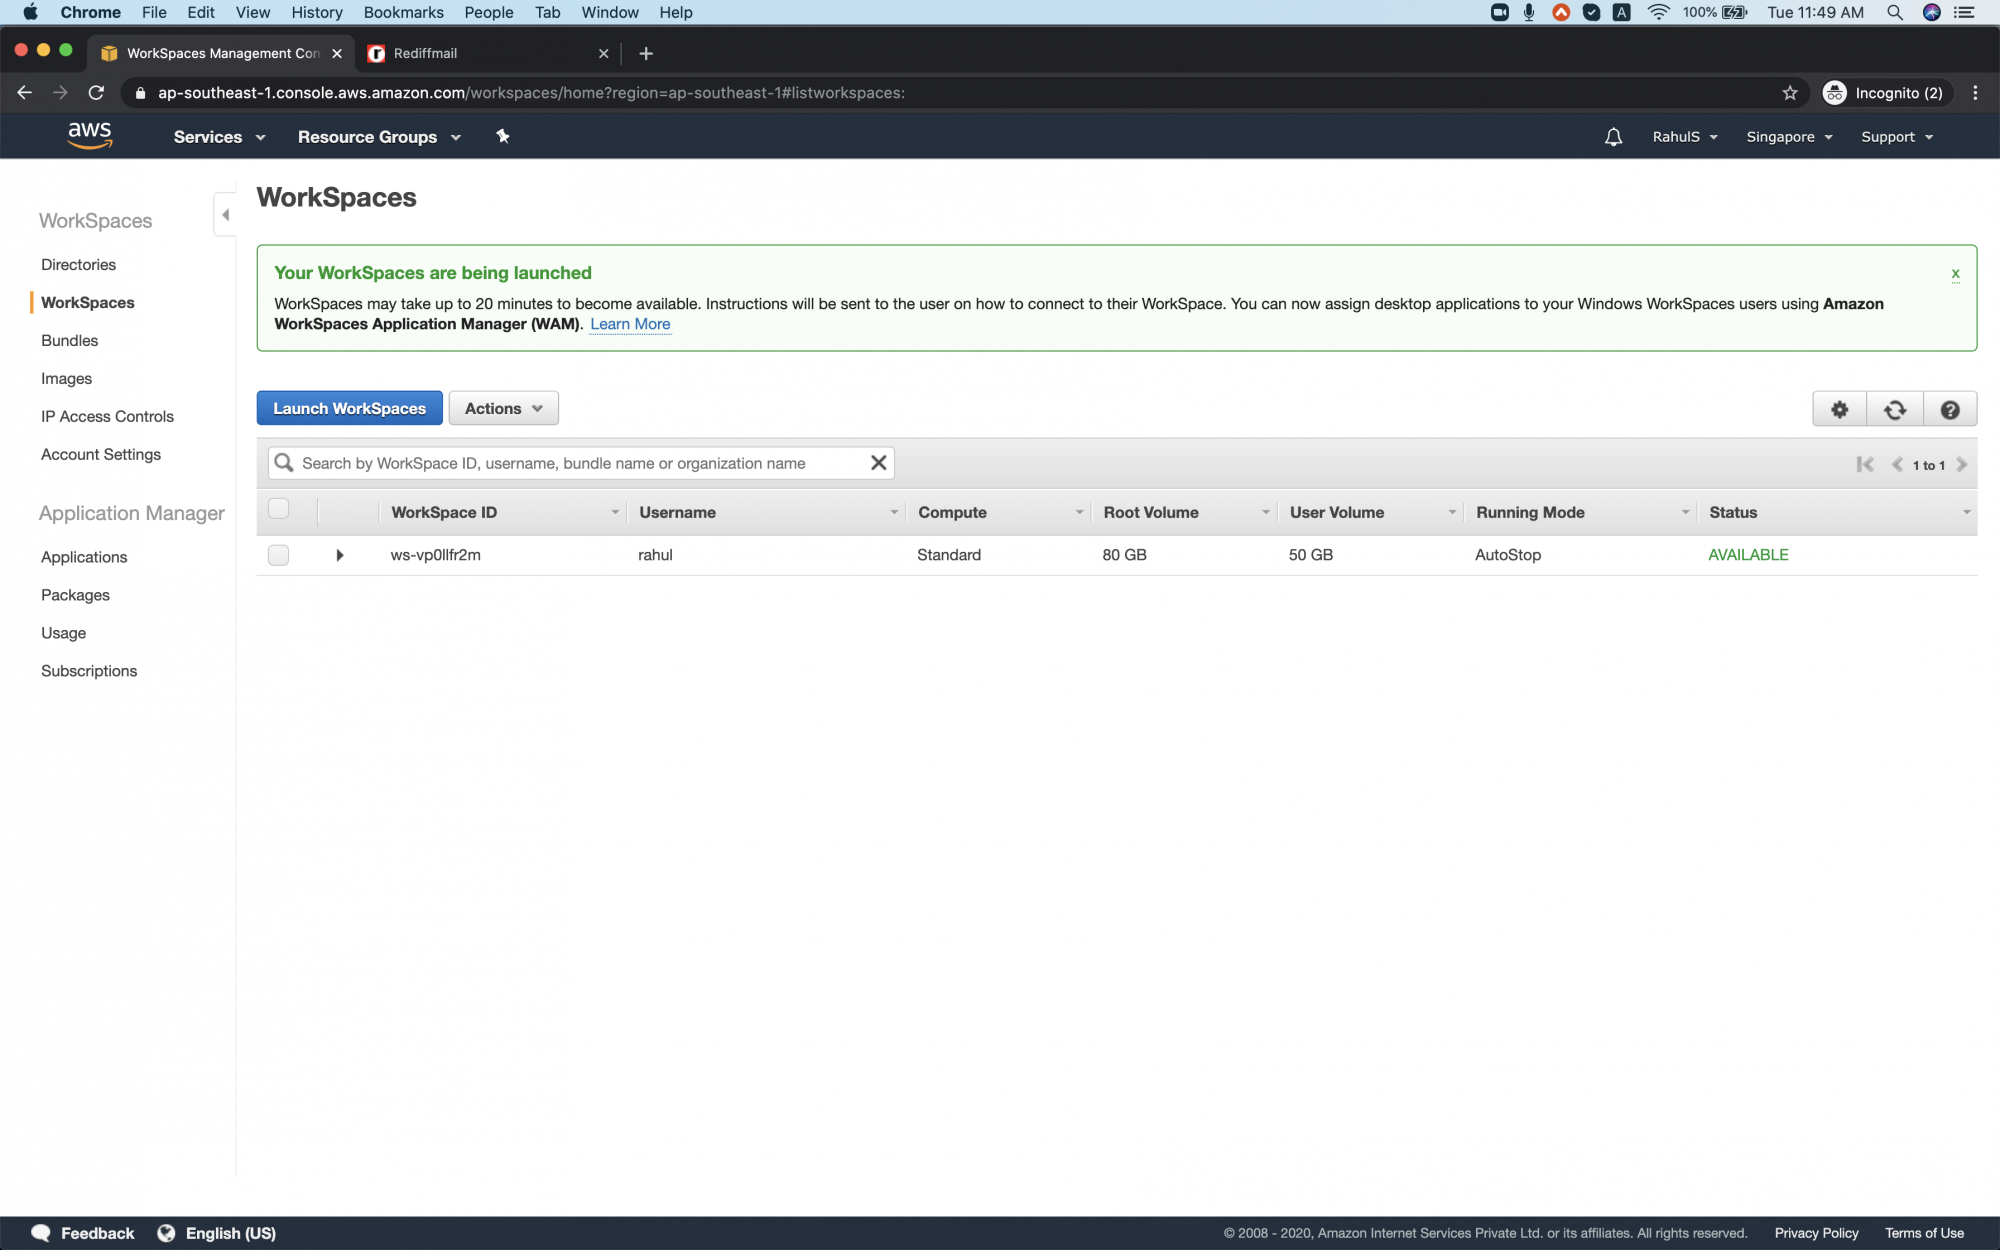
After the Workspace is launched, you can see the status "Available".
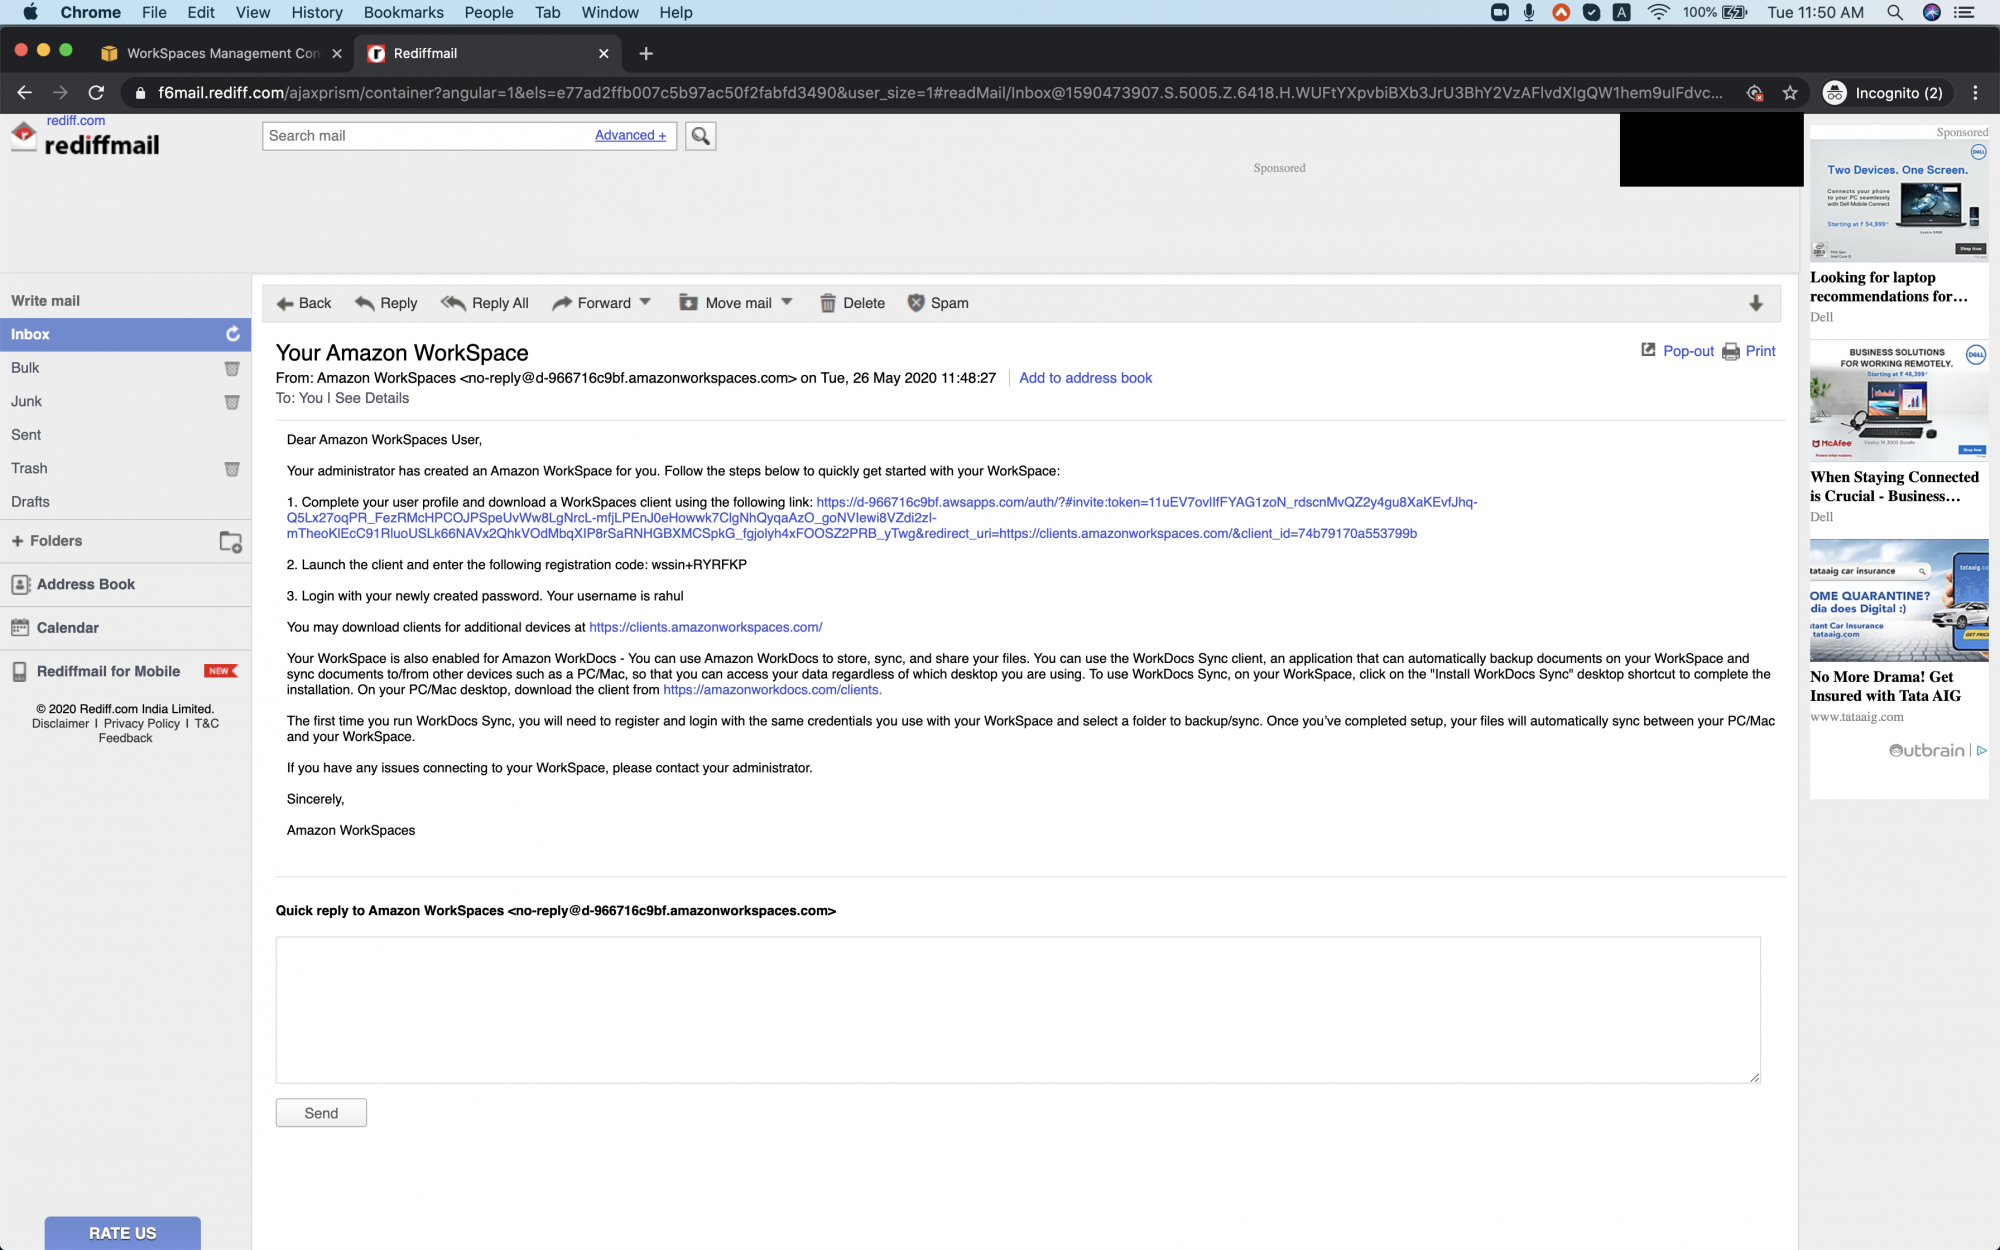
As soon as the Workspace is launched, you will receive an email with the details to login into the workspace.
Access the Workspace Machine
To access the workspace, follow the steps mentioned in the email and update the user with a password.

Download the client to login into the Workspace.
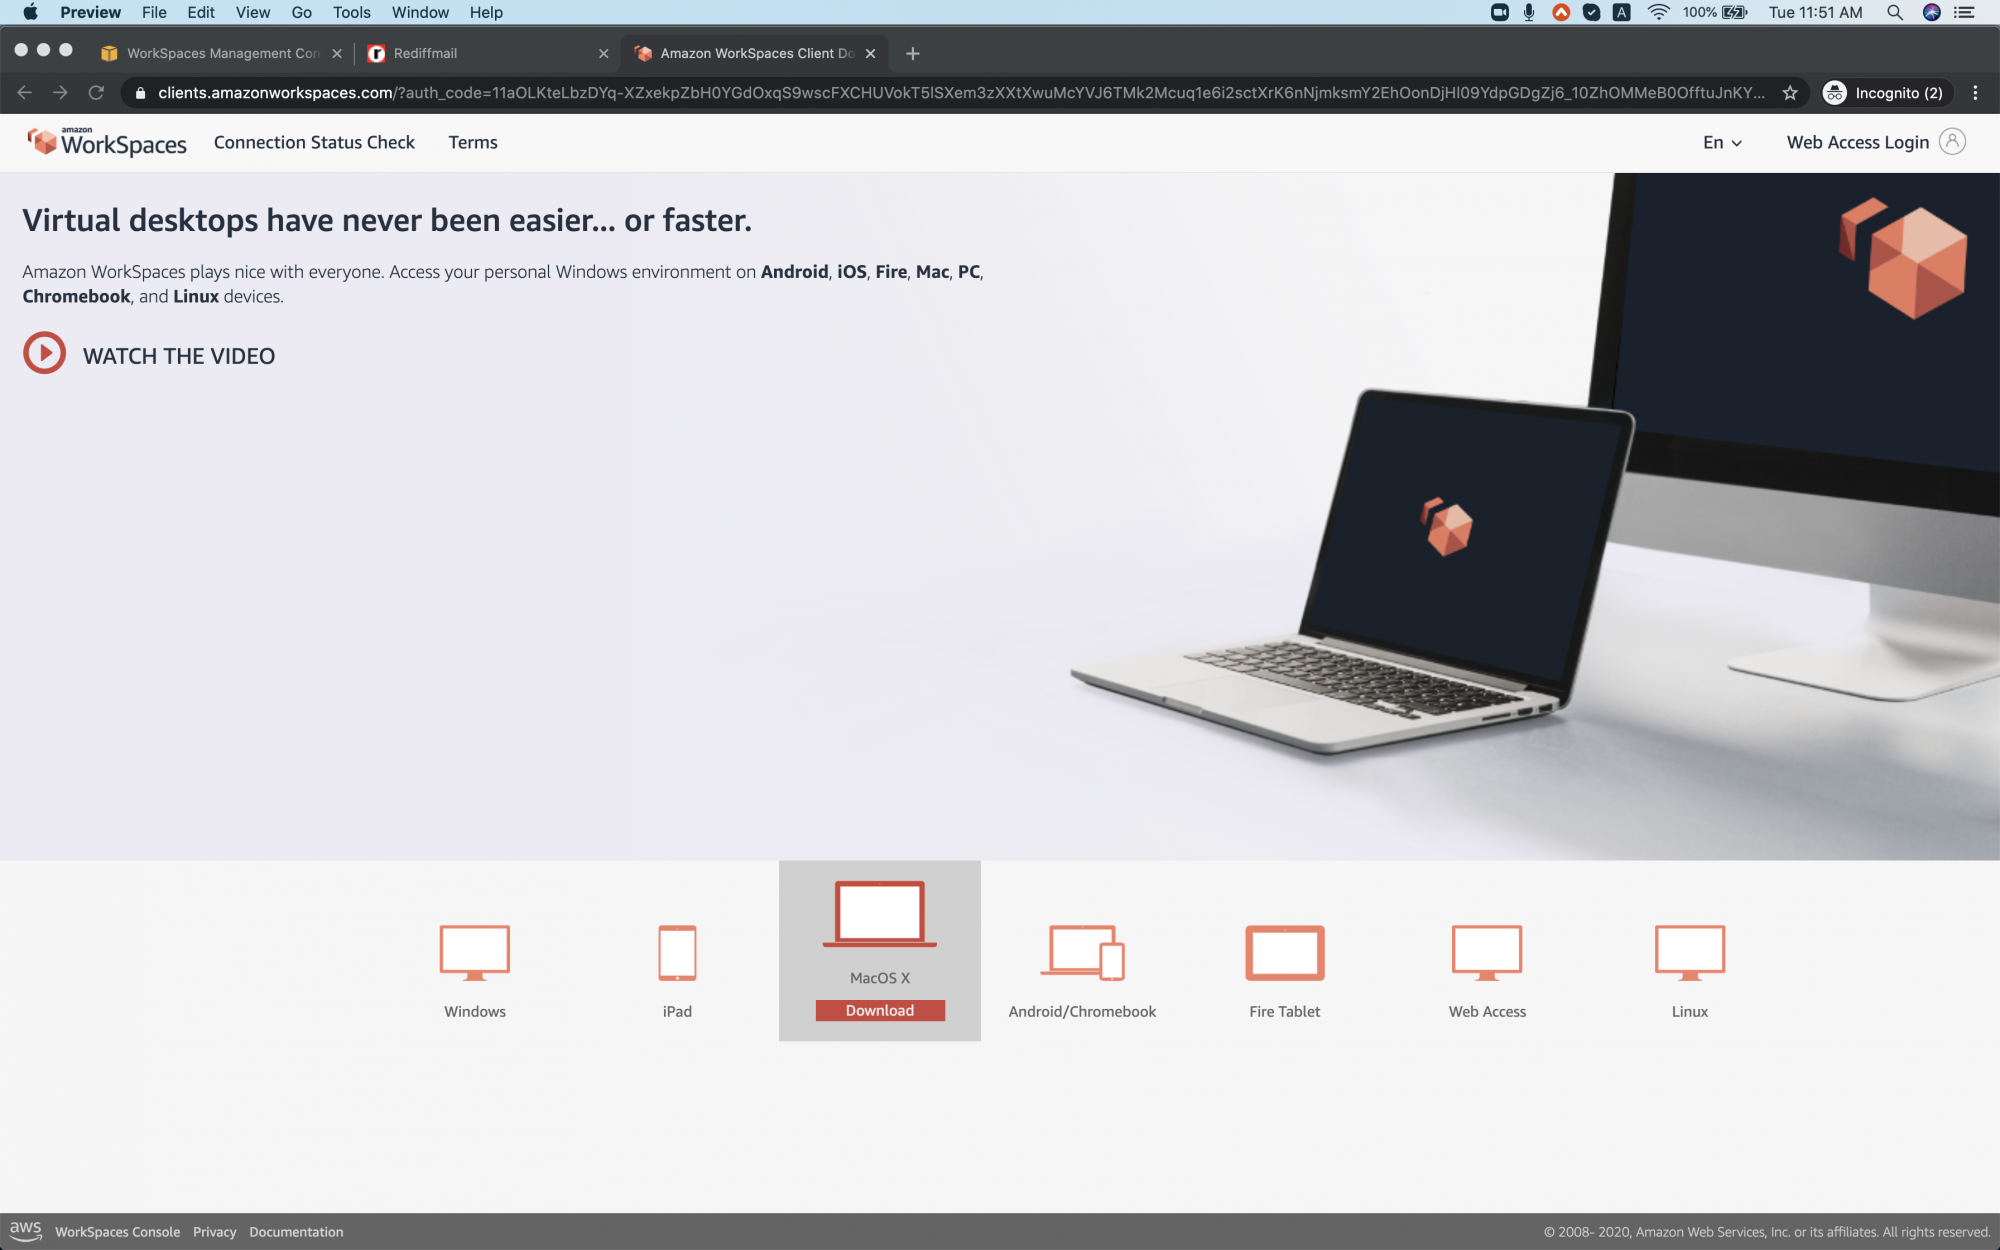
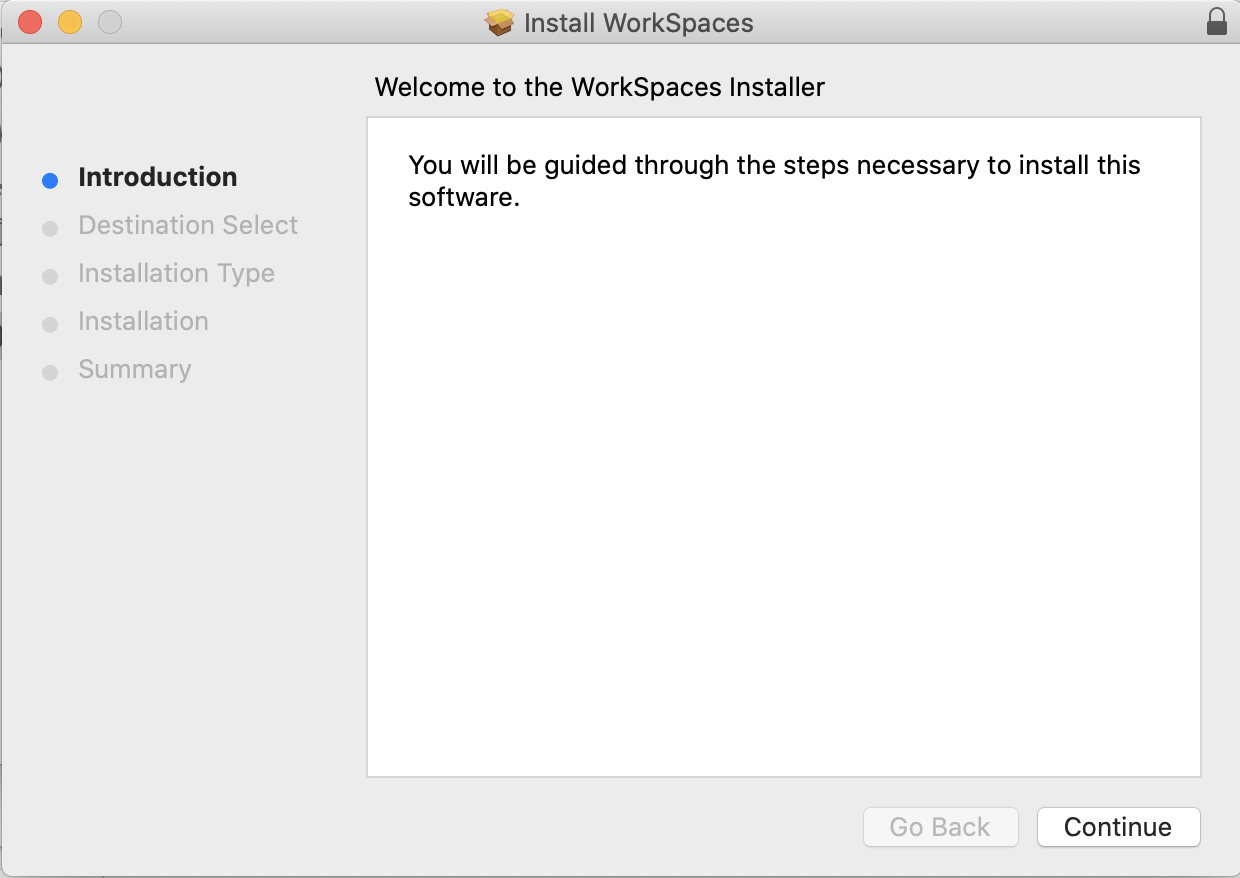
Install the client on your machine.
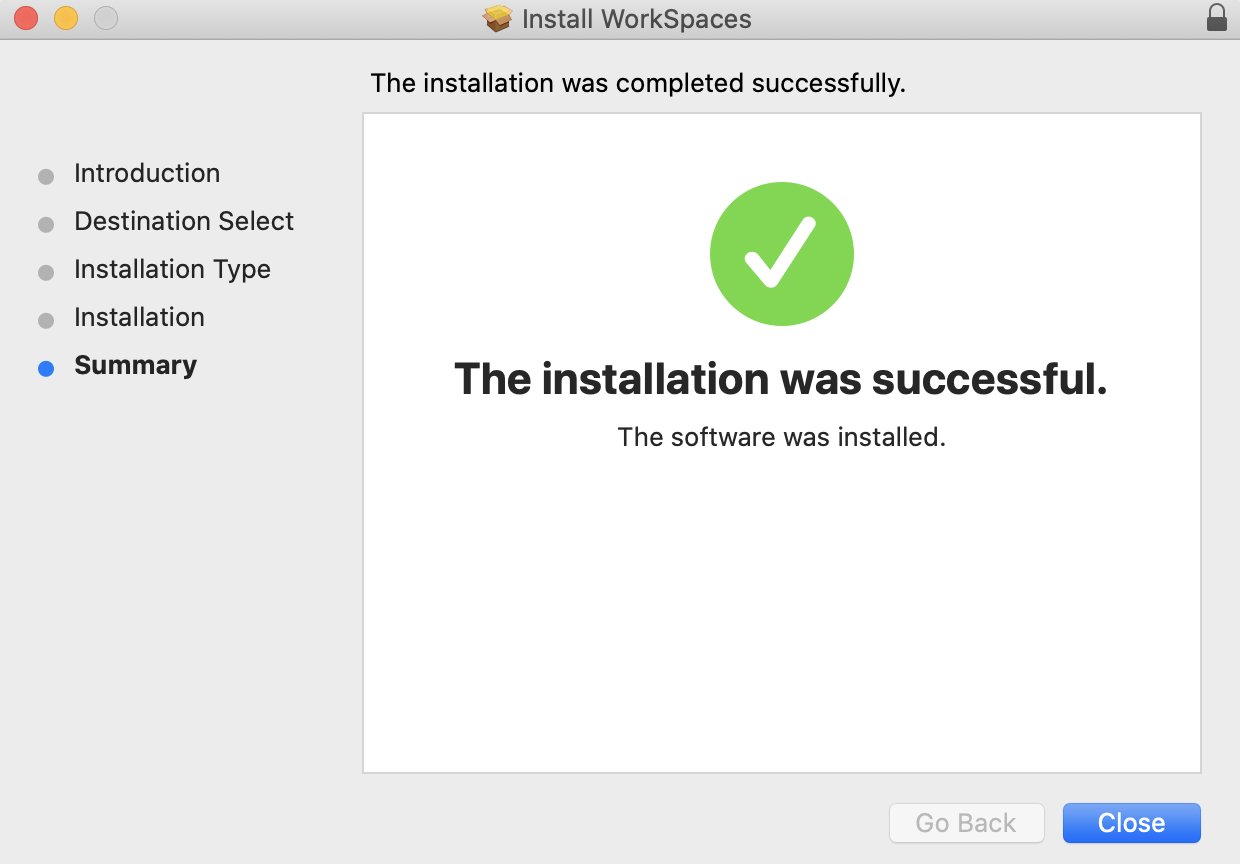
Finish the installation successfully.
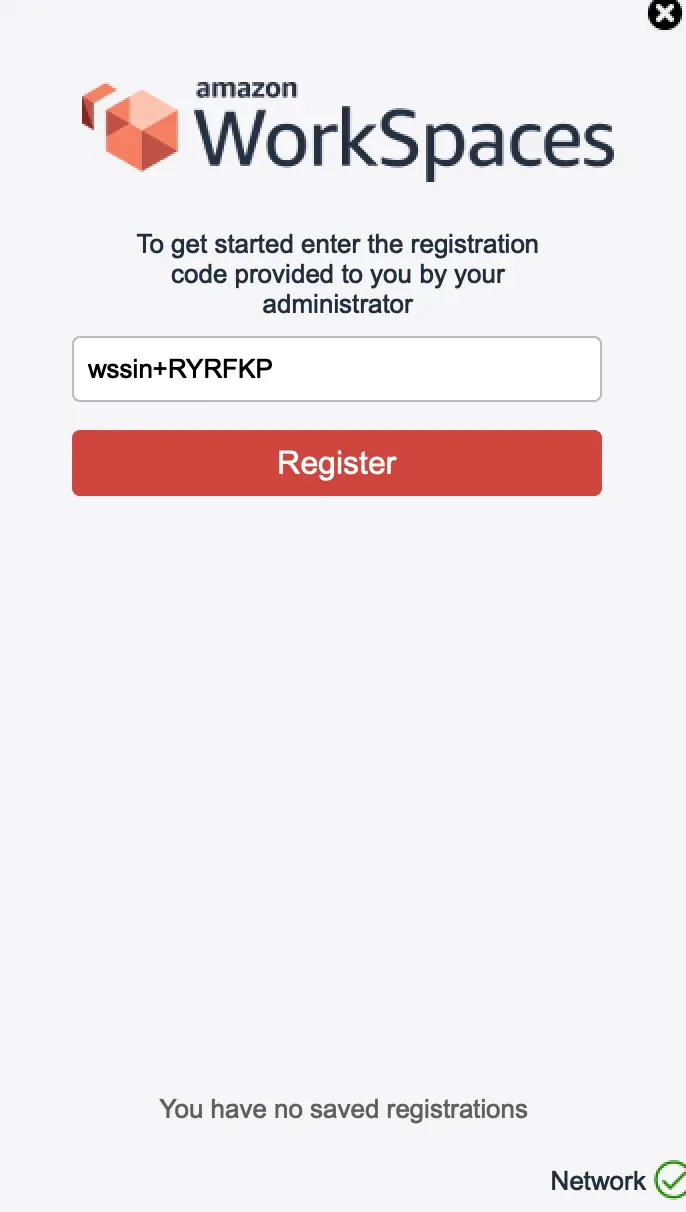
Once the installation is done, enter the ID you received in the email to register.
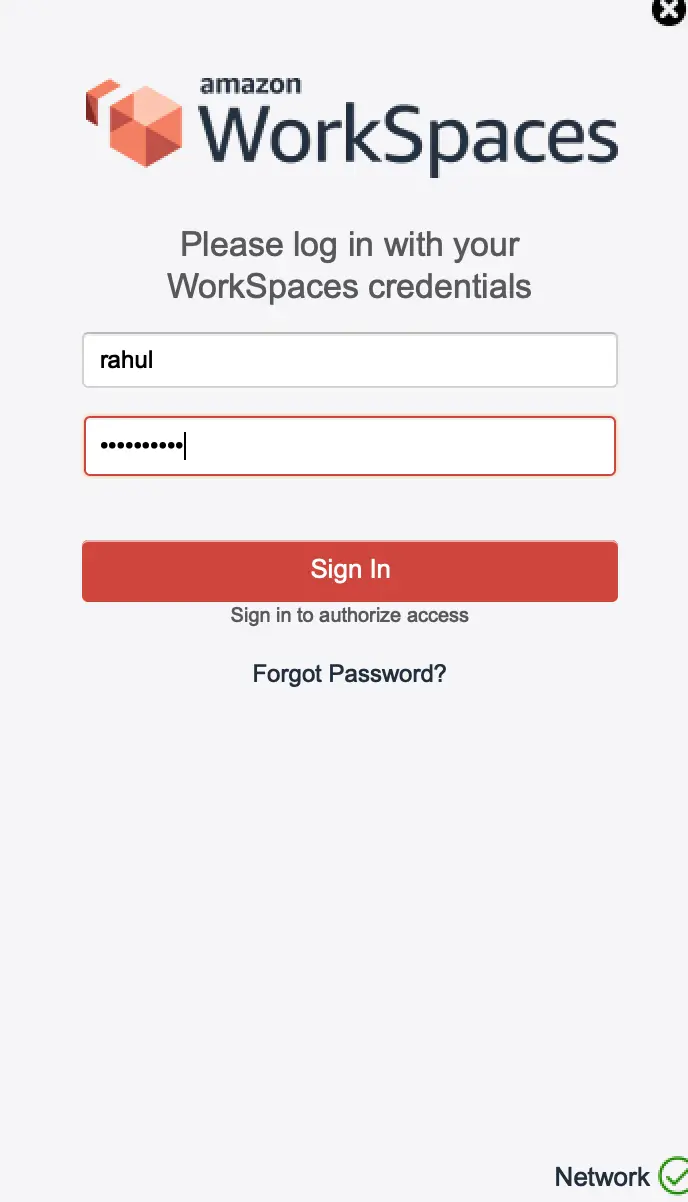
Enter the username and password.
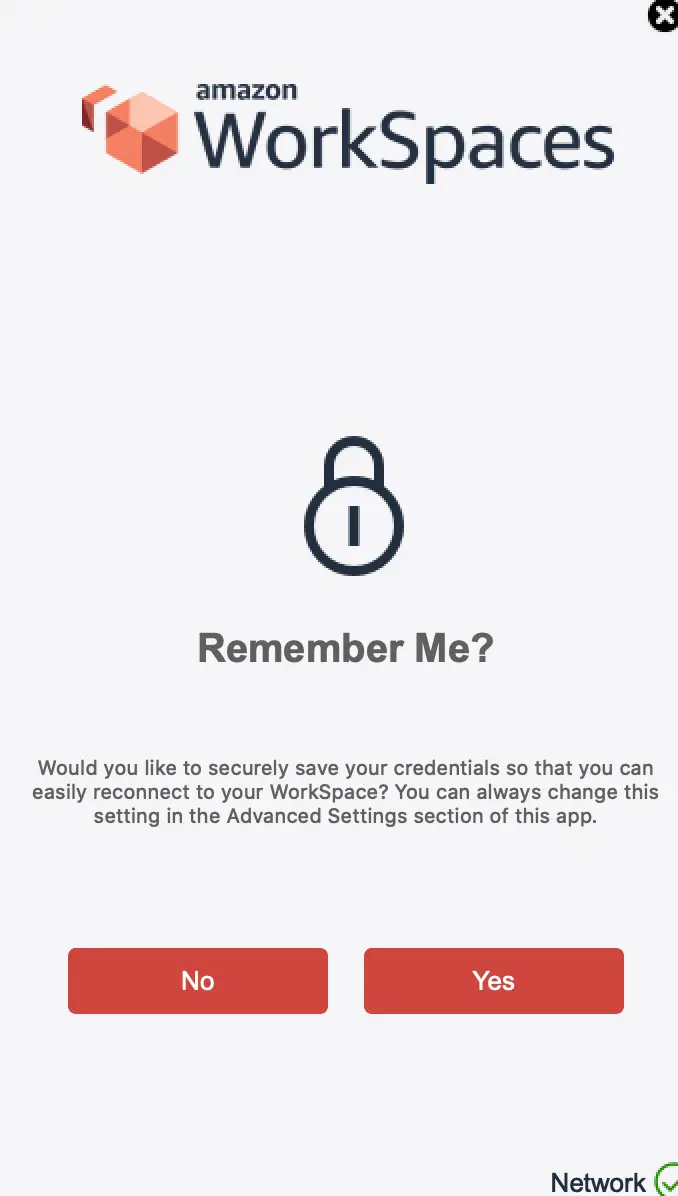
You can save your user-name and password so that you don't have to enter it the next time you login.
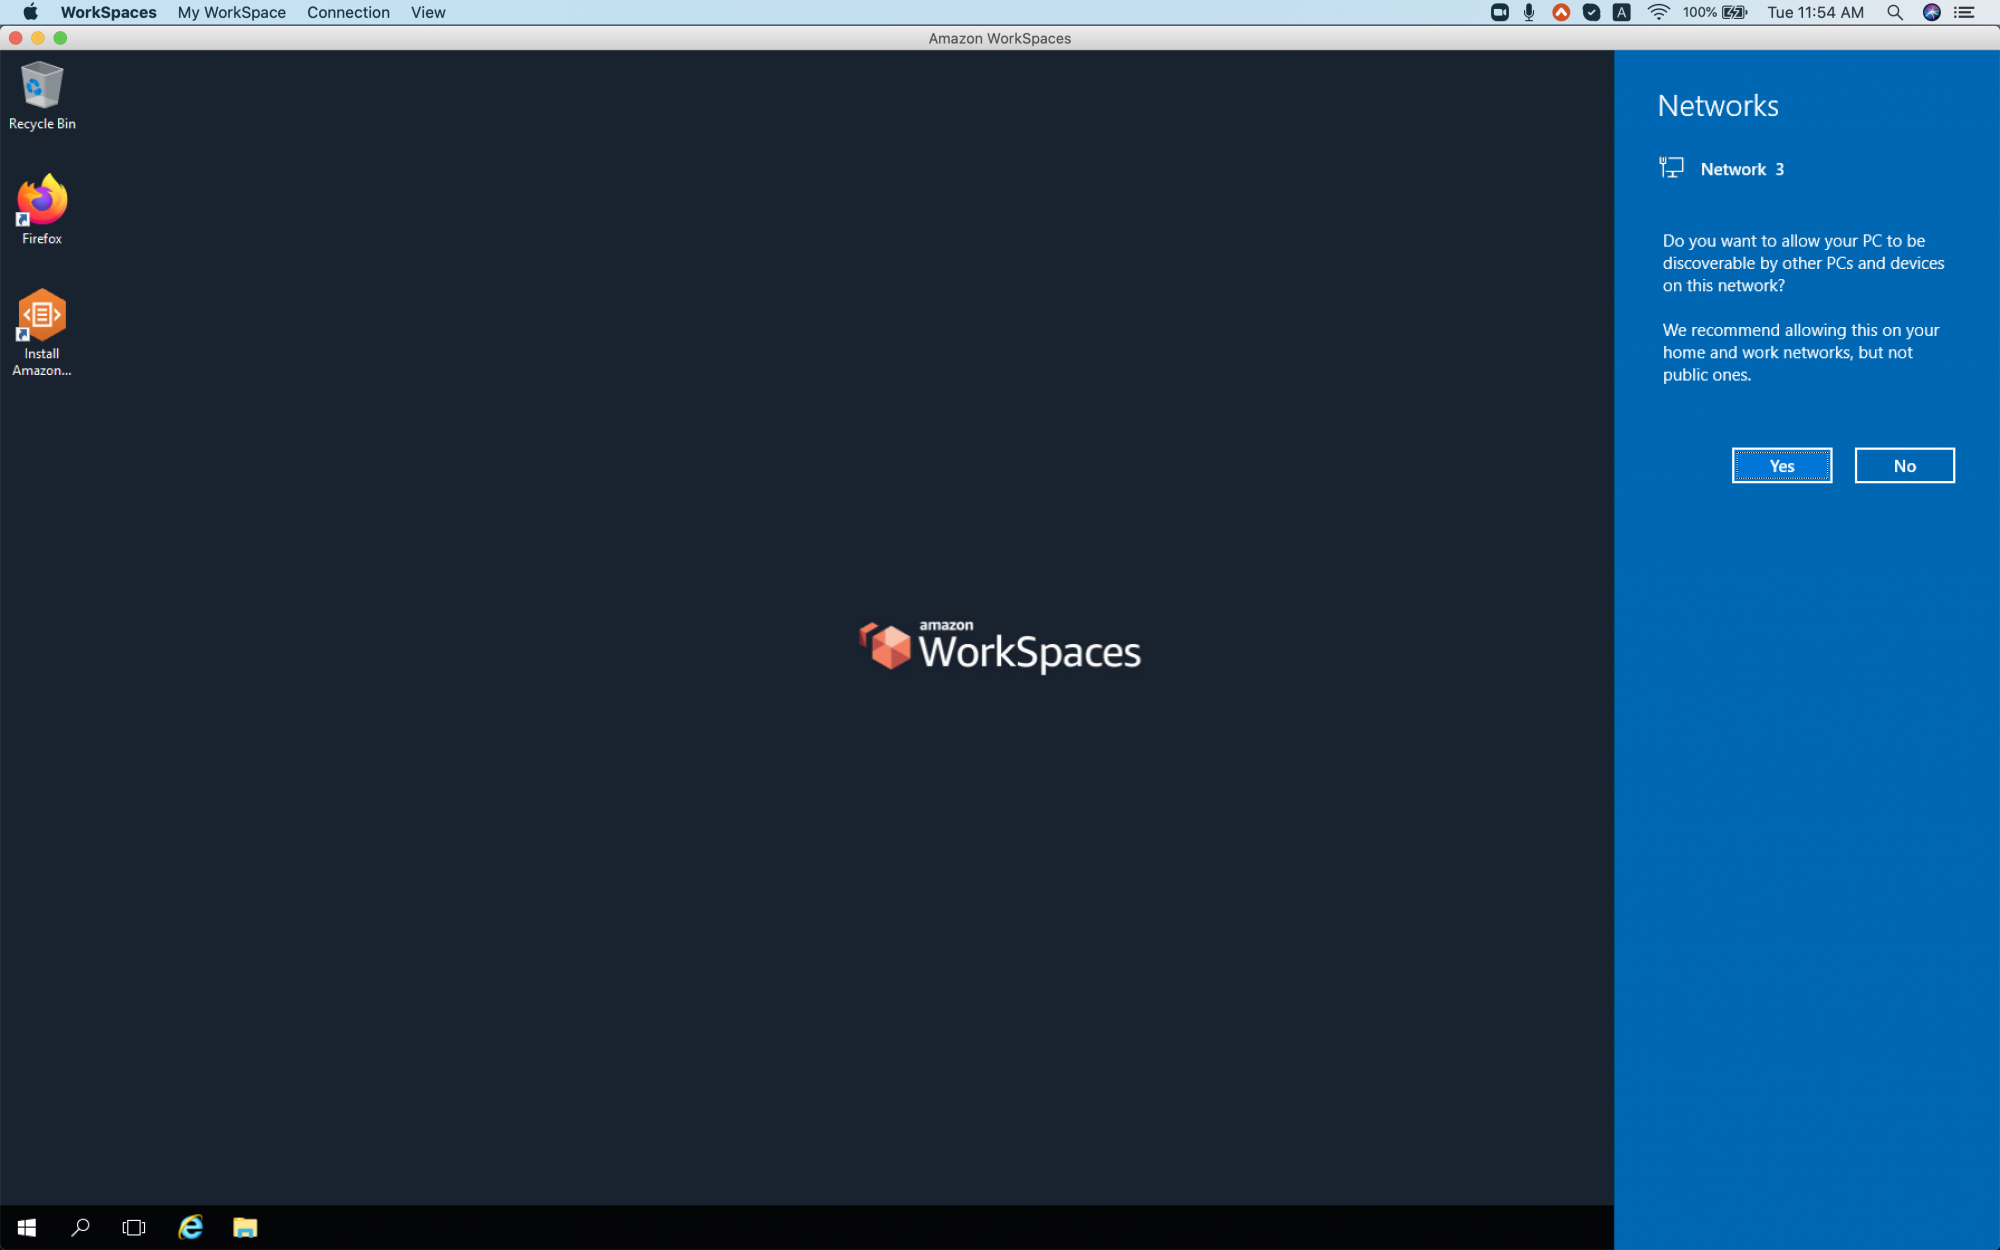
Now, you are ready to use your Workspace.
Conclusion
In this article, we learnt to create a Windows Workspace and install the client to connect to it. We used a free tier eligible template, you can choose the once which suits your requirement.

