
VirtualBox is a free and open-source virtualization software commonly used at the desktop level to create a test environment. It enables you to create and run virtual machines, which are guest operating systems including Linux, Windows, Unix, and Solaris.
Unfortunately, VirtualBox is not available for installation in the official AlmaLinux and Rocky Linux repositories. However, there is an effortless and straightforward way to install it, which we will show you in easy-to-follow steps in this guide.
Install VirtualBox on AlmaLinux / Rocky Linux
The tutorial will be using the sudo command and assuming you have sudo privileges.
Step 1: Add VirtualBox Repository
VirtualBox, as previously stated, is not available for installation in the AlmaLinux and Rocky Linux repositories. So, we’ll add its official repository to our AlmaLinux/Rocky Linux system with the command below.
To do so, type the following commands:
sudo dnf config-manager --add-repo=https://download.virtualbox.org/virtualbox/rpm/el/virtualbox.repoCode language: JavaScript (javascript)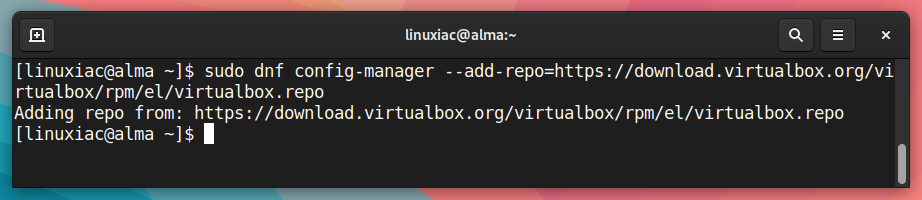
Next, we’ll update the package list. You will be asked if you accept importing the VirtualBox’s repository public key into your system. Confirm by typing “y” and pressing Enter.
sudo dnf update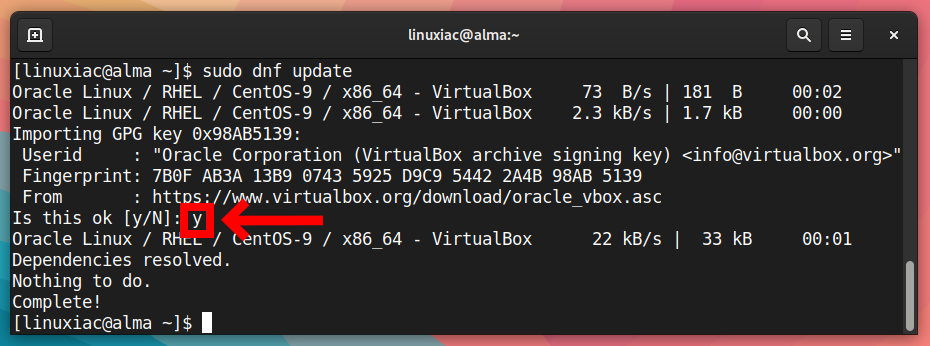
Step 2: Check Versions Available for Installation
This step will search for VirtualBox versions available for installation on our AlmaLinux / Rocky Linux system.
sudo dnf search virtualbox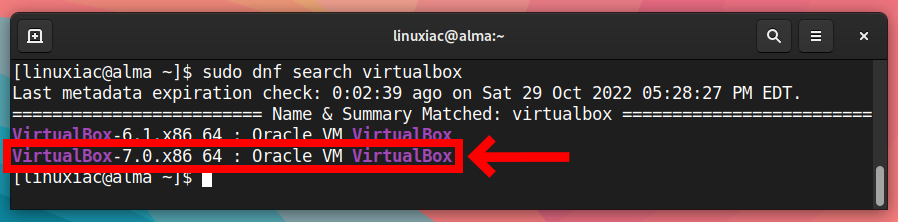
As can be seen, we have two options: versions 6.1, and 7.0. So we’ll install the latest VirtualBox 7.0 version, which provides us with the most recent and best features of this virtualization software.
Step 3: Install Prerequisites
But first, we need to install several packages that VirtualBox needs during its installation to build the essential components for its proper operation.
sudo dnf install kernel-devel kernel-headers gcc make perl elfutils-libelf-develStep 4: Install VirtualBox on AlmaLinux / Rocky Linux
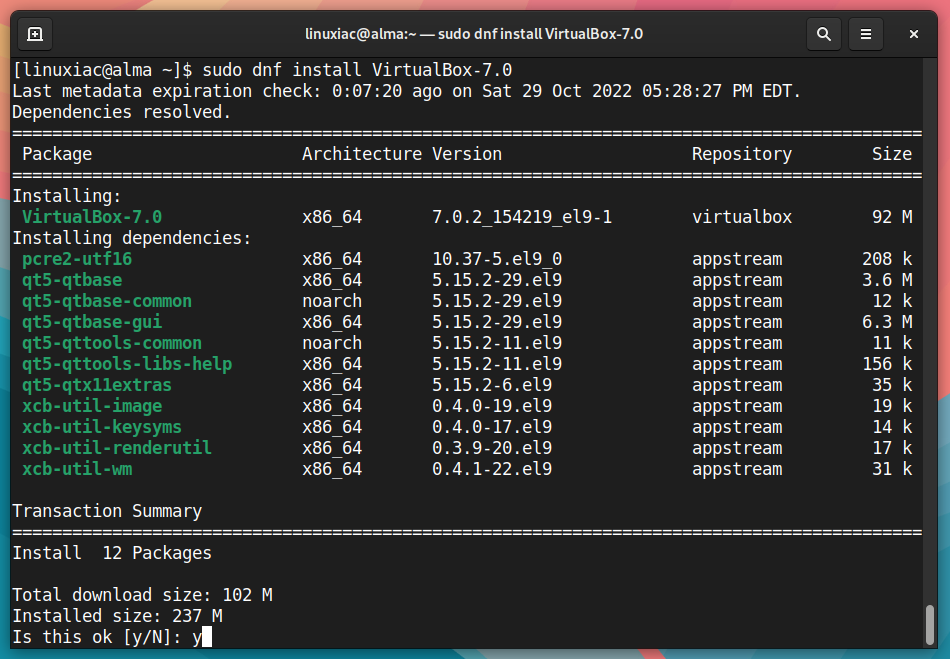
Everything is already prepared for the actual installation. Now, to install VirtualBox on our AlmaLinux / Rocky Linux system, run the following commands:
sudo dnf install VirtualBox-7.0Code language: CSS (css)When prompted, type “y” to confirm that you want to install it and press Enter.
That’s all. The VirtualBox is installed successfully and ready to be used on your AlmaLinux / Rocky Linux system.
In addition, you can run the below command to check the status of VirtualBox’s Linux kernel module service.
sudo systemctl status vboxdrv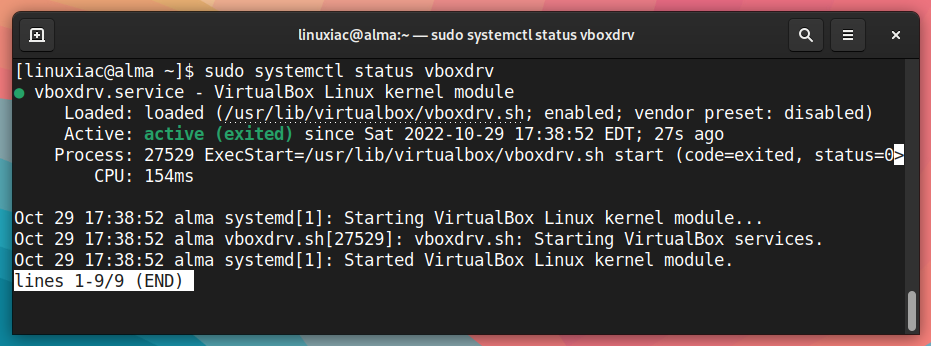
Great! As you can see, the service is fully operational.
Step 5: Install VirtualBox Extension Pack
This is an optional step, but I strongly encourage it because it will make working with VirtualBox on your AlmaLinux / Rocky Linux system easier and more convenient. VirtualBox Extension Pack unlocks many great features such as:
- Oracle Cloud Infrastructure (OCI) integration
- VirtualBox Remote Desktop Protocol (VRDP)
- Host webcam passthrough
- Disk and full VM encryption
We should highlight one peculiarity here. The installed VirtualBox Extension Pack’s version is highly recommended to match the version of VirtualBox installed on your AlmaLinux / Rocky Linux system.
So, to verify the exact version of the installed locally VirtualBox, you can use vboxmanage, a build-in VirtualBox’s command:
vboxmanage -v | cut -dr -f1
As you can see, the version of Virtualbox installed is 7.0.2. Therefore, the Extension Pack with the same version needs then be downloaded.
So, use the below wget command to download the Extension Pack for VirtualBox.
However, if your installation is different, replace both places containing 7.0.2 in the command below with the actual version. In addition, you can also go straight to the downloads page and look at the available versions.
wget https://download.virtualbox.org/virtualbox/7.0.2/Oracle_VM_VirtualBox_Extension_Pack-7.0.2.vbox-extpackCode language: JavaScript (javascript)Next, to install the VirtualBox Extension pack, run the vboxmanage command as follows:
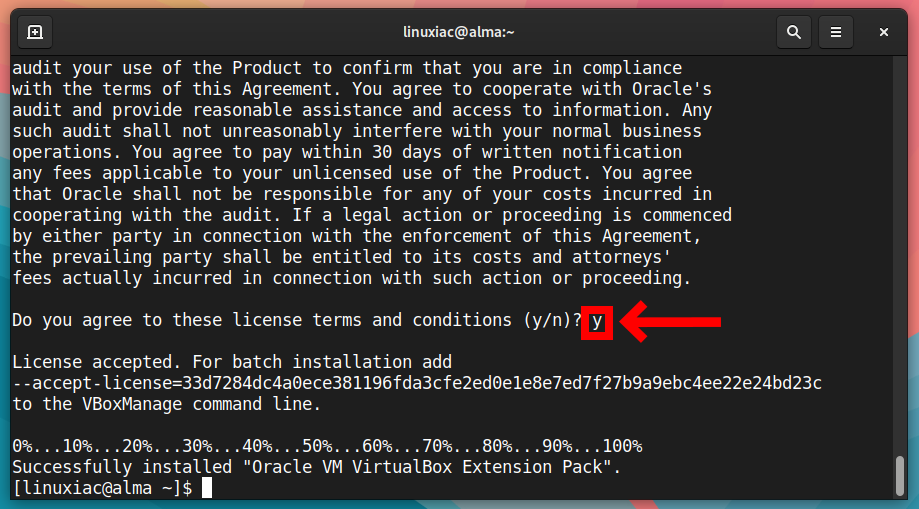
sudo vboxmanage extpack install Oracle_VM_VirtualBox_Extension_Pack-7.0.2.vbox-extpackCode language: CSS (css)When prompted to agree the Oracle’s license terms and conditions, type “y” to confirm and press Enter.
Finally, you can verify that the extension pack was installed correctly by running:
vboxmanage list extpacksCode language: PHP (php)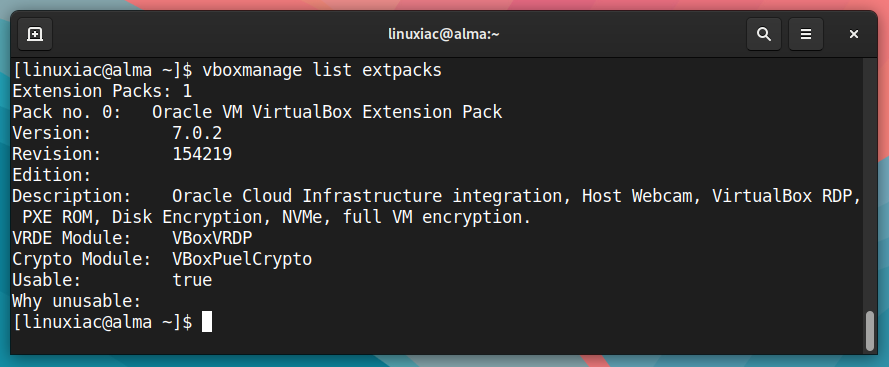
Step 6: Add User to vboxusers Group
Before using VirtualBox, you should add your user account to the vboxusers group. This is quick and simple to accomplish by running:
sudo usermod -a -G vboxusers $USERCode language: PHP (php)Now perform a reboot. After login, check that you are in the vboxusers group with this command:
groups $USERCode language: PHP (php)
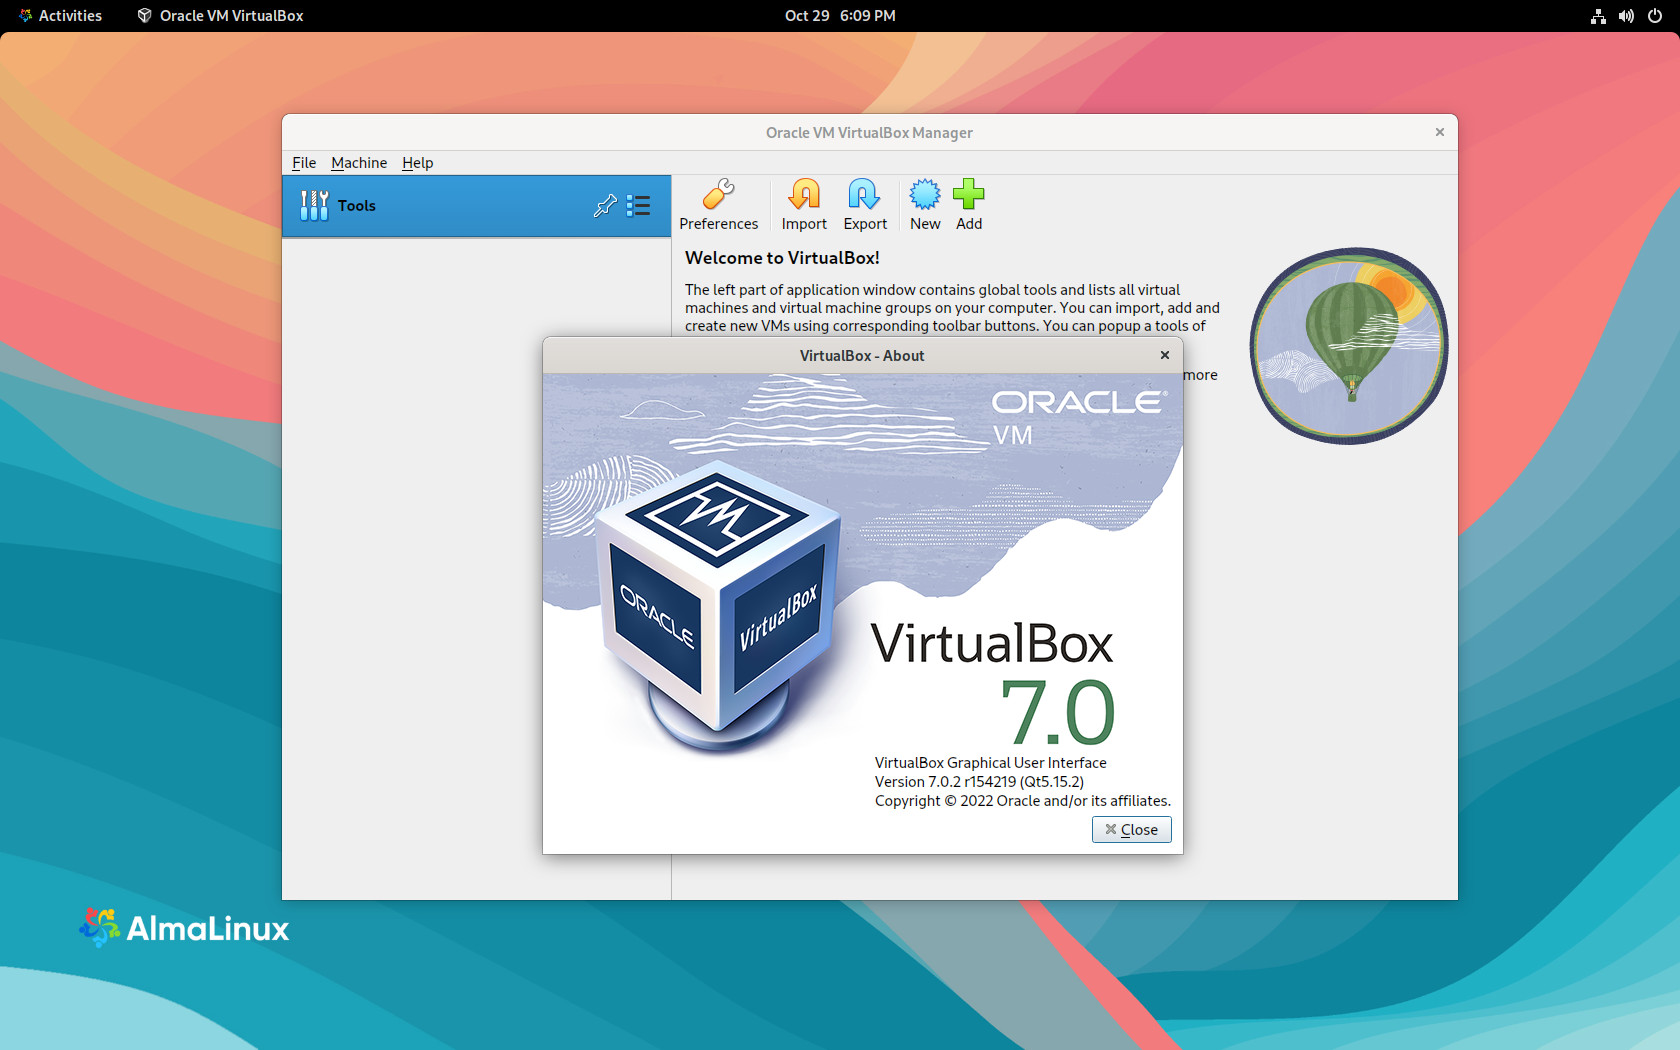
Step 7: Running VirtualBox on AlmaLinux / Rocky Linux
Finally, you can start using VirtualBox by launching it from the GNOME Dash menu.

Conclusion
That concludes our guide on installing VirtualBox on AlmaLinux / Rocky Linux. We hope you find this guide useful. Thanks for your time!
We recommend checking the official documentation for individuals who want to learn more about the features offered by VirtualBox and how to use them effectively.
Finally, you can use VirtualBox in an entirely headless mode to turn your server into a virtualization environment. To learn more about utilizing this VirtualBox feature, check out our guide: “How to Setup and Manage VMs on a Headless VirtualBox Server.”
Thanks for using this tutorial. Your feedback and comments are most welcome.


