

When trying to familiarize yourself with someone else's project, you usually appreciate the comments left behind that help you understand the meaning of their code. In the same way, whenever you are programming, whether for yourself or for others, it is good practice to comment your own code. All programming languages offer a special syntax to mark a word, a line, or a whole section as a comment. Those areas are then ignored by the compiler or interpreter when the source code is processed.
Comments don't take the place of documentation, but there is a way to use your comments to produce documentation easily. Meet Doxygen, an open source tool for generating HTML or LaTeX documentation based on comments in the code. Doxygen enables you to provide a comprehensive overview of the structure of your code without additional effort. While Doxygen is mainly used to document C++, you can use it for many other languages, like C, Objective-C, C#, PHP, Java, Python, and more.
To use Doxygen, you simply comment your source code in a syntax that Doxygen can read. Doxygen then walks through your source files and creates HTML or LaTeX documentation based on those special comments. The C++ example project below will illustrate how the source code is commented and how the documentation is generated from it. The example is available on GitHub, and I will also include references to different sections of the Doxygen manual and documentation.
[ Download now: Doxygen cheat sheet ]
Install Doxygen on Linux
On Fedora, Doxygen is available as a package. Open a terminal and run:
sudo dnf install doxygenOn Debian-based systems, you can install it by running:
sudo apt-get install doxygenUsage
Once installed, all you need is a project with Doxygen-compatible comments and a Doxyfile, a configuration file that controls the behavior of Doxygen.
Note: If you stick to the related example project on GitHub, you can omit the next step.
If there is no Doxyfile yet, you can simply let Doxygen generate a standard template. To do so, navigate to the root of your project and run:
doxygen -gThe -g stands for generate. You should now notice a newly created file called Doxyfile. You can invoke Doxygen by simply running:
doxygenYou should now notice two newly created folders:
html/latex/
By default, Doxygen outputs LaTeX-formatted documentation as well as HTML-based documentation. In this article, I will focus only on HTML-based documentation. You can find out more about LaTeX output in the official Doxygen documentation, in the Getting started section.
Double click on html/index.html to open the actual HTML documentation. With a blank configuration, it probably looks like the screenshot below:
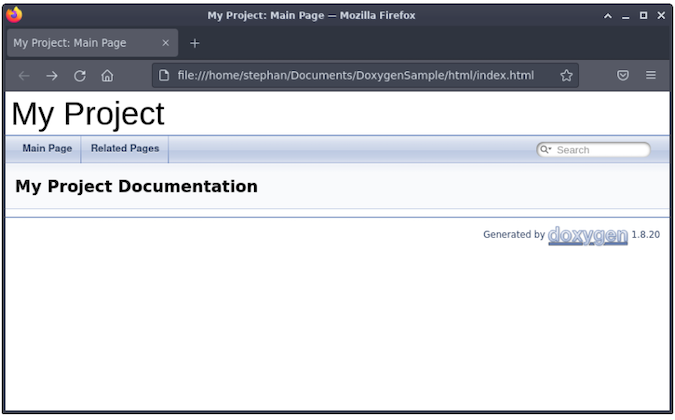
(Stephan Avenwedde, CC BY-SA 4.0)
Now it's time to modify the Doxyfile and add some special comments to the source code.
Doxyfile
The Doxyfile allows you to define tons of adjustment possibilities, so I will describe only a very small subset. The settings correspond to the Doxyfile of the example project.
Line 35: Project name
Here you can specify the project name, which will be visible in the header line and the browser tab.
# The PROJECT_NAME tag is a single word (or a sequence of words surrounded by
# double-quotes, unless you are using Doxywizard) that should identify the
# project for which the documentation is generated. This name is used in the
# title of most generated pages and in a few other places.
# The default value is: My Project.

PROJECT_NAME           = "My Project"
Line 47: Project brief description
The brief description will also be shown in the header but in a smaller font.
# Using the PROJECT_BRIEF tag one can provide an optional one line description
# for a project that appears at the top of each page and should give viewer a
# quick idea about the purpose of the project. Keep the description short.

PROJECT_BRIEF          = "An example of using Doxygen in C++"
Line 926: Inclusion of subdirectories
Allow Doxygen to walk recursively through subdirectories to find source and documentation files.
# The RECURSIVE tag can be used to specify whether or not subdirectories should
# be searched for input files as well.
# The default value is: NO.

RECURSIVE = YES
Line 1769: Disable LaTeX output
If you are just interested in the HTML output, you can disable the LaTeX code generation using this switch.
# If the GENERATE_LATEX tag is set to YES, doxygen will generate LaTeX output.

# The default value is: YES.

GENERATE_LATEX = NO
After every change, you can run Doxygen again to check whether your changes have had the desired effect. If you just want to check which modification an existing Doxyfile has, invoke Doxygen with the -x switch:
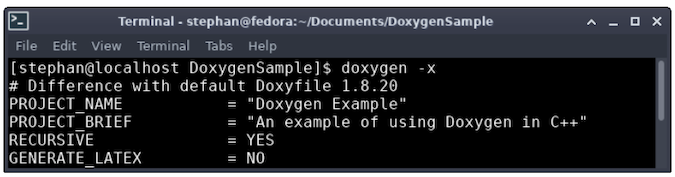
(Stephan Avenwedde, CC BY-SA 4.0)
As with the command diff, Doxygen displays only the differences between the actual Doxyfile and the template.
Special comments
Doxygen reads the sources and checks each file for special comments. Based on those comments and keywords, it builds up the HTML documentation. The anatomy of the special comments can be well explained using the header file of the class ByteStream, as shown in the GitHub example linked above.
I will look at the constructor and destructor as an example:
/*! @brief Constructor which takes an external buffer to operate on
*
* The specified buffer already exist.
* Memory and size can be accessed by buffer() and size().
*
* @param[in] pBuf Pointer to existing buffer
* @param[in] size Size of the existing buffer
*/

ByteStream(char* pBuf, size_t size) noexcept;
There are different flavors of formatting a special comment block. I prefer to start the comment in the Qt-style (/*!) and add an asterisk (*) before each line. The block then ends with an asterisk followed by a forward slash (*/). To get an overview of the different style options, refer to the Doxygen manual, in the section Documenting the code.
Comments in Doxygen are divided into two sections, a brief description and a detailed description. Both sections are optional. In the code sample above, the comment block refers to the following line of code, the declaration of a constructor. The sentence behind the @brief will be shown in the compact class overview:
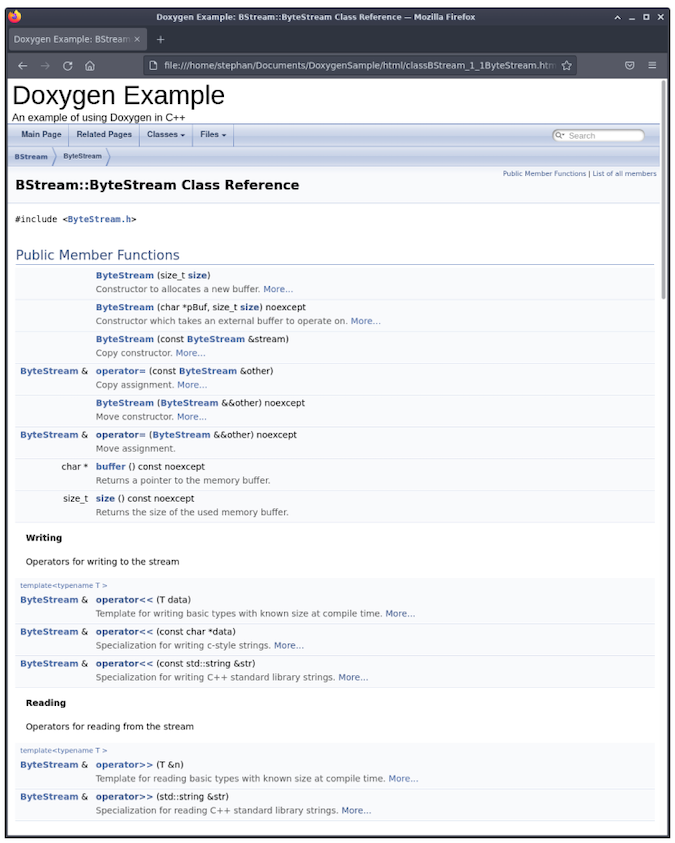
(Stephan Avenwedde, CC BY-SA 4.0)
After a blank line (blank lines are treated as paragraph separators), the actual documentation for the constructor begins. With the @param[in/out] keyword, you can mark the arguments passed to the constructor, and Doxygen will make a clear argument list from it:

(Stephan Avenwedde, CC BY-SA 4.0)
Note that Doxygen automatically creates a link to the mentioned buffer() and size() method in the comment. In contrast, the comment before the destructor declaration won't have any effect on Doxygen as it is not recognized as a special comment:
// Destructor
~ByteStream();
Now you have seen 90% of the magic. By using a slightly modified syntax for your comments, you can convert them into special comments that Doxygen can read. Furthermore, by using a few keywords, you can advance the formatting. In addition, Doxygen has some special features, which I will highlight in the following section.
Features
Most of the work is already done via your regular commenting on the source code. But with a few tweaks, you can easily enhance the output of Doxygen.
Markdown
For advanced formatting, Doxygen supports Markdown syntax and HTML commands. There is a Markdown cheat sheet available in the download section of opensource.com.
Mainpage
Aside from your customized header, you will get a mostly empty page when you open html/index.html. You can add some meaningful content to this empty space by using specific keywords. Because the main page is usually not dedicated to a particular source code file, you can add an ordinary text file containing the content for the main page into the root of your project. You can see this in the example on GitHub. The comments in there produce the following output:
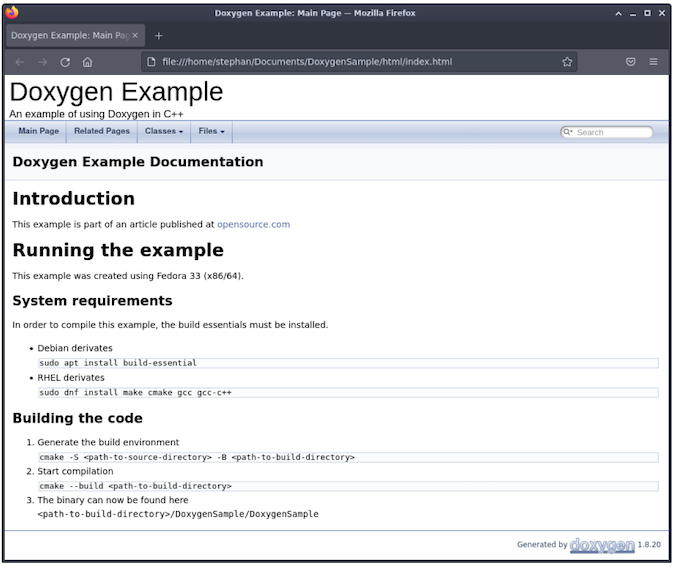
(Stephan Avenwedde, CC BY-SA 4.0)
Automatic link generation
As noted above, Doxygen automatically figures out when you are referring to an existing part of the code and creates a link to the related documentation. Be aware that automatic link creation only works if the part you refer to is documented as well.
More information can be found in the official documentation, under Automatic link generation.
Groups
The ByteStream class has overloaded stream operators for writing (<<) and reading (>>). In the class overview in the Special comments section above, you can see that the operator declarations are grouped as Writing and Reading. These groups are defined and named in the ByteStream header file.
Grouping is done using a special syntax: You start a group with @{ and end it with }@. All members inside those marks belong to this group. In the header ByteStream.h it is implemented as follows:
/** @name Writing
* Operators for writing to the stream
* @{
*/

(...)

/** @}
* @name Reading
* Operators for reading from the stream
* @{
*/

(...)

/** @} */
You can find more information about grouping in the Doxygen documentation, under Grouping.
LLVM Support
If you are building with Clang, you can apply the flag -Wdocumentation to the build process to let Clang check your special comments. You can find more information about this feature in the LLVM Users Manual or in Dmitri Gribenko's presentation, both on the Clang website.
Where Doxygen is used
Doxygen was first released in 1997, so it has been already around for some years. Despite its age, many projects use Doxygen to create their documentation. Some examples are NASA's F Prime flight software framework, the image processing library OpenCV, and the package manager RPM. You can also find the Doxygen syntax in other areas, like in the documentation standards of the content management platform Drupal.
A caveat: One drawback of using Doxygen is that it outputs HTML documentation with the look and feel of web pages from the nineties. It is also hard to depict the architecture of meta and template programming using Doxygen. For those cases, you would probably choose Sphinx over Doxygen. Download the Doxygen cheat sheet now.


Comments are closed.