Use Tag Editor to tag resources across regions on AWS
On this page
Amazon “Tag Editor” comes under “Resource Groups”. Tag Editor is used to querying and tag resources in one go. We can choose up to 20 individual resource types, or fetch all resource types. Tags act as metadata for identifying and organizing our resources on AWS Account. Each tag consists of a key and value, tag is a key-value pair metadata to AWS Resources. We can add tags to resources upon their creation or we can add tags at any point of time after the resource is created. To add tags or edit or delete tags of multiple resources at once, Tag Editor is used. With Tag Editor, we search for the resources that we want to tag and then manage tags for those resources.
To know more about Tag Editor, click here.
In this article, we will see the steps to Tag EC2 Instances using Tag Editor.
Pre-requisites
- AWS Account (Create if you don’t have one).
- Basic understanding of Tags.
What will we do?
- Login to AWS.
- Tag Resources using Tag Editor.
Login to AWS
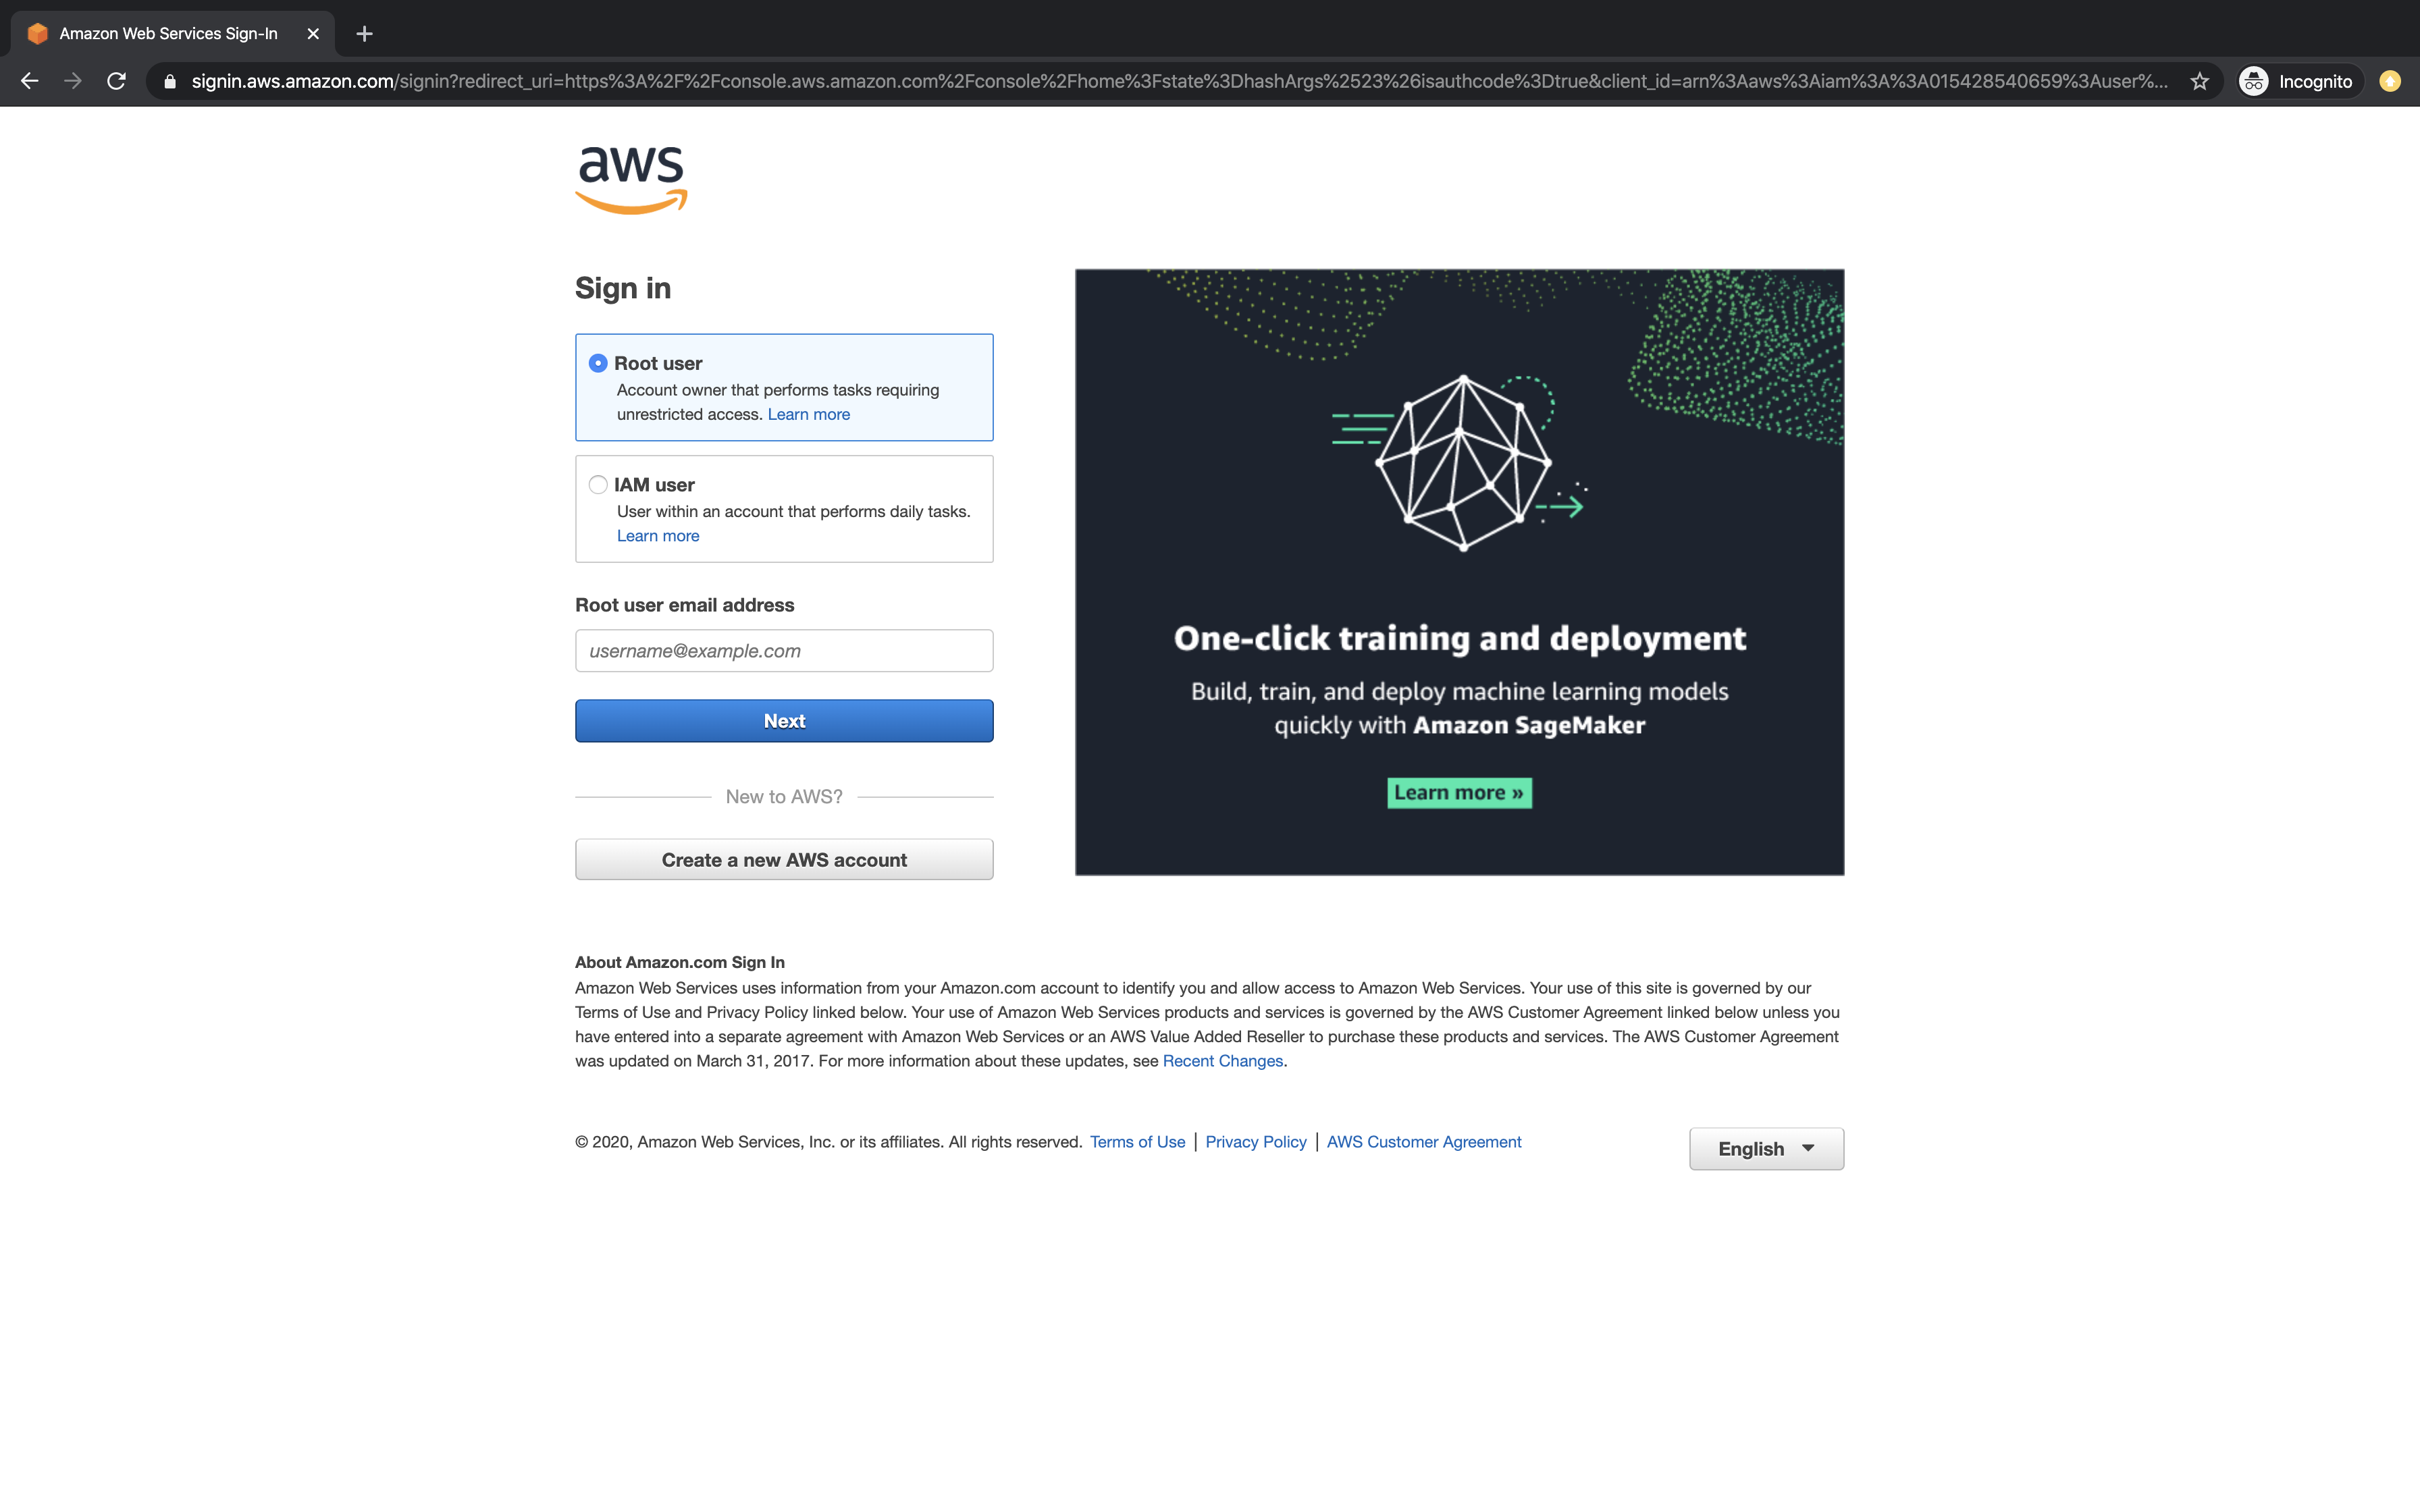
Click here to go to AWS Login Page.
When we hit the above link, we will see a web page as follows where we are required to login using our login details.
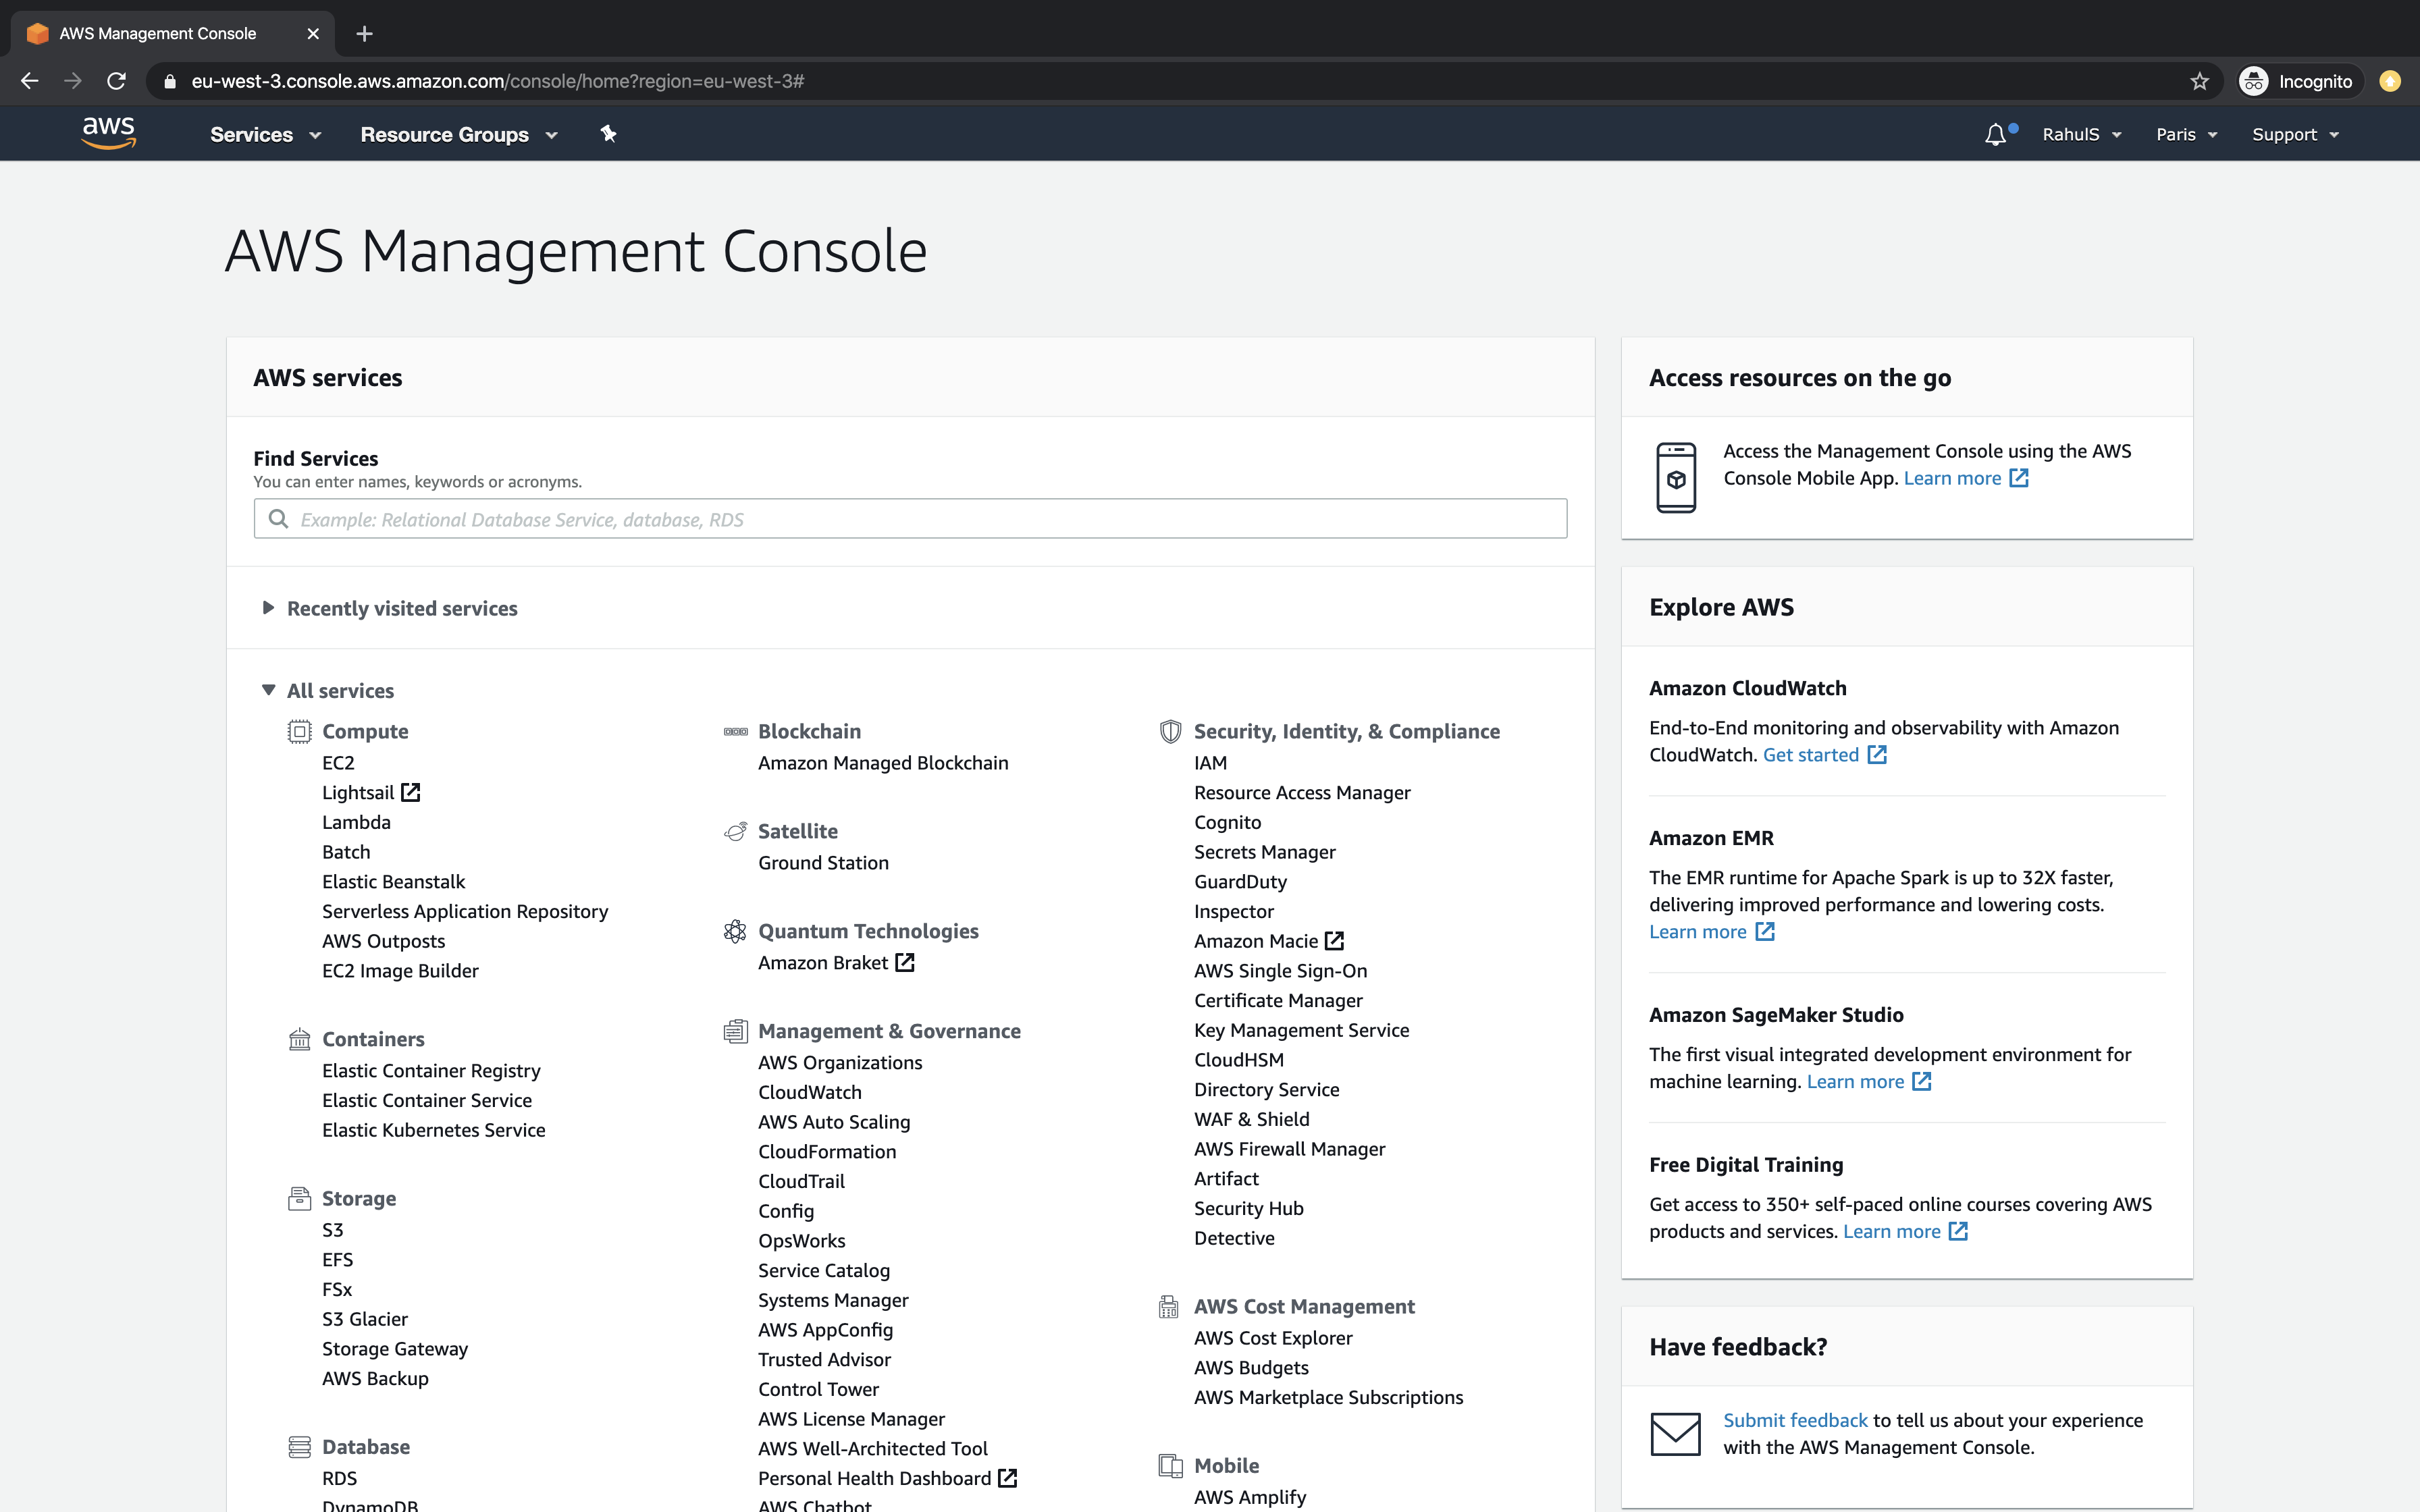
Once we login into AWS successfully, we will see the main console with all the services listed.
Tag Resources using Tag Editor.
To tag resources using Tag Editor, click on "Services" at the top left and search for "Resource Groups". Click on the result to go to the main dashboard of Resource Groups.
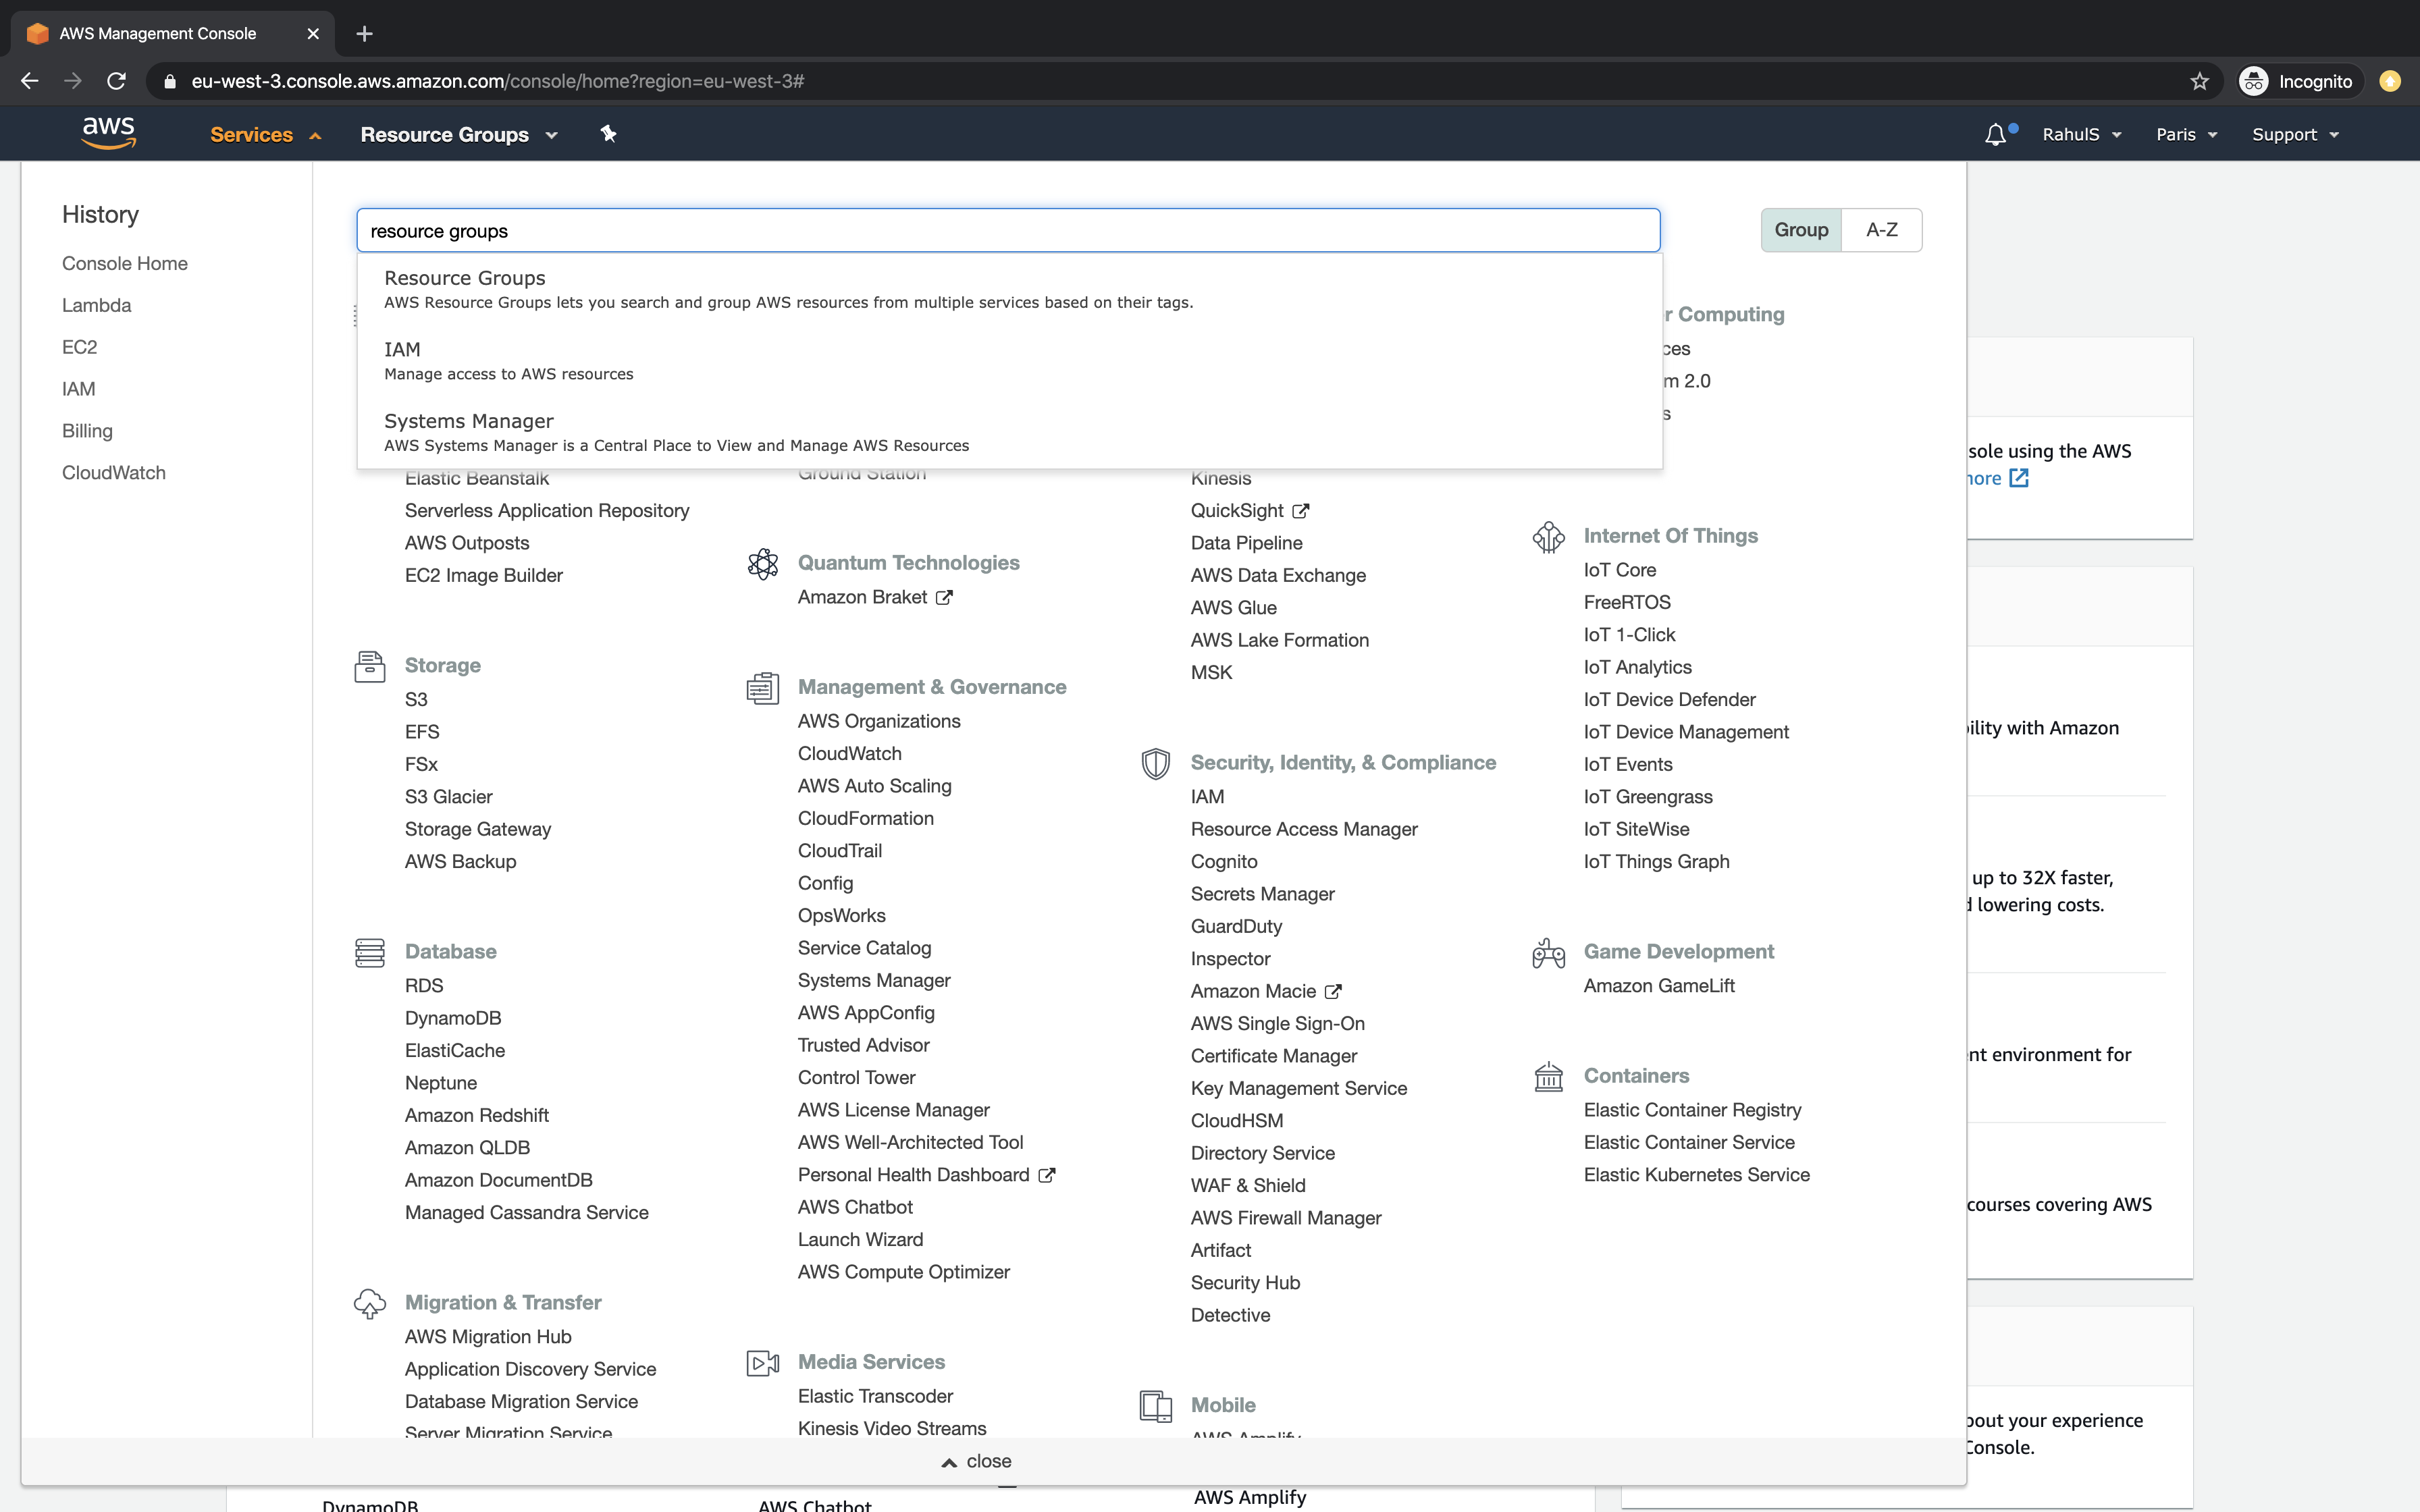
On the main dashboard, in the left panel, click on "Tag Editor" to go to the Tag Editor window.

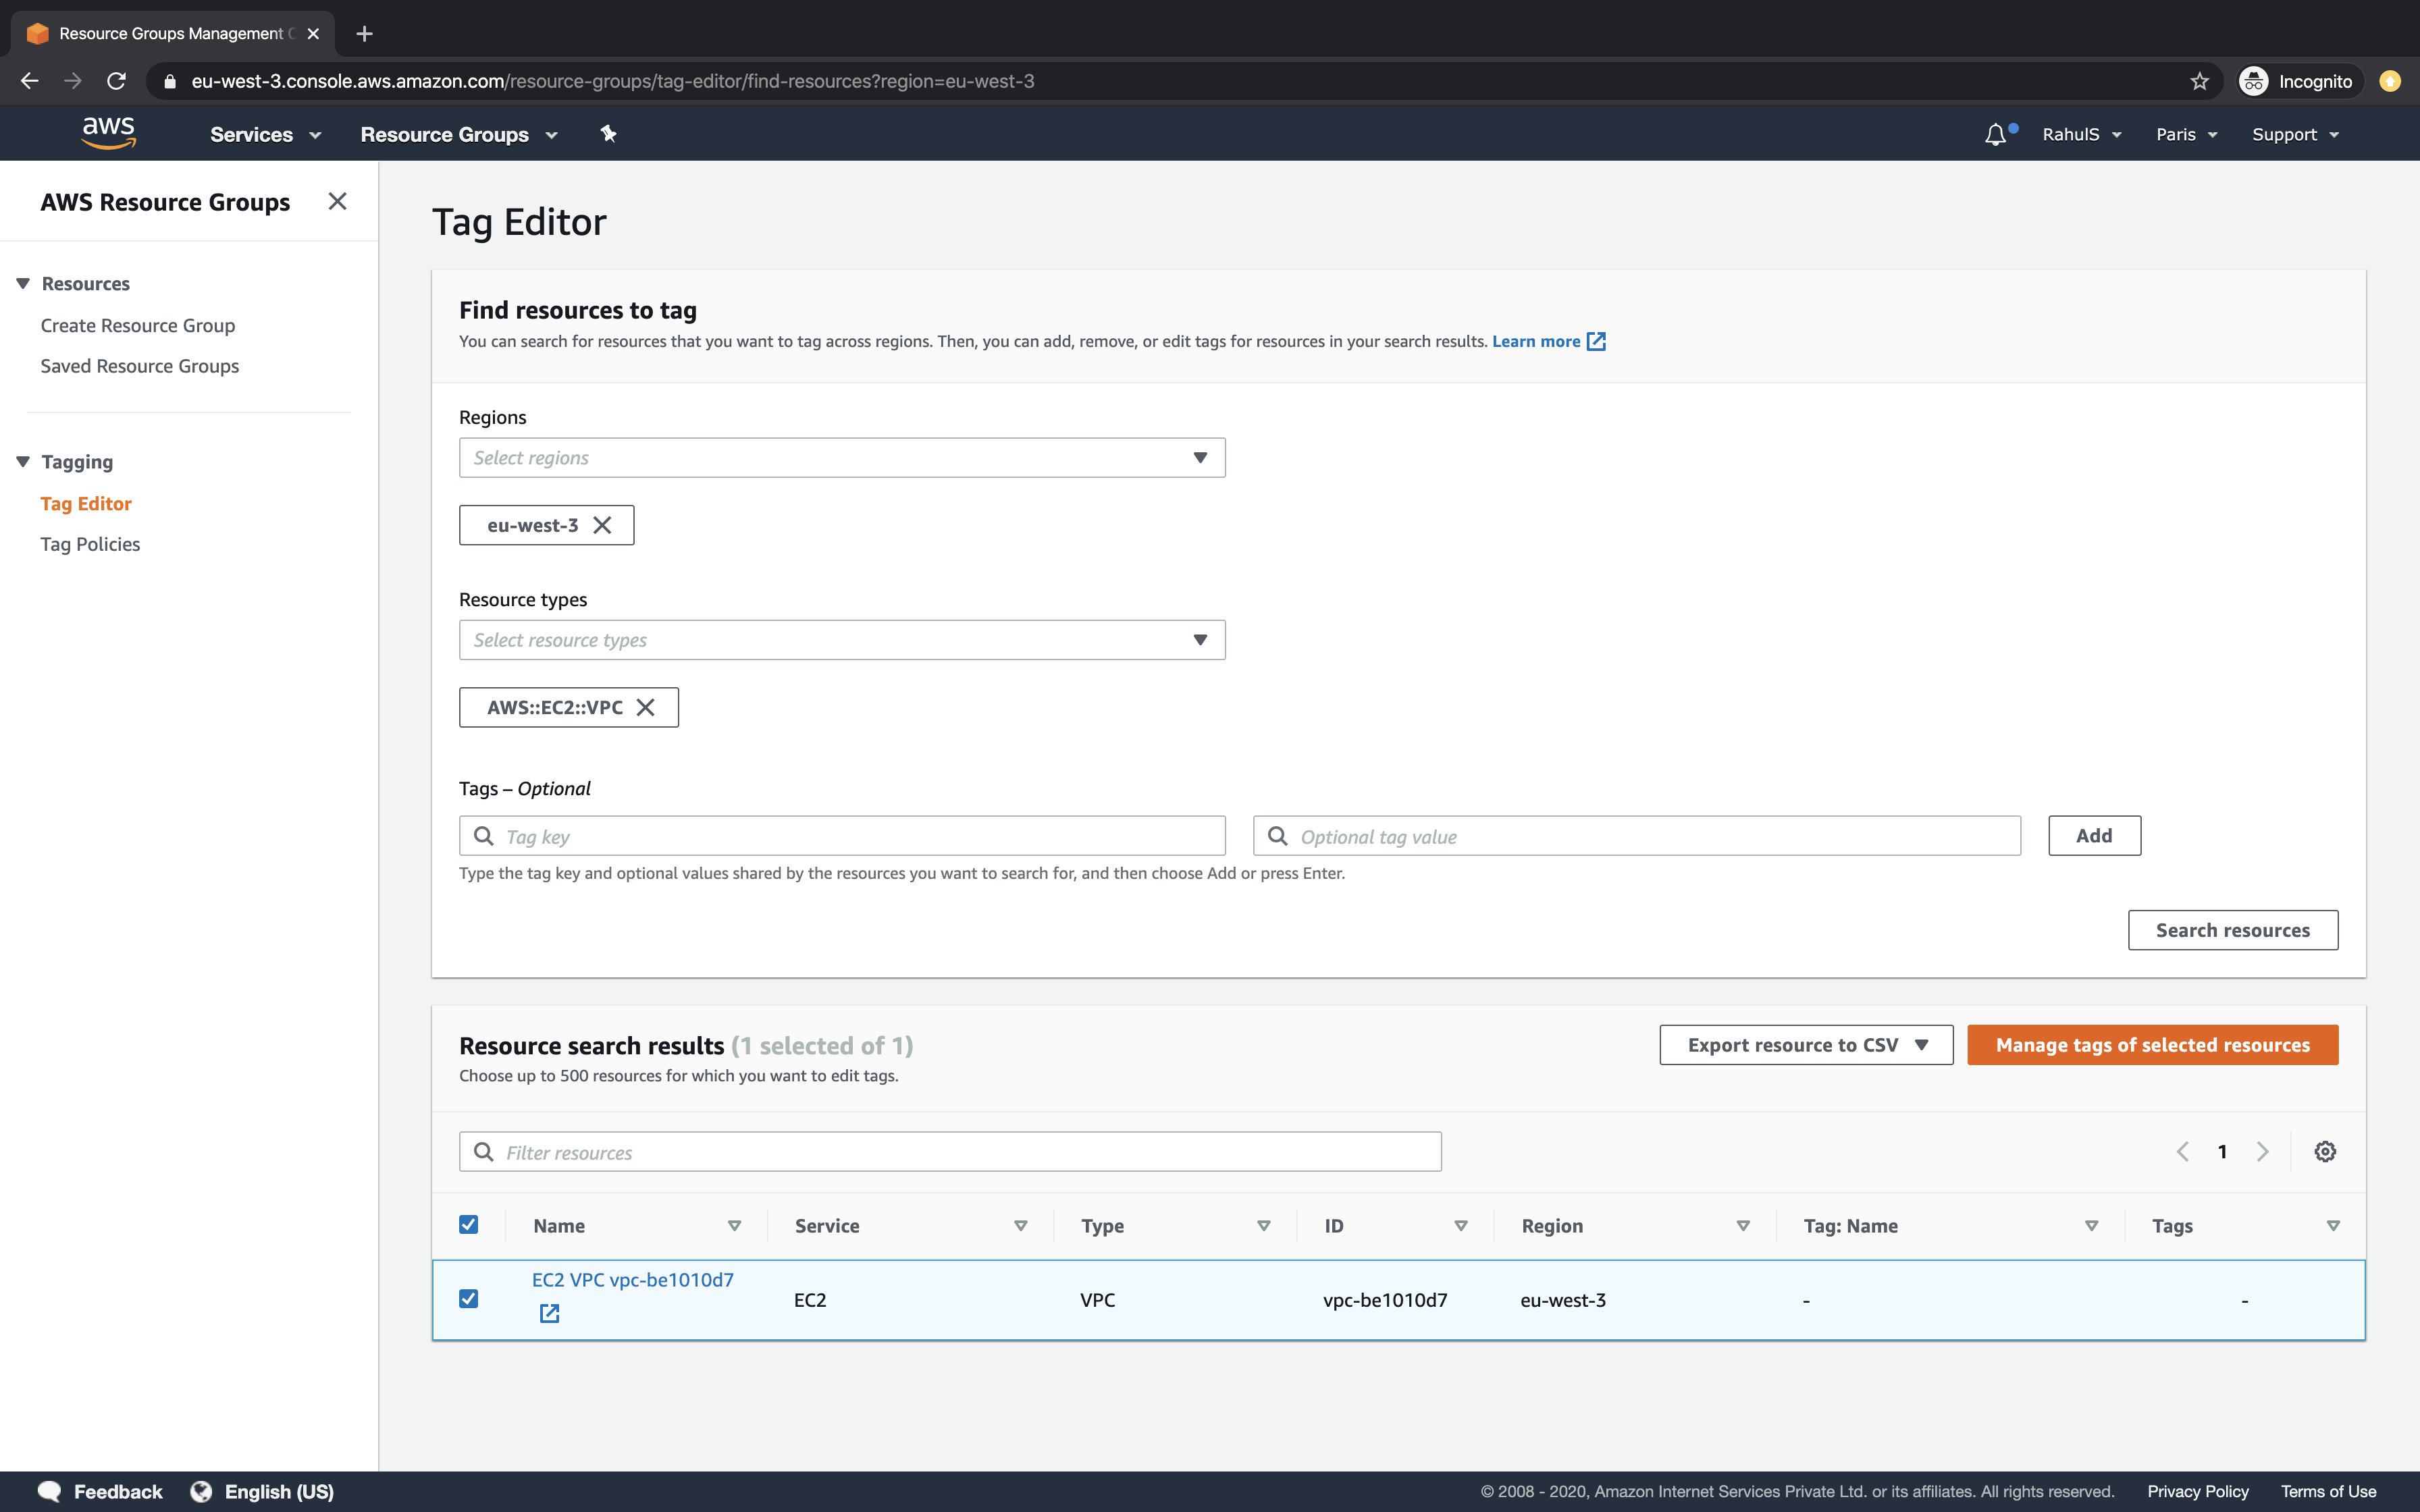
On this window, you select the region in which you want to tag your resources. Here, I have selected the current region.
You can select the different resource types which you want to tag at oce. I have selected VPC. This means that all the available VPC in the selected region will be tagged.
Now, click on the Search resources button to search for the specified resources available in the selected region.
You will get the result, click on the results to tag them.

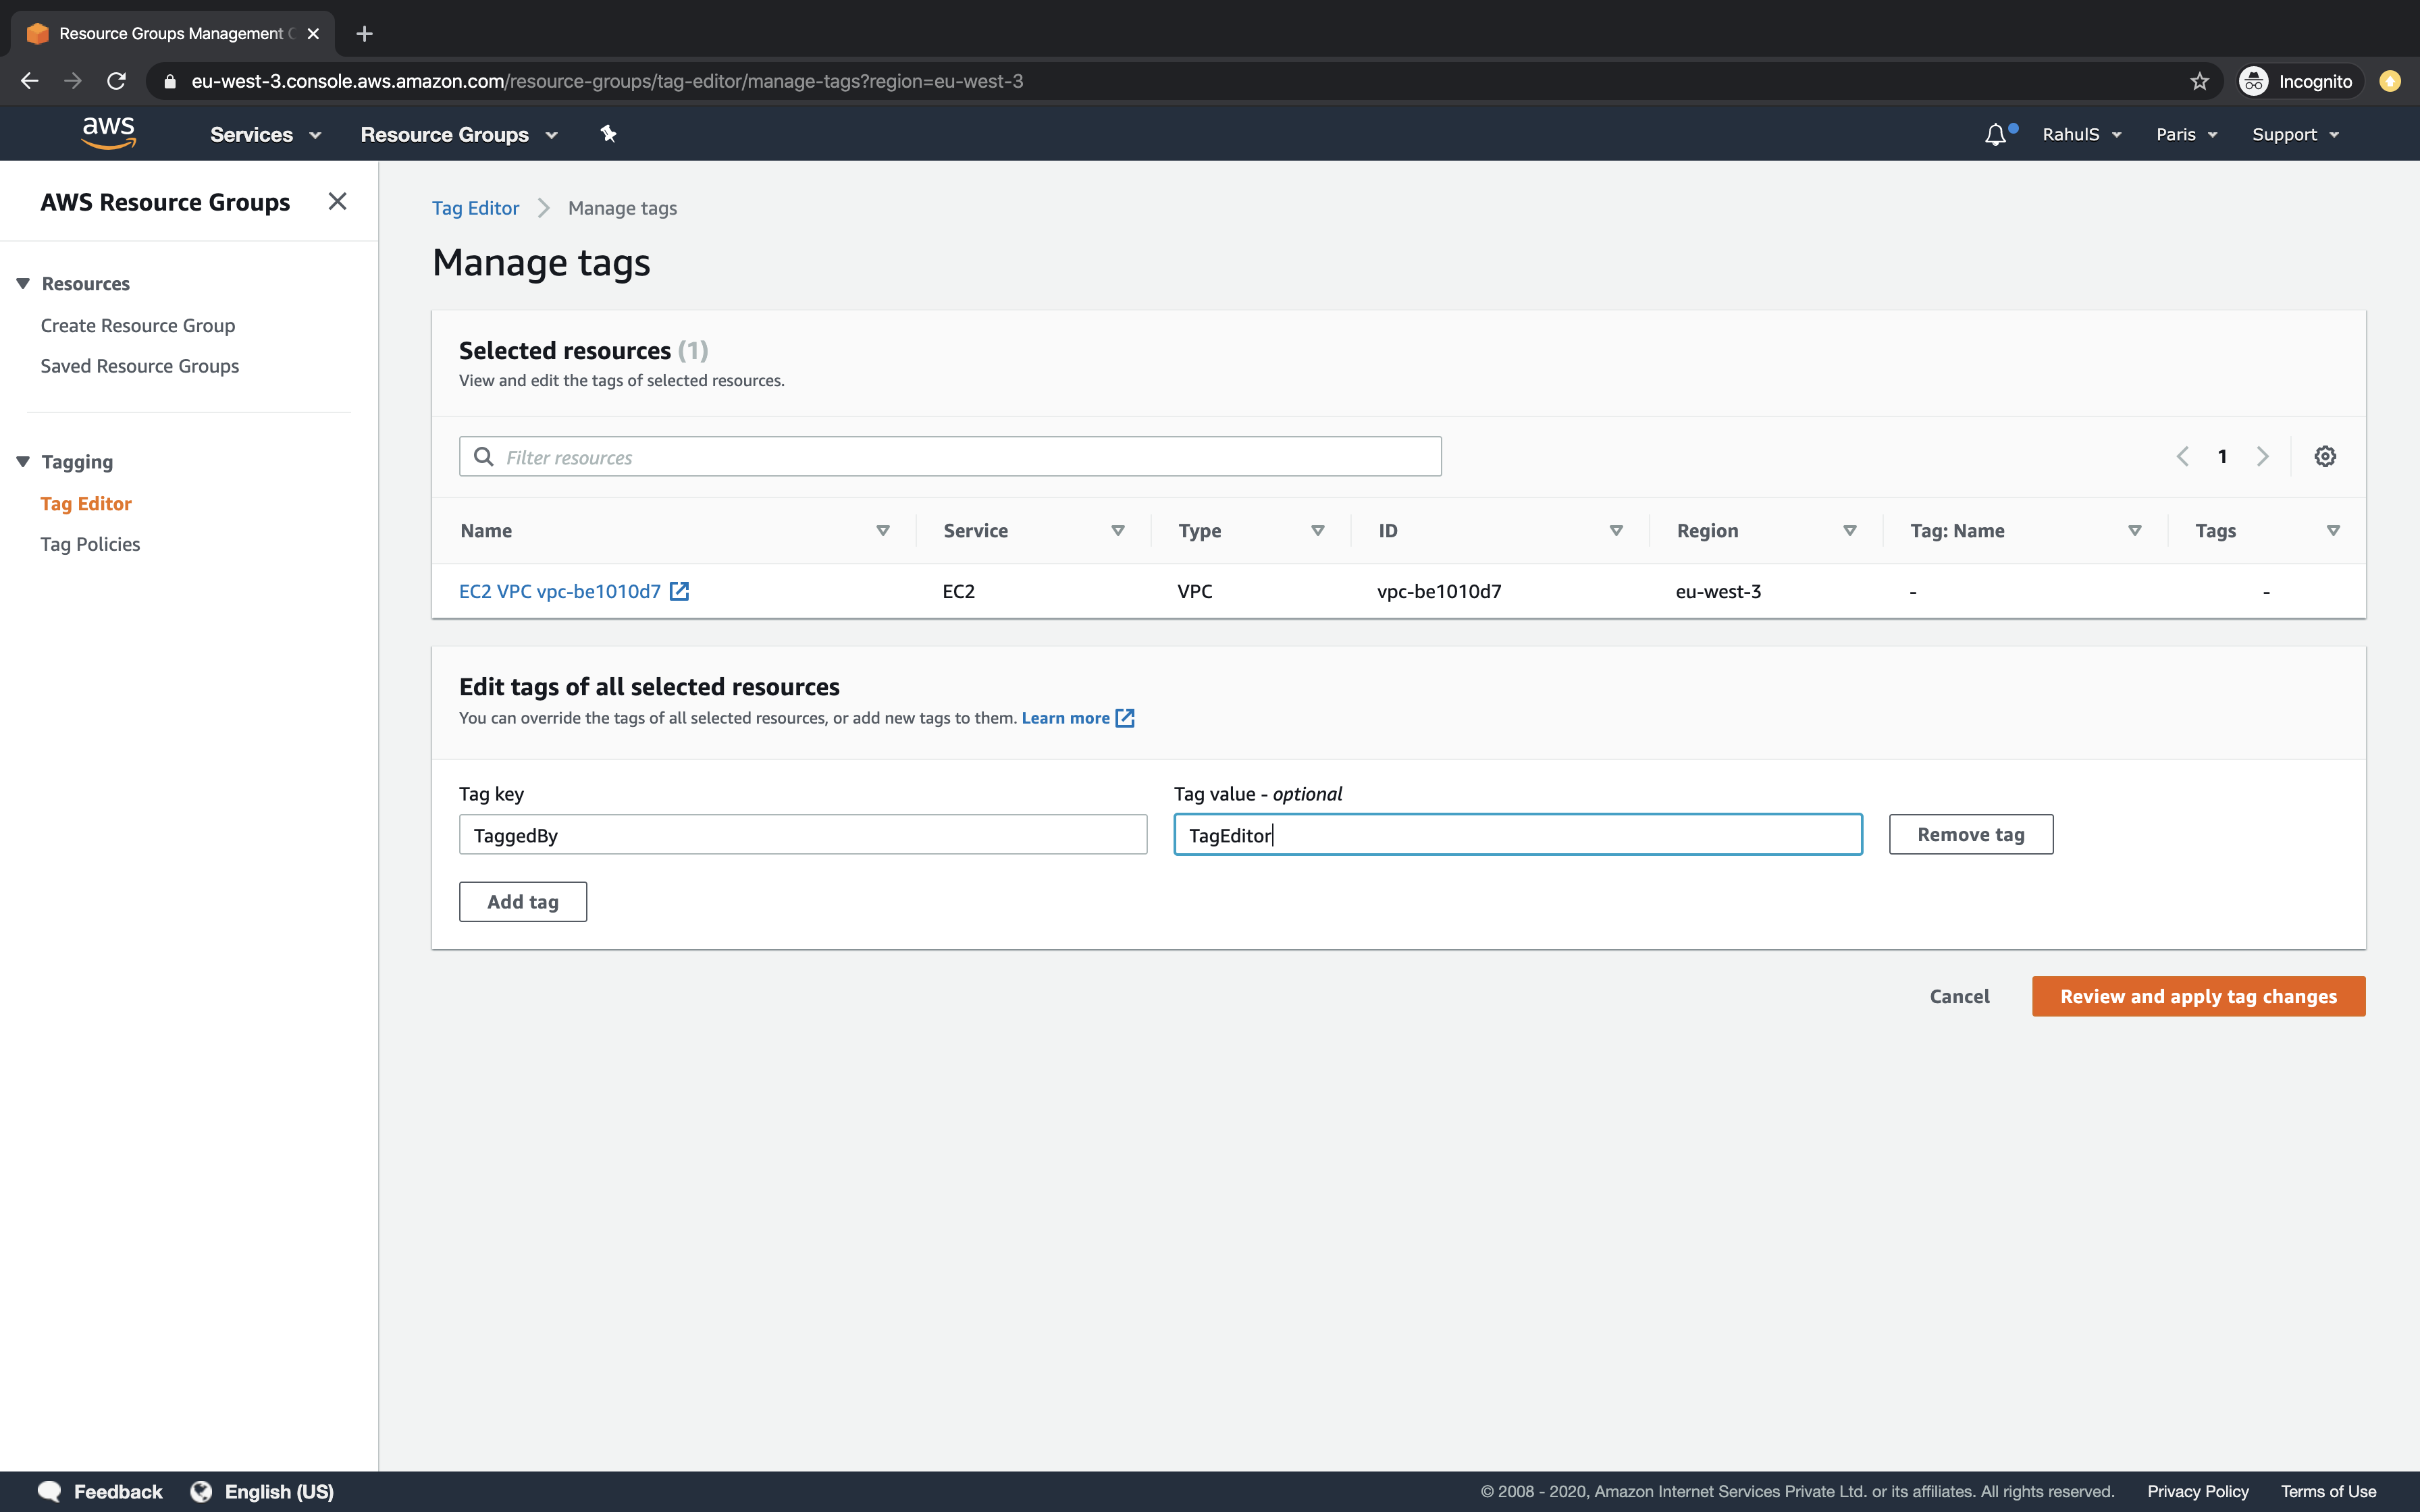
Now, once you select the search result, click on "Manage tags of selected resources".
Here, specify the tag key:value which you want to attach as metadata to the selected resources and click on "Review and apply tag changes."
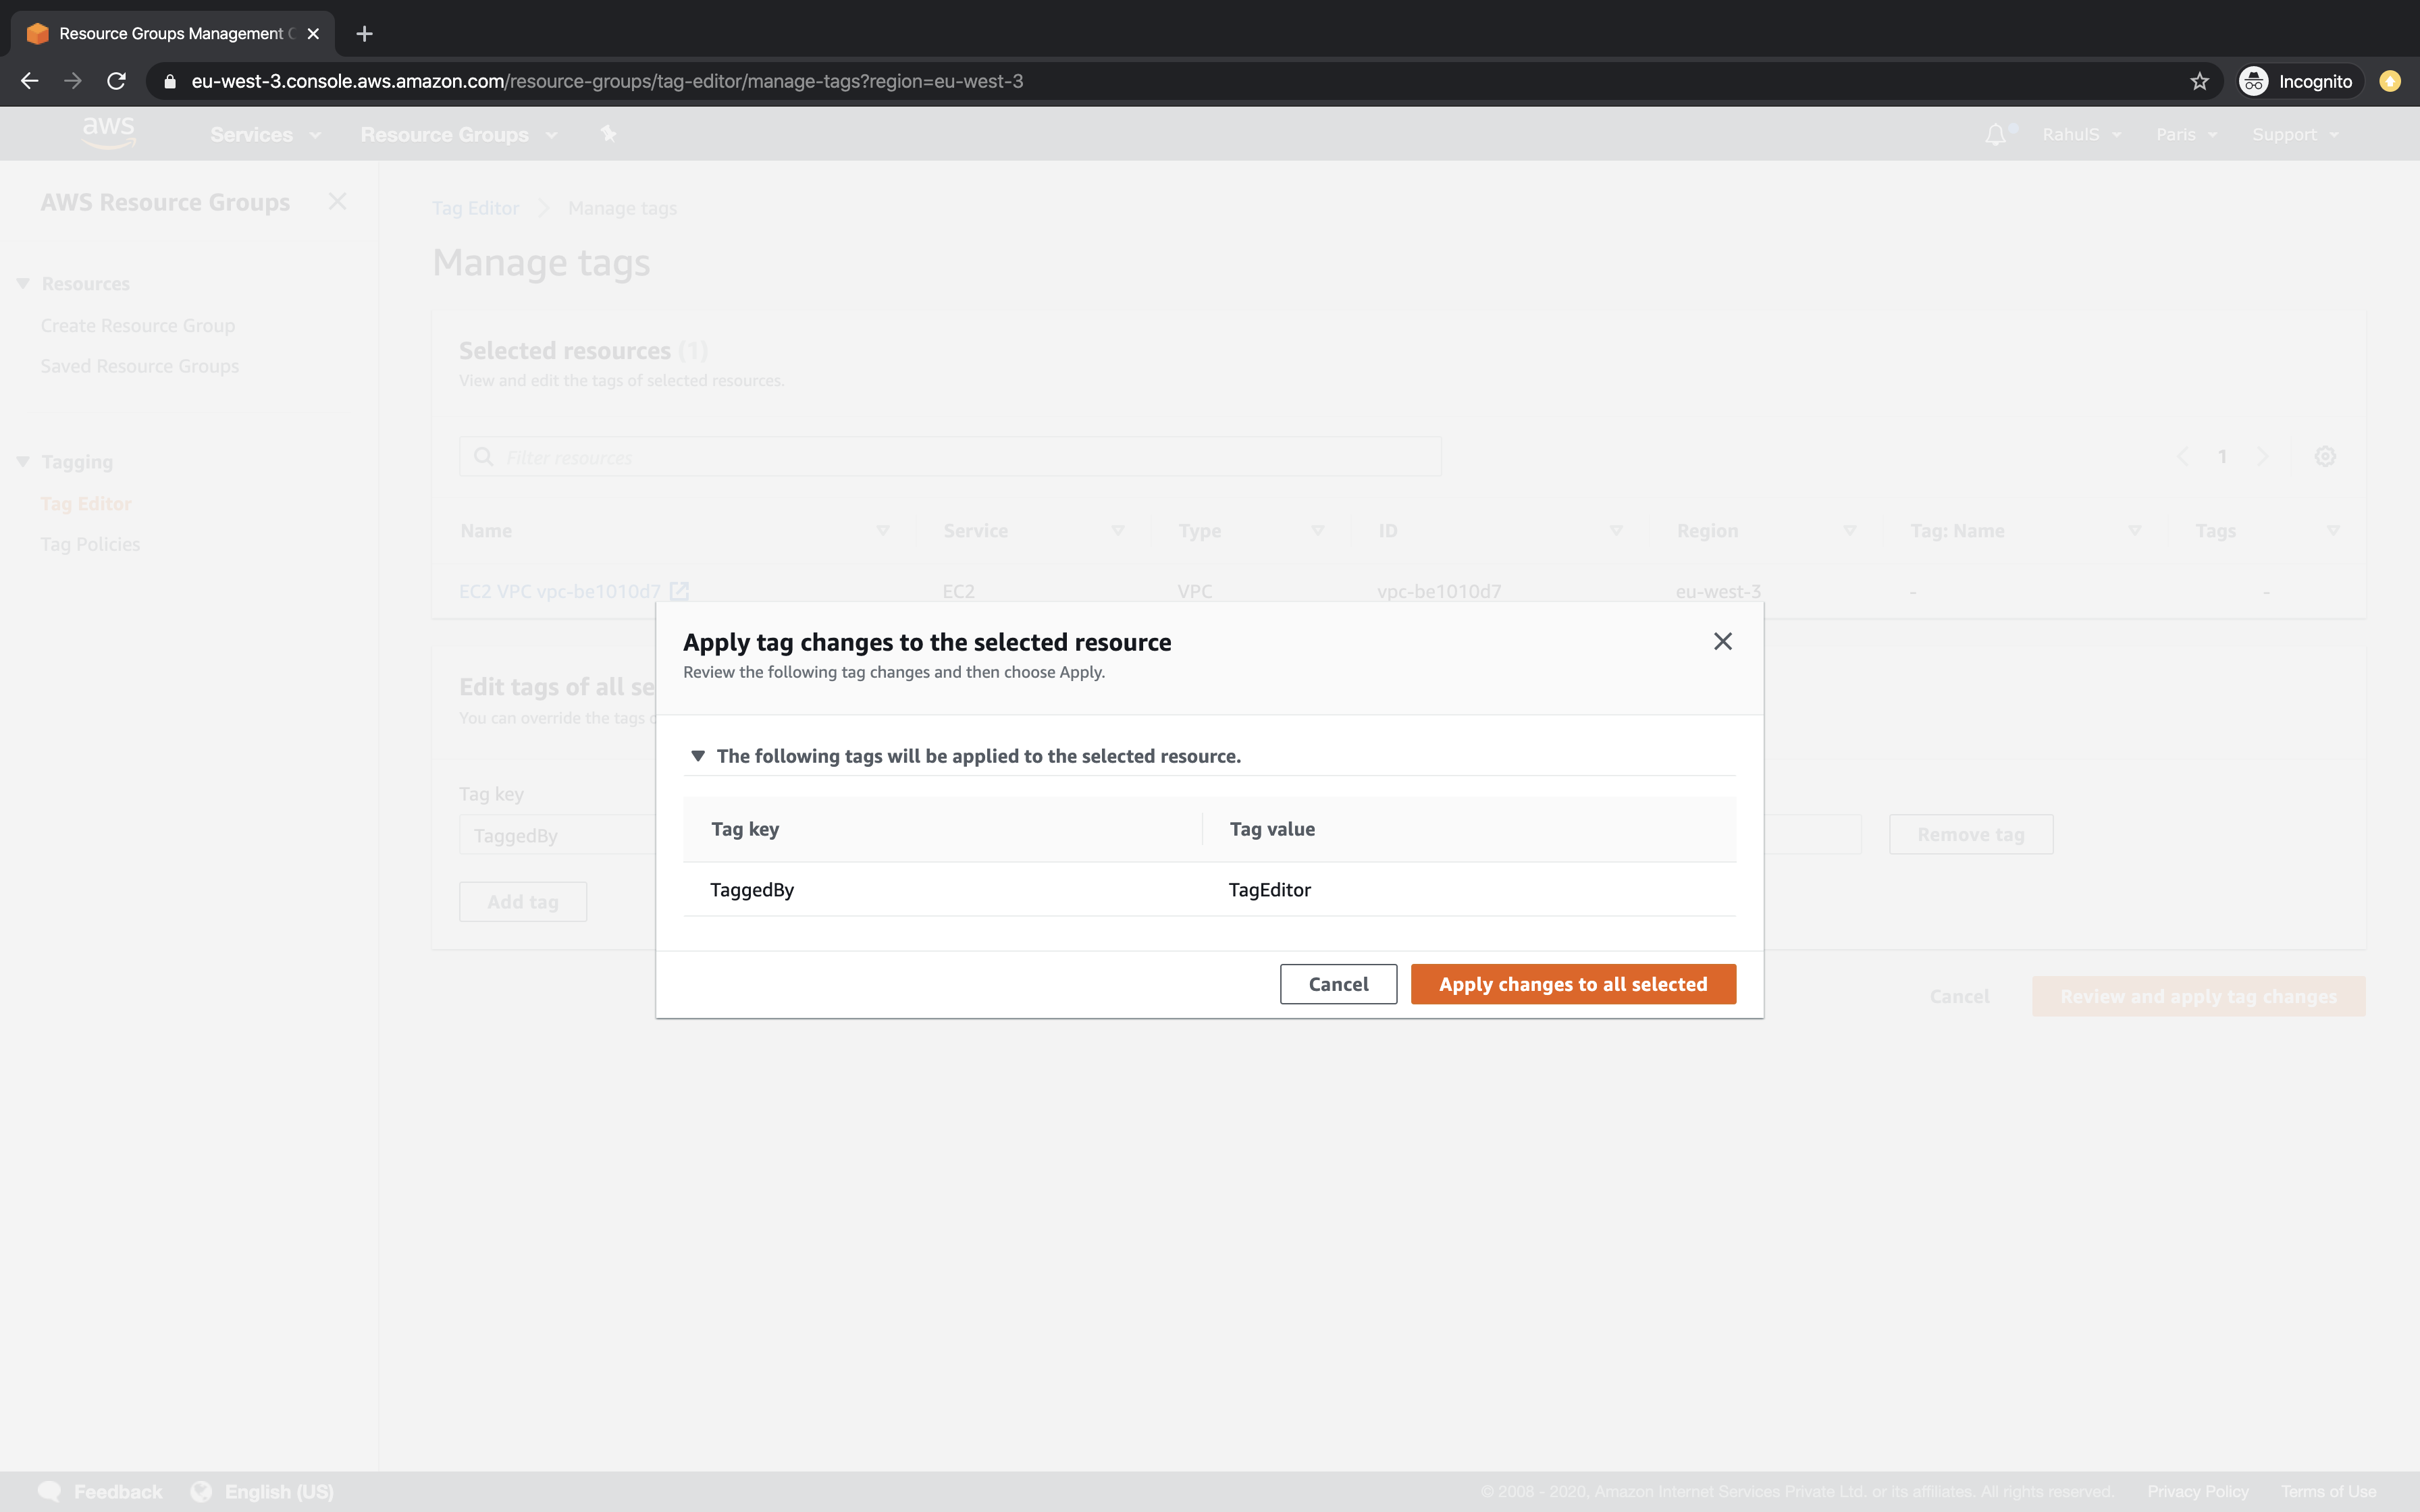
Click on the "Apply changes to all selected" button.
In this way, all the available VPCs will get tagged with the specified tag key:value in the selected region.
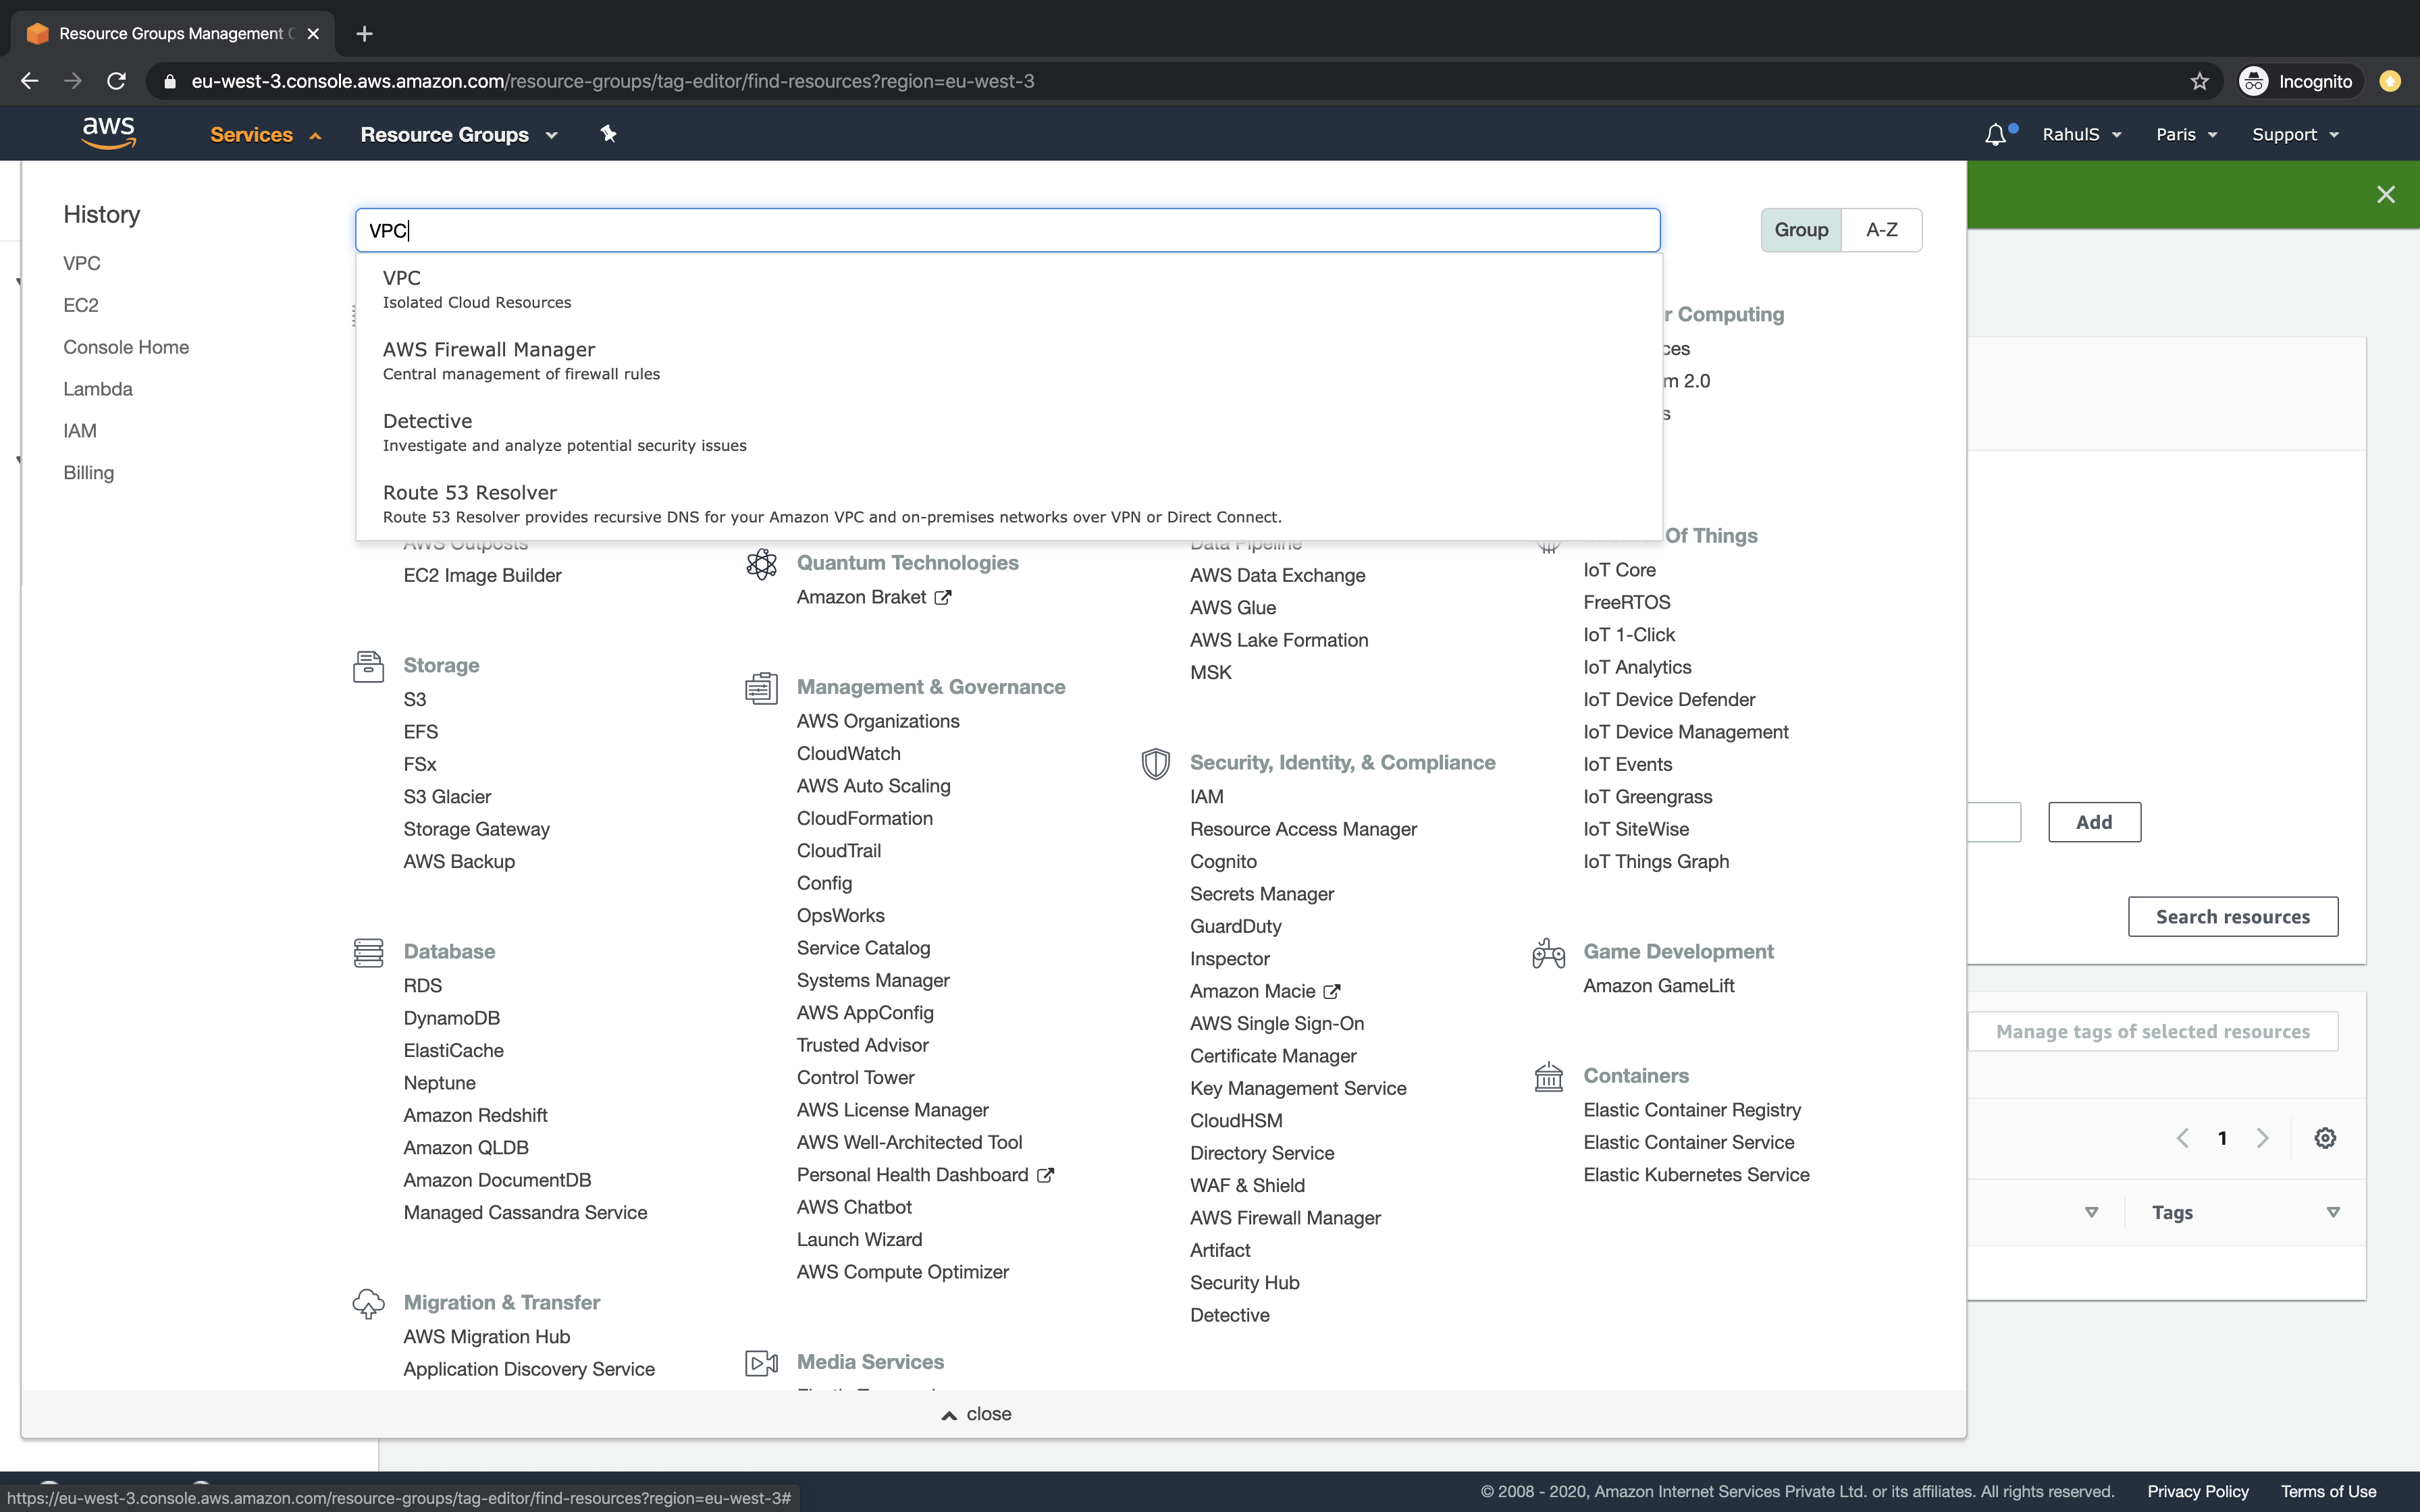
To verify if the VPCs have been tagged or not, click on "Services" and search for VPC.
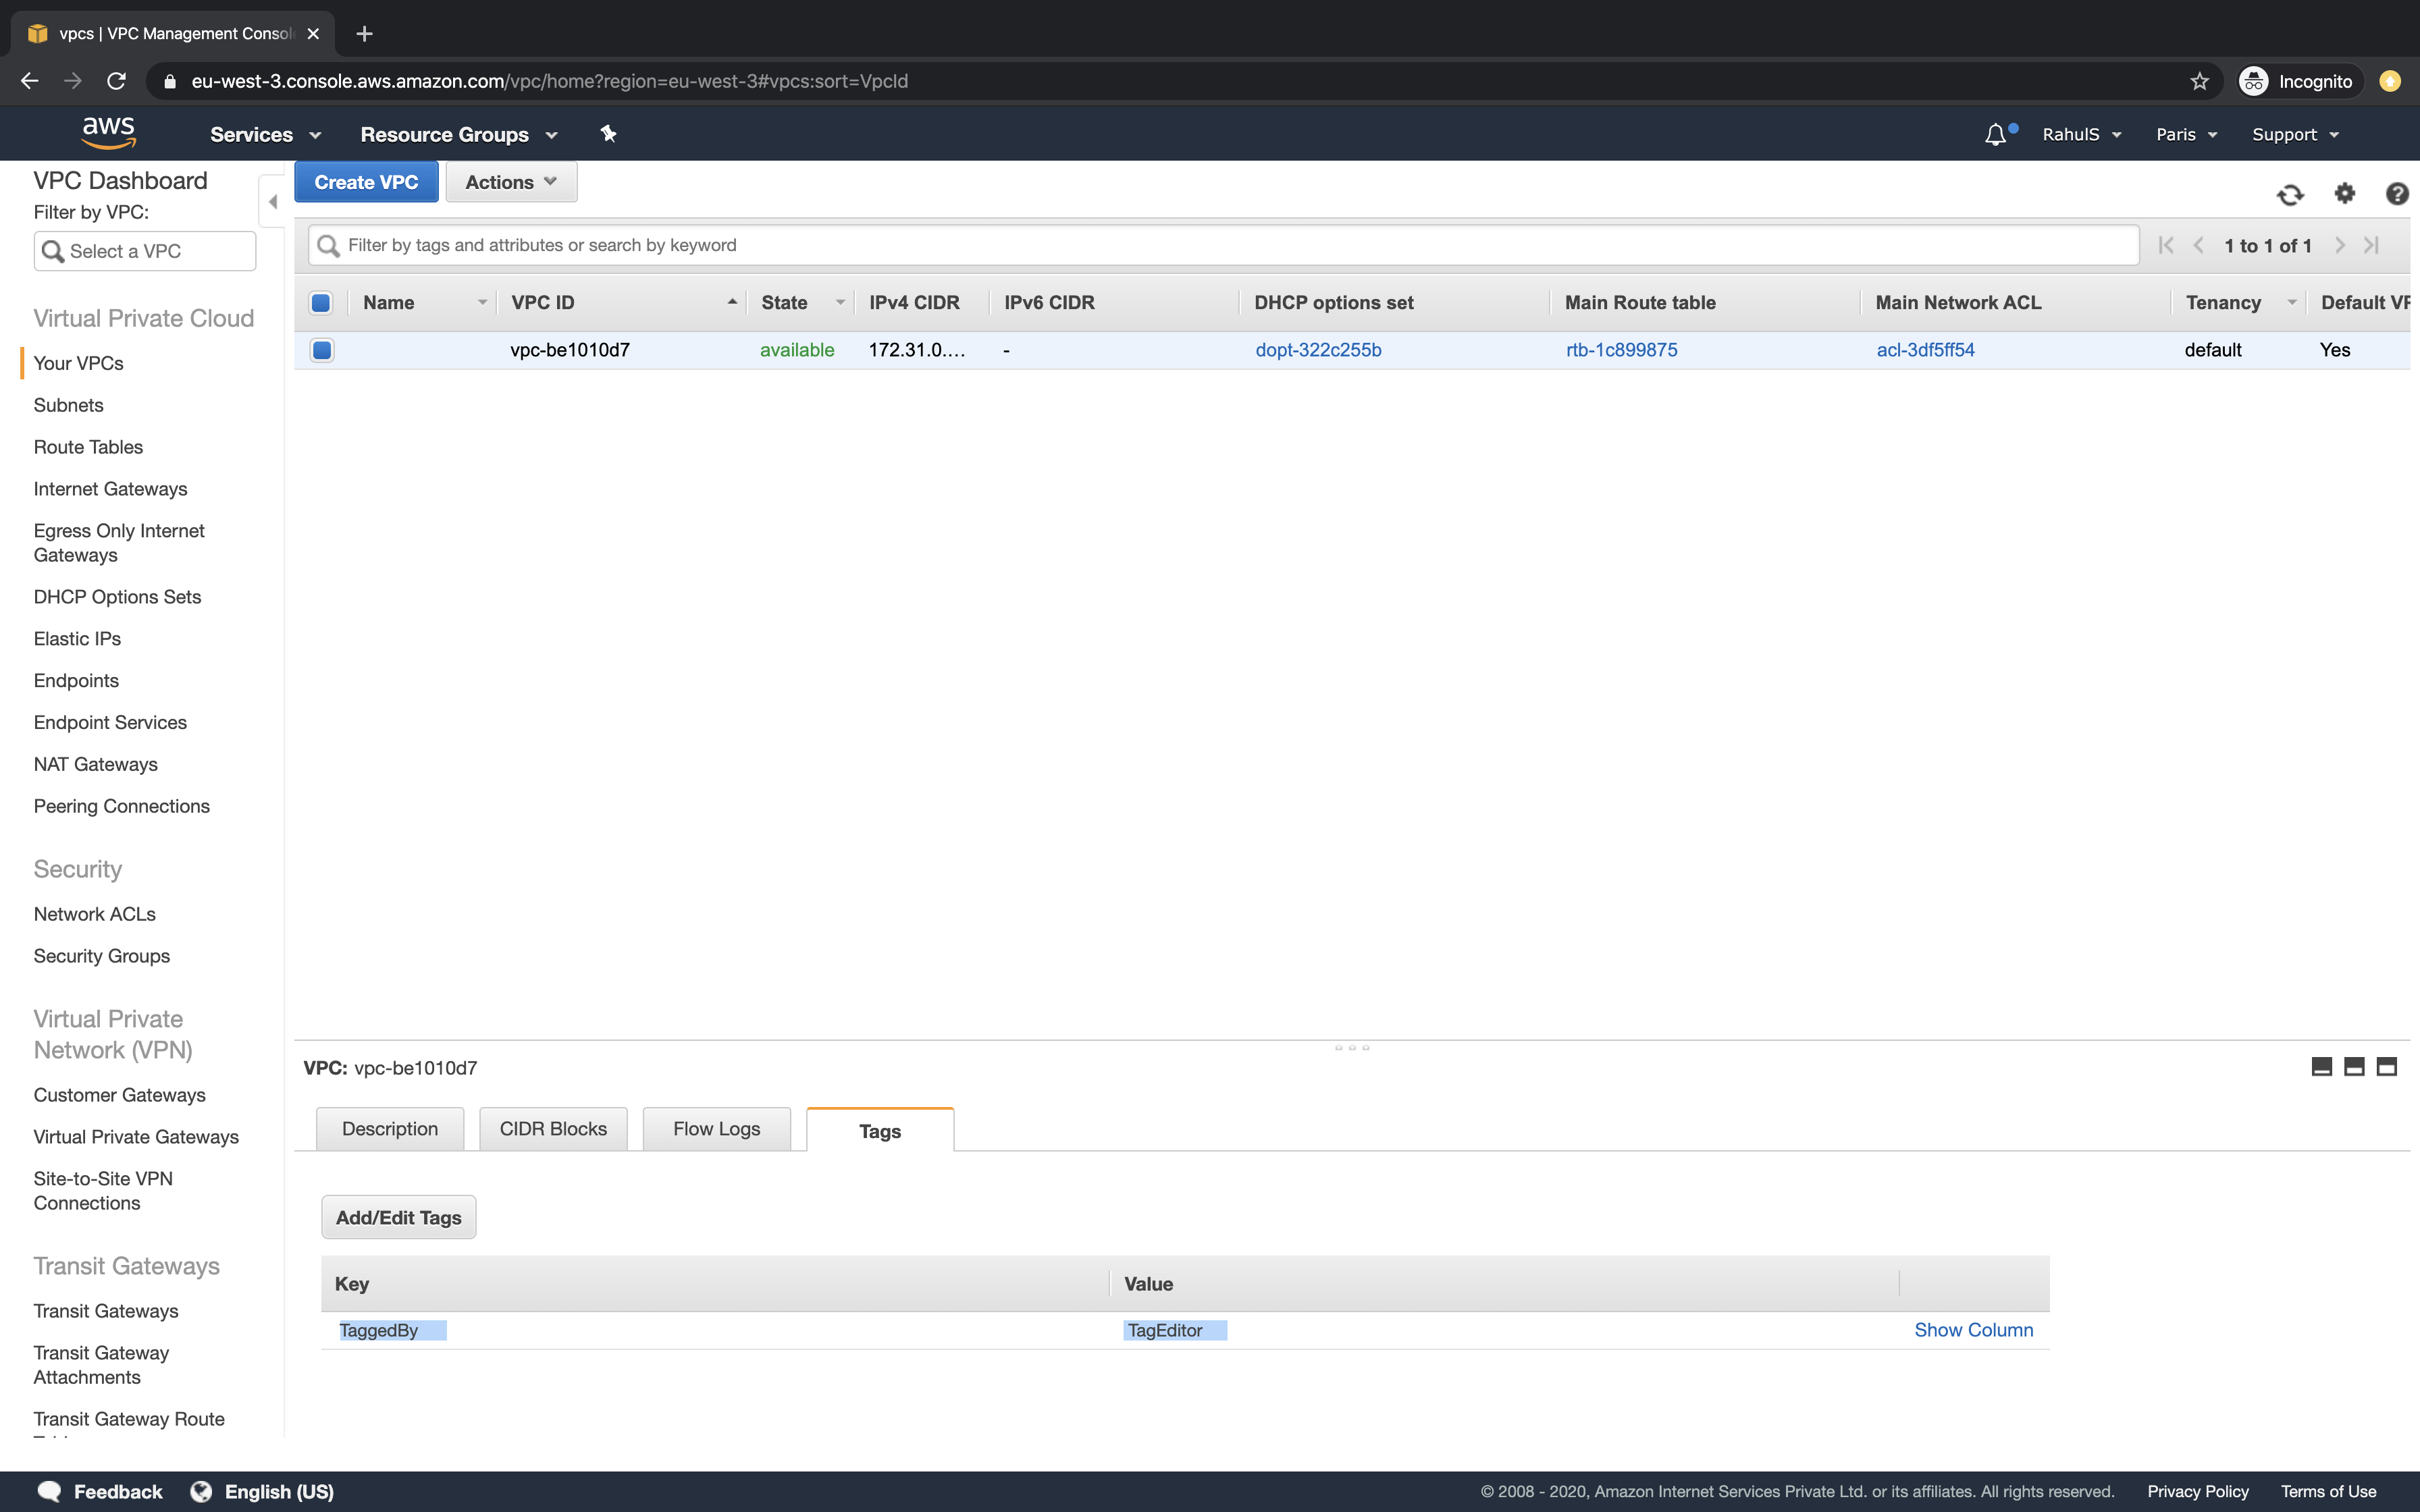
On the main dashboard, click on VPCs.

Now, select the VPC and under tags check for the tag. Here you can see that the specified tag "TaggedBy:TagEditor" is available.
Conclusion
In this article, we saw the steps to tag VPCs using Tag Editor. In the same way you can tag other resources using "Tag Editor".

