
GlassFish is an open-source Jakarta EE platform application server. It was initially developed by Sun Microsystems, then sponsored by Oracle Corporation, and now it is being maintained by the developers at Eclipse Foundation. GlassFish supports JSP, Servlets, JSF, JAVA API, RMI, etc. With this tool, web developers can easily build scalable and portable applications. In this tutorial, we will show you how to install GlassFish on Ubuntu 22.04.
Table of Contents
Prerequisites
– An Ubuntu 22.04 VPS
– Full SSH root access or a regular system user with sudo privileges
Step 1. Log in to the Server and Update
First of all, we need to log in to our Ubuntu 22.04 VPS through SSH:
ssh root@IP_Address -p Port_Number
You need to replace “IP_Address” and “Port_number” with your server’s actual IP address and SSH port number. You can also replace ‘root’ with your other system user that has sudo privileges.
Once logged in, you can check whether you have the proper Ubuntu version installed on your server with the following command:
# lsb_release -a
You should get this output:
No LSB modules are available.
Distributor ID: Ubuntu
Description: Ubuntu 22.04 LTS
Release: 22.04
Codename: jammy
and make sure that all packages are up to date.
# apt update
# apt upgrade
Please note, that the shell commands in this article are invoked using the ‘root’ account. If you want to use your regular user with sudo privileges to run the commands, make sure to append ‘sudo’ in front of the commands.
Step 2. Create a System User
For security reasons, it is not recommended to run GlassFish as user ‘root’, so we will create a new system user to run GlassFish. We will also disable shell access for the new user, run this command below to complete this step.
# useradd -m -d /opt/glassfish6 -U -s /bin/false glassfish
After running the command above, the /opt/glassfish6 directory will be automatically created. We will use this directory to store our GlassFish core files.
Step 3. Install Java
You must have a Java runtime environment (JRE) installed on your system to run GlassFish. GlassFish 6 requires JRE 8 or higher version installed on your system. Let’s run the command below to install JRE from the Ubuntu repository.
# apt install default-jdk -y
Once installed, we can check the version using this command:
# java --version
It will return an output like this:
openjdk 11.0.15 2022-04-19
OpenJDK Runtime Environment (build 11.0.15+10-Ubuntu-0ubuntu0.22.04.1)
OpenJDK 64-Bit Server VM (build 11.0.15+10-Ubuntu-0ubuntu0.22.04.1, mixed mode, sharing)
Step 4. Install GlassFish
In this step, we are going to download GlassFish from https://glassfish.org/download. If you wish to install the most recent version, you can go to their download page and copy the download link.
# wget https://www.eclipse.org/downloads/download.php?file=/ee4j/glassfish/glassfish-6.2.5.zip -O glassfish6.zip
After downloading the file, we need to extract it to /opt/glassfish6 and change the directory and file permission.
# unzip /opt/glassfish.zip -d /opt
# chown -R glassfish: /opt/glassfish6
We downloaded and extracted GlassFish core files, and now we can continue to the next step.
Step 5. Create Systemd File
To manage the FlassFish service, we need to create a systemd file. Let’s create the file using nano editor, you can use any other editor you like.
# nano/etc/systemd/system/glassfish.service
Paste the following into the file.
[Unit]
Description = GlassFish Server v6
After = syslog.target network.target

[Service]
User=glassfish
ExecStart=/opt/glassfish6/bin/asadmin start-domain
ExecReload=/opt/glassfish6/bin/asadmin restart-domain
ExecStop=/opt/glassfish6/bin/asadmin stop-domain
Type = forking

[Install]
WantedBy = multi-user.target
Save the file then exit from the nano editor by pressing CTRL + O then CTRL + X on your keyboard.
Next, we need to reload systemctl every time we create or modify a systemd file.
# systemctl daemon-reload
Then, we should be able to run GlassFish using the command below.
# systemctl start glassfish
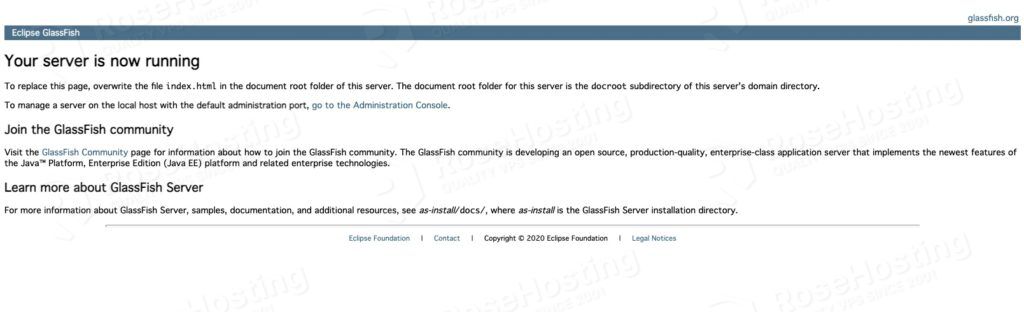
At this point, you should be able to access GlassFish at http://YOUR_IP_ADDRESS:8080
Step 6. Configure GlassFish
Unlike any other CMS that provides an administrative page in a subdirectory under the same homepage, to configure and manage your GlassFish website you need to access the backend at http://YOUR_IP_ADDRESS:4848. Now, let’s navigate to http://YOUR_IP_ADDRESS:4848 to access the backend.
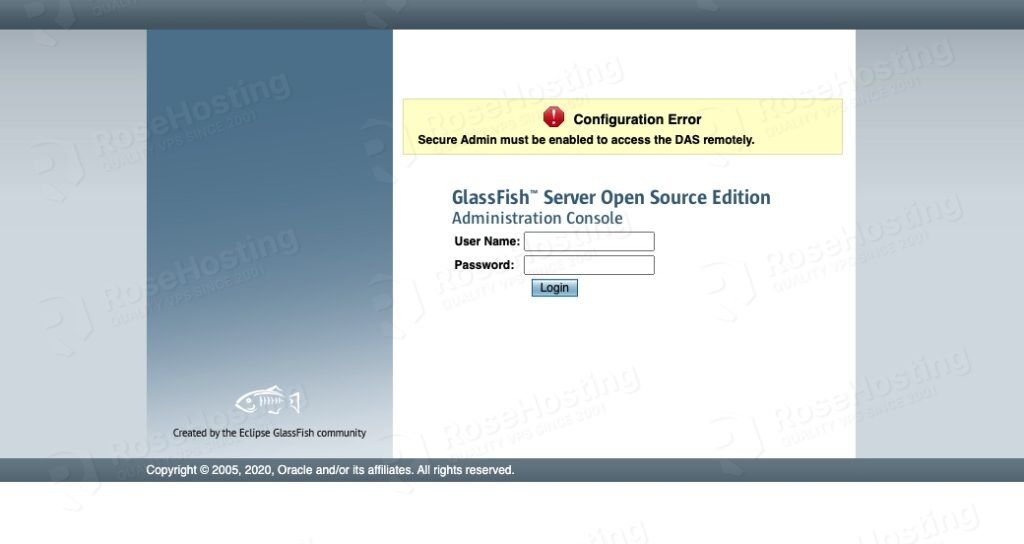
At this point, you will see an error message when accessing http://YOUR_IP_ADDRESS:4848, it’s because we need to configure the admin user password and enable secure admin access.
Run this command below to create an admin password.
# /opt/glassfish6/bin/asadmin --port 4848 change-admin-password
You will be asked to create an admin user, or leave it as the default user called ‘admin’, hit enter if you want to leave it as ‘admin’
Then, enter the ‘admin’ password, just hit ENTER again because it does not have a password at this time.
Next, it will ask you to type a new password, then you need to confirm the new password. The new password is now set and you will see an output like this:
Command change-admin-password executed successfully.

Then, enable the secure admin feature to be able to log in to ip:4848 in your web browser.
# /opt/glassfish6/bin/asadmin --port 4848 enable-secure-admin

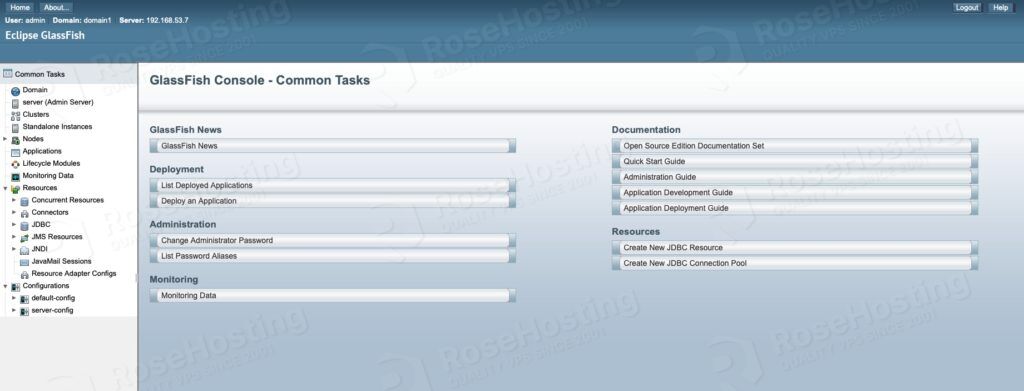
After enabling the secure admin feature, restart GlassFish then you can go to http://YOUR_IP_ADDRESS:4848 to log in and access the dashboard using the new credentials. This time, it will ask you for the admin’s username and password without seeing the error message.
# systemctl restart glassfish
Congratulation! You have successfully installed GlassFish on Ubuntu 22.04 VPS.
Of course, if you are one of our Ubuntu Hosting customers, you don’t have to install GlassFish on Ubuntu 22.04 yourself. Simply log in to our client area and then submit a ticket, one of our admins will install GlassFish on Ubuntu 22.04 for you immediately without any additional fee, along with many useful optimizations that we can do for you. Managing a GlassFish-based website is not just about the installation, we can help you with optimizing your GlassFish installation if you have a VPS with us.
If you liked this post about how to install GlassFish on Ubuntu 22.04, please share it with your friends on social networks or simply leave a comment in the comments section. Thanks.