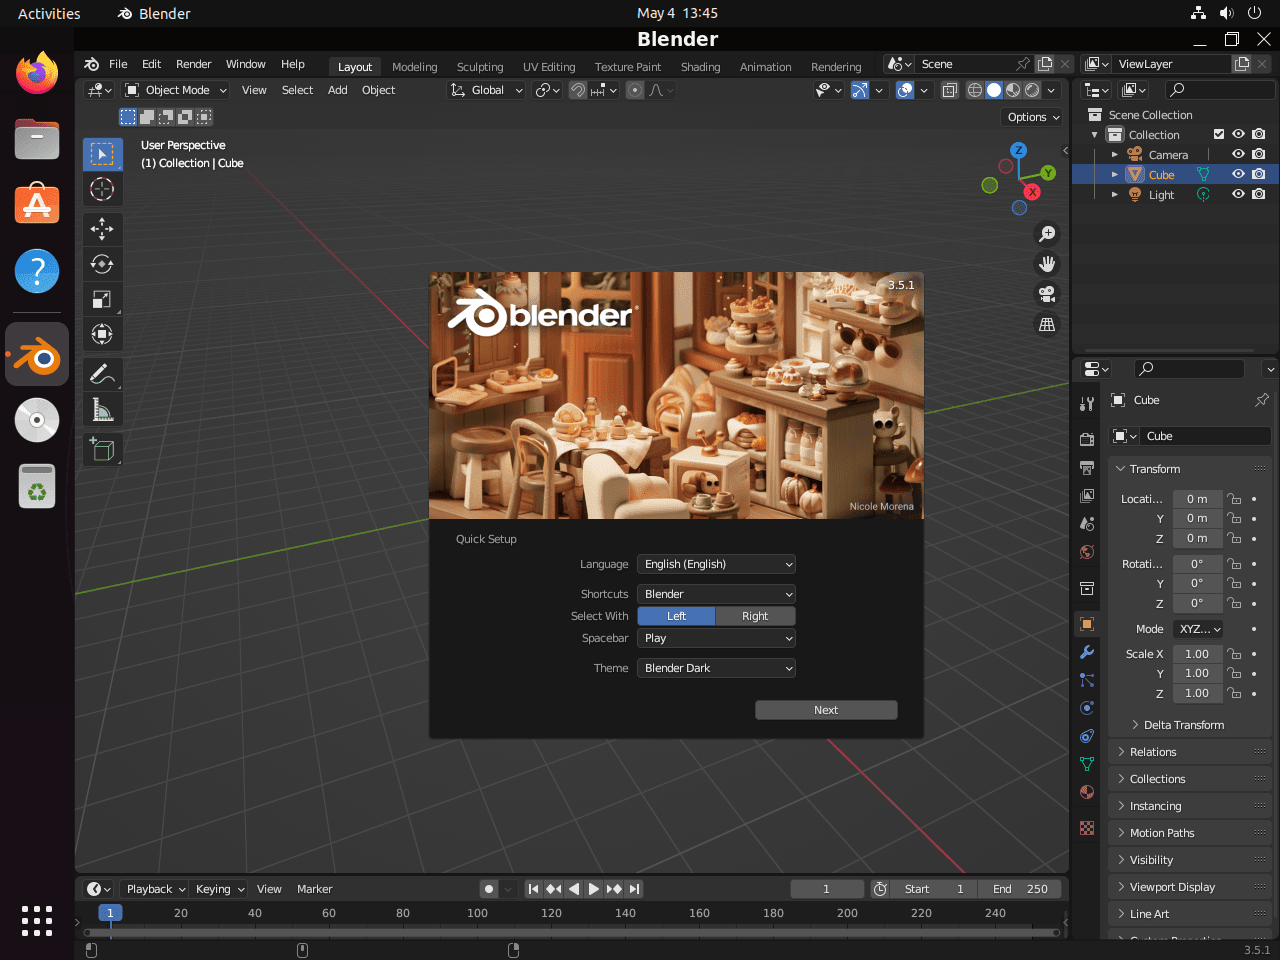
Using the command-line terminal, this guide will demonstrate how to install Blender on Ubuntu 24.04, 22.04, or 20.04 LTS. Options include APT, Snap, or Flatpak with the Flathub repository.
Blender stands as a powerhouse in 3D creation, offering a comprehensive suite of modeling, animation, rendering, and post-production tools. This free, open-source software has become indispensable for artists, designers, and animators worldwide, fostering a vibrant community and a rich ecosystem of plugins and extensions. Its versatility and power are accessible through a user-friendly interface, making it an ideal choice for professionals and hobbyists alike. With Blender, the possibilities for creativity are virtually limitless, from crafting stunning visuals and intricate animations to simulating physics and creating interactive 3D applications.
Here are some compelling reasons to install Blender on Ubuntu:
- Open-source freedom: Blender is fully open-source, offering unparalleled flexibility and community support.
- Comprehensive toolset: From modeling to animation, Blender has everything you need in one package.
- Cross-platform compatibility: Works seamlessly on Ubuntu, ensuring stability and performance.
- Active development and community: Regular updates and a vibrant community for support and resources.
- Extensive learning resources: Abundant tutorials and forums are available to help you master its tools.
- Plugin ecosystem: Enhance Blender’s functionality with community-developed plugins.
- Professional-grade features: Used by professionals in film, games, and visualization.
- Cost-effective solution: Blender is free, making it accessible to everyone without financial barriers.
With these advantages in mind, let’s proceed to the technical steps required to get Blender up and running on your Ubuntu system. Now, let’s dive into the installation process.
Install Blender on Ubuntu via APT
Update Ubuntu Before Blender Installation
To ensure a smooth installation process, it’s essential to start by updating your Ubuntu system. This step ensures that all existing packages are up-to-date, minimizing the risk of conflicts during the installation process. Execute the following command to update your system:
sudo apt update && sudo apt upgradeInstall Blender on Ubuntu via APT Command
The first installation option utilizes the APT package manager with Ubuntu’s default repository containing Blender for a straightforward and fast method. However, this repository may not offer the latest Blender version since it prioritizes urgent security updates. Run the following command to install Blender using this method:
sudo apt install blenderInstall Blender on Ubuntu via Flatpak and Flathub
This section will explore an alternative method to install Blender using the Flatpak package manager. Flatpak is a universal packaging format for Linux applications, similar to Snap, offering benefits such as easy distribution, sandboxing for security, and the ability to run multiple versions of an application side-by-side.
Note: If your system does not have Flatpak installed, please refer to our guide on How to Install Flatpak on Ubuntu for step-by-step instructions on installing the most recent supported version of Flatpak.
Enable Flathub For Blender
Before installing Blender through Flatpak, you must enable the Flathub repository, the primary source for Flatpak applications. To enable Flathub, execute the following command in your terminal:
sudo flatpak remote-add --if-not-exists flathub https://flathub.org/repo/flathub.flatpakrepoThis command adds the Flathub repository to your Flatpak configuration, ensuring you have access to various applications, including Blender.
Install Blender on Ubuntu via Flatpak Command
With Flathub enabled, you can now install Blender using the flatpak install command. Run the following command in your terminal:
flatpak install flathub org.blender.Blender -yThis command installs Blender from the Flathub repository, providing you with the latest application version.
Install Blender on Ubuntu via Snapcraft
Snap is a trusted platform for handling the installation and management of software on Ubuntu systems. It is a solid method to install Blender as an additional option for upstream updated versions, as Snap is, by default, installed on Ubuntu.
Ensure Snap is Installed on Your Ubuntu System
If Snap isn’t already operational on your system, you can easily install it using the command below:
sudo apt install snapd -yEnable Classic Snap Support for Blender
Blender requires the Snap ‘classic’ mode to perform optimally, as it needs more access to system resources. ‘Classic’ confinement provides a more permissive execution environment, and you can enable it with this command:
sudo ln -s /var/lib/snapd/snap /snapInstall the Core Snap
To ensure the smooth functioning of all snap applications, first install the ‘core’ snap before proceeding with Blender’s installation. Use the following command to achieve this:
sudo snap install coreInstall Blender on Ubuntu via Snap Command
Now, you can move forward with installing Blender. Ensure to include the --classic flag, as Blender requires classic confinement to access necessary system resources fully. The installation command is:
sudo snap install blender --classicThe --classic option is necessary as it allows the Blender snap to access system resources similarly to traditionally packaged applications, providing the application with a full range of functions and features to operate effectively.
Launch Blender on Ubuntu via CLI or GUI Methods
Several launch methods are available once you’ve installed Blender on your system. This section covers various starting methods, ensuring quick and convenient access to the application.
CLI Methods to Launch Blender
To launch Blender immediately from the terminal, type the following command:
blenderFor Flatpak users, you will need to use a different command to launch Blender from the terminal:
flatpak run org.blender.BlenderLastly, Snapcraft installations can launch the software with the following command:
snap run blenderGUI Method to Launch Blender
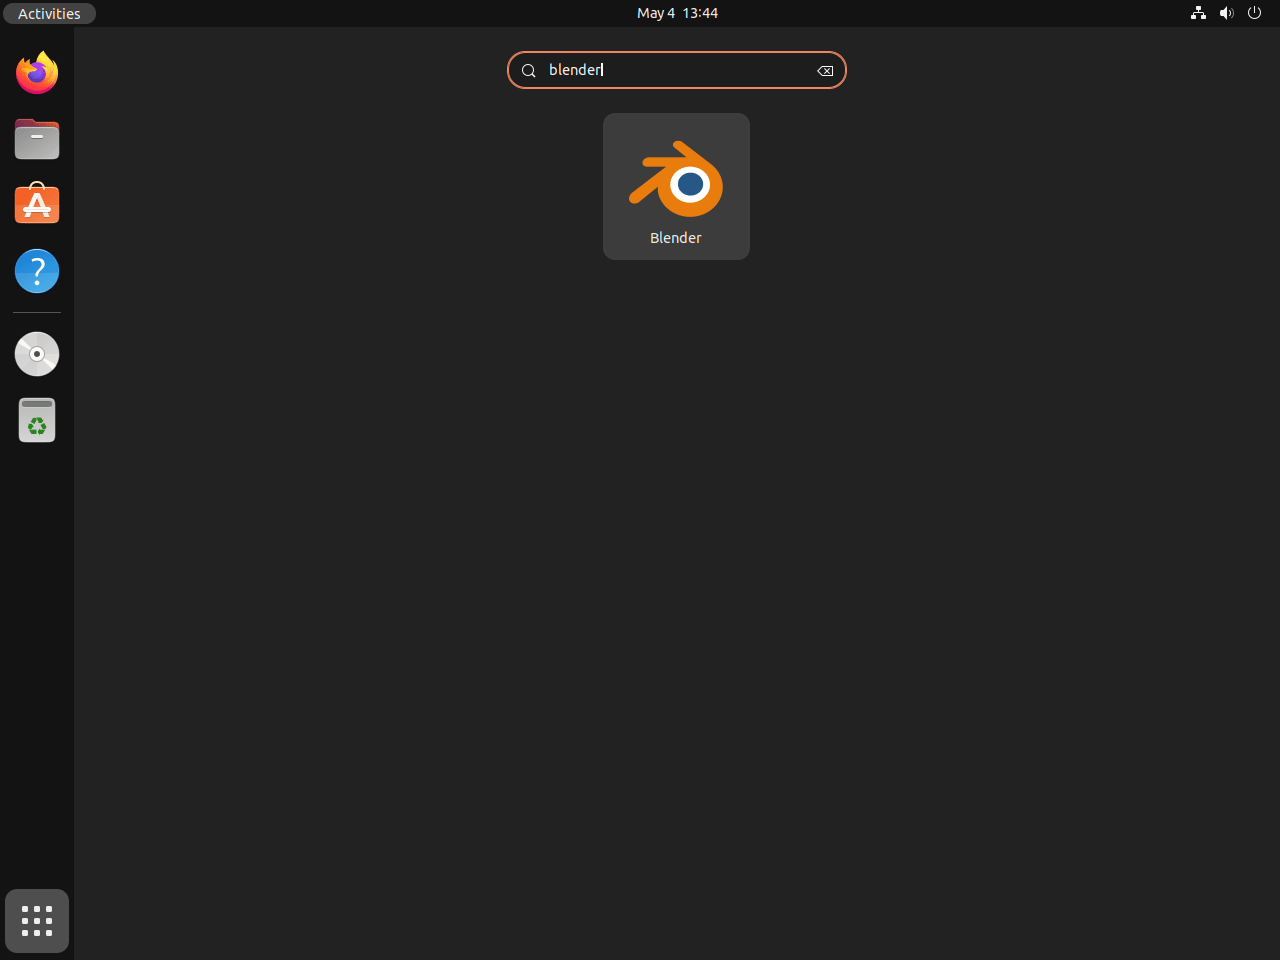
A more practical way to launch Blender is through your desktop environment. To do this, follow the path below:
Activities > Show Applications > BlenderFirst-Time Tips with Blender on Ubuntu
This section will provide valuable tips and insights for starting with Blender on Ubuntu Linux. These tips will help you maximize productivity and enhance your user experience while working with Blender.
Customize Your Blender Interface
Customizing the Blender interface can make your workflow more efficient and enjoyable. To get started with customization:
- Go to Edit > Preferences in the Blender menu.
- Explore the various options available in the Interface, Themes, and Add-ons tabs to personalize the appearance and functionality of Blender.
Learn Useful Blender Keyboard Shortcuts
Keyboard shortcuts can significantly speed up your work in Blender. Some essential shortcuts for Ubuntu Linux users include:
- Ctrl + N: Create a new Blender project.
- Ctrl + O: Open an existing Blender project.
- Ctrl + S: Save your Blender project.
- Shift + A: Add a new object to the scene.
- G: Grab and move an object.
- R: Rotate an object.
- S: Scale an object.
Enhance Blender with Add-ons
Blender supports numerous add-ons that can enhance its functionality and streamline your workflow. To install and manage add-ons in Blender:
- Go to Edit > Preferences.
- Click on the Add-ons tab.
- Use the search bar to find add-ons or browse through the available options.
- Check the box next to an add-on to enable it.
Optimize Blender Performance
To optimize Blender’s performance on your Ubuntu Linux system, consider adjusting some settings:
- Go to Edit > Preferences.
- Click on the System tab.
- Adjust settings in the Memory & Limits and Viewport & Render sections to match your system’s capabilities.

Additional Blender Commands with Ubuntu
This section will explore various Blender management commands for Ubuntu Linux, including how to update, upgrade, and uninstall Blender based on the installation method used.
Update Blender
To ensure that you always have the latest features, bug fixes, and performance improvements, it’s essential to keep Blender up-to-date. The commands to update Blender depend on the installation method you initially used.
APT Update Method For Blender
If you installed Blender using the APT package manager, execute the following commands in your terminal to update your system and upgrade Blender:
sudo apt update
sudo apt upgrade
Flatpak Update Method For Blender
If you installed Blender using Flatpak, you can update it by running the following command in your terminal:
flatpak updateSnap Update Method For Blender
Lastly, Snapcraft installations need to run a single command to refresh and proceed with upgrades as follows:
snap refreshRemove Blender
If you no longer require Blender on your system, you can uninstall it using the appropriate command based on the installation method you used.
APT Remove Method For Blender
To remove Blender installed via the APT package manager, execute the following command in your terminal:
sudo apt remove blenderFlatpak Remove Method For Blender
To uninstall Blender installed via Flatpak, use the following command in your terminal. This will also delete any associated data:
flatpak uninstall --delete-data org.blender.BlenderSnap Remove Method For Blender
Snapcraft installations of Blender can run the following command that will prompt you via snap commands to remove the software:
sudo snap remove blenderClosing Thoughts
In wrapping up, this guide walked you through the steps to install Blender on Ubuntu, covering APT, Snap, and Flatpak methods. Now that you’ve got Blender installed, it’s time to unleash your creativity and explore the vast possibilities this powerful tool offers. Remember, the Blender community is incredibly supportive, so don’t hesitate to seek out resources or ask for help when you’re pushing the boundaries of what you can create. Dive in, experiment, and see where your imagination takes you. Happy blending!


I think I used the Application Manager for Gnome?
Have installed Blender on Ubuntu 22.04.4 but it is transparent- normal PC screen , icons, etc showing through. Have set windowing system to Wayland- but no change. Help?
Hi Neville,
Which installation method did you use? apt, snap or flatpak? I will check this out from my end.
Thanks.