
VSCodium, a free and open-source alternative to Visual Studio Code, offers developers a telemetry-free and unrestricted coding environment. This guide provides a comprehensive walkthrough for those aiming to install VSCodium on Rocky Linux 9 or the older stable Enterprise Linux release of Rocky Linux 8.
Key Attributes of VSCodium:
- Telemetry-Free: VSCodium lacks telemetry, ensuring that your coding activities remain private and are not tracked.
- License Unencumbered: Unlike Visual Studio Code, VSCodium is free from proprietary licensing restrictions, making it a genuinely open-source tool.
- Built from VS Code Source: VSCodium is derived from the same source code as Visual Studio Code, ensuring feature parity and a familiar user experience.
- Community-Driven: Being open-source, VSCodium benefits from contributions by a global community of developers, leading to regular updates and enhancements.
For developers who prioritize privacy and open-source principles, VSCodium emerges as an ideal choice. This guide will detail the steps to efficiently install, update, and uninstall VSCodium on Rocky Linux using command-line instructions.
Install VSCodium on Rocky Linux 9 or 8 via DNF
Step 1: Update Rocky Linux System Packages Before VSCodium Installation
The first step is ensuring your system is up-to-date to avoid issues during the installation and for good practice. This is done by opening your terminal and using the following command.
sudo dnf upgrade --refreshStep 2: Import VSCodium RPM on Rocky Linux
Next, install VSCodium; you must first add the VSCodium repository to your system by importing the GPG key and repository. First, import the GPG key using the following command:
sudo rpmkeys --import https://gitlab.com/paulcarroty/vscodium-deb-rpm-repo/-/raw/master/pub.gpgNow import the repository using the following command:
printf "[gitlab.com_paulcarroty_vscodium_repo]\nname=download.vscodium.com\nbaseurl=https://download.vscodium.com/rpms/\nenabled=1\ngpgcheck=1\nrepo_gpgcheck=1\ngpgkey=https://gitlab.com/paulcarroty/vscodium-deb-rpm-repo/-/raw/master/pub.gpg\nmetadata_expire=1h" | sudo tee -a /etc/yum.repos.d/vscodium.repoFinally, you can install VSCodium by running the following command.
sudo dnf install codiumInstall VSCodium on Rocky Linux 9 or 8 via Flatpak and Flathub
This section will discuss an alternative installation method using Flatpak and Flathub to set up VSCodium on Rocky Linux 9 or 8.
Flatpak is a universal package management system striving to deliver applications compatible across various Linux distributions. This system encapsulates applications in isolated spaces, thereby reducing the chance of conflicts with system libraries.
On the other hand, Flathub stands as a primary repository for applications packaged with Flatpak. Think of it as the ultimate marketplace where numerous applications await installation.
Step 1: Set Up Flathub for VSCodium on Rocky Linux
Before we jump into the installation, ensuring the Flathub repository is active is vital. Doing so lets us install applications found on Flathub, such as VSCodium.
To activate Flathub, run the following command in your terminal:
sudo flatpak remote-add --if-not-exists flathub https://flathub.org/repo/flathub.flatpakrepoAfter executing this command, you can access a broad array of applications from Flathub.
Step 2: Install VSCodium on Rocky Linux 9 or 8 via Flatpak Command
With Flathub up and running, we can install VSCodium on Rocky Linux 9 or 8. You can use the flatpak install command for this step:
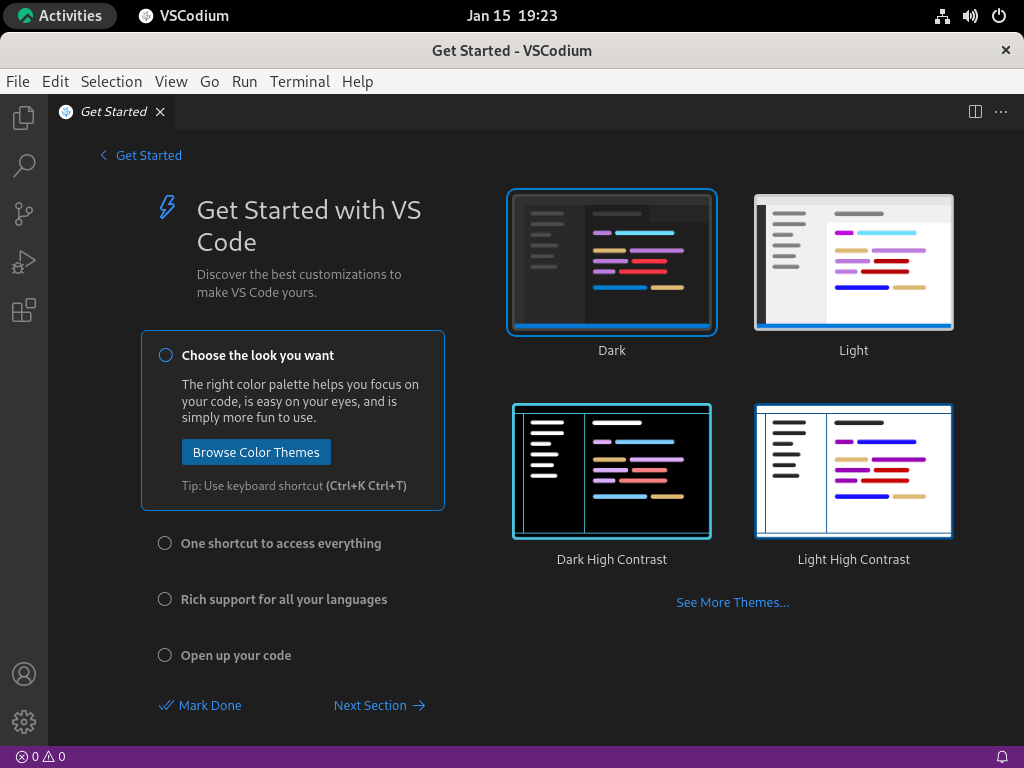
flatpak install flathub com.vscodium.codiumLaunch VSCodium on Rocky Linux 9 or 8
Now that you have completed the installation, you can open the software in a few ways.
Using the command line terminal, you can open the software quickly by using the following command.
codiumVSCodium Flatpak installations on Rocky Linux need to run the following command to launch directly from your terminal:
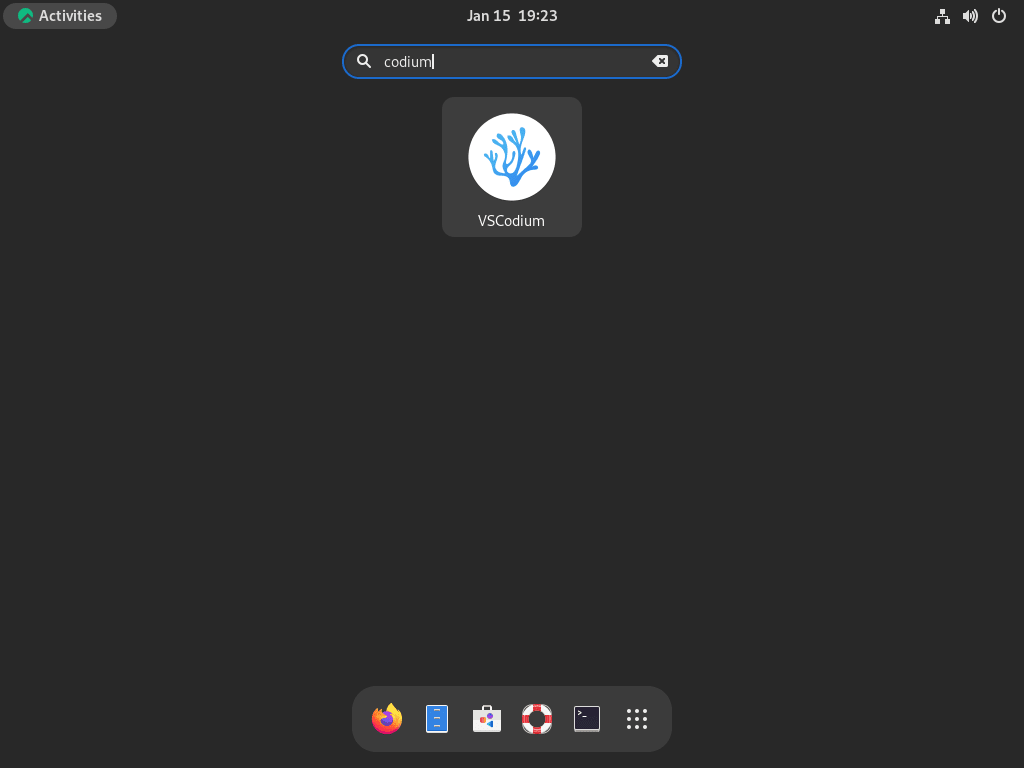
flatpak run com.vscodium.codiumDesktop users can use the following path in their applications menu.
Activities > Show Applications > VSCodium
Tips for Getting Started with VSCodium on Rocky Linux 9 or 8
Now that you have installed VSCodium on Rocky Linux, you must familiarize yourself with some nuances of the Linux environment. These insights will help first-time users leverage the full potential of VSCodium.
General Tips with VSCodium on Rocky Linux
- Installation Source: Always ensure VSCodium is sourced directly from the official website or trusted repositories to avoid counterfeit versions.
- File Permissions: Linux’s permission scheme can sometimes interfere with your projects. Ensure you have the correct permissions for the directories and files you work with.
- Extension Compatibility: Not all Visual Studio Code extensions work flawlessly with VSCodium due to licensing differences. It’s wise to test functionality first before integrating them into your workflow.
Customizations with VSCodium on Rocky Linux
- Themes: Customize the look and feel of VSCodium to suit your preference. Go to
Extensionsand search for ‘themes’. You’ll find numerous themes crafted explicitly for the editor. - Keybindings: VSCodium allows users to redefine keybindings. Navigate to
File > Preferences > Keyboard Shortcutsand mold the editor to work with your preferred shortcuts. - Settings Sync: If you’ve been using Visual Studio Code and are transitioning to VSCodium, consider using the
Settings Syncextension to import your settings, extensions, and configurations.
Other Tips with VSCodium on Rocky Linux
- Integrated Terminal: Utilize the integrated terminal (default shortcut:
Ctrl+~). It respects the system’s shell, so if you’re using Bash, Zsh, or Fish on Rocky Linux, the integrated terminal will work seamlessly with them. - Performance: VSCodium might occasionally consume more resources than anticipated. To troubleshoot performance issues, use the
Help > Process Explorerto identify extensions or processes that could be resource hogs. - Backup Configurations: Your settings, extensions, and keybindings are stored in the
.vscode-ossdirectory in your home folder. Consider backing it up, especially if you’ve done extensive customizations.
Remember, while VSCodium and Visual Studio Code share many similarities, they differ in certain aspects because VSCodium is a free/libre open-source software. Tailor your experience based on these nuances to get the best out of your coding sessions on Rocky Linux.
Additional VSCodium Commands on Rocky Linux 9 or 8
Update VSCodium on Rocky Linux 9 or 8
To check for updates using the command line, use the following command to allow a blanket check for any updates across all DNF packages.
sudo dnf update --refreshAlternatively, run the following command that will blanket update all Flatpak installations, including VSCodium:
flatpak updateRemove VSCodium on Rocky Linux 9 or 8
Use the following command to remove VSCodium if you no longer require it on your desktop.
sudo dnf remove codiumNext, remove the repository using the following command if you plan never to re-install the IDE again.
sudo rm /etc/yum.repos.d/vscodium*For alternative installations which the guide covered Flatpak for a VSCodium alternative installation, run the following command to remove it:
sudo flatpak uninstall com.vscodium.codiumConclusion
In conclusion, this guide provided clear steps to install VSCodium on Rocky Linux using two distinct methods: the DNF RPM repository and Flatpak with Flathub. With these options at your disposal, you can easily choose the installation method that best suits your preferences and system requirements, ensuring a smooth and efficient setup of VSCodium for your development needs.