How to Install Redmine Project Management Tool on Ubuntu 22.04
This tutorial exists for these OS versions
- Ubuntu 22.04 (Jammy Jellyfish)
- Ubuntu 20.04 (Focal Fossa)
On this page
Redmine is free and open-source project management and issue-tracking tool. It's web-based application software, mainly written in Ruby on Rails. It's cross-platform and supports multiple databases and multiple languages.
Redmine is flexible and can be used for different types of organizations and projects, from small, medium, or large organizations. It allows you to create and manage multiple projects, and each project has its own Wiki, Forums, issue tracking, etc. Also, it allows you to create custom roles based on your organization's needs, and many more.
Redmine is released under the GNU GPL v2 license and can be installed on any operating system such as Linux, Windows, or macOS. It supports different types of databases, including PostgreSQL, MySQL, and SQLite (default).
In this guide, you will install Redmine with Apache2 web server and MySQL server on an Ubuntu 22.04 server. You will also secure Redmine installation with SSL certificates.
Prerequisites
This tutorial required the following requirements:
- An Ubuntu 22.04 server - This example uses an Ubuntu server with the hostname redmine-server.
- A non-root user with sudo root privileges - But also you can use the root user.
- A domain name pointed to your server IP address - for production, you must ensure that your domain name is pointed to your server IP address.
Once you have everything in place, you can now proceed to the first step of Redmine installation.
Installing Dependencies
Redmine is an open-source project management and issue tracking tool mainly written in Ruby and Ruby on Rails (RoR). To install Redmine, you must install Ruby first, then you can install other dependencies such as web server Apache2 and the database using MySQL server.
In this example, you will run Redmine with the Apache2 web server and the MySQL server.
Before start installing packages, run the apt command below to update and refresh your Ubuntu package index.
sudo apt update
After the repository is updated, install some following package dependencies via the apt command below.
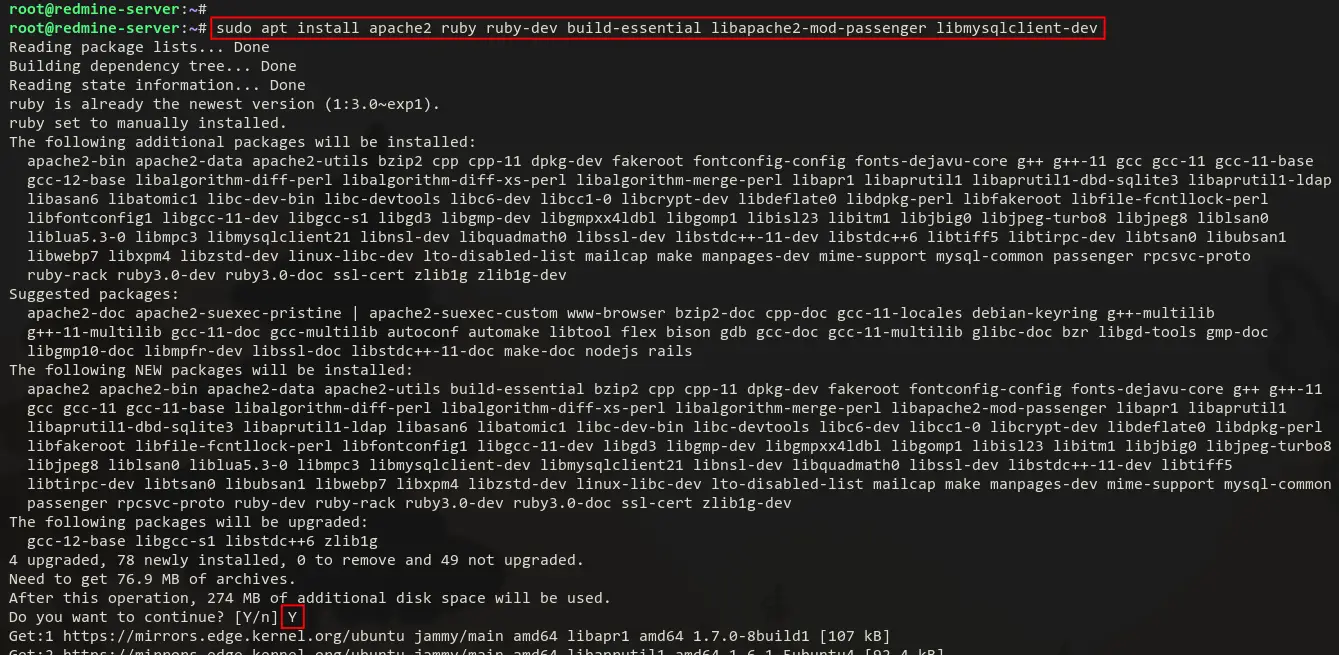
With this command, you will install the Apache2 web server followed by the linapache2-mod-passenger that will be used to set up the RoR application in order to run under Apache2. You will also install Ruby packages.
sudo apt install apache2 ruby ruby-dev build-essential libapache2-mod-passenger libmysqlclient-dev
When prompted to confirm the installation, input y then press ENTER to proceed.
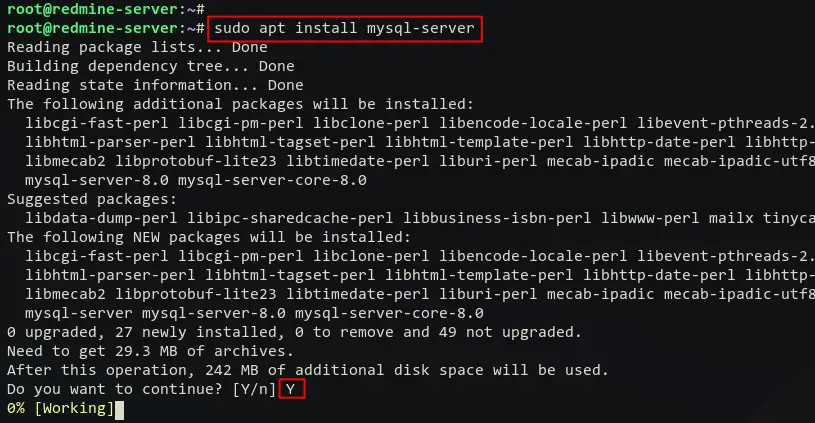
After Apache2 and Ruby is installed, run the following command to install the MySQL server. Redmine supports multiple RDBMS such as PostgreSQL, MySQL/MariaDB, and SQLite. in this example you will use the MySQL server.
sudo apt install mysql-server
Input y when prompted to confirm the installation, then press ENTER to proceed.
For the Redmine installation, you will also need to install a bundler on your Ubuntu server. bundler is a command line that will be used to manage Ruby Gems packages.
Run the following command to install a bundler to your system.
sudo gem install bundler
Once the bundler is installed, you will see the output like the following:

Lastly, verify the Apache2 and MySQL services via the systemctl command below. This will ensure both Apache2 and MariaDB services is running and enabled.
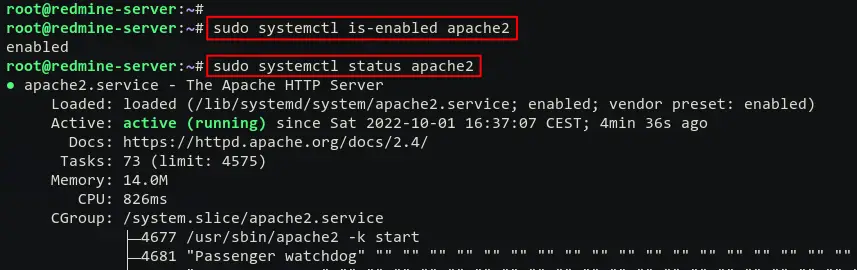
Verify Apache2 service.
sudo systemctl is-enabled apache2
sudo systemctl status apache2
Below you can see the Apache2 service is enabled and will be running automatically at system boot. And the current status of the service is running.\
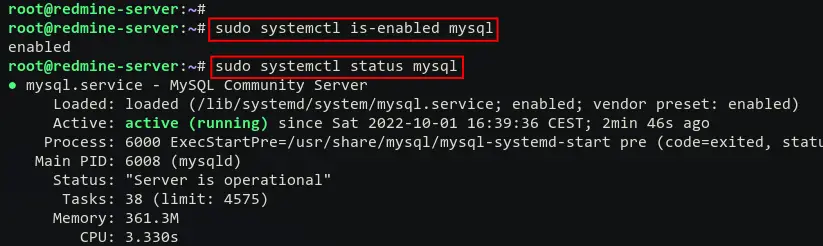
Verify the MySQL service.
sudo systemctl is-enabled mysql
sudo systemctl status mysql
You will see a similar output like the following - The MySQL service is enabled and will be run automatically at boot. And the current status of the MySQL service is running.
Configuring MySQL Server
After Apache2 and MySQL server is installed, you will set up the MySQL root password and secure the deployment via mysql_secure_installation. Then, you will also create a new MySQL database and user for Redmine.
Log in to MySQL via the mysql command below.
sudo mysql
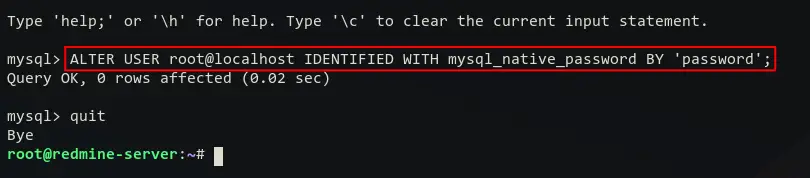
Now change the MySQL root password via the following query. And be sure to change the password with your password. Then, type quit exiting from the MySQL shell.
ALTER USER root@localhost IDENTIFIED WITH mysql_native_password BY 'password';
quit
Next, run the following command to start securing the MySQL server deployment.
sudo mysql_secure_installation
When prompted for the MySQL root password, input your correct password.
Then, you will be asked for other MySQL configurations such as disabling the remote login for the root user, removing the anonymous user, removing the default database test, and reloading all tables privileges. For all of those MySQL server settings, input Y to confirm the configuration.
After securing the MySQL deployment, it's time to set up a new database and user for Redmine.
Log in to the MySQL shell via the mysql command below. You will be asked for the MySQL root password, input the correct password for your MySQL root user, then press ENTER.
sudo mysql -u root -p
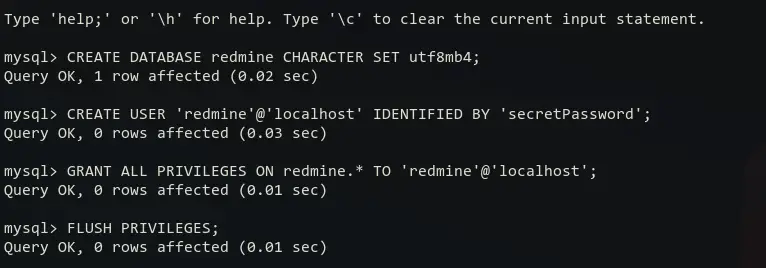
Now run the following queries to create a new MySQL database and user for Redmine. In this example, you will create a new database and user redmine with the password 'secretPassword'. You can replace the database password with your password.
CREATE DATABASE redmine CHARACTER SET utf8mb4;
CREATE USER 'redmine'@'localhost' IDENTIFIED BY 'secretPassword';
GRANT ALL PRIVILEGES ON redmine.* TO 'redmine'@'localhost';
FLUSH PRIVILEGES;
Next, run the following queries to verify the privileges of the MySQL user redmine. Be sure the MySQL user redmine has privileges to the database redmine.
SHOW GRANTS FOR redmine@localhost;
quit
Below you can see the MySQL user redmine@localhost with privileges to the database redmine.
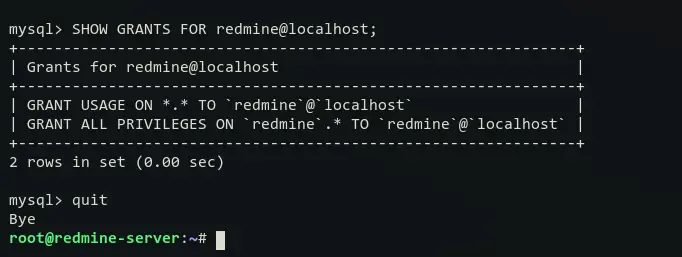
Lastly, type quit to log out from the MySQL shell.
With all dependencies is installed, and the MySQL database and user are created, you are ready to install the Redmine project management tool on your Ubuntu server.
Installing Redmine
In this step, you will install the latest version of Redmine. At the time of this writing, the latest version of Redmine is v5.0.2.
You will download the Redmine source code, configure the database, install Ruby dependencies via build, set up the Redmine secret token, and migrate the database.
In this example, you will install Redmine within the directory /opt/redmine.
Move to the /opt directory.
cd /opt/
Now, download the Redmine source code with the wget command below. Once downloaded, you will see the file redmine-5.0.2.tar.gz on your /opt directory.
wget https://www.redmine.org/releases/redmine-5.0.2.tar.gz
Next, run the following command to extract the Redmine source code redmine-5.0.2.tar.gz and create a new symbolic link for the Redmine directory to /opt/redmine.
tar -xvzf redmine-5.0.2.tar.gz
sudo ln -s redmine-5.0.2 redmine
The main Redmine installation directory will be /opt/redmine.
Move to the /opt/redmine directory.
cd /opt/redmine/
Copy the default database configuration 'config/database.yml.example' to 'config/database.yml'. Then, open the database config file 'config/database.yml' using nano editor.
cp config/database.yml.example config/database.yml
nano config/database.yml

In the 'production' section, change the details of the MySQL database and user. Be sure to use the correct database user and password for Redmine.
production:
  adapter: mysql2
  database: redmine
  host: localhost
  username: redmine
  password: "secretPassword"
  # Use "utf8" instead of "utfmb4" for MySQL prior to 5.7.7
  encoding: utf8mb4
Save the file and exit the editor when you are finished.
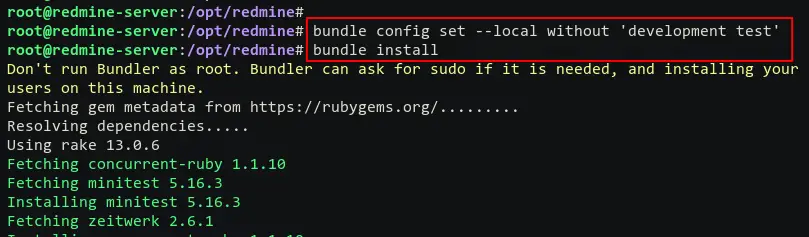
Next, run the following bundler command to install Ruby dependencies for the Redmine application.
bundle config set --local without 'development test'
bundle install
You will see the output similar to the following:
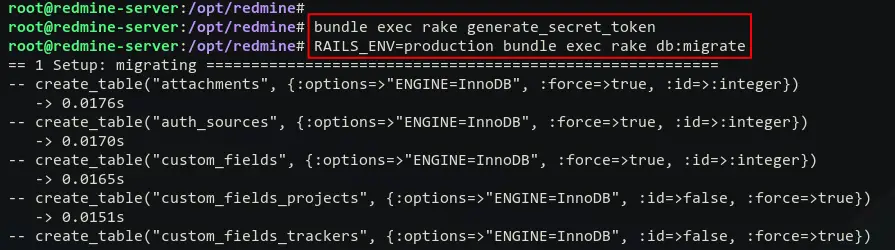
Once Redmine dependencies is installed, run the following command to generate the Redmine secret token and migrate the database.
bundle exec rake generate_secret_token
RAILS_ENV=production bundle exec rake db:migrate
In the following screenshot, you can see the Redmine secret token is generated and the process of Redmine database migration.
Lastly, load the default to your Redmine installation with the following command. When asked to choose the language, input en as for English.
RAILS_ENV=production bundle exec rake redmine:load_default_data
When Redmine default data is loaded, you will see the output message as "Default configuration data loaded".

Now that Redmine is installed, you will next set up an Apache2 virtual host for Redmine.
Setting up Virtual Host for Redmine
In this step, you will be creating a new Apache2 virtual host configuration for Redmine. So be sure you have the domain name that pointed to your server IP address and SSL certificates is generated.
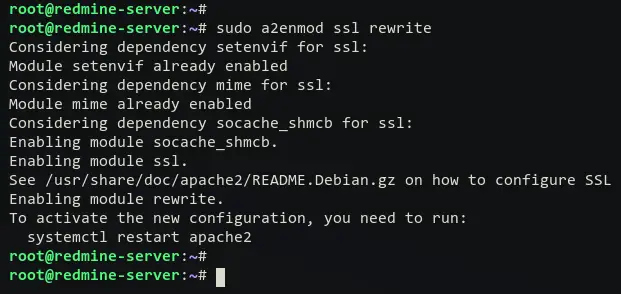
Run the following command to enable Apache modules ssl and rewrite.
sudo a2enmod ssl rewrite
You will see the output like the following:
Now, create a new Apache2 virtual host configuration '/etc/apache2/sites-available/redmine.conf' using nano editor.
sudo nano /etc/apache2/sites-available/redmine.conf
Add the following configuration to the file. And be sure to change the domain name and the path of SSL certificates with your configuration.
<VirtualHost *:80>

    ServerName redmine.hwdomain.io
    ServerAdmin [email protected]

    # Redirect Requests to SSL
    Redirect permanent "/" "https://redmine.hwdomain.io/"

</VirtualHost>

<IfModule mod_ssl.c>

    <VirtualHost *:443>

        ServerName redmine.hwdomain.io
        RailsEnv production
        DocumentRoot /opt/redmine/public

        ErrorLog ${APACHE_LOG_DIR}/redmine.hwdomain.io.error.log
        CustomLog ${APACHE_LOG_DIR}/redmine.hwdomain.io.access.log combined

        SSLEngine on
        SSLCertificateFile /etc/letsencrypt/live/redmine.hwdomain.io/fullchain.pem
        SSLCertificateKeyFile /etc/letsencrypt/live/redmine.hwdomain.io/privkey.pem

        <Directory "/opt/redmine/public">
            Allow from all
            Require all granted
        </Directory>

    </VirtualHost>

</IfModule>
Save the file and exit the editor.
Next, run the following command to activate the virtual host file 'redmine.conf'. Then, verify your Apache2 configuration to ensure you have the proper configuration.
sudo a2ensite redmine.conf
sudo apachectl configtest
You will now get the output message such as "Syntax OK" when you have proper Apache2 configurations.
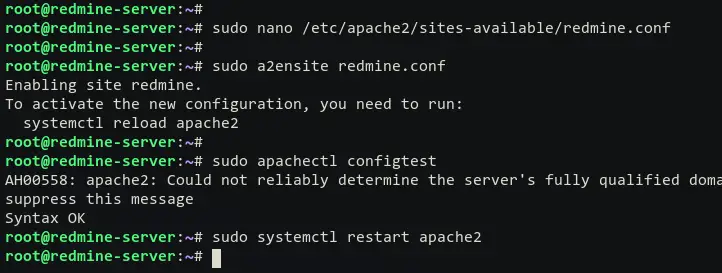
Lastly, restart the Apache2 service via the systemctl command below to apply the new virtual host file.
sudo systemctl restart apache2
At this point, Redmine is installed and the virtual host is configured. You should now access your Redmine installation via your domain name.
Setting up UFW Firewall
On production, you are supposed to turn on the firewall. For the Ubuntu system, you can use the default firewall UFE (Uncomplicated Firewall).
Now, you will add UFW rules that open the default HTTP and HTTPS services so the Redmine is accessible from outside of the network.
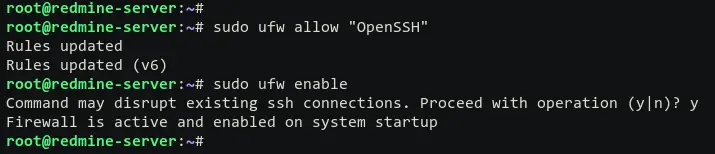
Run the following ufw command to add the default "OpenSSH" application profile to the UFW. Then, start and enable the UFW firewall.
sudo ufw allow "OpenSSH"
sudo ufw enable
When asked for confirmation, input y to start and enable the UFW firewall service.
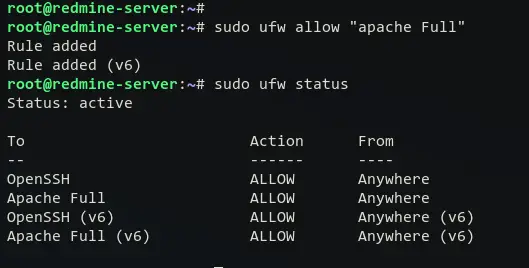
Next, run the following command to add the application profile "Apache Full" to the firewall. Then, verify the UFW status via the following command.
sudo ufw allow "Apache Full"
sudo ufw status
You should see the UFW firewall status is active and the currently enabled application profiles is OpenSSH and "Apache Full". This will open the default SSH port 22 and the HTTP and HTTPS services ports 80 and 443.
Redmine Installation
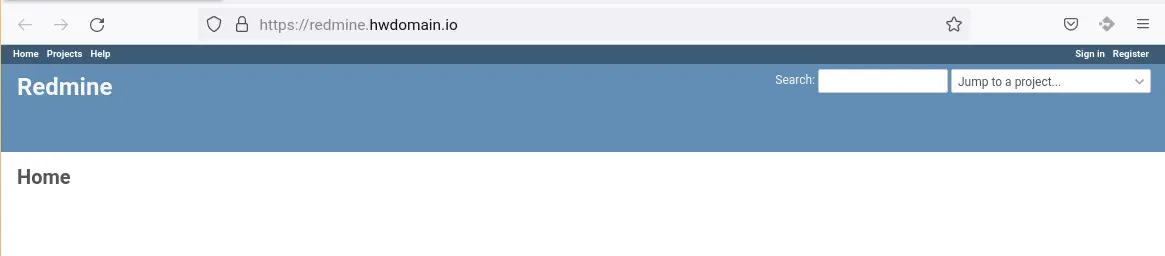
Open the web browser and visit the domain name of your Redmine installation (i.e: https://redmine.hwdomain.io/).
You will now see the homepage default of Redmine Project Management and Issue Tracking Tool. Click the "Sign In" to log in to the Redmine administration dashboard.
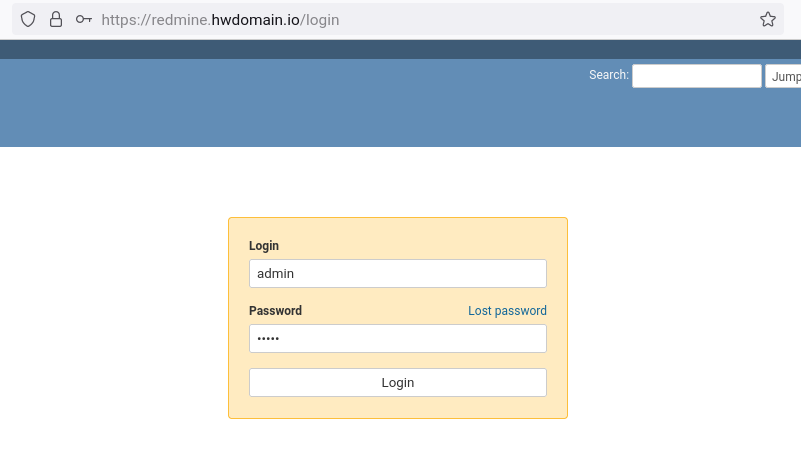
Input the default Redmine administration user and password "admin - admin".
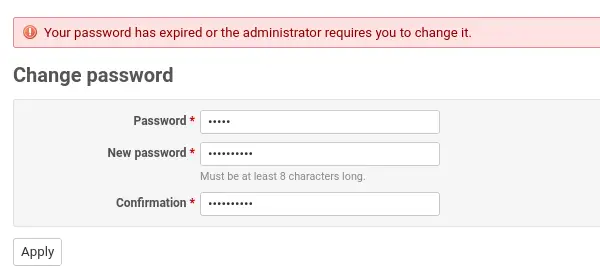
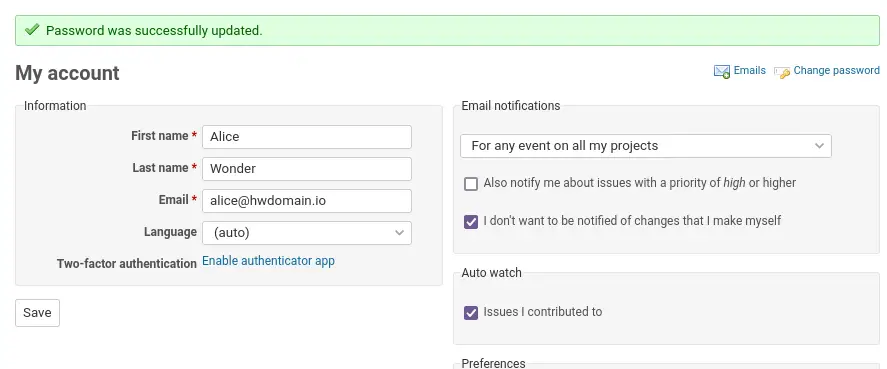
After you have logged in, you will now be asked to change the default password for Redmine. Input the new password for your Redmine installation and click "Apply".
Lastly, edit the details of your Redmine administrator user and click "Save" to apply the configurations. You have now configured the basis of Redmine.
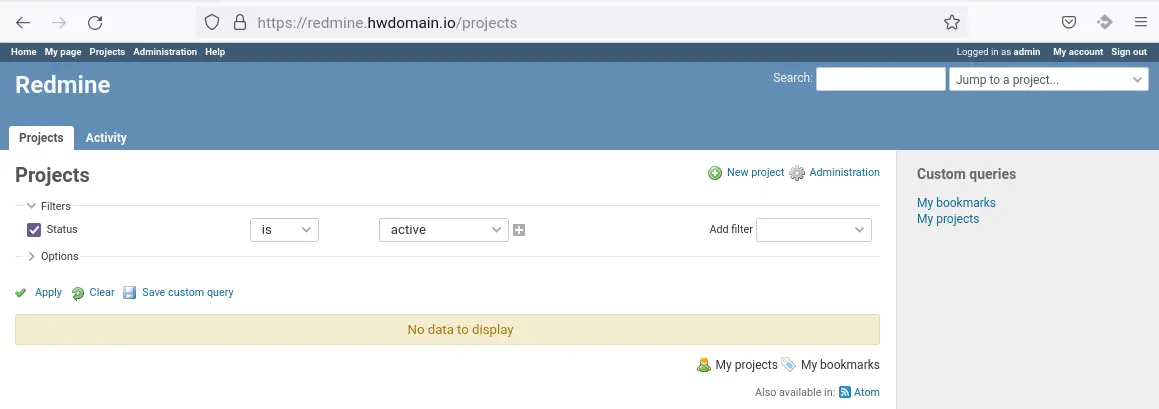
To add a new project, click on the "Projects" menu. You should be able to create, edit, or delete Projects on your Redmine.
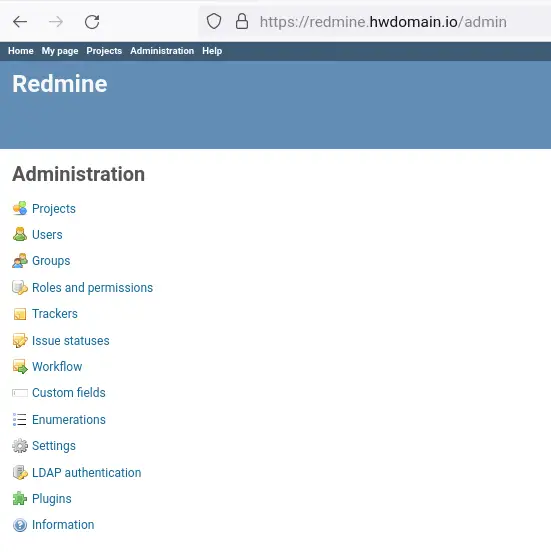
Now, if you want to add configurations to Redmine, click the "Administration" menu. With that, you can add more users, set up groups, define roles, enable authentication via a third-party application such as LDAP, and many more.
Conclusion
In this tutorial, you have installed and configured Redmine Project Management and Issue Tracking Tool on the Ubuntu 22.04 server. You have also configured the MariaDB database and Nginx web server for Redmine. In addition, you also have secured the Redmine installation with SSL certificates.
You now have Redmine installed on your system, you can extend your Redmine installation by adding some additional configurations such as integrating Redmine into your current infrastructures such as adding LDAP authentications, and integrating with SCM like SVN, Git, and Mercurial. Also, you can add roles according to your organization or company.

