Install and Configure OwnCloud on Debian 11
This tutorial exists for these OS versions
- Debian 12 (Bookworm)
- Debian 11 (Bullseye)
- Debian 8 (Jessie)
On this page
OwnCloud is a free, open-source, and self-hosted file synchronization and sharing solution. It is a very good alternative solution for other commercial services like Google Drive, Dropbox, and One Drive. It comes with a web-based interface that helps to back up and shares your files with ease. It can be accessed through a web browser, the desktop client (Windows, MAC, Linux), and mobile devices (Android and iOS).
In this post, we will show you how to install OwnCloud on Debian 11.
Prerequisites
- A server running Debian 11.
- A root password is configured on your server.
Install Apache, MariaDB, and PHP
OwnCloud requires the Apache web server, MariaDB database server and PHP to be installed on your server. You can install all of them by running the following command:
apt-get install apache2 mariadb-server php libapache2-mod-php php-mysql php-intl php-curl php-json php-gd php-xml php-mbstring php-zip -y
Once all the packages are installed, start and enable the Apache and MariaDB service using the following command:
systemctl start apache2
systemctl start mariadb
systemctl enable apache2
systemctl enable mariadb
Once you are finished, you can proceed to the next step.
Create a Database for OwnCloud
OwnCloud uses a MariaDB as a database backend. So you will need to create a database and user for OwnCloud.
First, connect to the MariaDB shell with the following command:
mysql
Once you are connected to the MariaDB, create a database and user with the following command:
MariaDB [(none)]> create database ownclouddb;
MariaDB [(none)]> grant all on ownclouddb.* to owncloud@localhost identified by "password";
Next, flush the privileges and exit from the MariaDB with the following command:
MariaDB [(none)]> flush privileges;
MariaDB [(none)]> exit;
Once you are finished, you can proceed to the next step.
Install OwnCloud on Debian 11
By default, OwnCloud is not available in the Debian 11 default repository. So you will need to add the OwnCloud repository to your server.
First, install the required dependencies using the following command:
apt-get install curl gnupg2 -y
Once all the dependencies are installed, add the OwnCloud repository and GPG key using the following command:
echo 'deb http://download.opensuse.org/repositories/isv:/ownCloud:/server:/10/Debian_11/ /' > /etc/apt/sources.list.d/owncloud.list
curl -fsSL https://download.opensuse.org/repositories/isv:ownCloud:server:10/Debian_11/Release.key | gpg --dearmor > /etc/apt/trusted.gpg.d/owncloud.gpg
Next, update the repository and install the OwnCloud by running the following command:
apt-get update -y
apt-get install owncloud-complete-files -y
The above command will download and install the OwnCloud inside the /var/www/owncloud directory.
Once you are finished, you can proceed to the next step.
Configure Apache for OwnCloud
Next, you will need to create an Apache virtual host configuration file for OwnCloud. You can create it by running the following command:
nano /etc/apache2/sites-available/owncloud.conf
Add the following lines:
Alias / "/var/www/owncloud/"

<Directory /var/www/owncloud/>
  Options +FollowSymlinks
  AllowOverride All
</Directory>
 <IfModule mod_dav.c>
  Dav off
 </IfModule>
Save and close the file then activate the OwnCloud virtual host file and deactivate the default virtual host file using the following command:
a2ensite owncloud
a2dissite 000-default.conf
Next, enable the required Apache modules with the following command:
a2enmod rewrite mime unique_id
Next, restart the Apache service to apply the configuration changes:
systemctl restart apache2
You can now check the status of the Apache service using the following command:
systemctl status apache2
You will get the following output:
? apache2.service - The Apache HTTP Server
     Loaded: loaded (/lib/systemd/system/apache2.service; enabled; vendor preset: enabled)
     Active: active (running) since Fri 2021-12-31 11:16:24 UTC; 6s ago
       Docs: https://httpd.apache.org/docs/2.4/
    Process: 15832 ExecStart=/usr/sbin/apachectl start (code=exited, status=0/SUCCESS)
   Main PID: 15836 (apache2)
      Tasks: 6 (limit: 2341)
     Memory: 14.8M
        CPU: 95ms
     CGroup: /system.slice/apache2.service
             ??15836 /usr/sbin/apache2 -k start
             ??15837 /usr/sbin/apache2 -k start
             ??15838 /usr/sbin/apache2 -k start
             ??15839 /usr/sbin/apache2 -k start
             ??15840 /usr/sbin/apache2 -k start
             ??15841 /usr/sbin/apache2 -k start

Dec 31 11:16:24 debian11 systemd[1]: Starting The Apache HTTP Server...
Access OwnCloud Web Interface
Now, open your web browser and access the OwnCloud web interface using the URL http://your-server-ip. You should see the OwnCloud web configuration page:
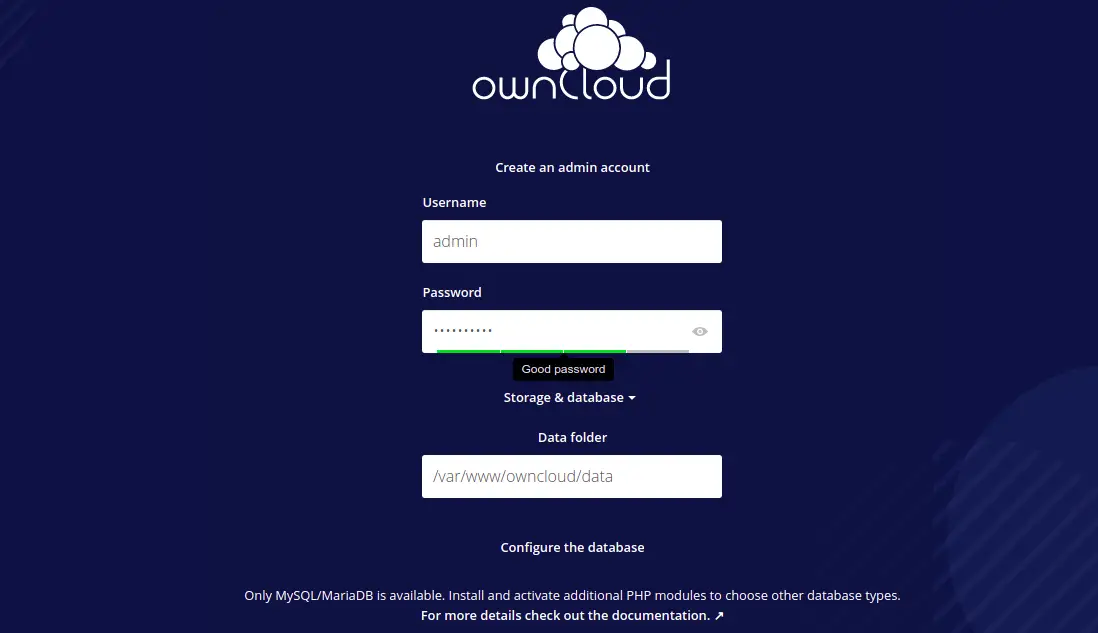
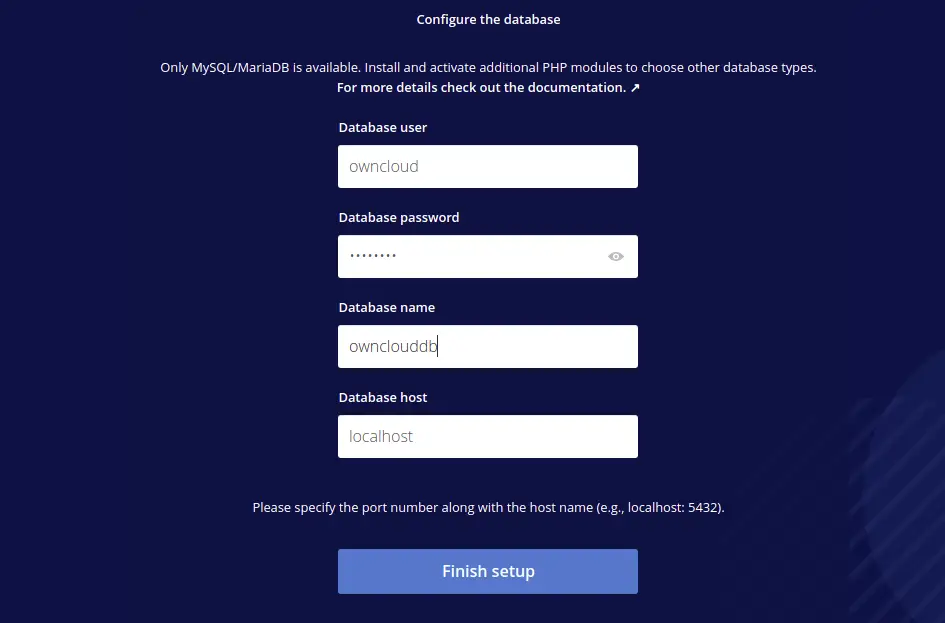
Provide your OwnCloud admin username, password, database credentials, data directory, and click on the Finish setup button. You should see the OwnCloud login page:
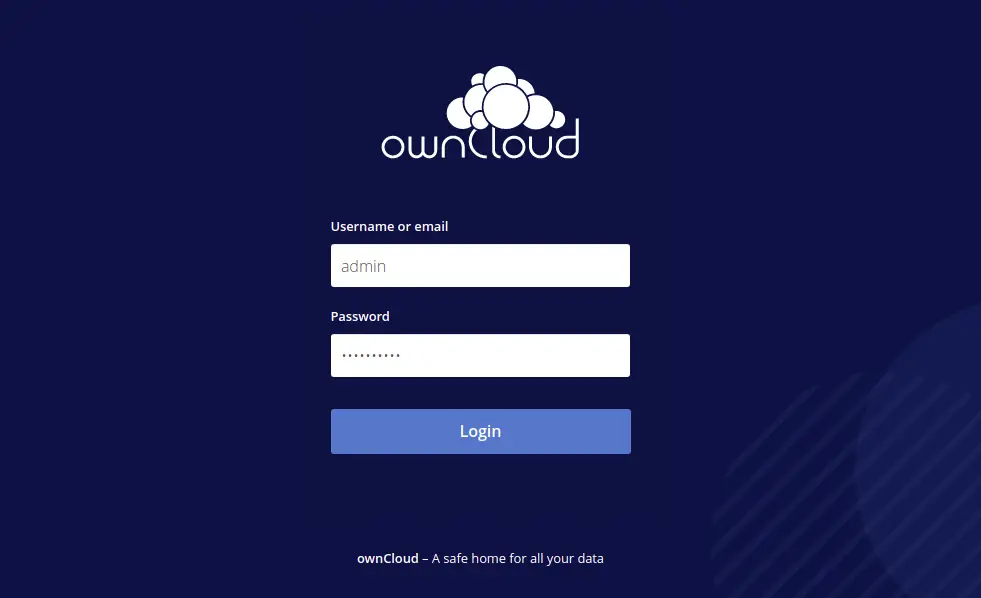
Provide your admin username, password and click on the Login button. You should see the application download page:
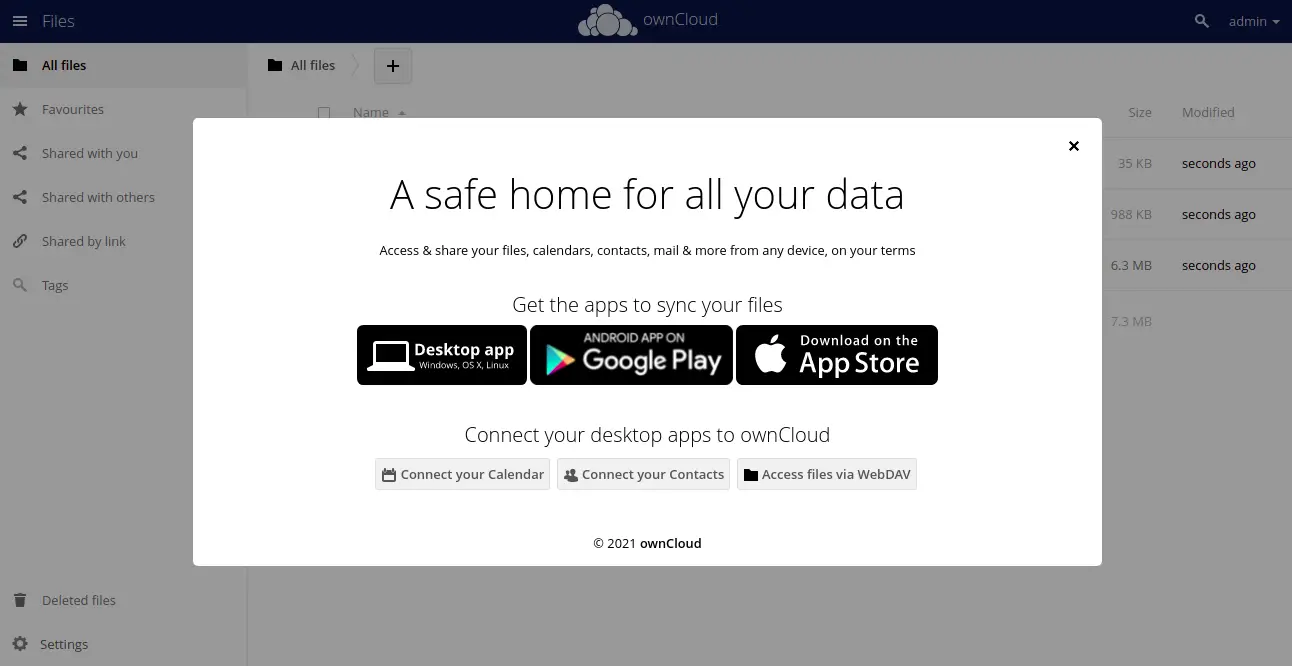
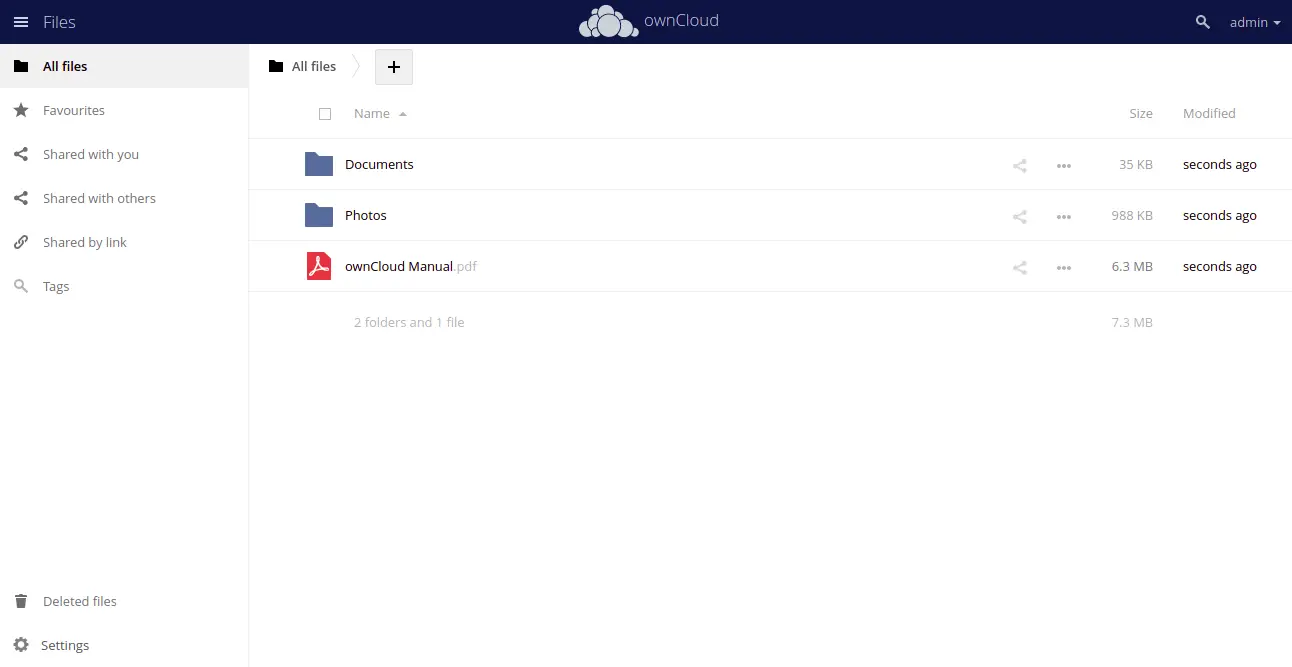
Click on the close button to close the application download window. You should see the OwnCloud dashboard on the following page:
Conclusion
Congratulations! you have successfully installed OwnCloud on Debian 11. You can now upload your pictures, movies, and documents to the OwnCloud and share them with your friends and family. Feel free to ask me if you have any questions.

