How to Install ownCloud on Ubuntu 22.04
ownCloud is a software-suits for creating file-hosting services like Google Drive and DropBox. It's free and open-source file-hosting software that allows you to set up a self-hosted file-hosting on your own server. ownCloud offers the server application (the main component of the ownCloud software suits), and client applications that can be installed on multiple operating systems such as Linux, Windows, macOS, Android, and iOS.
ownCloud is mainly written in PHP, JavaScript, and Go. And allows you easily to sync calendar events, storing archives, images, and any file formats. And also allows you to organize such as tasks, address books, and many more. ownCloud is an extensible application that allows you to install the additional application on top of it.
In this tutorial, we will show you how to install and configure ownCloud on Ubuntu 22.04 server. This also covers some basic installation and configuration of LAMP Stack (Linux, Apache2, MariaDB, and PHP) on the Ubuntu server.
Prerequisites
For this guide we need the following prerequisites:
- An Ubuntu Server 22.04 edition.
- A non-root user with root administrator privileges.
- A domain name pointed and resolved to the server IP address.
Installing Dependencies
Before start installing ownCloud, you must install some basic package dependencies to your server, which include a package such as openssl, redis-server, smbclient, etc.
First, update the Ubuntu repository to the latest version using the apt command below.
sudo apt update
After that, install package dependencies using the below command.
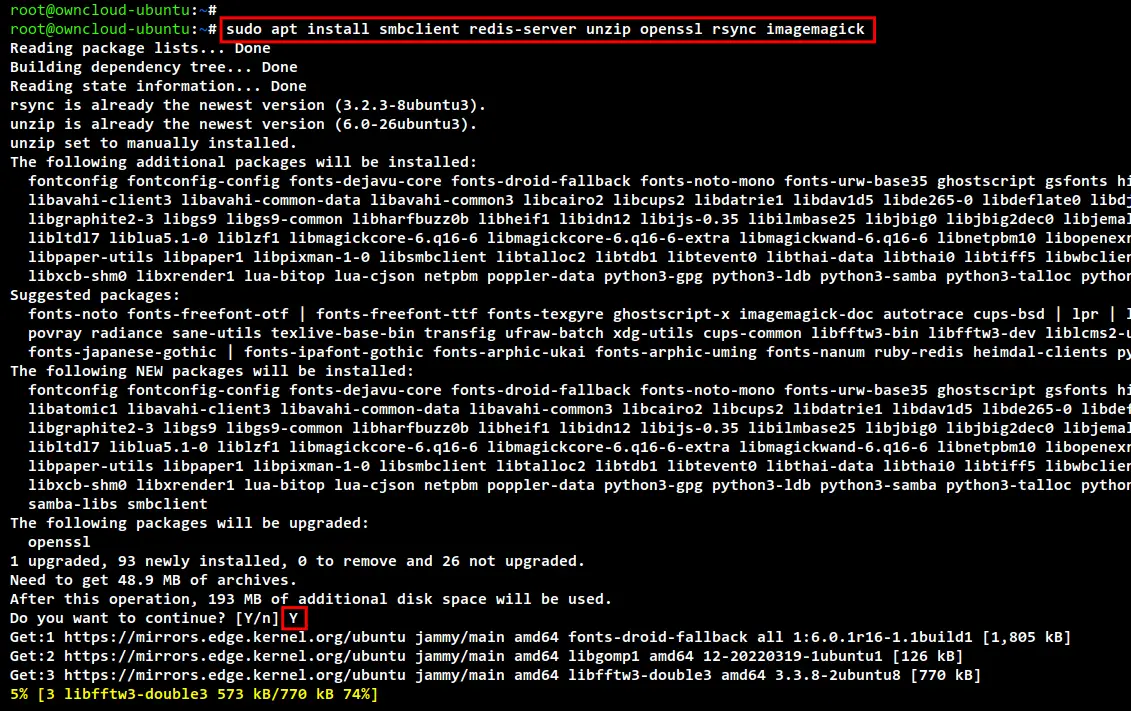
sudo apt install smbclient redis-server unzip openssl rsync imagemagick
Input Y to confirm the installation and press ENTER to start. After all dependencies installation is completed, move to the next step.
Installing PHP 7.4
Now you will be installing PHP dependencies for your ownCloud installation on your Ubuntu server.
The latest version of the Ubuntu 22.04 repository provides the latest version of PHP 8.1 packages. But for ownCloud, you will need PHP 7.4 instead of PHP 8.1. At the current status, ownCloud is still not fully supported for PHP 8.1.
So now you will be installing PHP 7.4 from the third-party repository "ppa:ondrej/php" to the latest Ubuntu 22.04 server.
Run the following command to add the PPA repository for PHP packages. The following command also will automatically update and refresh your Ubuntu repository.
sudo add-apt-repository ppa:ondrej/php -y
Next, run the apt command below to install PHP 7.4 to your Ubuntu system. Additionally, the following command also will install some PHP 8.1 packages but don't worry because you will be able to set up the default PHP version on Ubuntu.
sudo apt install php7.4 php7.4-intl php7.4-mysql php7.4-mbstring \
       php7.4-imagick php7.4-igbinary php7.4-gmp php7.4-bcmath \
       php7.4-curl php7.4-gd php7.4-zip php7.4-imap php7.4-ldap \
       php7.4-bz2 php7.4-ssh2 php7.4-common php7.4-json \
       php7.4-xml php7.4-dev php7.4-apcu php7.4-redis \
       libsmbclient-dev php-pear php-phpseclib
Next, run the following command to set up the default version of PHP on your system.
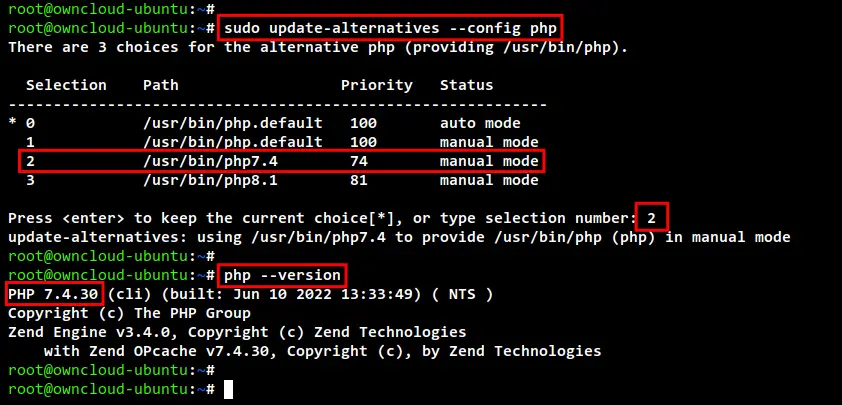
sudo update-alternatives --config php
Input the number of PHP version 7.4 and press ENTER to confirm. In this example, PHP 7.4 is available at number "2".
Now check the PHP version using the following command. And you will see the default version of PHP is changed to PHP 7.4, as required for ownCloud installation.
php --version
Now run the following command to set up another PHP tools version to PHP 7.4.
sudo update-alternatives --set phar /usr/bin/phar7.4
sudo update-alternatives --set phar.phar /usr/bin/phar.phar7.4
sudo update-alternatives --set phpize /usr/bin/phpize7.4
sudo update-alternatives --set php-config /usr/bin/php-config7.4
Next, you will also need to update PEAR to the latest stable version for ownCloud. The latest stable version of PEAR at the moment is v1.10.13., which can be upgraded manually.
Create a new temporary directory /tmp/pear/cache using the following command.
sudo mkdir -p /tmp/pear/cache
Upgrade the PEAR version to 1.10.13 using the pear command below.
sudo pear upgrade --force \
      --alldeps http://pear.php.net/get/PEAR-1.10.13
Now run the pear commands below to clear cache, update channels, and upgrade all.
sudo pear clear-cache
sudo pear update-channels
sudo pear upgrade --force
sudo pear upgrade-all
After the upgrade process is completed, check the pear version using the following command. And you should see the PEAR version is upgraded to v1.10.13.
pear version

Installing Apache2 Web Server
Now it's time to install the Apache2 web server for the ownCloud, which also enables modules that are needed for ownCloud.
Install Apache2 web server using the apt command below.
sudo apt install libapache2-mod-php7.4 apache2
Input Y to confirm the installation and press ENTER to start the installation.
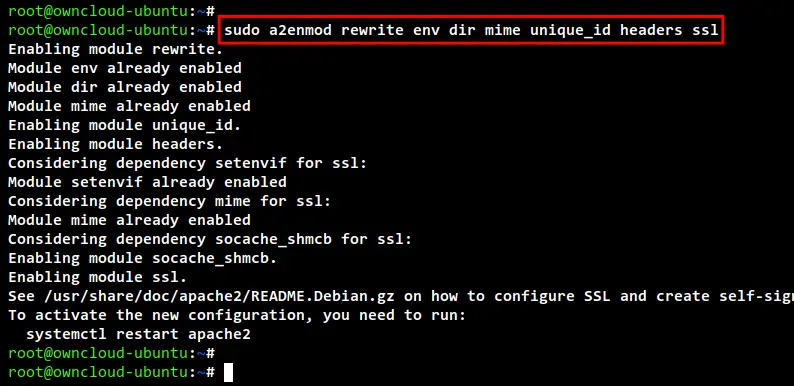
Now after all installation is completed, run the a2enmod command below to enable some of the Apache2 modules that are needed by ownCloud.
sudo a2enmod rewrite env dir mime unique_id headers ssl
Restart the Apache2 service to apply new changes.
sudo systemctl restart apache2
Installing MariaDB Server
After you have installed PHP 7.4 and Apache2 web server, now it's time to install the MariaDB server. By default, ownCloud supports multiple RDBMS such as MySQL/MariaDB, SQLite, PostgreSQL, and Oracle. The easiest way, free, and recommended for the ownCloud deployment is to use the MySQL/MariaDB database.
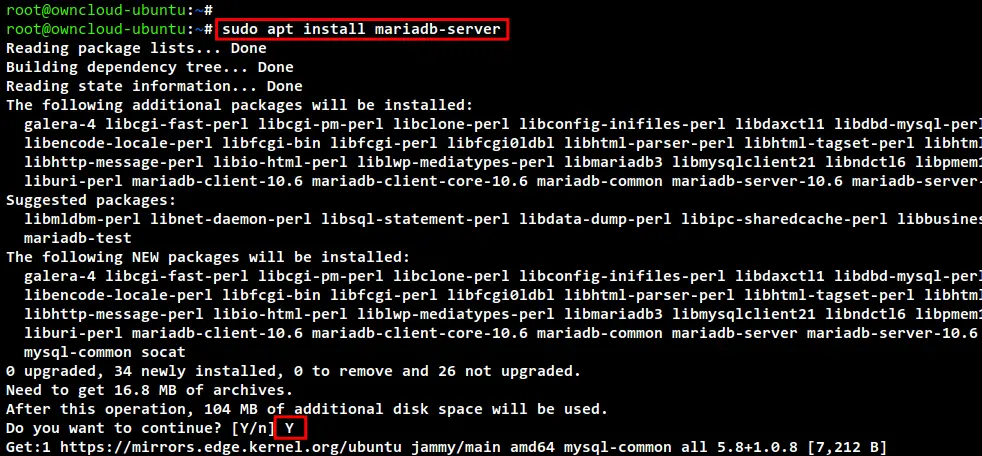
Run the apt command below to install the MariaDB server package.
sudo apt install mariadb-server
Input Y to confirm the installation and press ENTER to start. Now the installation will begin.
After the MariaDB installation is completed, run the following command to set up and secure the MariaDB deployment.
sudo mysql_secure_installation
And you will be asked for some basic MariaDB configurations below:
- Input the new MariaDB root password and repeat.
- Optionally, input Y to switch the authentication to unix_socket authentication.
- Input Y to remove the default anonymous user from the MariaDB server deployment.
- Input Y to disable the remote login for the MariaDB root user.
- Input Y again to remove the default database "test" from your MariaDB system.
- Lastly, input Y again to reload all tables privileges and apply new changes to the MariaDB server.
After you have completed the MariaDB server deployment, run the mysql command below to log in to the MariaDB shell.
mysql -u root -p
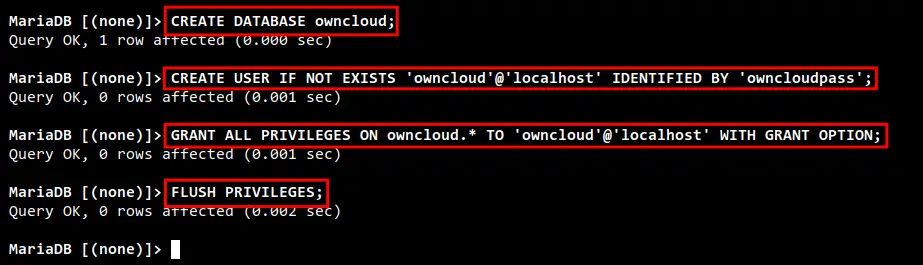
Run the following queries to create a new MariaDB database and user for the ownCloud. In this example, the user and database will be named "owncloud" with the password "owncloudpass".
CREATE DATABASE owncloud;
CREATE USER IF NOT EXISTS 'owncloud'@'localhost' IDENTIFIED BY 'owncloudpass';
GRANT ALL PRIVILEGES ON owncloud.* TO 'owncloud'@'localhost' WITH GRANT OPTION;
FLUSH PRIVILEGES;
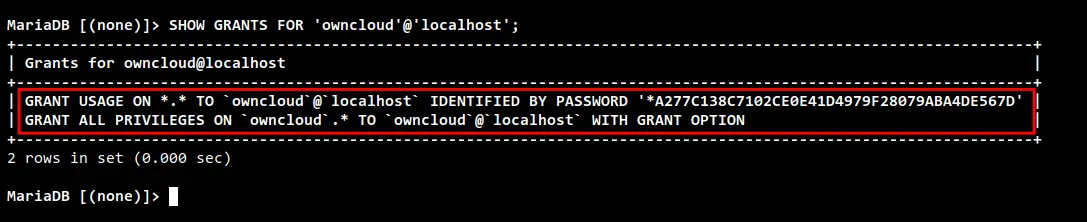
Now verify the privileges for the MariaDB user "owncloud" using the following query. Be sure the "owncloud" user has access and privileges to the database "owncloud".
SHOW GRANTS FOR 'owncloud'@'localhost';
Download OwnCloud Source Code
At this point, you have completed the basic configuration of LAMP Stack (Linux, Apache2, MariaDB, and PHP) for the ownCloud installation. Now you will be downloading the ownCloud source code to your system.
First, go to the /var/www/ directory with the following command.
cd /var/www/
Now Download the latest version of the ownCloud source code and the checksum file for the verification using the wget command below. And you will see a new file "owncloud-complete-latest.tar.bz2" for the ownCloud source code and the "owncloud-complete-latest.tar.bz2.sha256" for the checksum file.
wget https://download.owncloud.com/server/stable/owncloud-complete-latest.tar.bz2
wget https://download.owncloud.com/server/stable/owncloud-complete-latest.tar.bz2.sha256
Then run the verification using the sha256sum command below. If the verification is a success, you will see the output message such as "OK".
sudo sha256sum -c owncloud-complete-latest.tar.bz2.sha256 < owncloud-complete-latest.tar.bz2
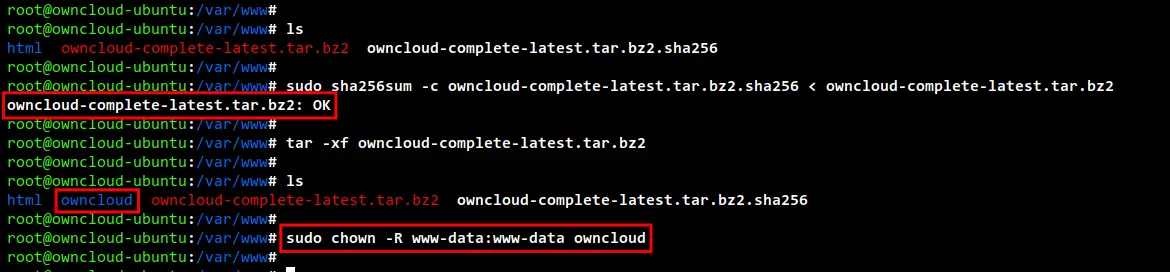
After that, extract the ownCloud source code using the below command. And you should see a new directory named "owncloud", which will be used as the DocumentRoot/WebRoot directory for your ownCloud installation "/var/www/owncloud".
tar -xf owncloud-complete-latest.tar.bz2
Lastly, change the ownership of the "owncloud" directory to "www-data" using the following command.
sudo chown -R www-data:www-data owncloud
Setting Up Apache2 Virtual Host for ownCloud
Now you will be setting up the Apache2 virtual host for ownCloud. In this example, we will use the domain name "hwdomain.io" for the ownCloud installation with secure HTTPS/SSL enabled on top of the Apache2 web server.
Create a new virtual host file "/etc/apache2/sites-available/owncloud.conf" using nano editor.
sudo nano /etc/apache2/sites-available/owncloud.conf
Add the following Apache2 configuration to the file. Also, be sure to change the domain name and path of the SSL certificates with a detailed of your config. With this configuration, your ownCloud installation will be available at the path URL "/owncloud" (i.e https://hwdomain.io/owncloud)
<VirtualHost *:80>
  ServerName hwdomain.io
  ServerAlias www.hwdomain.io
  Redirect permanent / https://hwdomain.io/
</VirtualHost>

<VirtualHost *:443>
  ServerName hwdomain.io
  DocumentRoot /var/www
  ServerAlias www.hwdomain.io

  Protocols h2 http:/1.1

  <If "%{HTTP_HOST} == 'www.hwdomain.io'">
    Redirect permanent / https://hwdomain.io/
  </If>

  ErrorLog ${APACHE_LOG_DIR}/hwdomain.io-error.log
  CustomLog ${APACHE_LOG_DIR}/hwdomain.io-access.log combined

  SSLEngine On
  SSLCertificateFile /etc/letsencrypt/live/hwdomain.io/fullchain.pem
  SSLCertificateKeyFile /etc/letsencrypt/live/hwdomain.io/privkey.pem

  SSLCipherSuite ECDHE-ECDSA-AES128-GCM-SHA256:ECDHE-RSA-AES128-GCM-SHA256:ECDHE-ECDSA-AES256-GCM-SHA384:ECDHE-RSA-AES256-GCM-SHA384:ECDHE-ECDSA-CHACHA20-POLY1305:ECDHE-RSA-CHACHA20-POLY1305:DHE-RSA-AES128-GCM-SHA256:DHE-RSA-AES256-GCM-SHA384

  SSLProtocol All -SSLv2 -SSLv3 -TLSv1 -TLSv1.1
  SSLCompression off

  Header always set Strict-Transport-Security "max-age=63072000"

  Alias /owncloud "/var/www/owncloud/"

  <Directory /var/www/owncloud/>
    Options +FollowSymlinks
    AllowOverride All

    <IfModule mod_dav.c>
    Dav off
    </IfModule>

    SetEnv HOME /var/www/owncloud
    SetEnv HTTP_HOME /var/www/owncloud

  </Directory>

</VirtualHost>
Now save and close the file when you are done.
Next, activate the virtual host configuration "owncloud.conf" using the below command.
sudo a2ensite owncloud.conf
Check and verify the Apache2 configuration using the command below. If your configuration is correct, you will see the output message such as "Syntax: OK".
sudo apachectl configtest
Lastly, run the command below to restart the Apache2 web server and apply the new virtual host configuration "owncloud.conf". Now you are ready to start the ownCloud installation wizard from the web browser, but optionally you can also start the ownCloud installation wizard from the command line.
sudo systemctl restart apache2
Starting ownCloud Installation Wizard
To complete the ownCloud installation, you need to access the ownCloud installation wizard and set up a details database and admin user for ownCloud. And this can be done in two different ways, by using a web browser, or by using the command line from the terminal server.
In this example, you will access the ownCloud installation wizard through the command line from the terminal server.
Change your working directory to the ownCloud DocumentRoot directory "/var/www/owncloud".
cd /var/www/owncloud
Now run the following command to complete the ownCloud installation. Be sure to change the database details and the new admin user and password. When all is completed, you will see the output message such as "ownCloud was successfully installed" on your terminal screen.
sudo -u www-data /var/www/owncloud/occ maintenance:install \
   --database "mysql" \
   --database-name "owncloud" \
   --database-user "owncloud"\
   --database-pass "owncloudpass" \
   --admin-user "admin" \
   --admin-pass "adminpassowncloud"

Next, you will also need to edit the ownCloud configuration "/var/www/owncloud/config/config.php" using nano editor.
sudo nano /var/www/owncloud/config/config.php
Add your ownCloud installation domain to the "trusted_domains" configuration as below. In this example, the ownCloud installation domain name is "hwdomain.io".
  'trusted_domains' =>
  array (
    0 => 'localhost',
    1 => 'hwdomain.io',
  ),
Save and close the file when you are done.
Next, open your web browser and input the domain name of your ownCloud installation (i.e https://hwdomain.io/owncloud/) on the address bar. And now you should see the ownCloud login page.
Input the admin user and password for your ownCloud installation and click "Login".
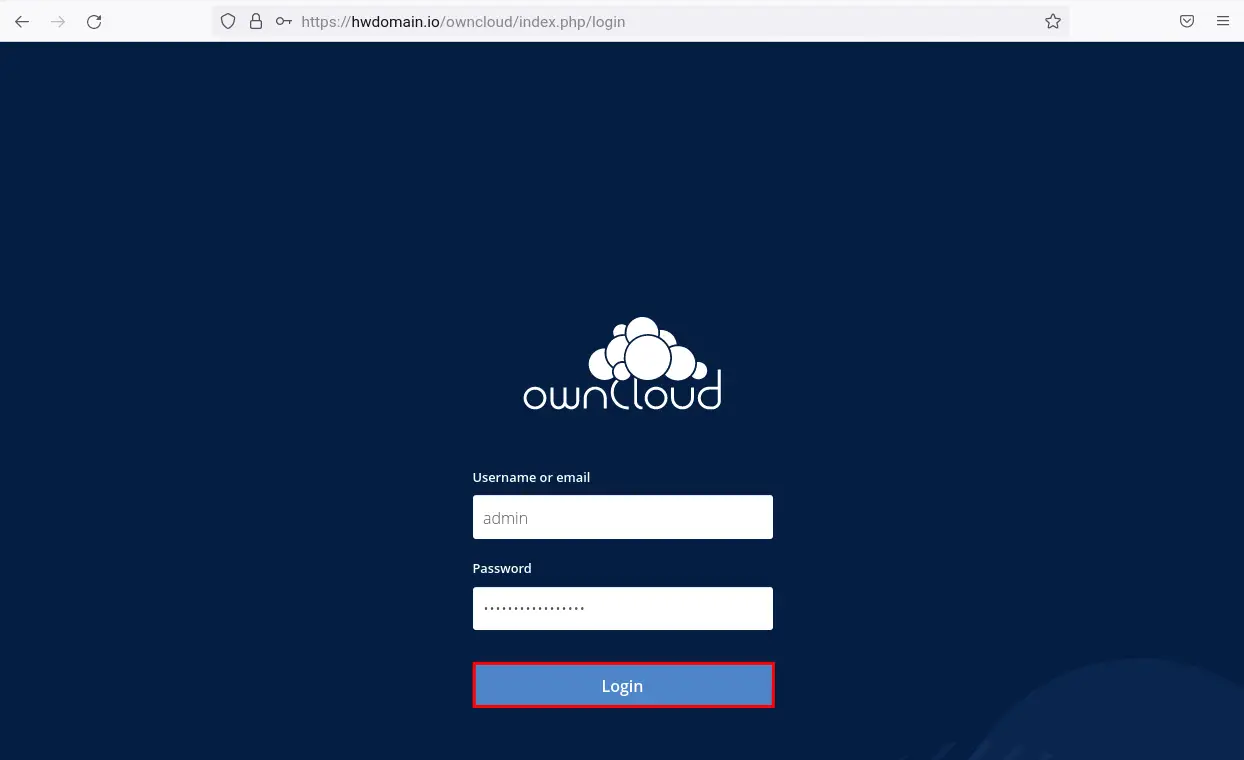
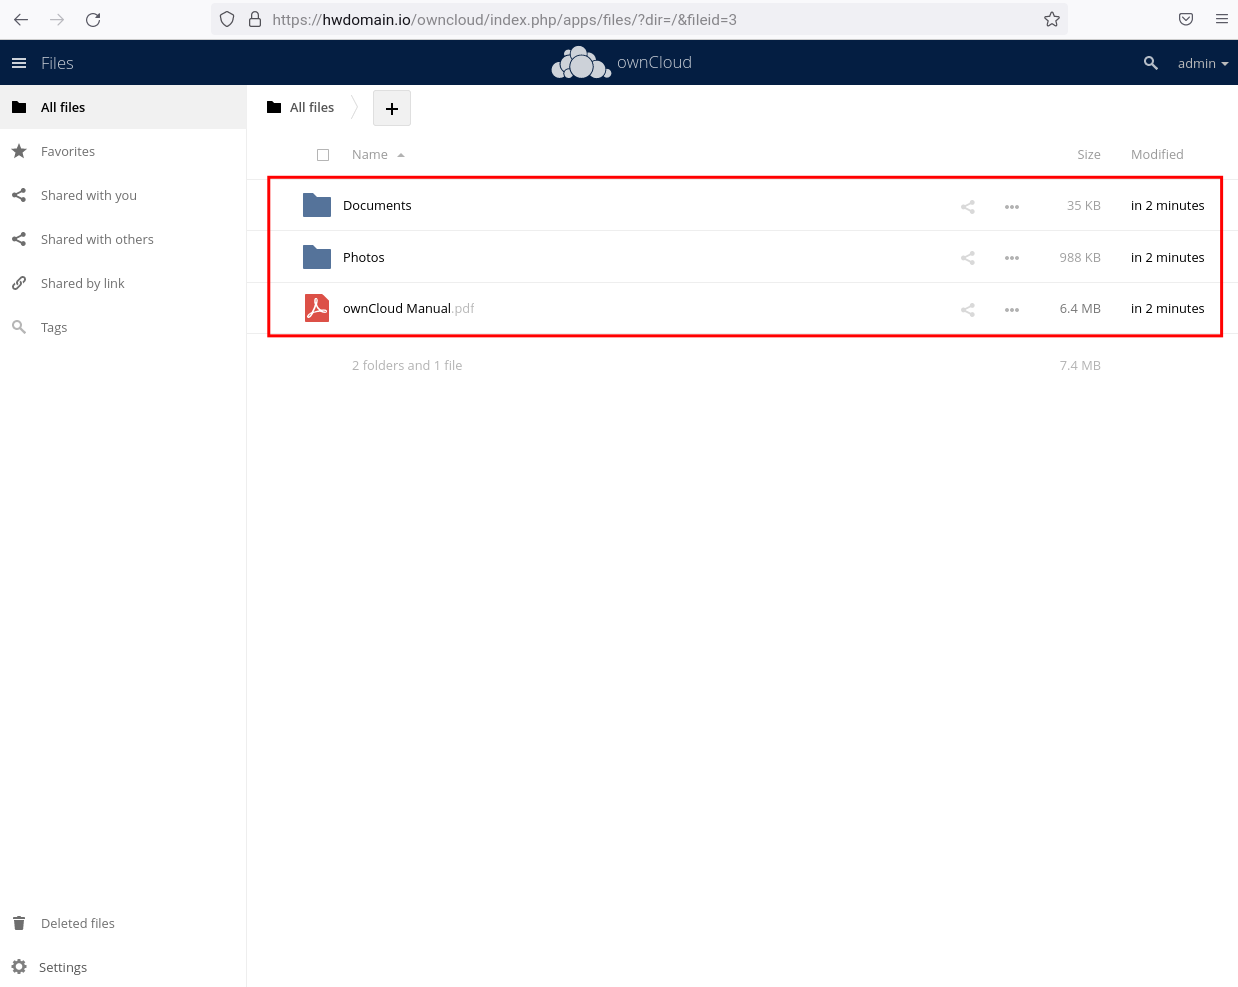
If your username and password are correct, you will now see the ownCloud user dashboard. This means you have successfully installed ownCloud on your Ubuntu server.
Performance Tuning for ownCloud
At this point, the ownCloud is up and running. But, you still need to add some additional configurations to get more performance. And now you will be setting up the background jobs for ownCloud using cron and set up the caching system using Redis.
Run the following command to change the ownCloud background job to "cron".
sudo -u www-data /var/www/owncloud/occ background:cron
Next, create a new cron configuration for ownCloud using the below command. If you don't have the default editor on your system, you will be asked to select the editor that you want to use.
sudo crontab -u www-data -e
Select the editor that you want to use and add the cron configuration as below.
*/15 * * * * /usr/bin/php -f /var/www/owncloud/occ system:cron
Save and close the file when you are done.
Next, to set up the caching system for the ownCloud, you will need to modify the ownCloud configuration config.php.
Edit the file "/var/www/owncloud/config/config.php" using nano editor.
sudo nano /var/www/owncloud/config/config.php
Now add the following configuration to the file.
<?php>
....
....

    'filelocking.enabled' => true,
    'memcache.local' => '\OC\Memcache\APCu',
    'memcache.locking' => '\OC\Memcache\Redis',
    'redis' => [
        'host' => 'localhost',
        'port' => 6379,
    ],

....
....
);
Save and close the file when you are done.
To verify your configuration, you can go to the "Admin > Settings" menu on the ownCloud dashboard.
Move to the "General" menu on the left side and check the section "Security and setup warnings". If you see a message such as "All checks passed.", then your ownCloud installation and configuration are correct and complete. But if there is a warning, you should see detailed information about the configuration that includes the links recommendation to solve that warning.
Conclusion
Congratulation! You have now successfully installed the ownCloud on Ubuntu 22.04 with the LAMP Stack. You have also learned the basic "occ" command for the ownCloud installation wizard. and Lastly, you have also configured some performance tuning for your ownCloud installation by switching the default background job from Ajax to Cron and setting up the caching system with Redis on your ownCloud.

