
AnyDesk, a widely recognized remote desktop application, provides a seamless and secure way to access computers remotely. This guide will demonstrate how to install AnyDesk on Rocky Linux 9 or 8, ensuring users can leverage its full potential. Streamlined and user-friendly, AnyDesk stands out for its impressive speed and reliability, essential in a remote access tool. Here’s a glimpse at its key features:
- Fast Performance: Enjoy a smooth remote desktop experience, even with bandwidths as low as 100 kB/sec.
- High Security: AnyDesk ensures secure connections with TLS 1.2 encryption and RSA 2048 asymmetric key exchange.
- Cross-Platform Compatibility: Accessible on Windows, macOS, Linux, Android, and iOS.
- Easy File Transfer: Drag and drop files easily between devices.
- Session Recording: Record sessions for future reference or training purposes.
- Unattended Access: Offers the ability to access remote devices without the need for remote user interaction.
Setting up AnyDesk on Rocky Linux 9 or 8 is a straightforward process. This installation not only empowers users to manage their devices remotely but also ensures a secure and efficient work environment, regardless of location. Whether you’re a system administrator, IT professional, or casual user, the following steps will guide you through the installation process, ensuring you can maximize the utility of AnyDesk on your Rocky Linux system.
Install AnyDesk on Rocky Linux 9 or 8 via DNF
Step 1: Update Rocky Linux Before AnyDesk Installation
Before proceeding with the tutorial, ensuring your system is up-to-date with all existing packages is good.
sudo dnf upgrade --refreshStep 2: Import AnyDesk RPM
Before proceeding further, you must copy and paste the following command in your terminal, creating the AnyDesk repository file under /etc/yum.repos.d/ directory.
AMD64 (64-bit) users:
sudo tee /etc/yum.repos.d/anydesk.repo<<EOF
[anydesk]
name=AnyDesk Rocky Linux
baseurl=http://rpm.anydesk.com/centos/x86_64/
gpgcheck=1
repo_gpgcheck=1
gpgkey=https://keys.anydesk.com/repos/RPM-GPG-KEY
EOF
Alternatively, you can verify the repository was added using the dnf repolist command.
dnf repolist | grep anydeskExample output:
[joshua@rocky-linux ~]$ dnf repolist | grep anydesk
anydesk                 AnyDesk Rocky Linux
Step 3: Install AnyDesk via DNF Install Command
Finally, install AnyDesk with the following command.
sudo dnf install anydesk -yOptionally, you can check the version installed using the following command.
anydesk --versionExample output:
[joshua@rocky-linux ~]$ anydesk --version
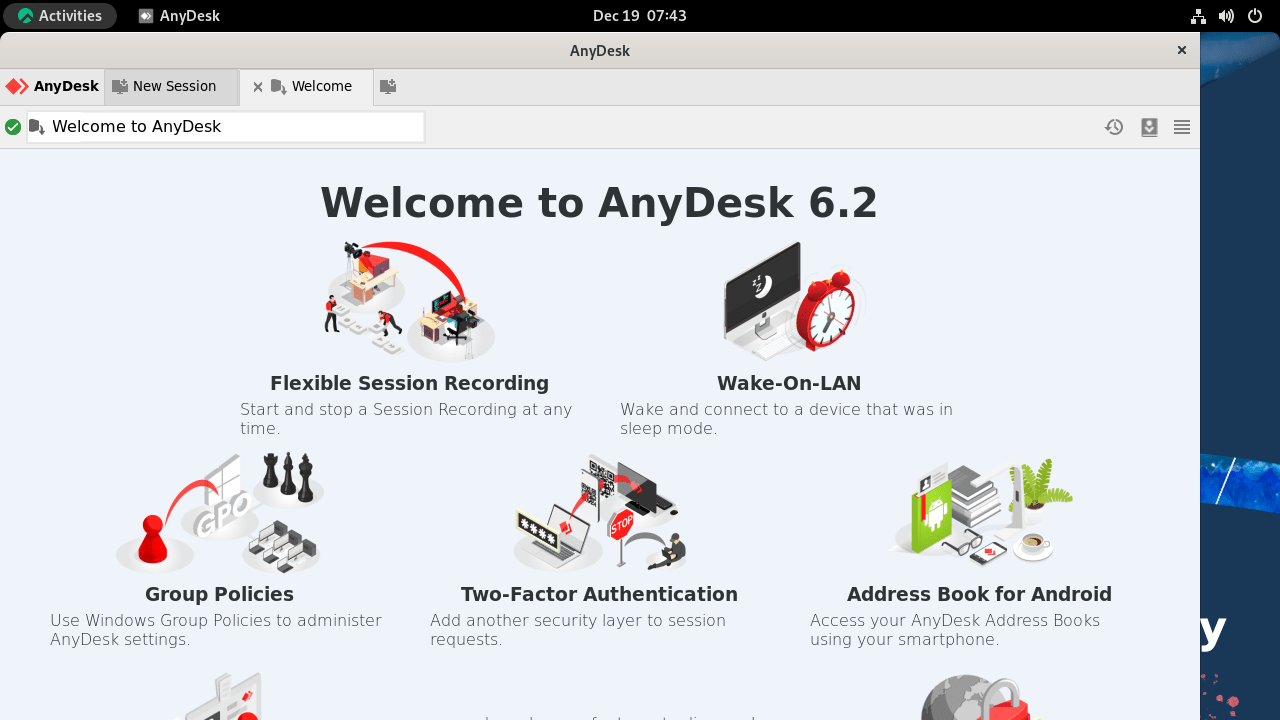
6.2.1[Launch AnyDesk on Rocky Linux 9 or 8
Launching can be done in a few ways now that you have the software installed.
Using the command line terminal, you can open it quickly by using the following command.
anydeskAlso, while in the terminal, you can grab your AnyDesk ID using the following command.
anydesk --get-idThen, you can connect to other computers or remote systems using the ID in a terminal command.
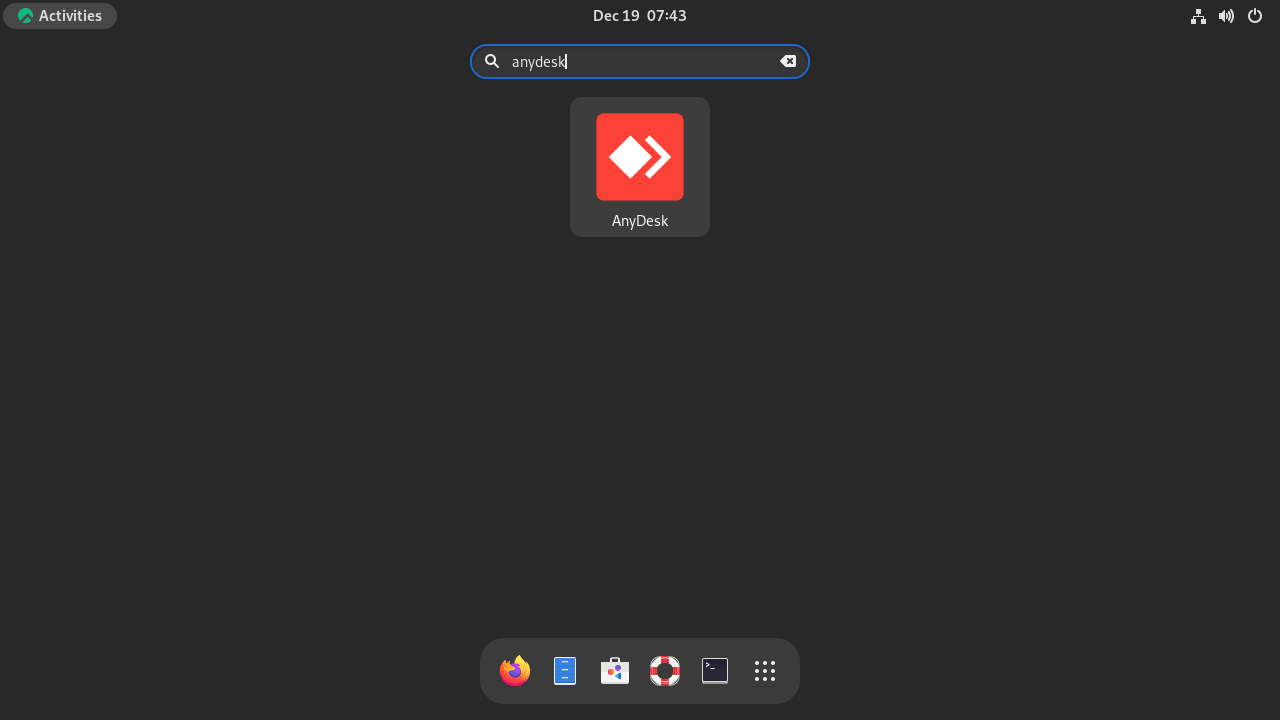
anydesk <AnyDesk ID>The best way to use AnyDesk for desktop users who prefer not to use the command line terminal is to open the GUI of the application by following the path:
Activities > Show Applications > AnyDesk.
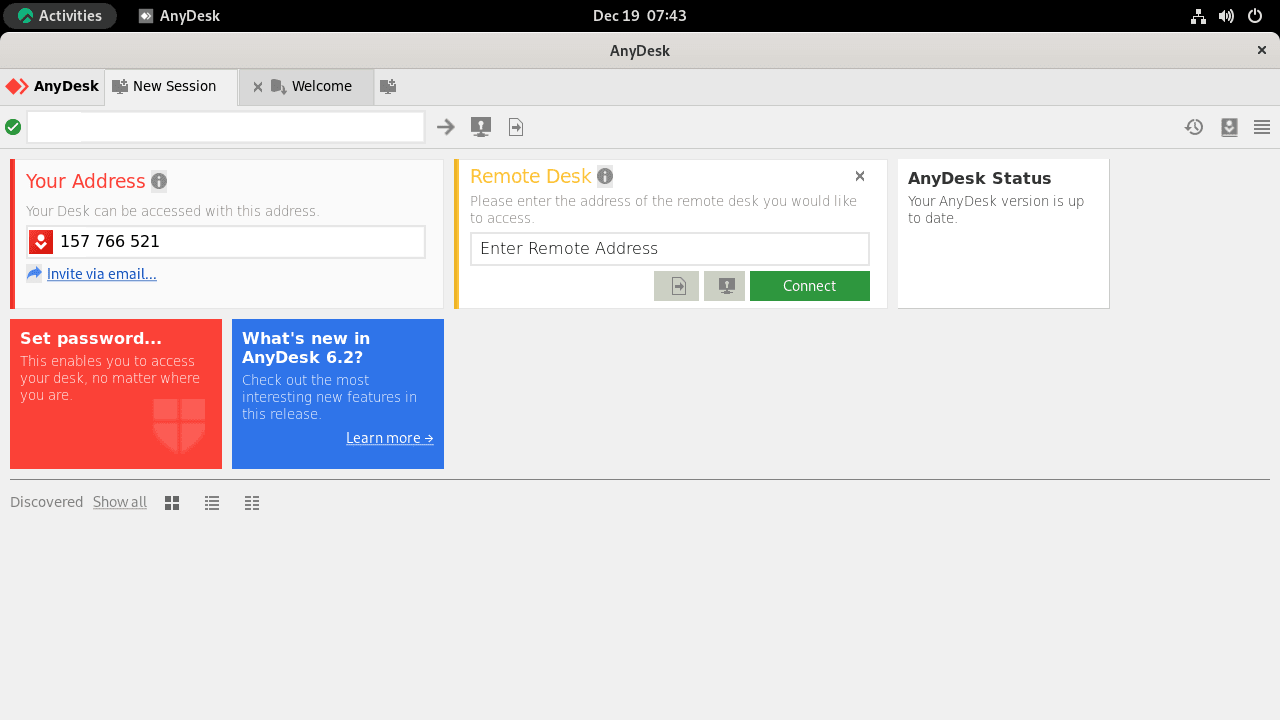
Once open, you can use AnyDesk by connecting to a remote PC and getting its address.
Tips on Getting Started with AnyDesk on Rocky Linux 9 or 8
Now that you have installed AnyDesk on Rocky Linux, diving into new software can sometimes be overwhelming for first-time users. To ensure a smooth experience, here are some essential tips and tricks for Rocky Linux users to get the most out of AnyDesk.
General Tips with AnyDesk on Rocky Linux
- Stay Updated: Always ensure that you’re running the latest version of AnyDesk. Regular updates not only bring new features but also patch potential security vulnerabilities.
- Secure Your Sessions: Always use strong, unique passwords for unattended access. This ensures that only authorized users can connect to your machine.
- Connection Quality: If you’re experiencing lag or poor connection quality, consider adjusting the display quality from the settings. Lowering the quality can improve performance on slower connections.
Customizations with AnyDesk on Rocky Linux
- Custom Alias: Instead of the default numeric ID, create a custom alias for easier recognition and access.
- Adjust Sound: If you don’t need to transmit sound during a session, you can disable it from the audio settings. This can sometimes improve connection speed.
- Display Preferences: Tailor the display settings to your liking. Using a multi-monitor setup, you can adjust the resolution or choose which monitor to display.
Other Tips with AnyDesk on Rocky Linux
- Keyboard Shortcuts: Familiarize yourself with AnyDesk’s keyboard shortcuts. They can significantly speed up your workflow. For instance,
Ctrl+Alt+Shift+Ftoggles fullscreen mode. - File Transfer: Use the built-in file transfer feature to quickly send and receive files during a session. Drag and drop the files into the AnyDesk window.
- Session Recording: You can record your sessions for training or auditing purposes. Ensure you have the consent of all parties involved before recording.
# To check your AnyDesk version on Linux:
anydesk --version
Remember, the key to mastering any software is consistent practice and exploration. As you spend more time with AnyDesk on Rocky Linux, you’ll discover more features and shortcuts to enhance your remote desktop experience. Happy computing!
Additional AnyDesk Commands with Rocky Linux 9 or 8
Update AnyDesk on Rocky Linux 9 or 8
The software should update itself with your system packages for desktop users using the DNF package manager. Use the following command in your terminal for users who want to check manually.
sudo dnf update --refreshRemove AnyDesk From Rocky Linux 9 or 8
When you no longer want the video conference software installed on your system, use the following command to remove it.
sudo dnf autoremove anydeskRemove the repository if you plan not to re-install AnyDesk again.
sudo rm /etc/yum.repos.d/anydesk.repoConclusion
In the tutorial, you have learned how to install AnyDesk on Rocky Linux EL9 or EL8 using the official repository so that you will have the latest version installed at all times. Overall, AnyDesk does work well with Enterprise Linux distributions, given they are popular in workplaces and scenarios where AnyDesk shines, so it should work well.