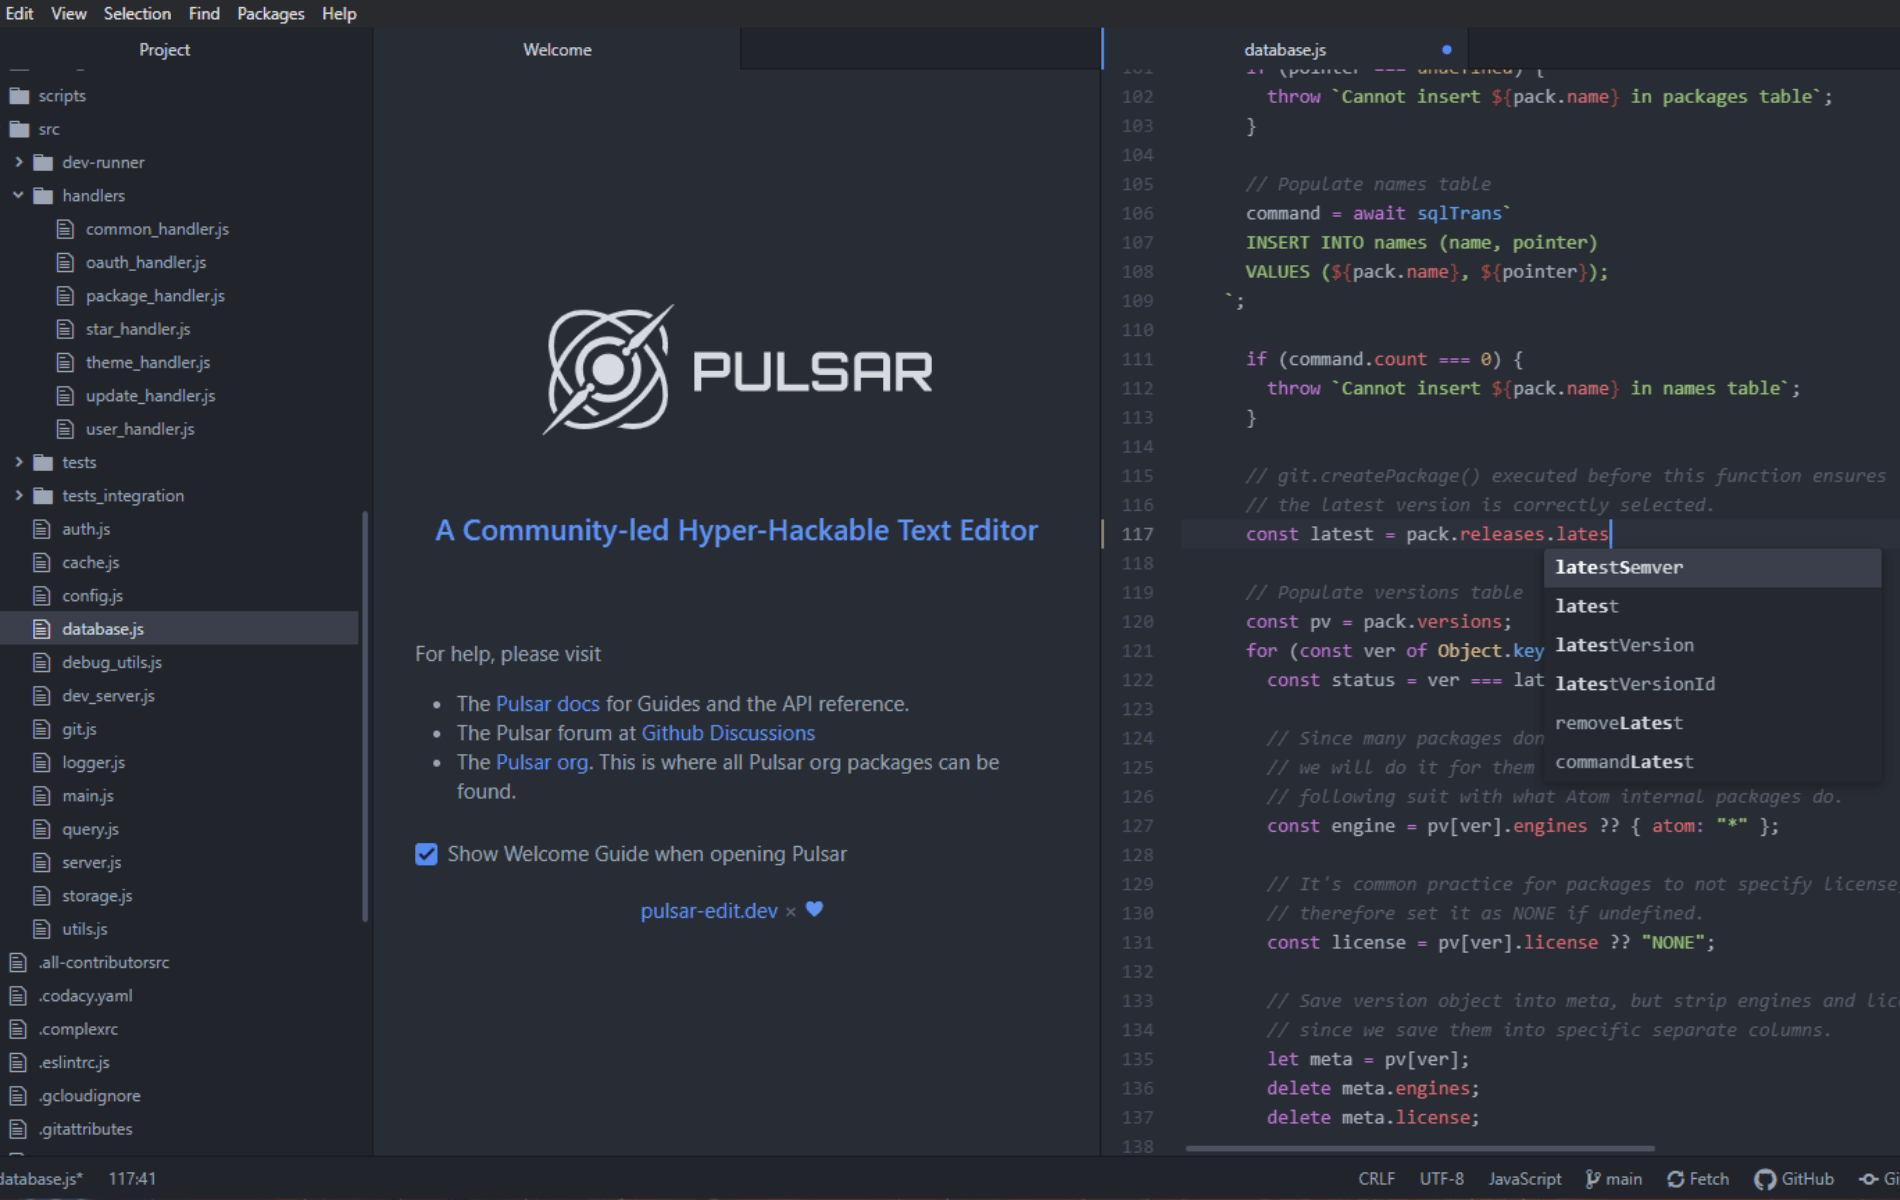
This guide will cover how to install Pulsar, a community-led, hyper-hackable text editor, on Manjaro Linux using the command-line terminal and the yay AUR helper for the latest version and future upgrades.
Embracing the legacy of Atom, Pulsar enhances the text editing experience with its unique features and customizable interface. As a fork built on Electron, Pulsar combines a familiar environment with new, innovative functionalities. It stands out for its deep customizability, allowing users to personalize every aspect of the editor, from UI to core features, while remaining accessible even with its default settings.
Key Features of Pulsar:
- Hyper-Hackability: Tailor the editor extensively to fit your workflow.
- Community-Driven Development: Continuously evolving with contributions from users.
- Electron-Based Architecture: Offers a smooth and modern user experience.
- Compatibility with Atom Packages: Leverages the vast ecosystem of Atom.
- Performance Optimizations: Enhanced speed and efficiency for coding tasks.
With these features, Pulsar is not just a text editor but a dynamic workspace tailored to your coding style. Next, we’ll explore the installation process on Manjaro Linux.
Install Pulsar on Manjaro Linux Using Yay AUR Helper
Update Manjaro Before Installing Pulsar
Start by updating your Manjaro Linux system to ensure stability and security. Run the command below:
sudo pacman -SyuThis prepares your system for a smooth Pulsar installation.
Install Yay AUR Helper (Skip if Already Installed)
Pulsar installation requires the Yay AUR helper. Ensure GIT is installed for cloning the Yay repository:
sudo pacman -S --needed --noconfirm base-devel gitThis command installs all necessary packages efficiently.
Clone the Yay Repository
Begin by cloning the yay repository:
git clone https://aur.archlinux.org/yay-git.gitCloning is crucial for building and installing Yay.
Relocate the Yay Repository
Move the cloned Yay repository to the /opt/ directory, a common location for non-standard applications:
sudo mv yay-git /opt/This step organizes your system according to the Linux filesystem hierarchy.
Set Proper User Permissions for Yay-Git
Change the ownership of the Yay-git directory to the current user:
sudo chown -R $USER:$USER /opt/yay-git
cd /opt/yay-git
This prevents permission issues and enhances security.
Build the Yay Package
Build and install Yay with:
makepkg -siThe duration of this process depends on your system’s performance.
Install Pulsar with the Yay Command
Install Pulsar using Yay:
yay -S pulsar-bin --noconfirmUnderstanding the –noconfirm Flag:
- Automates Confirmation: Skips manual confirmations during installation.
- Speeds Up Installation: Eliminates manual inputs, quickening the process.
- Recommended for Experienced Users: Best for those familiar with package installations.
- Caution for New Users: If new to Manjaro, consider avoiding this flag for more control.
Launch Pulsar on Manjaro Linux
Open Pulsar via Command Line
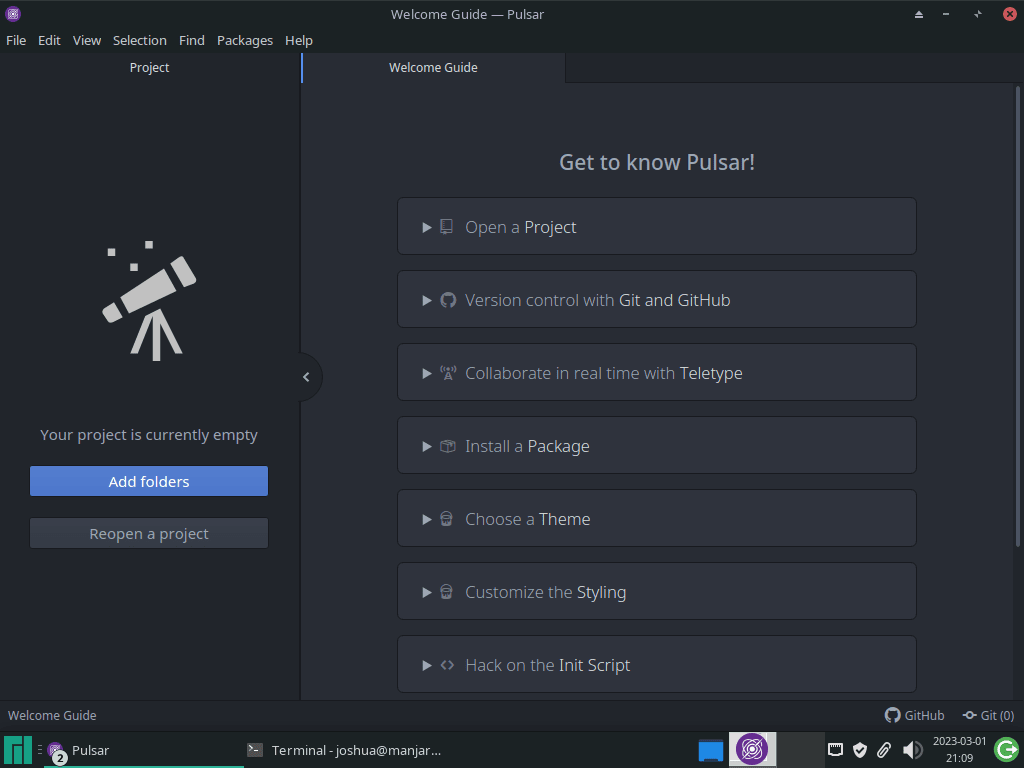
To start Pulsar on your Manjaro Linux system, use the command line for quick access. Enter this command in your terminal:
pulsarLaunch Pulsar from the Desktop Environment
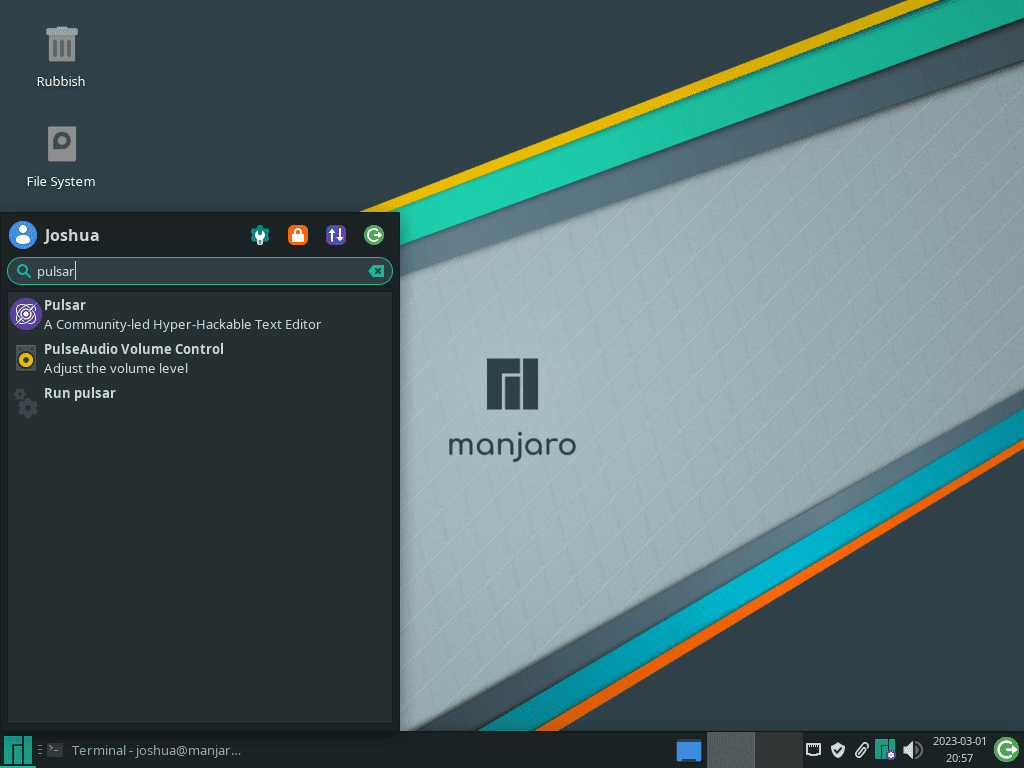
For those who favor a graphical interface, Pulsar is also available through the application menu of your desktop environment. The access method varies depending on the desktop environment:
- For KDE and Xfce Users: Navigate to Taskbar > Accessories > Pulsar. Pulsar is usually located under the ‘Accessories’ category in both KDE and Xfce, aligning with its role as a text editing tool.
- For GNOME Users: Click on Activities, then select Show Applications. Look for Pulsar, sorted alphabetically among your installed applications. This organization in GNOME simplifies finding and launching Pulsar.
First-Time Tips for Pulsar on Manjaro Linux
Now that you have successfully installed Pulsar on Manjaro Linux, here are some first-time tips to get you started with the software:
Core Functionality and Customization
Pulsar, an IDE built from Atom’s legacy, offers a core functionality enriched with over 80 default packages, such as Tree View and Settings View. These features create a solid foundation for your development environment.
Installing Packages
- To enhance Pulsar’s functionality, access the Settings View (
Ctrl+,on Linux/Windows,Cmd+,on macOS). - Navigate to the “Install” tab and enter your search query in the “Install Packages” box.
- Packages are available at the official Pulsar packages repository.
Managing Packages
- Installed packages can be managed under the “Packages” tab in the Settings View.
- Here, you can configure each package, modify default variables, view command keybindings, disable packages temporarily, inspect source code, check versions, report issues, and uninstall packages.
Installing Themes
- Personalize Pulsar with UI or syntax themes from the Settings View’s “Install” tab.
- Switch to the “Themes” toggle next to the search box to find and install themes.
Navigation and Keybindings
Pulsar supports standard Linux cursor movement combinations and other keybindings, enhancing your editing efficiency:
Ctrl+Left: Move to the beginning of the word.Ctrl+Right: Move to the end of the word.Home: Move to the first character of the current line.End: Move to the end of the line.Ctrl+Home: Move to the top of the file.Ctrl+End: Move to the bottom of the file.
With these tips, you’ll be well-equipped to start exploring and customizing Pulsar to suit your development needs on Manjaro Linux. Dive in and discover the flexibility and adaptability Pulsar offers for your web development projects. For more detailed information and tips, you can visit the Pulsar documentation.
Managing Pulsar on Manjaro Linux
Updating Pulsar on Manjaro
To maintain Pulsar’s performance and security, regular updates are essential. Use the command line for system-wide updates, which will include Pulsar and other installed packages.
Update Command
yay -Syu --devel --timeupdateCommand Options Explained
--devel: Targets development versions of packages for updates.--timeupdate: Synchronizes your system’s time before updating for precise update processing.
Removing Pulsar from Manjaro
In case you need to uninstall Pulsar, execute the following command. This action is irreversible, so ensure you want to proceed.
Uninstallation Command
yay -Rns pulsar --noconfirmUnderstanding the –noconfirm Flag
- Automates the uninstallation by skipping manual confirmation steps, speeding up the process.
Cleaning Up Unused Dependencies
Post-uninstallation, it’s important to clean up any residual files or dependencies no longer in use.
Cleanup Command
yay -YcThis command removes orphaned packages, initially dependencies for Pulsar but now redundant. Regular cleanups prevent system bloat and uphold optimal performance.
Conclusion
Throughout this guide, we’ve walked through the essential steps to get Pulsar up and running on Manjaro Linux, from installation to customization and management. Remember, keeping Pulsar updated is key for optimal performance and security. Don’t hesitate to explore the customization options Pulsar offers – it’s built for flexibility and to suit your unique coding style. Lastly, if you ever decide to part ways with Pulsar, we’ve covered how to do so cleanly. Thanks for following along, and here’s to many productive coding sessions with your newly set up Pulsar editor! Keep experimenting and making the most of Pulsar’s capabilities.


