How to Install Ansible Semaphore on Debian 11
On this page
Ansible Semaphore is an open-source web UI for Ansible playbooks. It enables the deployment using Ansible automation via a web browser. Ansible Semaphore is purely written in Go, it can be run on Linux, Windows, and macOS. Ansible Semaphore allows the deployment via Ansible from an intuitive and responsive web administration dashboard. You can always roll back, restore the configuration, and manage environments, secrets, inventories, and access keys. It allows you to run playbooks by schedule with detailed logs and notifications.
Ansible Semaphore will enable secure deployment and configuration. Provides an access control that can be used for managing users and allow to run specific playbooks.
In this tutorial, you will install the Ansible Semaphore on a Debian 11 server. You will set up Ansible Semaphore with the latest version of Ansible, using the PostgreSQL server to store users' data, and also using the Nginx web server as a reverse proxy for the Ansible Semaphore web applications.
Prerequisites
To complete this tutorial, you must have the following requirements:
- A Linux server running Debian 11 - This example uses a Debian server with the hostname 'semaphore'.
- A non-root user with sudo/root privileges - This example uses a non-root user 'bob'.
- A domain name pointed to a server IP address - This example uses a domain name called 'ansible.hwdomain.io'.
Installing Dependencies
First, you will install some package dependencies that will be used to install the Ansible Semaphore. You will install the latest version of Ansible, the PostgreSQL database server, and the Nginx web servers. And all of those packages are available by default on the Debian repository.
To start, type the following command to update and refresh your Debian package index.
sudo apt update
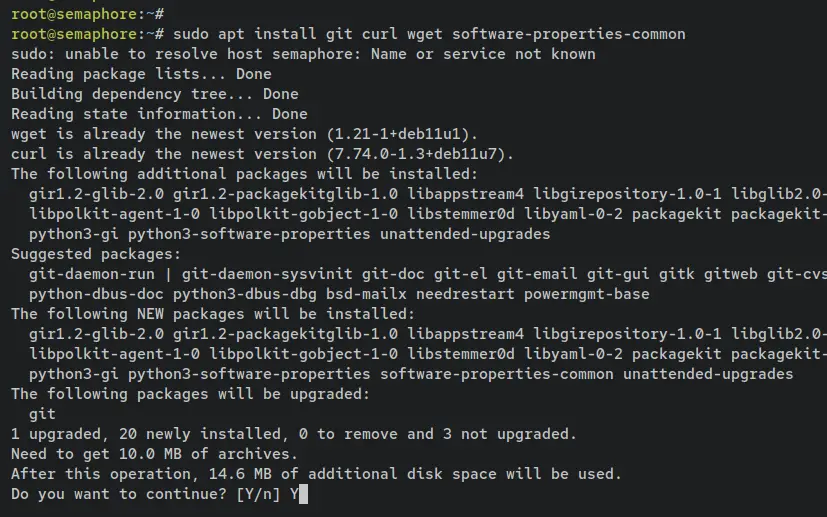
Once the package index is updated, run the following apt command to install some basic dependencies to your system. Input y when prompted and press ENTER to proceed.
sudo apt install git curl wget software-properties-common
Next, you will also need to install some package dependencies that will be used to run the Ansible Semaphore. This includes the latest version of Ansible, the PostgreSQL server, and the Nginx web server. And all of those packages are available by default on the Debian repository.
Type the following command to install Ansible, PostgreSQL, and Nginx. When prompted, input y and press ENTER.
sudo apt install ansible postgresql nginx

With Ansible, PostgreSQL, and Nginx installed, enter the following command to verify the status of both PostgreSQL and Nginx services.
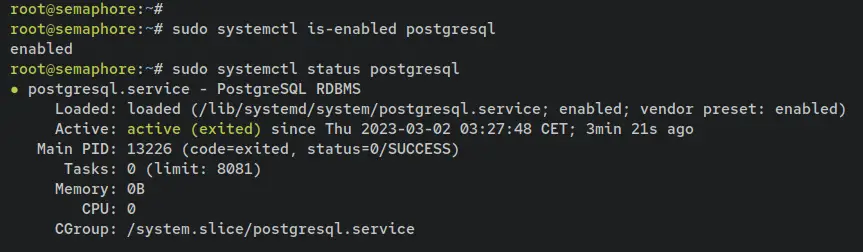
sudo systemctl is-enabled postgresql
sudo systemctl status postgresql
The output below confirms that the PostgreSQL server is enabled and will start automatically upon the system's startup. Also. it's running by default after the installation is finished.
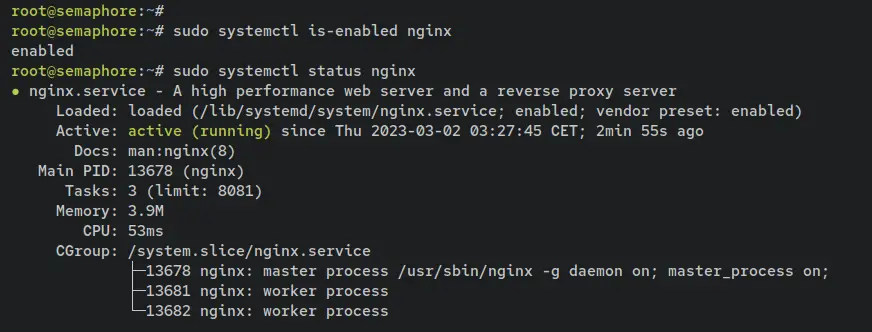
Below is the command to check the Nginx service.
sudo systemctl is-enabled nginx
sudo systemctl status nginx
The output below confirms that the Nginx web server is enabled and will start automatically upon the system startup. Also. it's running by default after the installation is finished.
With this, you have installed package dependencies for Ansible Semaphore, which includes the latest version of Ansible, the PostgreSQL database server, and the Nginx web server.
Setting up PostgreSQL Database
By default, the Ansible Semaphore supports multiple databases such as MySQL/MariaDB, BoldDB, and the PostgreSQL server. After installing the PostgreSQL server, you will now set up the PostgreSQL database and user that will be used by Ansible Semaphore.
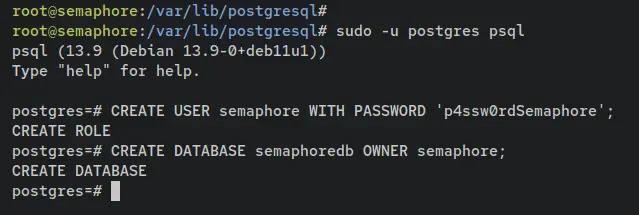
Log in to the PostgreSQL shell by entering the following command. Once logged in, the PostgreSQL prompt will become like 'postgres=#'.
sudo -u postgres psql
Now enter the following queries to create a new PostgreSQL database and user that will be used by Ansible Semaphore. In this example, you will create a new user called 'semaphore' and the database 'semaphoredb'. Also, be sure to change the password in this query.
CREATE USER semaphore WITH PASSWORD 'p4ssw0rdSemaphore';
CREATE DATABASE semaphoredb OWNER semaphore;
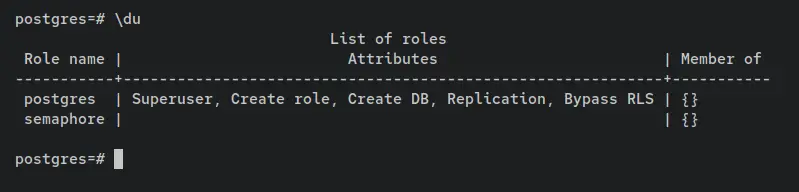
Next, enter the following queries to verify the list of users and databases on your PostgreSQL server. If the database is created, you should see the database called 'semaphoredb' on the database list. And as for the PostgreSQL user, you should see the user 'semaphore' on the list of users.
\du
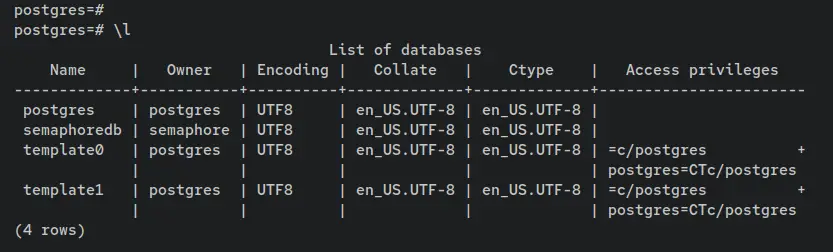
\l
List of users on the PostgreSQL server.
List of databases on the PostgreSQL server.
Now that you have created the database and user for Ansible Semaphore. Now move to the section below to start the Ansible Semaphore installation.
Installing Ansible Semaphore
With package dependencies installed and the PostgreSQL database and the user created, you will next install the Ansible Semaphore package. There are multiple packages available for various Linux distributions, visit the official Ansible Semaphore GitHub page to get detailed versions.
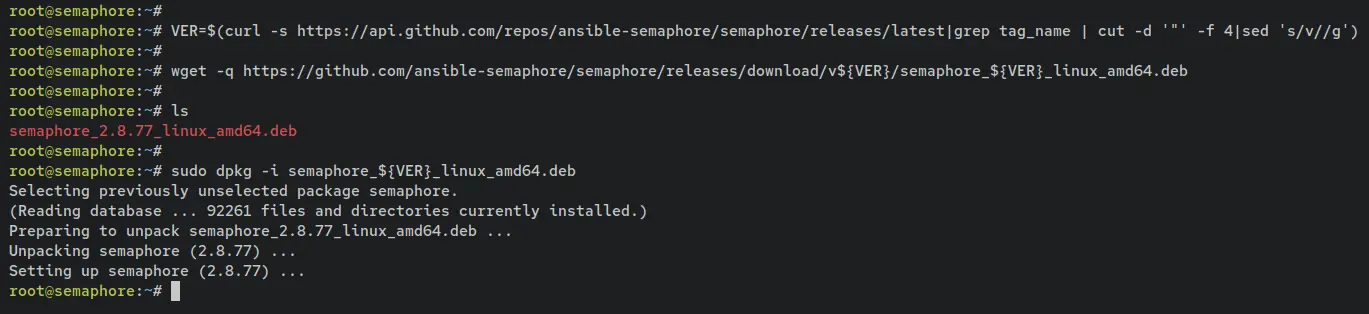
Enter the following command to download the Debian package file for Ansible Semaphore. In this example, you will download the latest version of Ansible Semaphore from the official Ansible Semaphore GitHub page.
VER=$(curl -s https://api.github.com/repos/ansible-semaphore/semaphore/releases/latest|grep tag_name | cut -d '"' -f 4|sed 's/v//g')
wget -q https://github.com/ansible-semaphore/semaphore/releases/download/v${VER}/semaphore_${VER}_linux_amd64.deb
Once the Debian package file is downloaded, you should see the file 'semaphore_2.8.77_linux_amd64.deb' in your current working directory. Also, during this writing, the Ansible Semaphore's latest version is 2.8.77.
Now enter the following dpkg command to install the Ansible Semaphore Debian package file 'semaphore_${VER}_linux_amd64.deb'.
sudo dpkg -i semaphore_${VER}_linux_amd64.deb
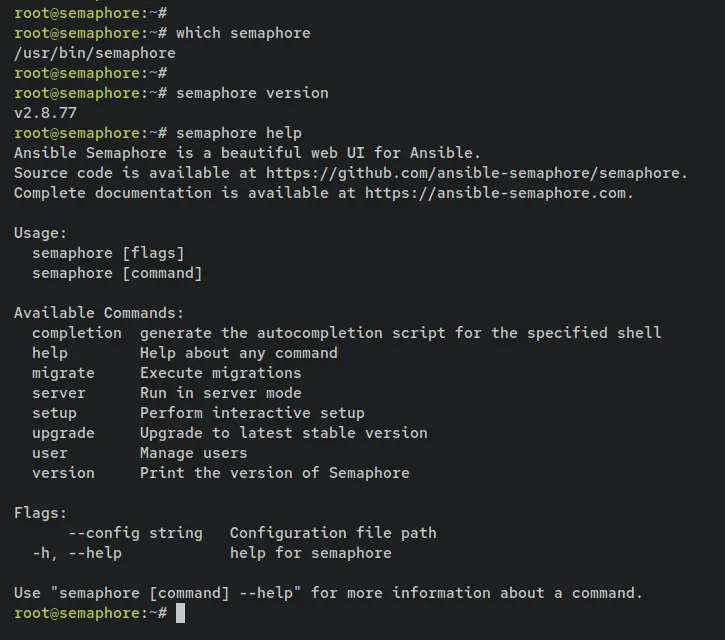
Once Ansible Semaphore is installed, the binary file called 'semaphore' will be available on the '/usr/bin' directory.
Run the following command to verify the full path of the 'semaphore' binary file.
which semaphore
Then, run the following 'semaphore' commands to verify the current version of Ansible Semaphore that is installed on your system and the help page of the 'semaphore' command.
semaphore version
semaphore help
With this, the Ansible Semaphore is installed. But to get further, you can also set up a bash completion for the 'semaphore' command utility.
To do that, first, install the 'bash-completion' package to your Debian system via the apt command below.
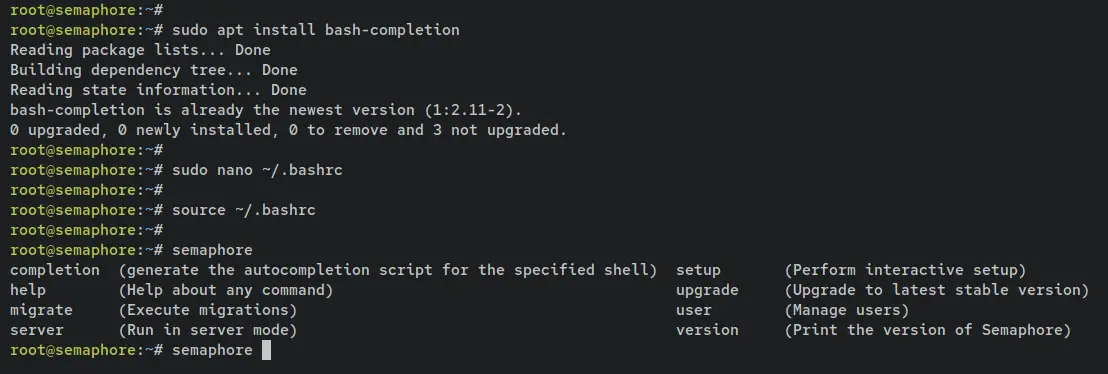
sudo apt install bash-completion
Once the 'bash-completion' is installed, open the bash config file '~/.bashrc' using the following nano editor command.
sudo nano ~/.bashrc
Add the following configurations to the end of the line.
if [ -f /usr/share/bash-completion/bash_completion ]; then
. /usr/share/bash-completion/bash_completion
elif [ -f /etc/bash_completion ]; then
. /etc/bash_completion
fi

source <(semaphore completion bash)
Save and close the file when finished.
Next, reload the '~/.bashrc' config file and type the 'semaphore' command and press the TAB button to get the list of available options/parameters of the Ansible Semaphore command utility.
source ~/.bashrc
semaphore TAB
When auto-completion for Ansible Semaphore is configured, you should see the list of available parameters of the command like this.
In this section, you have installed the Ansible Semaphore package from the Debian package file. You have also configured an auto-complete for the 'semaphore' command utility. As for the next step, you will set up the Ansible Semaphore installation.
Configuring Ansible Semaphore
After installing Ansible Semaphore, you will now set up and configure your installation with the default PostgreSQL as the database server. Also, you will generate the configuration of Ansible Semaphore that will be stored in the '/etc/semaphore' directory.
First, create a new configuration directory '/etc/semaphore', and move your working directory into it. This directory will be used for storing the configuration of the Ansible Semaphore.
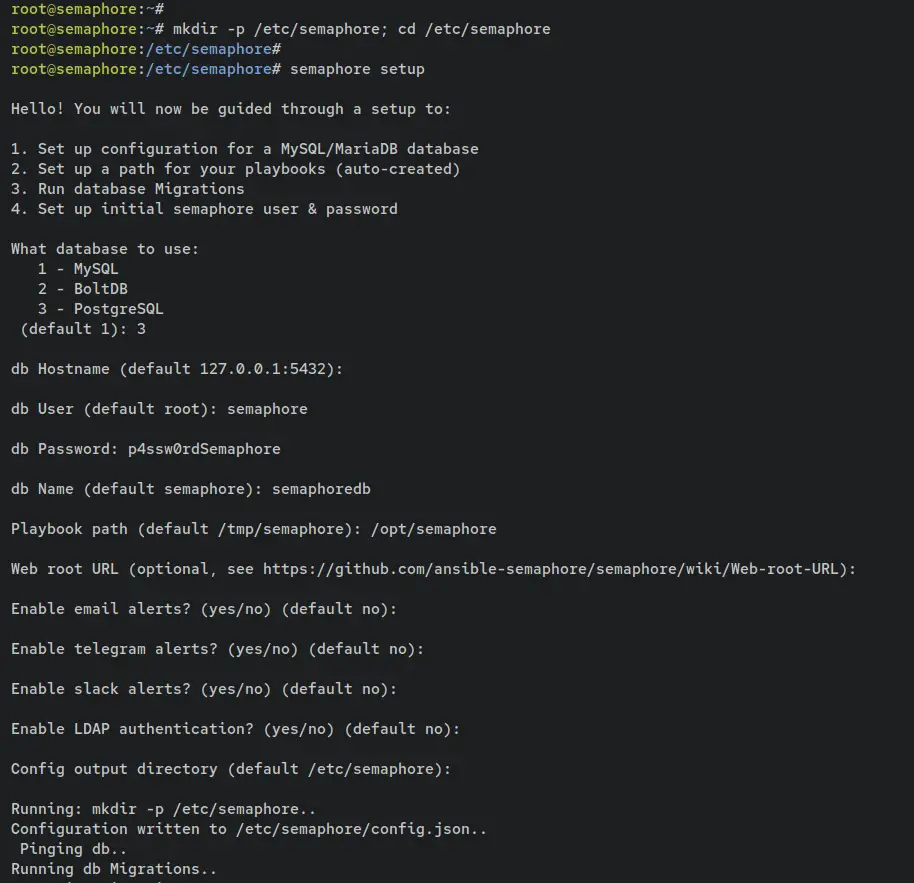
mkdir -p /etc/semaphore; cd /etc/semaphore
Now enter the following 'semaphore' command to set up and configure the Ansible Semaphore installation.
semaphore setup
After the command is executed, you will be asked for some configurations of Ansible Semaphore.
- First, select number 3 to set up Ansible Semaphore with the PostgreSQL database server. Then, input details of the PostgreSQL database name, user, and password.
- As for the Playbook path, input the new directory such as '/opt/playbook'.
- For the rest configurations, press ENTER to leave with the default settings. You can set up it later after finishing the installation.
Picture
Next, you will also be asked to create a new admin user for Ansible Semaphore. Input your username, email address, and password. When configurations are finished, yous should receive an output similar to this. Also, you will see the generated Ansible Semaphore config file '/etc/semaphore/config.json'.
With this, you have now configured the Ansible Semaphore installation with the PostgreSQL database server and also configured the admin user and password for Ansible Semaphore. In addition to that, you have also configured the default Playbookj path directory to '/opt/semaphore'.
You're now ready to start the Ansible Semaphore. For the next step, you will set up and run Ansible Semaphore via Systemd.
Running Ansible Semaphore with Systemd
In this section, you will create a new systemd unit file that will be used for managing the Ansible Semaphore p[rocess. This allows you easily to manage Ansible Semaphore via the systemctl command utility.
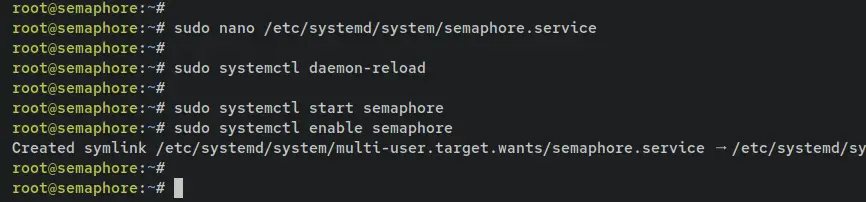
Create a new systemd unit file '/etc/systemd/system/semaphore.service' using the following nano editor command.
sudo nano /etc/systemd/system/semaphore.service
Add the following lines to the file.
[Unit]
Description=Semaphore Ansible
Documentation=https://github.com/ansible-semaphore/semaphore
Wants=network-online.target
After=network-online.target

[Service]
Type=simple
ExecReload=/bin/kill -HUP $MAINPID
ExecStart=/usr/bin/semaphore service --config=/etc/semaphore/config.json
SyslogIdentifier=semaphore
Restart=always

[Install]
WantedBy=multi-user.target
Save the file and exit the editor when finished.
Now enter the following command to reload the systemd manager and apply the new systemd unit file. With this, you can now start the Ansible Semaphore service via the systemctl command.
sudo systemctl daemon-reload
Type the following 'systemctl' command to start and enable the 'semaphore' service. And it's running by default on the TCP port '3000'.
sudo systemctl start semaphore
sudo systemctl enable semaphore
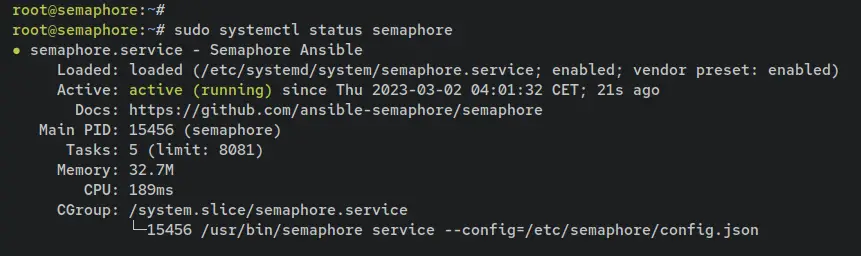
Then, verify the 'semaphore' service to ensure that the service is running and enabled.
sudo systemctl status semaphore
An output 'enabled' confirms that the Ansible Semaphore will be run automatically at system startup. And the status of Ansible Semaphore is running.
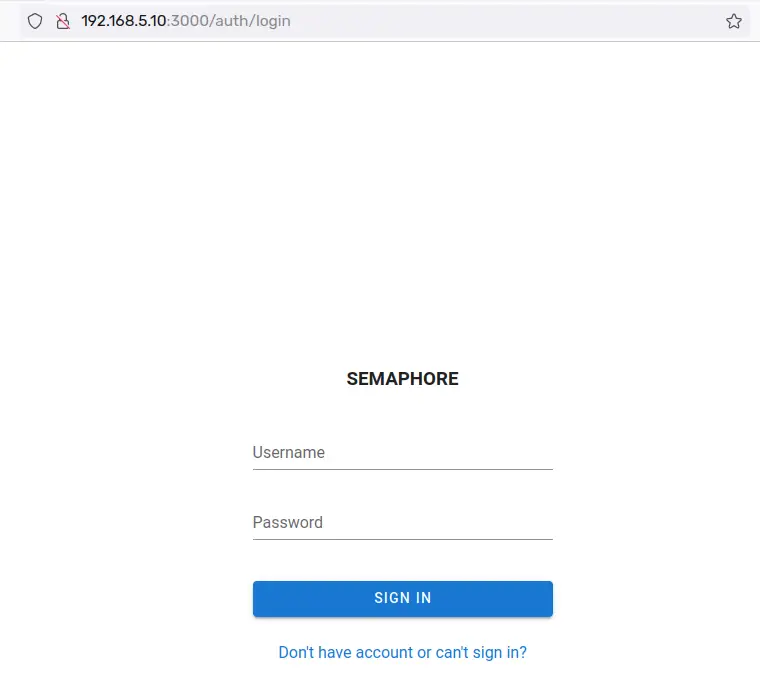
Lastly, you can also access the Ansible Semaphore from your web browser. Open the web browser and visit the server IP address followed by the default port 3000 (i.e: http://192.168.5.10:3000/). When Ansible Semaphore is running, you should see the login page of the Ansible Semaphore web application.
Now that the Ansible Semaphore is running in the background as a systemd service and it's running on the default port 3000. As for the next step, you will set up Nginx as a reverse proxy for Ansible Semaphore.
Running Ansible Semaphore with Nginx Reverse Proxy
At this point, you have finished the Ansible Semaphore installation and it's now running on default port 3000. In this section, you will set up the Nginx as a reverse proxy for the Ansible Semaphore. So before you start, ensure that you have the domain name for your installation.
Create a new Nginx server block file '/etc/nginx/sites-available/semaphore.conf' using the following nano editor command.
sudo nano /etc/nginx/sites-available/semaphore.conf
Add the following lines to the file and be sure to change the 'server_name' parameter with your domain name.
upstream semaphore {
    server 127.0.0.1:3000;
  }

server {
    listen 80;
    server_name ansible.hwdomain.io;
      client_max_body_size 0;
      chunked_transfer_encoding on;

    location / {
      proxy_pass http://semaphore/;
      proxy_set_header Host $http_host;
      proxy_set_header X-Real-IP $remote_addr;
      proxy_set_header X-Forwarded-For $proxy_add_x_forwarded_for;

      proxy_set_header X-Forwarded-Proto $scheme;

      proxy_buffering off;
      proxy_request_buffering off;
    }

    location /api/ws {
      proxy_pass http://semaphore/api/ws;
      proxy_http_version 1.1;
      proxy_set_header Upgrade $http_upgrade;
      proxy_set_header Connection "upgrade";
      proxy_set_header Origin "";
    }
}
Save and close the file when finished.
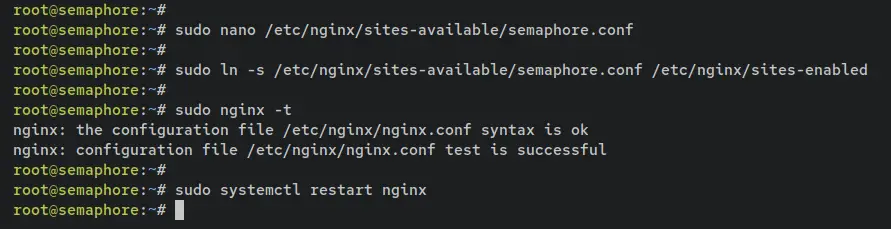
Next, enter the following command to activate the server block configuration 'semaphore.conf'. Then, verify Nginx configurations to ensure that you have proper and correct configuration files. When the operation is successful, you should see an output such as 'syntax is ok - test is successful'.
sudo ln -s /etc/nginx/sites-available/semaphore.conf /etc/nginx/sites-enabled
sudo nginx -t
Lastly, restart the Nginx service to apply the changes. Now the Ansible Semaphore installation is accessible from your domain name.
sudo systemctl restart nginx
Setting up UFW
In this example, you will install and enable the firewall on your Debian system via UFW. You will be using UFW to open the SSH, HTTP, and HTTPS services.
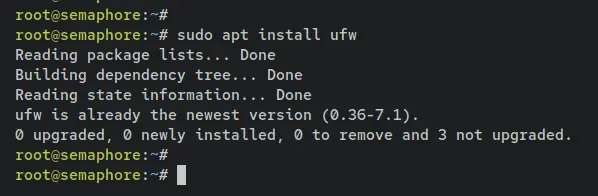
First, install the UFW package via the apt command below. Input and press ENTER to proceed.
sudo apt install ufw
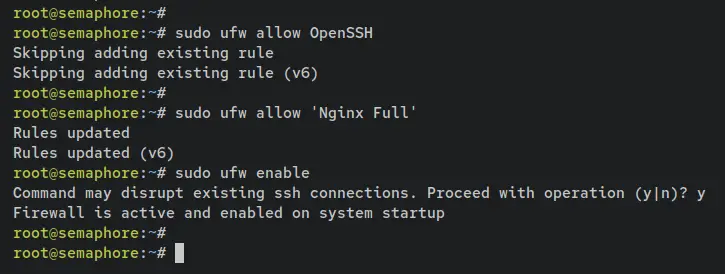
Next, run the following command to add the OpenSSH and 'Nginx Full' applications to the UFW. The OpenSSH application will open the default SSH port 22 and the 'Nginx Full' application will open both HTTP and HTTPS ports.
sudo ufw allow OpenSSH
sudo ufw allow "Nginx Full"
Now run the following command to start and enable UFW. Input y and press ENTER to confirm.
sudo ufw enable
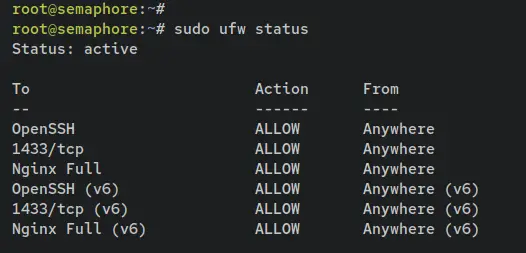
Lastly, verify the status of UFW using the below command. You should see the UFW with the 'Status: Active'; both OpenSSH and 'Nginx Full' applications are added and available on the rule list.
sudo ufw status
Securing Ansible Semaphore with Letsencrypt
After configuring UFW, you will now set up and secure Ansible Semaphore with SSL/TLS certificates via Certbot and Letsencrypt. You will install Certbot with the Certbot-Nginx plugin, then you will generate SSL/TLS certificates from letsencrypt.
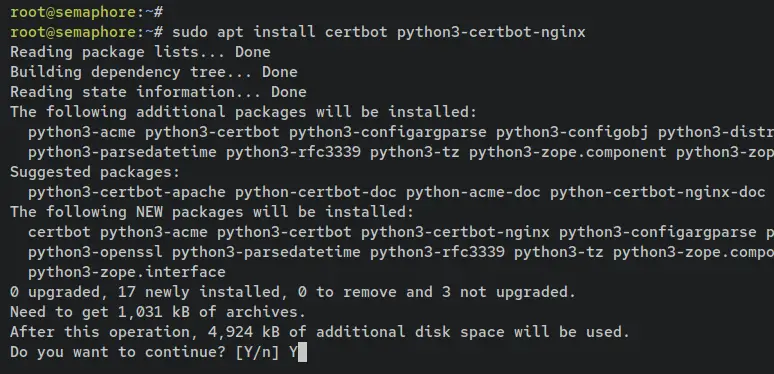
Enter the following command to install the Certbot and Certbot-Nginx plugin. When prompted, input y to confirm and press ENTER to proceed.
sudo apt install certbot python3-certbot-nginx
Once Certbot is installed, run the following command to generate SSL certificates for your domain name and secure the Ansible Semaphore installation. Be sure to change the email address and the domain name in this command.
sudo certbot --nginx --agree-tos --no-eff-email --redirect --email [email protected] -d ansible.hwdomain.io
When the process is finished, your SSL/TLS certificates will be generated at the '/etc/letsencrypt/live/yourdomain.com/' directory. Also, the Ansible Semaphore is now accessible via a secure HTTPS connection and will automatically redirect any HTTP requests to the secure HTTPS connection.
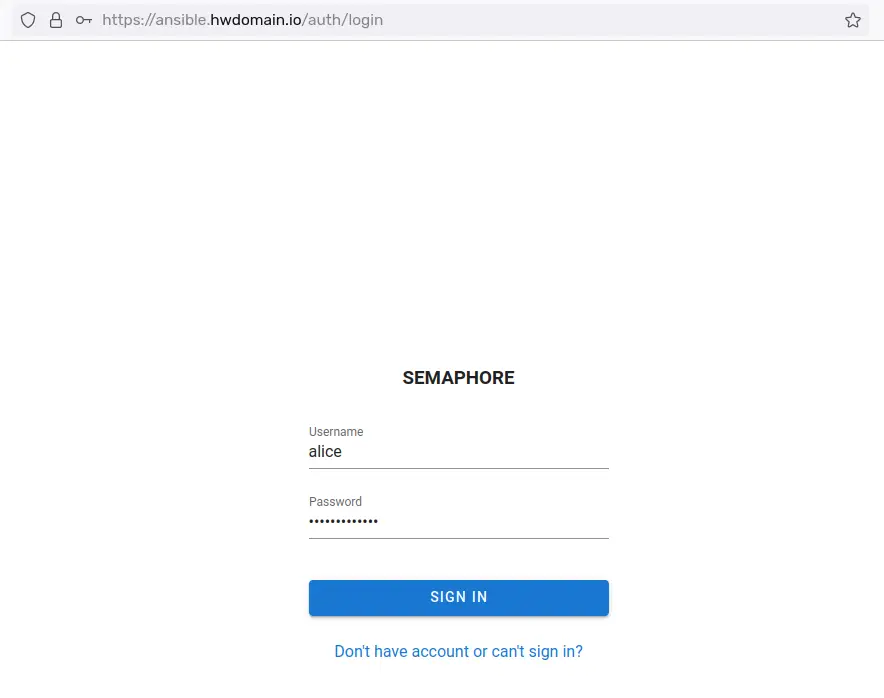
Now open your web browser and visit the domain name of your Ansible Semaphore installation (i.e: https://ansible.hwdomain.io/auth/login). When you have proper Nginx configurations and the SSL Letsencrypt is working, you should see the Ansible Semaphore login page.
Input your admin user and password for Ansible Semaphore, then click SIGN IN to confirm.
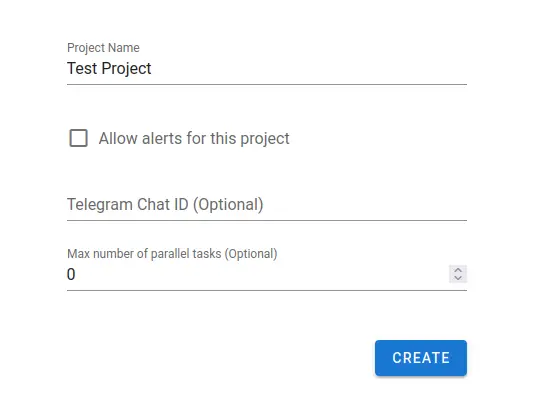
When successful, you will be asked to create the first project for your installation. Input the project name, then click CREATE.
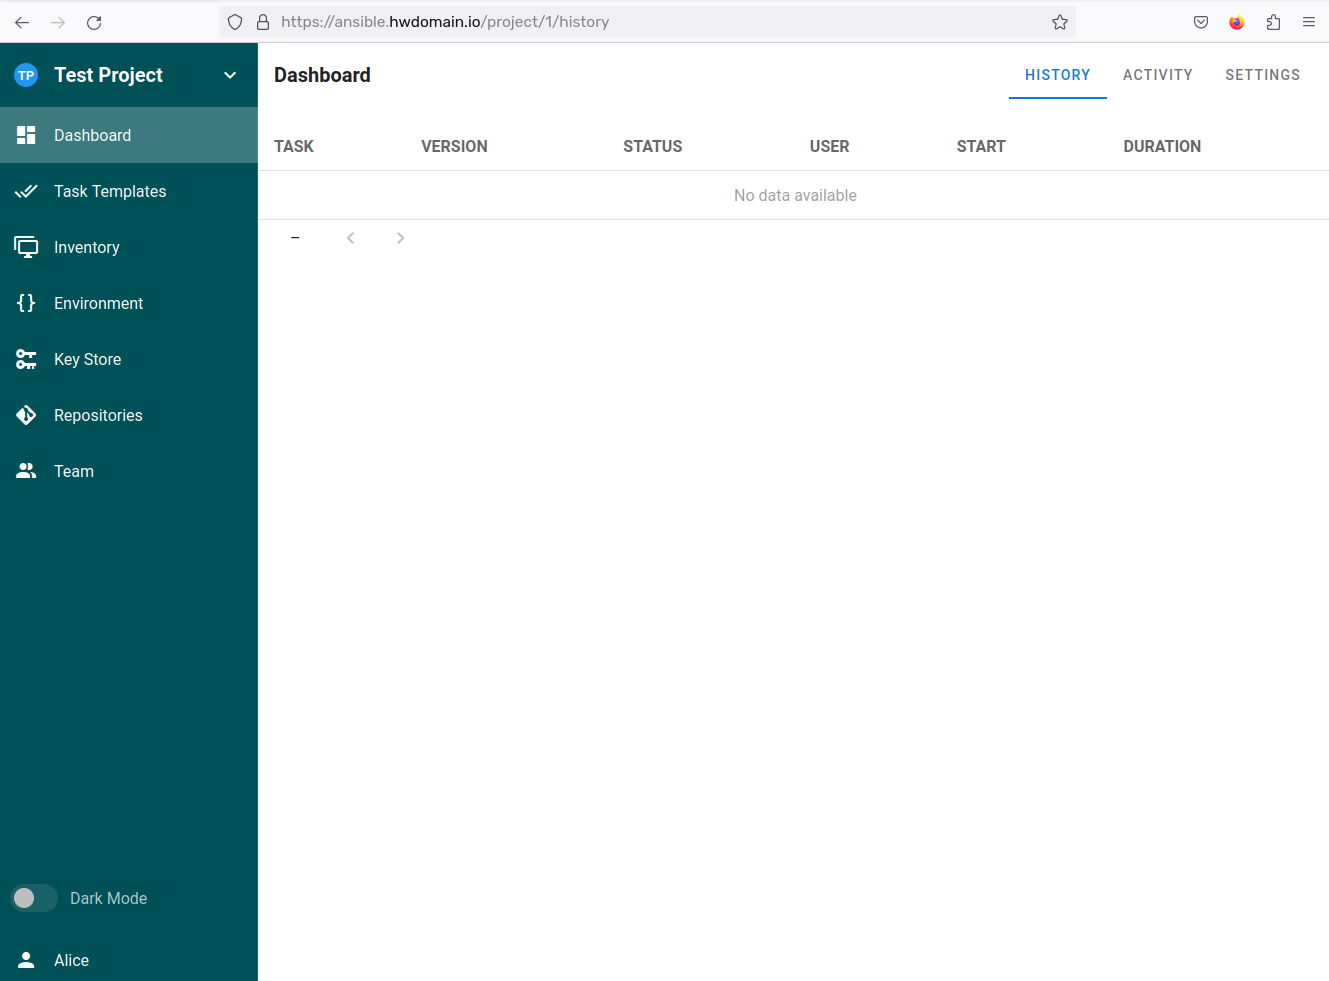
After the first project is created, you should see the administration dashboard of Ansible Semaphore.
Conclusion
Throughout this tutorial, you have installed and configured Ansible Semaphore on Debian 11 server with PostgreSQL as the database server and Nginx as a reverse proxy for the Ansible Semaphore. You have learned the basic usage of PostgreSQL for creating a database and user and the basic configuration of the Nginx server block for the reverse proxy.
In addition to that, you have also secured the Ansible Semaphore installation via UFW and SSL/TLS certificates generated from Letsencrypt.
With this in mind, you can now integrate your Ansible playbook into Ansible Semaphore via the web administration dashboard. You can also set up multiple notification systems via Email, Slack, and many more. To get details information, visit the official documentation of the Ansible Semaphore application.

