Seamonkey Internet Suite, an integrated solution for internet activities, offers Debian users a cohesive package combining a web browser, email client, newsgroup client, IRC chat client, and HTML editor. This guide will detail how to install Seamonkey on Debian 12 Bookworm, Debian 11 Bullseye, or Debian 10 Buster using the Ubuntuzilla apt third-party repository, ensuring access to the latest version and straightforward updates via CLI commands.
Key Features of Seamonkey Internet Suite:
- Unified Experience: Seamlessly manage online activities with Seamonkey’s integrated web browser, email client, newsgroup client, IRC chat, and HTML editor.
- Efficiency: Designed for resource optimization, Seamonkey is ideal for older hardware and users seeking a lightweight application.
- Customization: Tailor Seamonkey with extensions and themes, enhancing its already customizable interface to fit individual preferences.
- Security and Privacy: With features like pop-up blocking, privacy mode, and phishing protection, Seamonkey prioritizes user safety.
- Integrated Web Development: Seamonkey’s Composer, an in-built HTML editor, offers a potent tool for web developers.
- Active Development: Supported by a dedicated community, Seamonkey ensures continuous updates and improvements.
In essence, Seamonkey Internet Suite is a comprehensive solution for Debian users, merging efficiency, customization, and robust security features into one package. Now, on to the main article on installing the internet suite.
Install SeaMonkey on Debian 12, 11, or 10 via APT
Step 1: Update Debian Linux Before SeaMonkey Installation
Begin by updating your Debian system to ensure you have the latest packages installed. Run the following command:
sudo apt update && sudo apt upgradeThis command first updates the package list (with apt update) and then upgrades all installed packages to their latest versions (with apt upgrade).
Step 2: Import SeaMonkey APT Repository on Debian
Install Required Packages
Before importing the GPG key, install the necessary packages by running:
sudo apt install dirmngr software-properties-common apt-transport-https -yThese packages will allow you to manage GPG keys and repositories securely.
Create GPG Directories (if necessary)
If you have not previously imported a GPG key from the Ubuntu keyserver, you may need to create the necessary directories. Run the following command:
sudo gpg --list-keysOr for root users:
gpg --list-keysExample output:
gpg: directory '/root/.gnupg' created
gpg: keybox '/root/.gnupg/pubring.kbx' created
gpg: /root/.gnupg/trustdb.gpg: trustdb created
This command lists the GPG keys and creates the required directories if they don’t exist.
Import the GPG Key
Next, import the GPG key required to verify the authenticity of the packages:
sudo gpg --no-default-keyring --keyring /usr/share/keyrings/ubuntuzilla.gpg --keyserver keyserver.ubuntu.com --recv-keys 2667CA5CThis command imports the Ubuntuzilla GPG key into a custom keyring file (/usr/share/keyrings/ubuntuzilla.gpg) from the specified keyserver.
Example output:
gpg: keybox '/usr/share/keyrings/ubuntuzilla.gpg' created
gpg: key B7B9C16F2667CA5C: public key "Daniel Folkinshteyn (Ubuntuzilla signing key) <nanotube@users.sourceforge.net>" imported
gpg: Total number processed: 1
gpg:               imported: 1
Add Ubuntuzilla Repository
With the GPG key imported, you can now add the Ubuntuzilla repository to your system:
printf 'deb [signed-by=/usr/share/keyrings/ubuntuzilla.gpg] https://downloads.sourceforge.net/project/ubuntuzilla/mozilla/apt all main\n' | sudo tee /etc/apt/sources.list.d/ubuntuzilla.listThis command creates a new repository file (/etc/apt/sources.list.d/ubuntuzilla.list) containing the Ubuntuzilla repository information and specifies that the repository is signed with the previously imported GPG key.
Step 3: Install SeaMonkey on Debian via APT Command
Update the package list again to include the newly added Ubuntuzilla repository:
sudo apt updateWith the repository added and the package list updated, you can now install the SeaMonkey Internet Suite:
sudo apt install seamonkey-mozilla-buildThis command installs the latest version of SeaMonkey from the Ubuntuzilla repository.
Launch SeaMonkey on Debian 12, 11 or 10
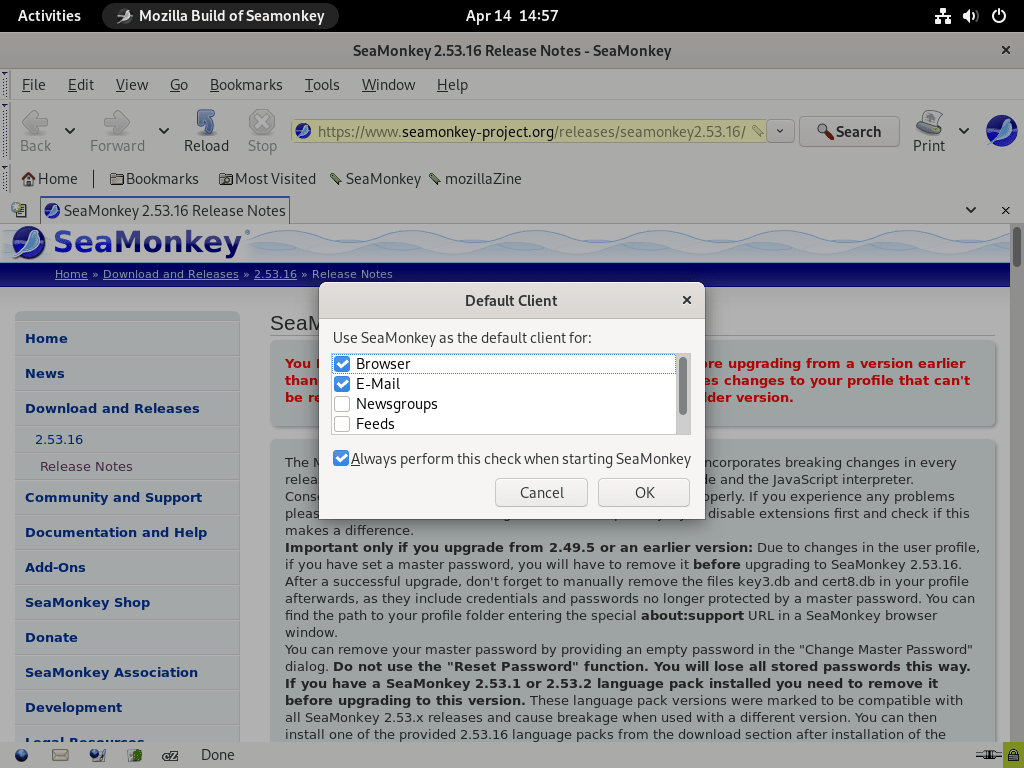
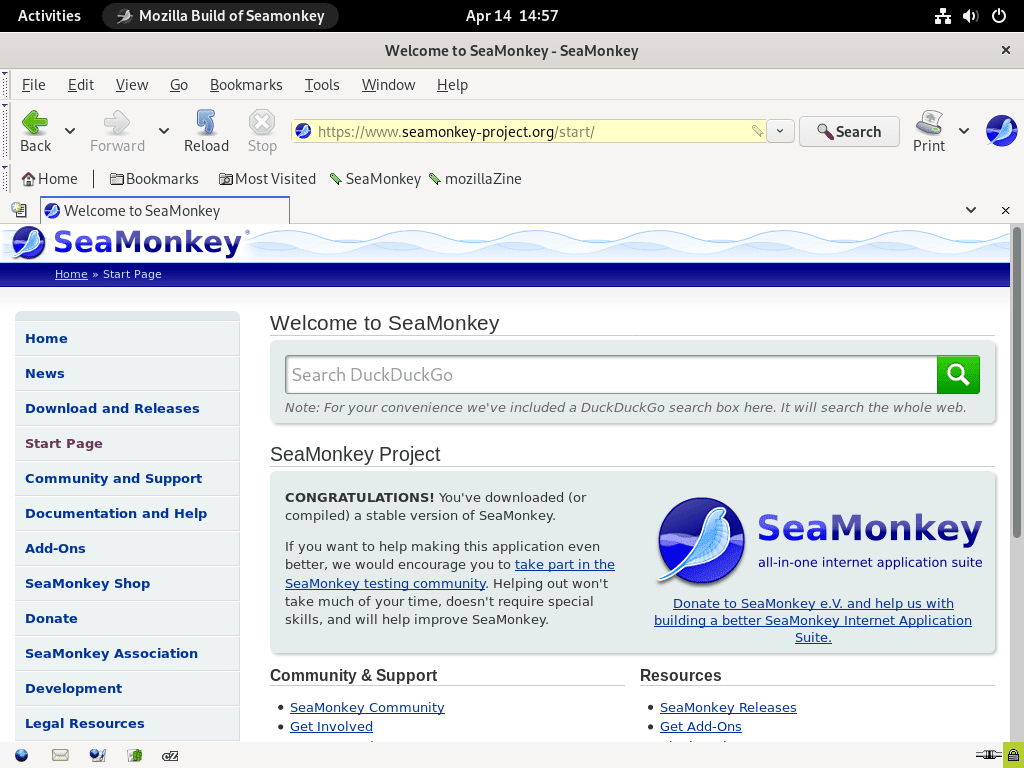
After installing the SeaMonkey Internet Suite, you can launch it using one of two methods: through the command line interface (CLI) or via the graphical user interface (GUI) of your Debian system. Both methods are explained below.
Firstly, to launch SeaMonkey using the command line, open a terminal window and enter the following command:
seamonkeyThis command starts the SeaMonkey Internet Suite, and the main window should appear on your screen shortly.
Alternatively, you can launch SeaMonkey using the application menu of your Debian system. The process may vary slightly depending on the desktop environment you are using (e.g., GNOME, KDE, XFCE, etc.). The following steps provide a general guideline:
- Access the application menu: Click on the application menu icon, typically located in the lower-left or upper-left corner of your screen. This icon may resemble a grid, a Debian swirl logo, or another symbol, depending on your desktop environment.
- Search for SeaMonkey: In the application menu, locate the search bar and type “SeaMonkey” (without the quotes). As you type, a list of matching applications should appear.
- Launch SeaMonkey: Click on the “SeaMonkey Internet Suite” or “SeaMonkey” entry in the list of search results. The application will start, and the main window will appear on your screen.
Getting Started with SeaMonkey on Debian 12, 11 or 10
Now that you have installed and launched the SeaMonkey Internet Suite let’s explore some tips and tricks for getting started and making the most of your experience. The following sections provide an overview of general tips, customization options, and other helpful information specifically for Debian Linux users.
General SeaMonkey Tips with Debian
- Tabbed browsing: SeaMonkey supports tabbed browsing, allowing you to open multiple web pages in a single window. To open a new tab, press
Ctrl + Tor right-click on an existing tab and select “New Tab.” - Bookmark management: To add a bookmark for the current page, press
Ctrl + Dor click on the “Bookmarks” menu and select “Bookmark This Page.” You can also manage your bookmarks by selecting “Manage Bookmarks” from the “Bookmarks” menu. - Download manager: Keep track of your downloads by accessing the built-in download manager. Press
Ctrl + Jor click on the “Tools” menu and select “Download Manager.” - Built-in email client: SeaMonkey includes a full-featured email client. To set up your email account, click on the “Window” menu and select “Mail & Newsgroups.” Follow the prompts to configure your email account and start sending and receiving messages.
SeaMonkey Customization Options with Debian
- Extensions and Themes: Enhance the functionality and appearance of SeaMonkey by installing extensions and themes. Access the SeaMonkey Add-ons Manager by clicking on the “Tools” menu and selecting “Add-on Manager.” From there, you can browse, install, and manage extensions and themes.
- Toolbar customization: Customize the toolbars in SeaMonkey by right-clicking on an empty toolbar area and selecting “Customize.” Add, remove, or rearrange buttons and other elements to suit your preferences.
- Change the default search engine: To change the search engine in SeaMonkey, click on the magnifying glass icon in the search bar and select “Manage Search Engines.” From there, you can add, remove, or rearrange search engines.
Other with Debian Tips
- Built-in HTML editor: SeaMonkey’s integrated HTML editor, Composer, allows you to create and edit web pages. To access Composer, click on the “Window” menu and select “Composer.”
- IRC chat client: Connect to IRC chatrooms using SeaMonkey’s built-in IRC client, ChatZilla. To open ChatZilla, click the “Window” menu and select “ChatZilla.”
- Clear browsing history and cookies: To protect your privacy, you can easily clear your browsing history and cookies. Click on the “Edit” menu, select “Preferences,” then navigate to “Privacy & Security” and click on “Clear All.”
These tips and customization options will help you start with the SeaMonkey Internet Suite on Debian Linux. As you become more familiar with the application, you can explore its many features and tailor the experience to your preferences.


Additional Commands For SeaMonkey on Debian 12, 11 or 10
In this section, we’ll cover additional commands and tips for managing the SeaMonkey Internet Suite on your Debian system, including updating and removing the application.
Update SeaMonkey on Debian
Keeping SeaMonkey up-to-date ensures you benefit from the latest features, bug fixes, and security updates. To update SeaMonkey, follow these steps:
Open a terminal window and run the following command:
sudo apt updateThis command fetches the latest package information from your configured repositories, including the Ubuntuzilla repository containing SeaMonkey.
Next, if an upgrade is available for SeaMonkey to the latest version or any of your other packages, execute the following command in the terminal:
sudo apt upgradeThis command checks for any available updates and installs them. If an update is available, the command will display information about the new version and ask for confirmation before proceeding with the installation
Remove SeaMonkey From Debian
If you decide to uninstall SeaMonkey from your Debian system, follow these steps:
sudo apt remove seamonkey-mozilla-buildThis command uninstalls SeaMonkey and its associated packages. You will be prompted to confirm the removal before it proceeds.
Additionally, you can remove the repository with the following command:
sudo apt remove etc/apt/sources.list.d/ubuntuzilla.listConclusion
Installing the SeaMonkey Internet Suite on Debian Linux is a straightforward process that grants you access to a comprehensive set of tools for browsing the web, managing emails, editing HTML files, and participating in IRC chats. By following the steps in this guide, you can easily set up SeaMonkey on your Debian system, customize it to your liking, and take advantage of its various features.


