

This guide will demonstrate how to install Wireshark on Ubuntu 24.04, 22.04, or 20.04 LTS utilizing the command-line terminal with the APT Package Manager via two options: Ubuntu’s default version or the Wireshark Dev LaunchPAD PPA.
Wireshark stands as the premier network protocol analyzer tool, essential for professionals and enthusiasts aiming to understand their network’s intricacies. Its capability to dissect and display packet information in real-time makes it invaluable for troubleshooting, network performance evaluation, and cybersecurity. Operating across a multitude of platforms, Wireshark offers a detailed lens through which users can examine the data traveling back and forth on their networks. Its user-friendly interface, coupled with powerful filtering options, allows users to navigate complex network traffic easily.
Here’s why mastering Wireshark is a must for anyone involved in network management:
- Unmatched Depth of Analysis: Delve into the details of network packets for comprehensive understanding.
- Cross-Platform Compatibility: Available on Linux, Windows, and macOS, ensuring wide accessibility.
- Real-Time Data Capture: Monitor network traffic as it happens for immediate insights.
- Advanced Filtering: Isolate relevant data quickly with sophisticated filtering capabilities.
- Graphical and Textual Views: Analyze data in a format that best suits your needs.
- Open Source: Benefit from continuous improvements and community support.
- Educational Tool: Enhance learning in networking concepts and protocols.
- Cybersecurity Applications: Identify and diagnose security vulnerabilities and potential threats.
Now, let’s transition into the practical steps to get Wireshark up and running on your Ubuntu system.
Install Wireshark on Ubuntu
Updating Your Ubuntu System Before Wireshark Installation
The initial action to be taken is to ensure your Ubuntu system is up-to-date. This avoids any conflicts that could arise from outdated components during the installation process. The system and its software packages will be refreshed to their most recent versions by executing the following command in your terminal.
sudo apt update && sudo apt upgradeDetermining Your Preferred Wireshark Installation Method
At this junction, you have two options for installing Wireshark, each with distinct benefits and considerations.
Method 1: Install Wireshark from the Ubuntu Repository
Wireshark is included by default in Ubuntu’s software repository. This simplifies the installation process, as you need not manually download packages or compile from the source. Additionally, this method ensures your Wireshark installation stays updated automatically with your system updates. To install Wireshark using this method, you can execute the following command:
sudo apt install wiresharkMethod 2: Install Wireshark via Wireshark Developers Team PPA
The second installation method introduces the usage of the Personal Package Archive (PPA) maintained by the Wireshark Developers Team. This method is beneficial if you’re running an older Ubuntu system, such as Ubuntu 20.04 LTS, which may have an out-of-date version of Wireshark. The PPA backports the latest stable releases of Wireshark from Debian package versions, allowing you to enjoy the latest features and improvements.
To utilize this method, first import the PPA into your system with the following command:
sudo add-apt-repository ppa:wireshark-dev/stable -yThen, update your system’s package list and proceed with the installation of Wireshark by executing the following command:
sudo apt update && sudo apt install wiresharkFinalize Wireshark Installation on Ubuntu
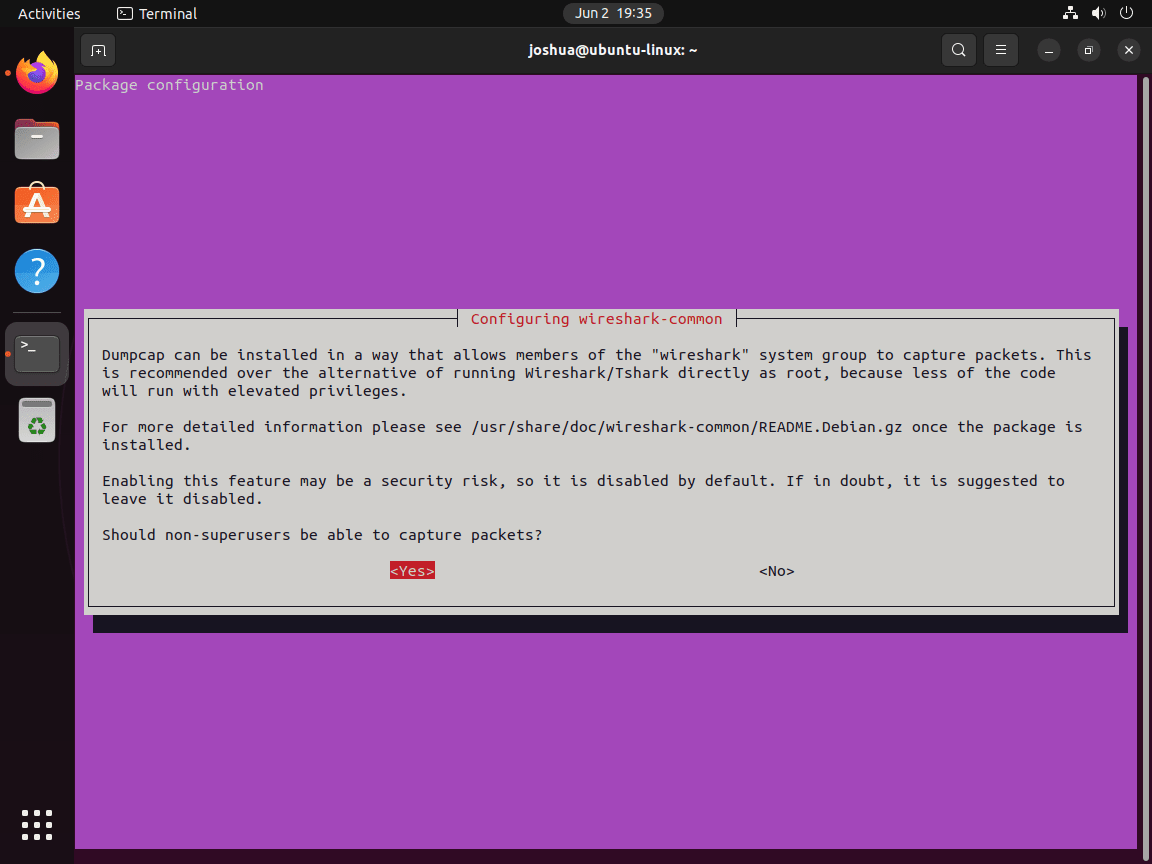
During the installation process, you may encounter a prompt asking if you want non-superusers to be able to run Wireshark. This is related to the system permissions necessary for running the application. If you choose not to grant this access, you must add each user individually to the ‘wireshark’ user group. Your choice here depends on your security requirements.
To grant a user the necessary permissions to run Wireshark, first log into your root account using the following command:
suIf you’ve forgotten your root password or never set one, you can establish a new one using the following command:
sudo passwd rootYou can re-switch to the root account with the ‘su’ command. With root access, you can now add your user to the ‘wireshark’ group:
usermod -a -G wireshark _your_username_Replace <your_username> With your actual username. For example:
usermod -a -G wireshark joshuaAfter adding your user to the ‘wireshark’ group, you can return to your regular account:
su <account name>Replace <account_name> with your actual account name. For example:
su joshuaA system reboot can be convenient if you encounter any issues or anomalies with running processes post-installation. Launching Wireshark before adjusting the privileges can also circumvent potential issues.
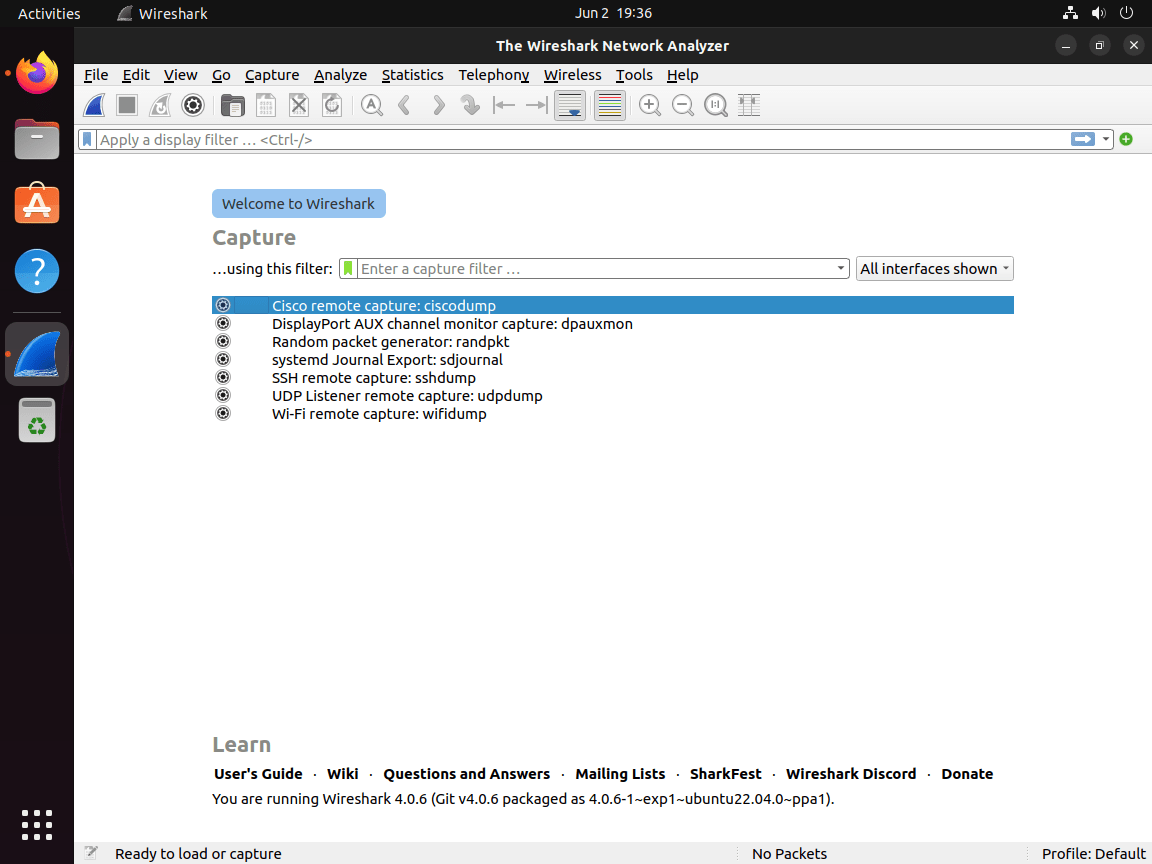
Launch Wireshark on Ubuntu via CLI or GUI
Now that you have the Wireshark installed, launching can be done in a few options.
CLI Command to Launch Wireshark GUI
First, if your terminal is open, you can launch the application immediately with the following command.
wiresharkGUI Application Icon Launch Path for Wireshark
However, this can be a pain to load the terminal for desktop users, but it is much easier to launch using the application icon that you can pin to your taskbar if required for even quicker access.
Activities > Show Applications > Wireshark
First-Time Tips with Wireshark on Ubuntu
Mastering the usage of Wireshark on Ubuntu Linux can unlock a wealth of data and insight into your network. To help you achieve this, we’ve put together some handy tips and recommendations that can significantly boost your understanding and productivity with this powerful network protocol analyzer.
General Wireshark Tips
- Learn the basics: Before diving into more complex tasks, make sure you have a solid understanding of basic networking concepts, such as IP addresses, TCP/IP protocols, UDP, HTTP, DNS, etc. This foundation will significantly enhance your ability to understand and interpret the data presented by Wireshark.
- Use filters: Wireshark comes equipped with a powerful filtering engine. Using display filters can help you focus on specific traffic, stripping away the noise and helping you zero in on the issue at hand. For example, to view only HTTP traffic, use the filter
http. - Save packet data: If you’re analyzing a particularly complex problem, saving your packet data for further review can be helpful. This allows you to revisit the problem later or share the data with others. Use
File > Save Asto store your packet data. - Initiate a Recording Session: Begin using Wireshark by clicking on the shark fin icon in the top left-hand corner to start a recording session, and you can watch or continue working on your system.
- Apply Recording Filters: Furthermore, you can filter traffic from recording sessions, such as a protocol, destination, etc., that you consider suspicious. This option can be found in the “Capture” menu under the entry “Capture Filter. “
Wireshark Customization Tips
- Customize the Wireshark interface: Wireshark offers extensive customization options, allowing you to tweak the interface to suit your preferences. For instance, you can choose which columns of data are displayed, reorder them, or create your own custom columns. Explore the
Edit > Preferencesmenu to start personalizing your workspace. - Use color coding: Color coding can significantly enhance your analysis efficiency. Wireshark allows you to create color rules for different types of traffic, making it easier to distinguish between them visually. You can access this feature via
View > Coloring Rules.
Other Wireshark Tips
- Leverage the Wireshark Wiki and Community: The Wireshark Wiki is an excellent resource for learning more about the tool, as it’s full of tutorials and detailed documentation. Similarly, the Wireshark community is active and helpful, making it a great place to ask questions and learn from experienced users.
- Use
tsharkfor command-line analysis: If you prefer the command line or need to automate your packet analysis, consider learningtshark, Wireshark’s command-line counterpart. It has many of the same features as Wireshark but is designed to be used in a terminal.
Managing Wireshark on Ubuntu
Understanding how to manage Wireshark on Ubuntu Linux will enable you to ensure that your installation remains up-to-date and secure. This section will delve into the procedures for updating and removing Wireshark.
Update Wireshark
Maintaining your Wireshark installation with the latest updates is vital for several reasons. Updates can offer enhanced features, resolve software bugs, or patch potential security vulnerabilities.
You can start the update process with the following command:
sudo apt updateThis command updates the list of available software and their versions from the repositories defined in your system. It tells your system, “Look for updates for all the software you have installed, including Wireshark.”
To proceed with upgrading your APT packages, run the following command:
sudo apt upgradeRemove Wireshark
There may come a time when you no longer require Wireshark on your system. If so, the software can be removed cleanly and effectively, freeing up system resources.
The removal of Wireshark is performed with this command:
sudo apt remove wiresharkBy executing this command, you’re instructing your system to remove the Wireshark software while leaving behind configuration files if you decide to install the software again.
Remove the Wireshark PPA
If you initially installed Wireshark through a Personal Package Archive (PPA), it’s a best practice and a security measure to remove the PPA from your system after uninstalling the software.
The PPA can be removed with the following command:
sudo add-apt-repository --remove ppa:wireshark-dev/stable -yExecuting this command tells your system to no longer consider the Wireshark PPA as a source of software. This reduces the risk of malicious software being introduced to your system via this PPA.
Closing Conclusion
In wrapping up, this guide walked you through the steps to install Wireshark on your Ubuntu system, ensuring you’re equipped to dive into network analysis. With Wireshark now at your fingertips, exploring your network’s data flows and pinpointing issues should be a breeze. My parting advice? Spend some time getting familiar with the tool’s features and filters—it’s the key to unlocking its full potential. Remember, practice makes perfect, and the more you use Wireshark, the better you’ll get at understanding and optimizing your network. Happy analyzing!