
Concrete CMS is an open-source content management system (CMS) that allows users to build and manage websites easily. It provides a user-friendly interface and various tools and features for creating and maintaining web content.
Concrete CMS stands out among other CMS platforms for its focus on simplicity and intuitive editing capabilities. It offers a “What You See Is What You Get” (WYSIWYG) editor, which means users can directly edit the content on their website’s pages, viewing the changes in real-time as they make them. This feature makes it easy for non-technical users to update and manage their website content without requiring extensive coding knowledge.
As an open-source CMS, it benefits from an active community of developers who contribute to its ongoing development and provide support through forums and documentation.
In this tutorial, we are going to show you how to install Concrete CMS on Ubuntu 22.04 OS.
Table of Contents
Prerequisites
- A server with Ubuntu 22.04 as OS
- User privileges: root or non-root user with sudo privileges
Step 1. Update the System
Update the packages to their latest versions available after a fresh install of Ubuntu 22.04
sudo apt-get update && sudo apt-get upgrade
Step 2. Install Apache Web server
First, we will install the Apache Web server.
sudo apt-get install apache2
Once installed, start and enable the service.
sudo systemctl enable apache2 && sudo systemctl start apache2
Check if the service is up and running:
sudo systemctl status apache2
You should receive the following output:
● apache2.service - The Apache HTTP Server
     Loaded: loaded (/lib/systemd/system/apache2.service; enabled; vendor preset: enabled)
     Active: active (running)
       Docs: https://httpd.apache.org/docs/2.4/
    Process: 3364 ExecReload=/usr/sbin/apachectl graceful (code=exited, status=0/SUCCESS)
   Main PID: 1129 (apache2)
      Tasks: 11 (limit: 2193)
     Memory: 176.3M
        CPU: 5min 57.863s
     CGroup: /system.slice/apache2.service
             ├─1129 /usr/sbin/apache2 -k start
             ├─3369 /usr/sbin/apache2 -k start
             ├─3371 /usr/sbin/apache2 -k start
Step 3. Install PHP
You can install the PHP with extensions using this command:
sudo apt install php php-common php-curl libapache2-mod-php php-imap php-cli php-xml php-zip php-mbstring php-gd php-mysql
After successful installation, check the PHP version:
php -v
You should get the following output:
PHP 8.1.2-1ubuntu2.11 (cli) (built: Feb 22 2023 22:56:18) (NTS)
Copyright (c) The PHP Group
Zend Engine v4.1.2, Copyright (c) Zend Technologies
    with Zend OPcache v8.1.2-1ubuntu2.11, Copyright (c), by Zend Technologies
Step 4. Install the MariaDB database server
To install the MariaDB database server, execute the command below.
sudo apt install mariadb-server
Start and enable the MariaDB service with the following commands:
sudo systemctl start mariadb && sudo systemctl enable mariadb
To log in to the database command line, run the following command:
sudo mysql -u root
Now go ahead and create a new database and user who will have full permissions to this database:
MariaDB [(none)]> CREATE DATABASE concrete5;
MariaDB [(none)]> CREATE USER 'concrete5'@'localhost' IDENTIFIED BY 'change-this-password';
MariaDB [(none)]> GRANT ALL PRIVILEGES ON concrete5. * TO 'concrete5'@'localhost';
MariaDB [(none)]> FLUSH PRIVILEGES;
You can exit the command line by typing QUIT;.
Step 5. Install Concrete CMS
Download the latest version of Concrete CMS from the official website using the following command:
sudo cd /tmp
sudo wget --trust-server-names https://www.concretecms.com/download_file/277af433-97d4-4817-b48c-a758cd8adf96 -O concrete5.zip
Once the installation is downloaded, extract the downloaded archive using the following command:
sudo unzip concrete5.zip
Move the extracted directory to the /var/www directory using the following command:
sudo mv concrete-cms-9.2.0 /var/www/concrete5
We will need to change some folders permissions:
sudo chown -R www-data:www-data /var/www/concrete5/
sudo chmod -R 755 /var/www/concrete5/
Step 6. Create Apache Virtual Host File
Go into the Apache directory where the configuration files are stored and create a configuration file:
sudo nano /etc/apache2/sites-available/concrete5.conf
And add the following content:
<VirtualHost *:80>
     ServerAdmin admin@your-domain.com
     DocumentRoot /var/www/concrete5
     ServerName your-domain.com

     <Directory /var/www/concrete5>
          Options FollowSymlinks
          AllowOverride All
          Require all granted
     </Directory>

     ErrorLog ${APACHE_LOG_DIR}/your-domain.com_error.log
     CustomLog ${APACHE_LOG_DIR}/your-domain.com_access.log combined

</VirtualHost>
Enable the Apache configuration with the following command:
sudo a2ensite concrete5.conf
Check the syntax:
$ apachectl -t
You should receive the following output:
$ apachectl -t
Syntax OK
If the syntax is OK, restart the Apache service.
sudo systemctl restart apache2
Step 7. Finish Concrete CMS Installation
Now, open your web browser and access Concrete CMS using the URL http://your-domain.com. You will be redirected to the following page:
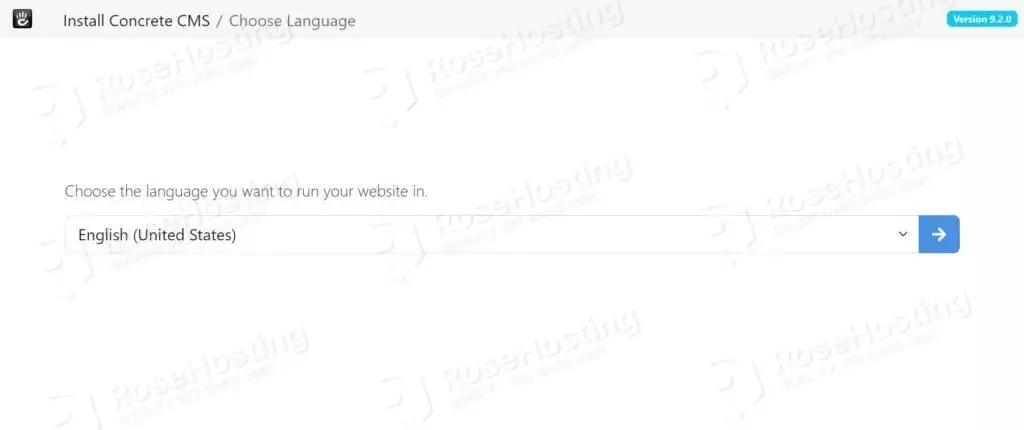
Select your language and click on the -> button. You should see the following page:
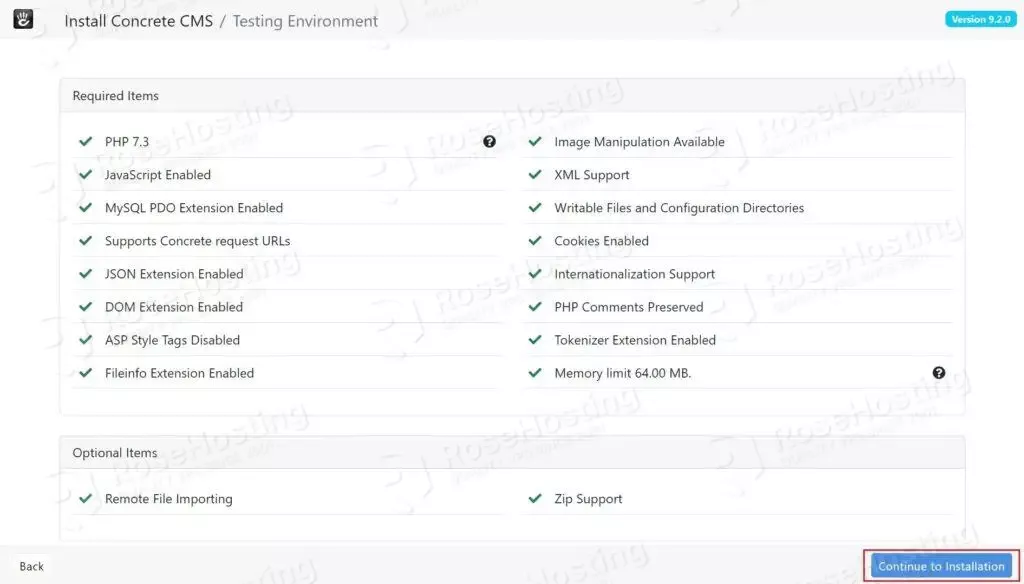
Make sure all the PHP extensions are installed, then click on the Continue to Installation button.
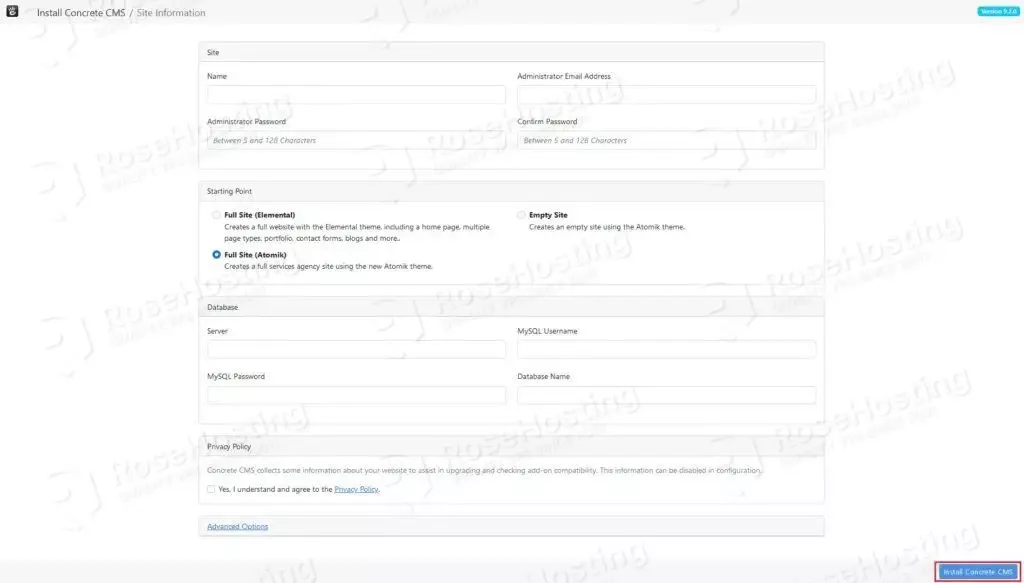
Provide your admin username, password, database name, database username, and password, and click on the Install Concrete CMS button.
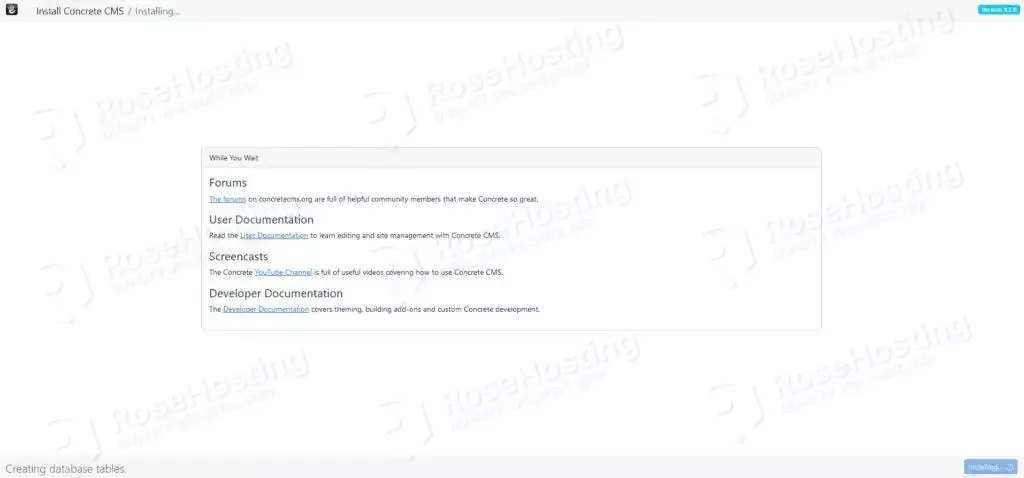
Once the installation has been finished, you should see the following page:
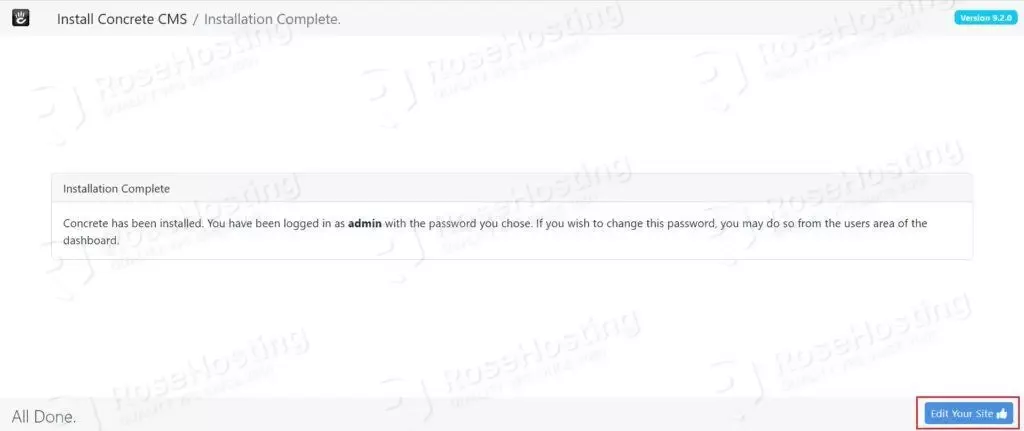
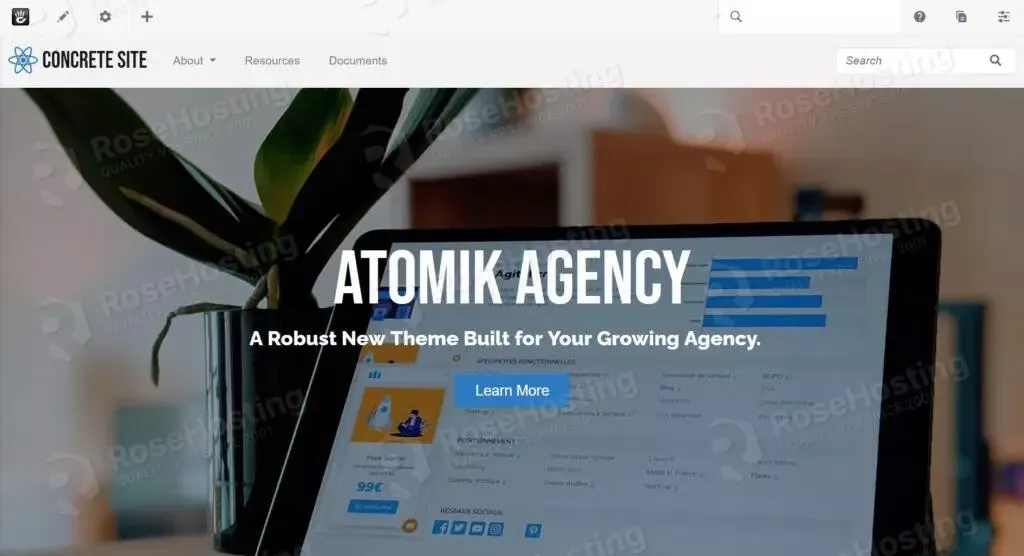
Click on Edit Your Site. You should see the Concrete CMS dashboard:
That’s it. You successfully installed Concrete CMS on Ubuntu 22.04 OS. If you find it difficult to install and configure this setup, just contact our technical support, and they will do the rest for you. We are available 24/7. All you need to do is to order some of our VPS plans and submit a support ticket.
If you liked this post on how to install Concrete CMS on Ubuntu 22.04, please share it with your friends on social networks or simply leave a reply below. Thanks.