
Vtiger is an open source Customer Relationship Management (CRM) solution with project management, sales and marketing automation and other capabilities. It was created in 2004 from a fork of SugarCRM.
Vtiger offers enterprise-grade features, such as:
- Sales automation
- Customer support & service features
- Inventory Management
- Evaluation and reporting
- Scheduling
- Marketing Automation
In this tutorial, we will show you how to install Vtiger CRM on Ubuntu 22.04
Table of Contents
Prerequisites
- An Ubuntu VPS
- Root access or regular system user with sudo privileges
Step 1. Log in to your server via SSH
First, you will need to log in to your AlmaLinux 8 VPS via SSH as the root user:
ssh root@IP_Address -p Port_number
You will need to replace ‘IP_Address’ and ‘Port_number’ with your server’s respective IP address and SSH port number. Additionally, replace ‘root’ with the username of the system user with sudo privileges.
You can check whether you have the proper AlmaLinux version installed on your server with the following command:
# lsb_release -a
It will return an output like this.
No LSB modules are available.
Distributor ID: Ubuntu
Description: Ubuntu 22.04 LTS
Release: 22.04
Codename: jammy
Before starting, it is essential to verify that all Ubuntu operating system packages installed on the server are up to date. This can be accomplished by executing the command:
# apt update -y
Step 2. Install Nginx
In this tutorial, we are going to use nginx as the web server. Let’s install nginx from the Ubuntu repository.
# apt install nginx
On Ubuntu servers, nginx will automatically start and is enabled on boot. Now, let’s create a server block for our Vtiger CRM website.
# nano /etc/nginx/conf.d/vtiger.conf
Add these lines to the file.
server {
listen 80;
root /var/www/html/vtigercrm;
index index.php index.html index.htm;
server_name vtiger.yourdomain.com;
client_max_body_size 100M;
location / {
try_files $uri $uri/ /index.php?$args;
}

location ~ \.php$ {
    include snippets/fastcgi-php.conf;
    fastcgi_pass unix:/var/run/php/php8.1-fpm.sock;
    fastcgi_param SCRIPT_FILENAME $document_root$fastcgi_script_name;
    include fastcgi_params;
}
}
Save the file, then exit.
Step 3. Install MariaDB and Create a Database
In this step, we are going to install the MariaDB server from the default Ubuntu repository. To install the MariaDB server, execute this command below:
# apt install mariadb-server
After installing the MariaDB server on an Ubuntu system, the MariaDB server will be running automatically. Therefore, we can now continue by creating a fresh database and database user for our Vtiger website. Let’s login to MySQL shell as root users and create a database for our Vtiger CRM website.
# mysql
Once logged in to MySQL shell, we can run the following commands.
mysql> CREATE DATABASE vtiger;
mysql> GRANT ALL on vtiger.* to vtiger@localhost identified by 'm0d1fyth15';
mysql> FLUSH PRIVILEGES;
mysql> \q
Make sure to create a more robust database password substitute m0d1fyth15 in the command above with a more secure one.
After this, we also need to modify our SQL_MODE
# nano /etc/mysql/mariadb.conf.d/50-server.cnf
Add this line under section [mysqld]
sql_mode = NO_ENGINE_SUBSTITUTION
Then, restart MariaDB server
# systemctl restart mariadb
To secure your MariaDB installation, you can create a password for your MySQL root user.
# mysql_secure_installation
Next time, you will be asked for MySQL root password when logging in to MySQL shell using the root user.
Step 4. Install PHP
Ubuntu 22.04 ships with PHP 8.1. We are going to use this PHP version for our WordPress website. Run this command below to install PHP 8.1 and its required extensions.
# apt install php-{curl,imap,mysql,mbstring,fpm,xml,zip}
Once completed, the PHP-FPM service will be running automatically. We will not edit the PHP-FPM configuration; we will use the default PHP-FPM www.conf file. To ensure PHP-FPM is running, you can verify it with this command:
# systemctl status php8.1-fpm
Now that PHP 8 and its extensions are installed, we need to modify the PHP variables.
# nano /etc/php8.1/fpm/php.ini
Set PHP parameters:
date.timezone = America/Chicago
memory_limit = 512M
upload_max_filesize = 128M
post_max_size = 128M
display_errors = On
log_errors = Off
error_reporting = E_WARNING & ~E_NOTICE & ~E_DEPRECATED & ~E_STRICT
Restart the FPM service to apply the changes
# systemctl restart php8.1-fpm
Step 5. Download and Install Vtiger
To get the most stable version, you can check their download page at https://www.vtiger.com/open-source-crm/download-open-source/
At this time of writing, Vtiger CRM version 7.5.0 is the latest stable version. Let’s download it and then proceed with the installation.
# cd /var/www/html
# wget https://sourceforge.net/projects/vtigercrm/files/vtiger%20CRM%207.5.0/Core%20Product/vtigercrm7.5.0.tar.gz/download -O vtiger.tar.gz
Let’s extract the file and correct the permissions.
# tar -xzvf vtiger.tar.gz
# chown -R www-data. /var/www/html/vtigercrm
# find /var/www/html -type d -exec chmod 755 {} \;
# find /var/www/html -type f -exec chmod 644 {} \;
Finally, let’s restart nginx.
# systemctl restart nginx
At this point, we can navigate to http://vtiger.yourdomain.com to start the Vtiger installation.
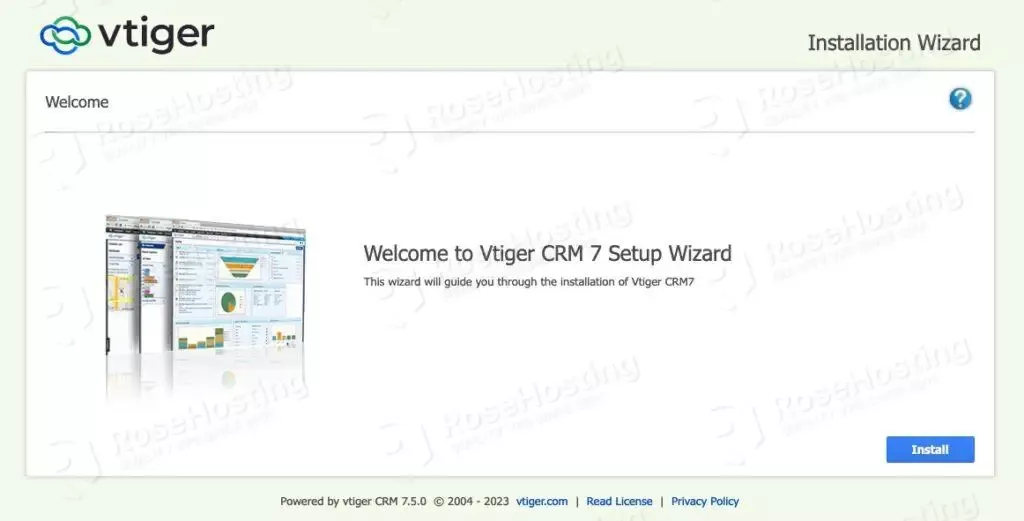
Click on the Install button to start the installation
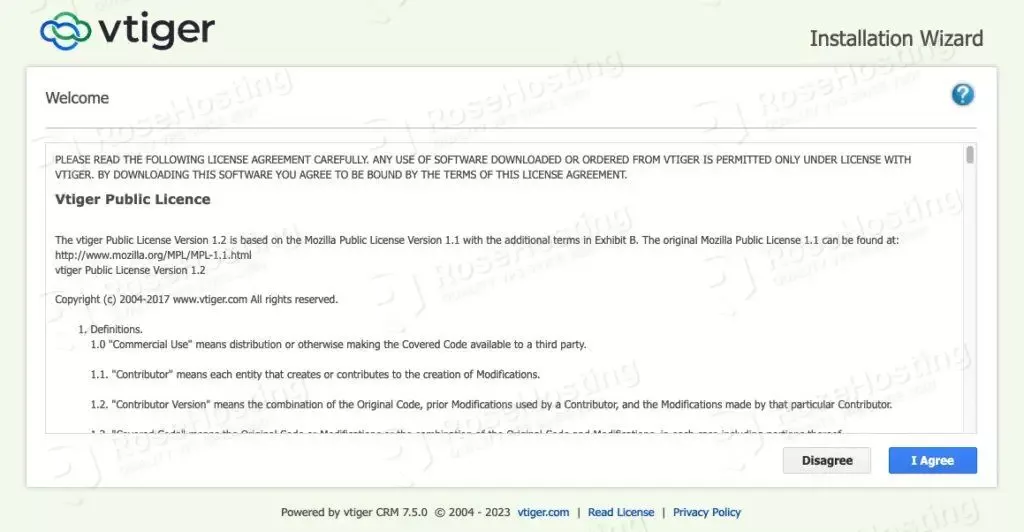
Accept the agreement by clicking on the I Agree button.
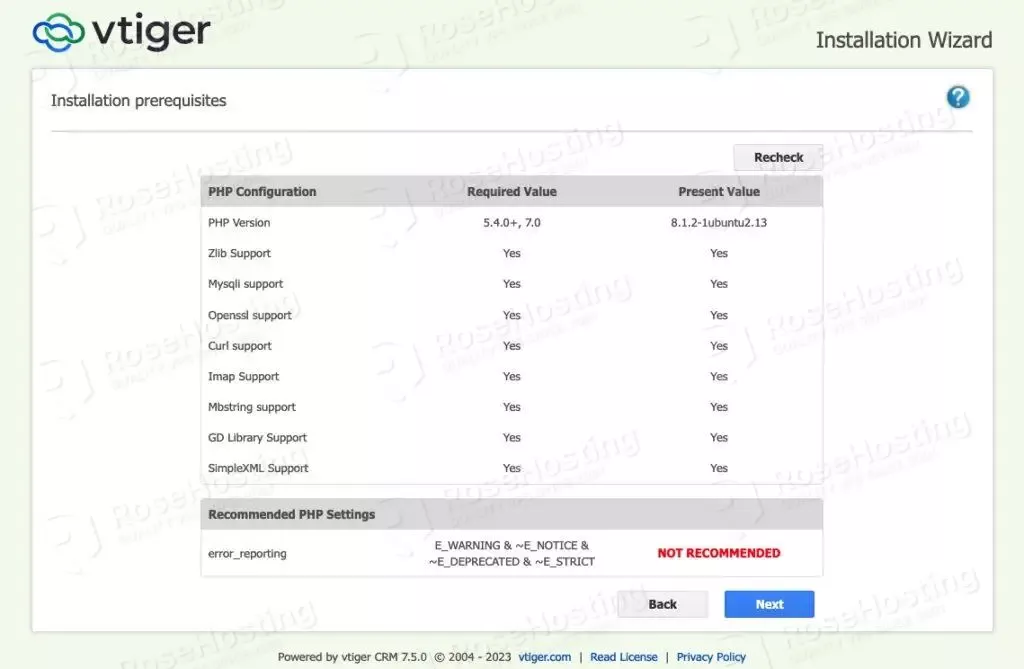
Click Next to continue.
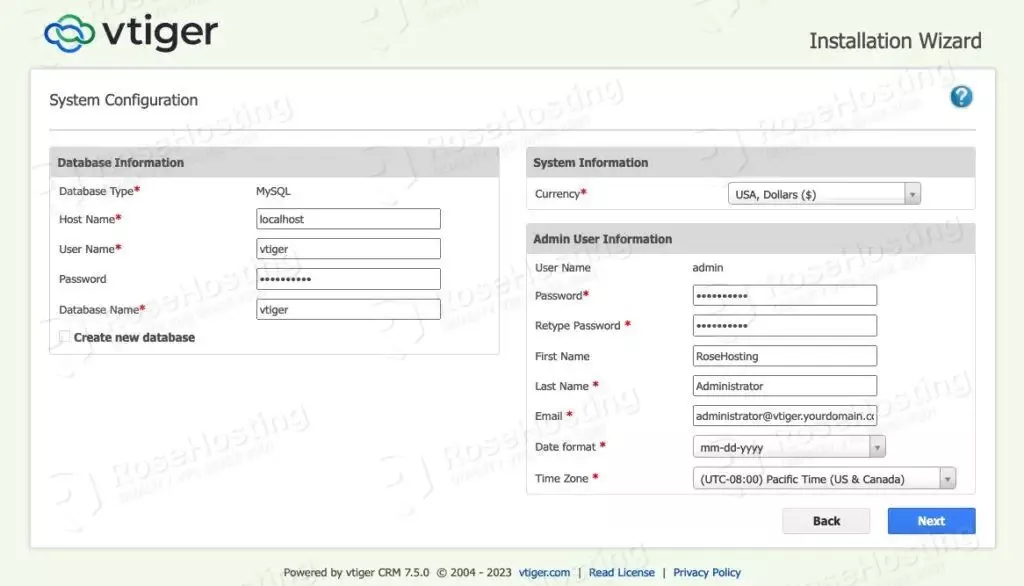
Fill in the database credentials you created earlier and fill in other fields as well, then click Next.
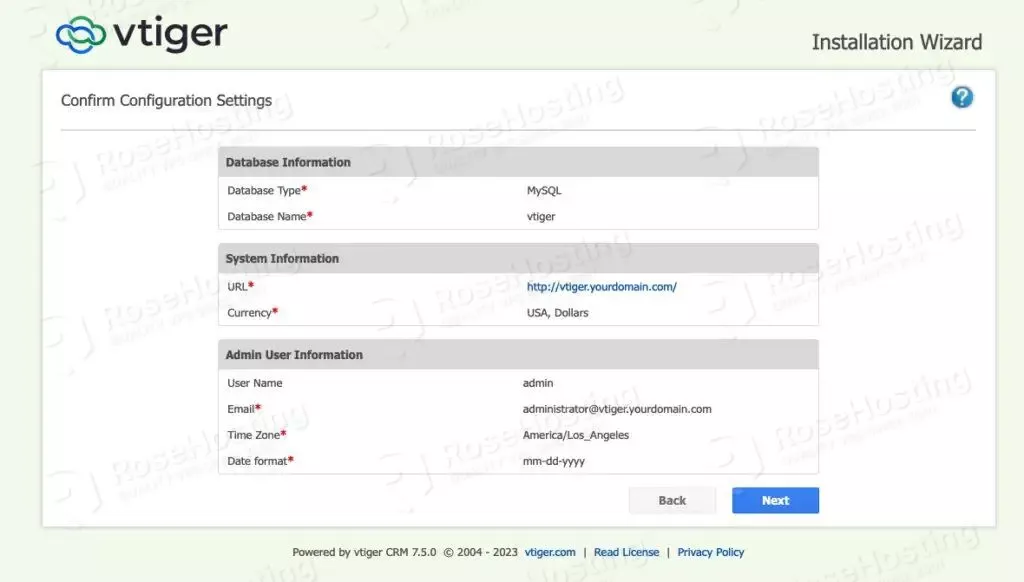
You will be asked to confirm the configuration, click Next to continue
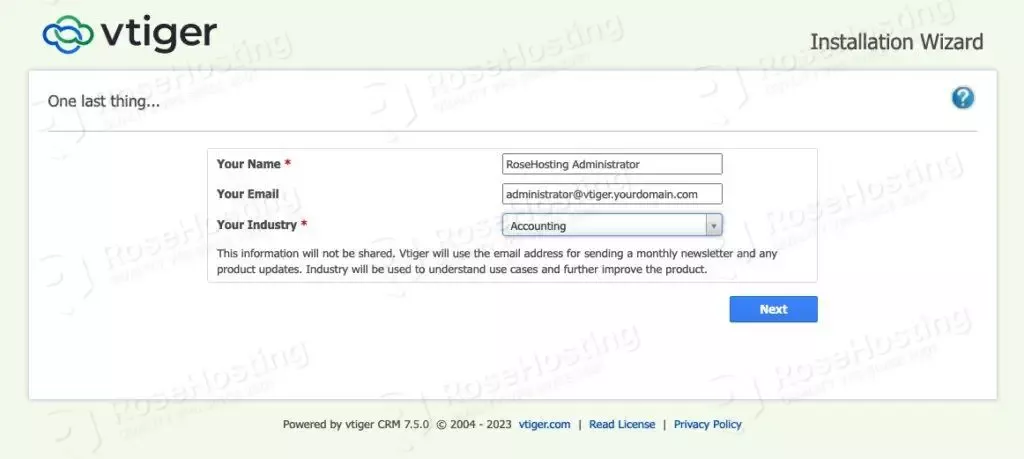
One last step you need to complete, then click Next
The script is installing VtigerCRM
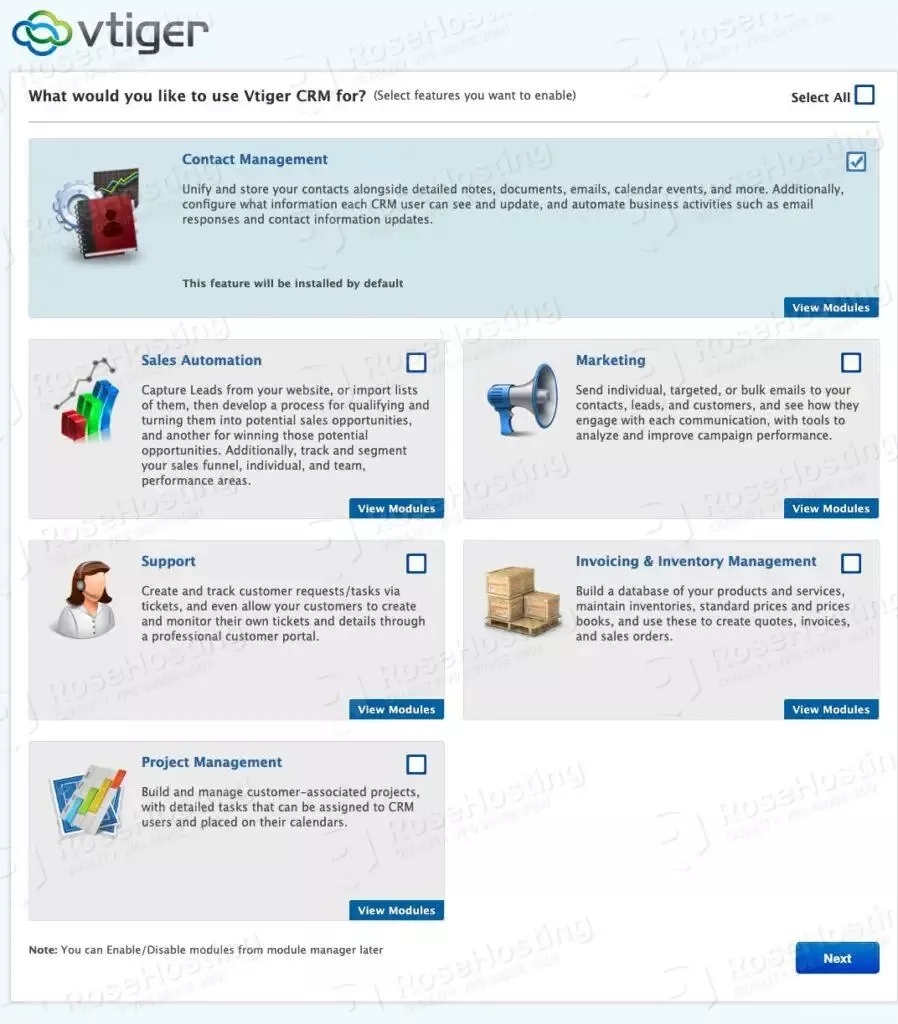
Click on the module(s) you would like to install, then click Next
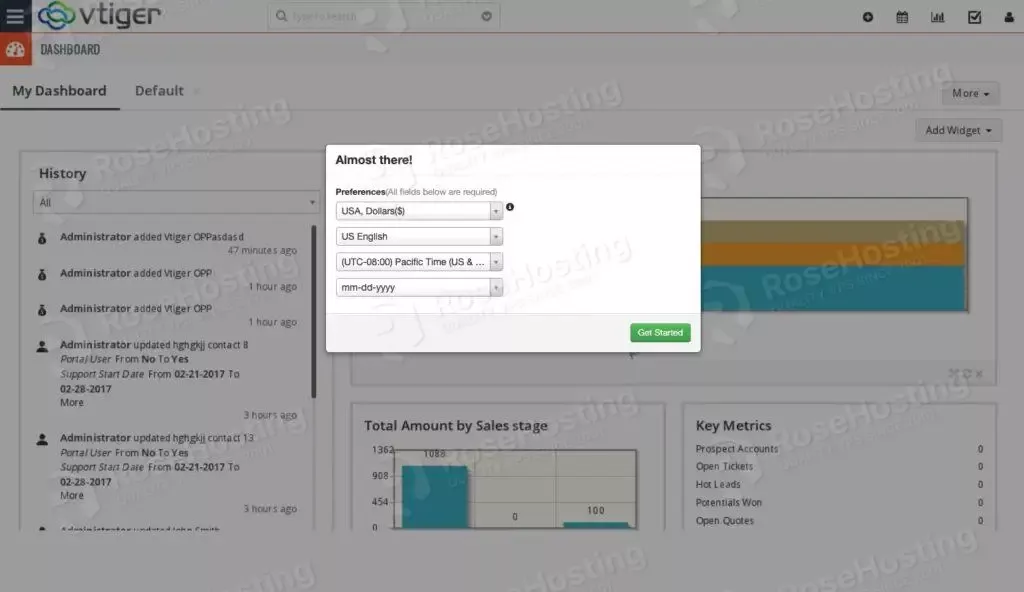
You will be brought to this page; finally, click on the Get Started button.
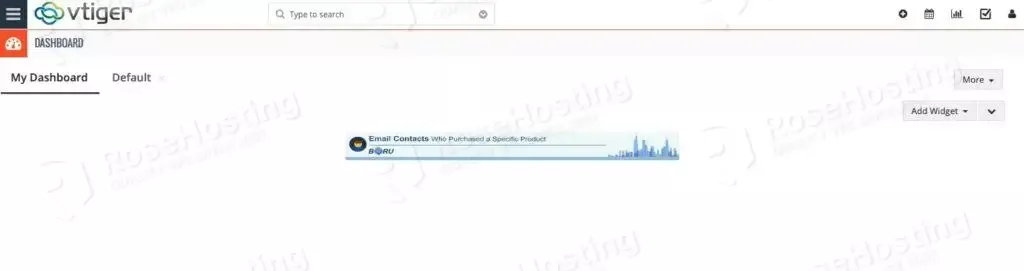
Congratulation! You have successfully installed Vtiger CRM on Ubuntu 22.04.
Now, you should be able to access your Vtiger CRM website at http://yourdomain.com; You can proceed with customizing your Vtiger CRM website.
Of course, you don’t have to pull your hair to install Vtiger CRM on Ubuntu 22.04 if you have a managed Linux VPS hosting plan hosted with us. If you do, you can simply ask our support team to install Vtiger CRM on Ubuntu 22.04 for you. They are available 24/7 and will be able to help you with the installation of Vtiger CRM, as well as any additional requirements that you may have.
PS. If you enjoyed reading this blog post on how to install Vtiger CRM on Ubuntu 22.04, feel free to share it on social networks or simply leave a comment in the comments section. Thank you.