
GNU Screen, or screen, is a tool to multiplex a terminal between several processes. With screen, you are able to run multiple session instances from a single terminal session. Let’s go over some useful screen commands in Linux and explain how this versatile tool works.
Screen also allows you to close and exit from the terminal session and reconnect later and resume your work. You can continue to work from where you left it, even after logging out from the terminal.
In this article, we will show you some useful examples of screen commands in Linux. By the end of this article, you will understand and be able to work with multiple screen sessions using a single terminal session.
Table of Contents
Prerequisites
- A Linux VPS with any common Linux distribution
- root SSH access or a regular user with sudo privileges
What is the “screen” command?
In a Linux machine, the screen command enables us to start and use more than one terminal session from a single SSH session. The process can be detached through the session, and we can resume the session at a later time if the process starts with the screen command.
GNU screen or just screen is a tool to multiplex a terminal or shell. With this tool, we can also start any screen session then open several windows in that session. The processes that are executed will continue running within a screen session even when it is detached. This also includes getting disconnected from the terminal session.
Upon invoking the “screen” command, a singular window containing a shell (or the designated command) is generated, allowing for uninterrupted use of the program.
Subsequently, additional full-screen windows can be created at any time, each with its own program (including shells). Existing windows can be terminated, a list of windows can be viewed, output logging can be enabled or disabled, text can be copied and pasted between windows, scrollback history can be accessed, and windows can be switched between in any desired manner. This is one flexible program.
Each window operates independently of the others, with programs continuing to run even when their respective windows are not visible or when the entire screen session is detached from the user’s terminal. Upon a program’s termination, screen (by default) terminates the window in which it was contained. If this window is in the foreground, the display will switch to the previous window; if no windows remain, screen will exit.
How to Install Screen
Screen is usually installed by default on Linux machines. But, if it has not been installed already, we can run these commands when logged in to the server through SSH.
apt install screen
The command above can be executed on Debian, Ubuntu, and other Debian-based distros.
yum install screen
The command above can be executed on CentOS, AlmaLinux, Rocky Linux, etc.
Screen Syntax
This is the syntax used for the screen command:
screen [-opts] [cmd [args]]
Command Options
Screen has the following command-line options, together with their description:
-a This command forces all capabilities into the termcap of each window.
-A -[r|R] It adjusts all windows to the changed width and height of the display.
-c file Instead of ‘.screenrc,’ it reads the configuration file.
-d (-r) Removes the elsewhere running screen (and reattach here).
-dmS name Starts as daemon, i.e, screen session in disconnected mode.
-D (-r) It disconnects and logs out the remote (and reattaches here).
-D -RR It performs the required action to get a screen session.
-e xy This changes the command line characters.
-f It is used to turn the flow control on, -fn=off, -fa=auto.
-h lines It is used to set the size of the scrollback history buffer.
-i It interrupts the output sooner when flow control is enabled.
-l Turns the login mode on,(update /var/run/utmp), -ln=off.
-ls [match] It is used to display all the attached screens.
-L It turns the output logging on.
-m It ignores the $STY variable and creates a new screen session.
-O It selects the optimal output instead of exact vt100 emulation.
-p window It is used to preselect the named window if it exists.
-q It quiets the startup. If it fails, it exits with a non-zero code return code.
-Q It helps in sending the reply to the stdout of a querying process.
-r [session] It re-attaches to the detached screen process.
-R If possible, it re-attaches; otherwise, it creates a new session.
-S sockname It names the session as .sockname rather than …
-t title It is used to set the title(name of the window).
-T term It uses the term as $TERM for windows in place of “screen”.
-U It instructs the screen to use UTF-8 encoding.
-vIt prints the version of the screen. It will print “Screen version 4.06.02 (GNU) 23-Oct-17”.
-x It attaches to a non-detached screen.
-X It runs as a screen command in the given session.
Shortcut key
While in a screen session, you can use the following shortcut keys on your keyboard.
Ctrl-a c Create new window (shell)
Ctrl-a k Kill the current window
Ctrl-a w List all windows (the current window is marked with “*”)
Ctrl-a 0-9 Go to a window numbered 0-9
Ctrl-a n Go to the next window
Ctrl-a Ctrl-a Toggle between the current and previous window
Ctrl-a [ Start copy mode
Ctrl-a ] Paste the copied text
Ctrl-a ? Help (display a list of commands)
Ctrl-a Ctrl-\ Quit screen
Ctrl-a D (Shift-d) Power detach and logout
Ctrl-a d Detach but keep shell window open
Example
In this section, we will try to understand the screen command deeper.
Check Screen Version
To check screen version, simply invoke this command
screen --version
The command will show you an output like this:
Screen version 4.09.00 (GNU) 30-Jan-22
Run a New Screen Session
screen
You will see this message as shown in the picture below.
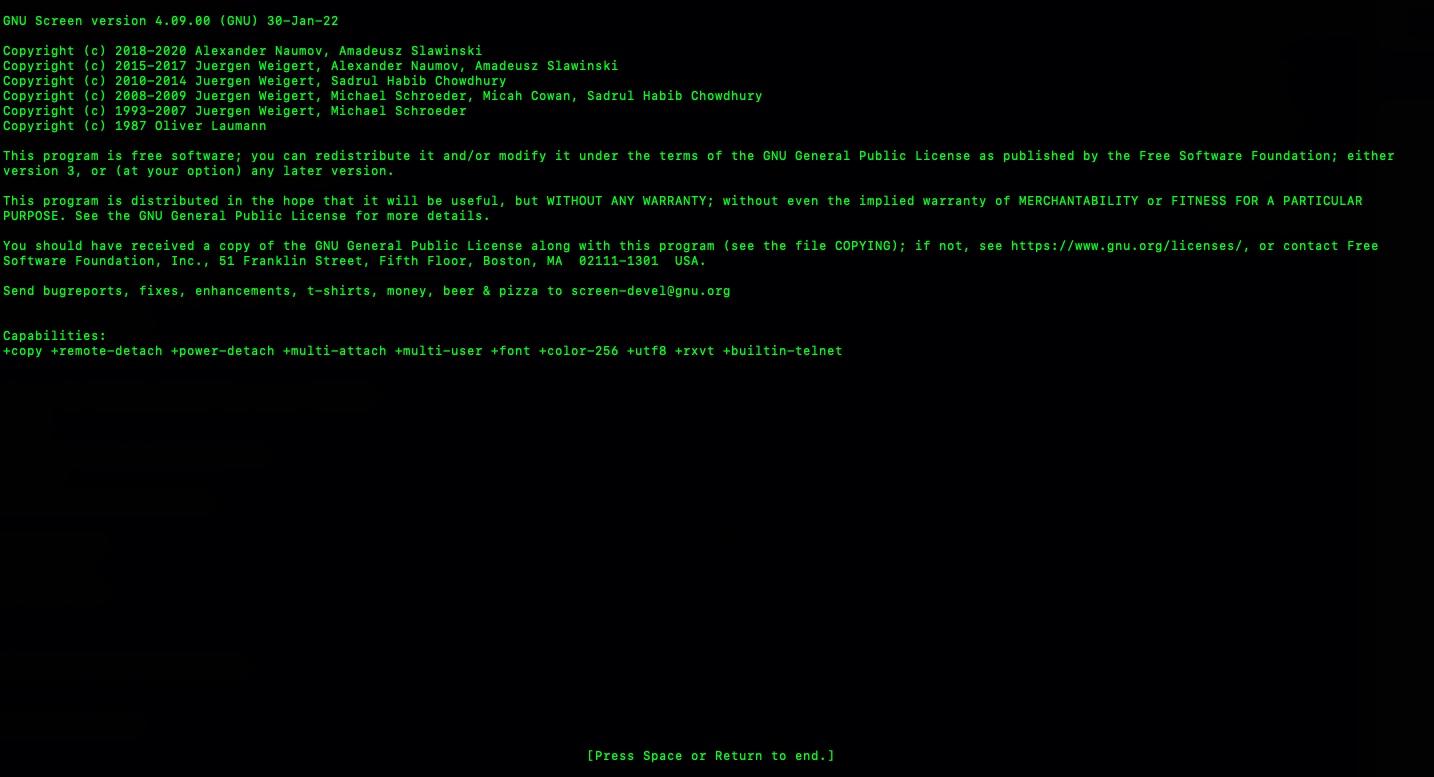
Simply hit ENTER or SPACE on your keyboard. Then you should be in a screen session now. You can type something in screen, for example, type “This is a screen session”.
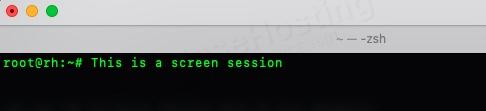
Then, hit the shortcut key Ctrl-A, then type the letter d to detach the screen. Once detached, you will get a message in your SSH session like this:
[detached from 71107.pts-0.rh]
To attach to the detached screen, you can run this command:
screen -x
Once attached, you should be able to see the screen session you left and the message “This is a screen session”. With this, you’re able to run commands and check on them later, even if you get disconnected.
List screen session
To list screen sessions, you can run the following command.
screen -ls
The command will return an output similar to this:
There are screens on:
71199.rosehosting-screen (09/19/2023 05:49:18 AM) (Attached)
71107.pts-0.rh (09/19/2023 05:41:09 AM) (Detached)
2 Sockets in /run/screen/S-root.
Resume screen session
After listing the screen sessions, you can resume to one of the sessions by running this command syntax:
screen -r [PID] or {NAME}
So, to resume the screen with PID 71199 or name rosehosting-screen, we can run one of these two commands.
screen -r 71199
screen -r rosehosting-screen
The command above will bring you to the session.
That’s it! You have learned screen commands in Linux with examples. Hopefully, you have a better understanding of the screen command and its usage now. If you want to learn it deeper, you can run this command and read the documentation.
man screen
If you are one of our web hosting customers and use our managed Linux Hosting, you don’t have to follow this article and try to learn screen commands in Linux with examples yourself; our Linux admins will set up and configure the screen command for you and execute your commands in a screen session. Our expert administrators are available 24×7 and will take care of your request immediately, and all you need to do is to submit a ticket.
PS. If you liked this post, please share it with your peers on social media, or if you have other uses for the screen command let us know in a comment below. Thank you.
The real power of screen comes from either having a system wide .screenrc or a user .screenrc