
GitLab is a self-hosted git repository management system. This Git repository manager provides features such as a wiki, issue-tracking and continuous integration and deployment. Because of these advantages that bring development, operations, and security teams into a single application, GitLab is now widely used across the globe. Today we will show you how to install GitLab on your Debian 11 VPS.
Installing GitLab on Debian 11 is fairly easy task, and it should take around 15 minutes for the installation.
Table of Contents
Prerequisites
- A Debian 11 VPS.
- At least 4GB of RAM.
- SSH access with sudo privileges, or root access.
In addition, it is recommended to have at least 2GB of SWAP memory, even if you have enough available RAM.
Step 1. Update System
First of all, we need to log in to our Debian 11 VPS through SSH:
ssh master@IP_Address -p Port_Number
Replace “master” with a user that has sudo privileges or root if necessary. Additionally, replace “IP_Address” and “Port_Number” with your server’s respective IP address and SSH port number. Next, let’s make sure that we’re on Debian 11. You can do that like this:
$ lsb_release -a
You should get this as the output:
Distributor ID: Debian
Description: Debian GNU/Linux 11 (bulleseye)
Release: 11
Codename: bullseye
Then, run the following command to make sure that all installed packages on the server are updated to their latest available versions:
$ sudo apt update && apt upgrade
Step 2. Add the GitLab Repository
There are two ways to install GitLab on Debian 11: we can install it using the repository, or by using the .deb package. In this tutorial, we are going to use the repository to install GitLab on Debian 11.
Let’s download the repository:
curl -sS https://packages.gitlab.com/install/repositories/gitlab/gitlab-ce/script.deb.sh | sudo bash
The command above will download the GitLab repository to the APT source list file at /etc/apt/sources.list.d/gitlab_gitlab-ce.list
Since the GitLab package source file is for Debian 10, we need to modify these lines.
deb https://packages.gitlab.com/gitlab/gitlab-ce/debian/ bullseye main
deb-src https://packages.gitlab.com/gitlab/gitlab-ce/debian/ bullseye main
Replace ‘bullseye’ with ‘buster’ by running this command.
$ sudo sed -i 's/bullseye/buster/g' /etc/apt/sources.list.d/gitlab_gitlab-ce.list
Now, we need to update the repository.
$ sudo apt update -y
Step 3. Install GitLab
After adding the repository, we can install GitLab Community Edition by runinng this command:
$ sudo apt install gitlab-ce -y
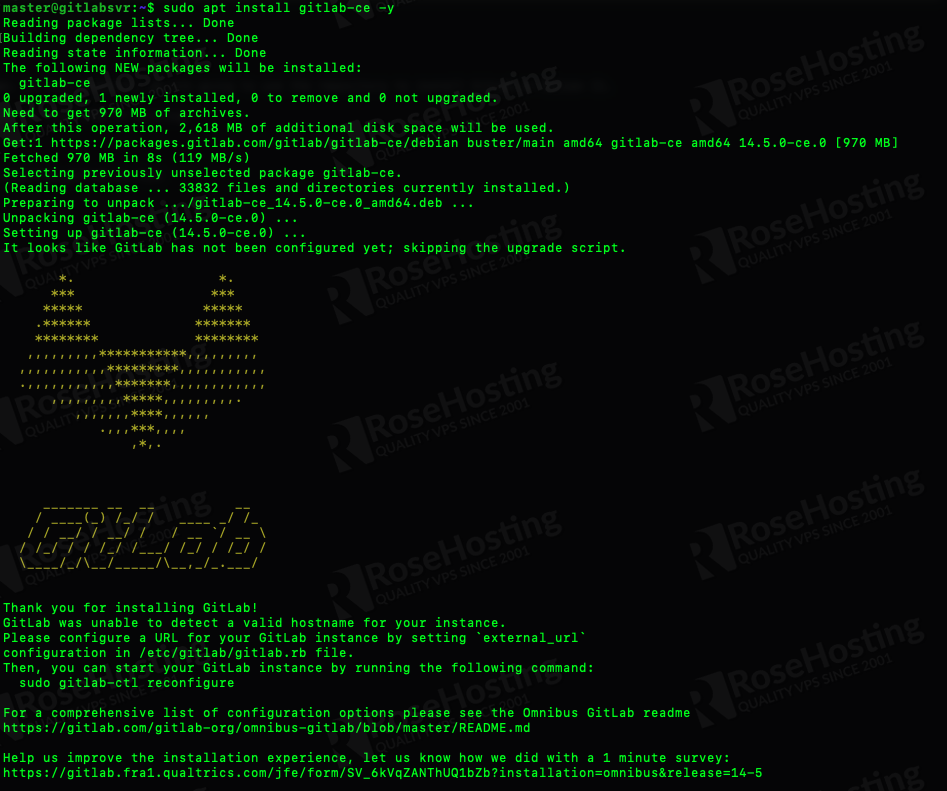
Once the installation is finished, we can run this command to reconfigure it and run GitLab:
$ sudo gitlab-ctl reconfigure
At this point, you should be able to acccess GitLab at http://YOUR_SERVER_IP_ADDRESS/ and log in as root using the password found in /etc/gitlab/initial_root_password
Please note that the password in /etc/gitlab/initial_root_password is valid only for 24 hours. You can log in and change your password immediately, or reset it using this command below:
$ sudo gitlab-rake "gitlab:password:reset[root]"
Step 4. Configure GitLab
Now that GitLab is successfully installed, it is time to configure it.
Secure GitLab Server with a Let’s Encrypt SSL Certificate
By default, when installing GitLab without passing an environment for the EXTERNAL_URL value. The installation will set http://gitlab.example.com as the external URL. If we want to access our GitLab installation through a domain or subdomain name and install an SSL certificate for it, we can edit the configuration file /etc/gitlab/gitlab.rb
Open /etc/gitlab/gitlab.rb and find external_url line
external_url 'http://gitlab.example.com'
Replace it with
external_url 'https://gitlab.yourdomain.com'
Make sure that your domain or subdomain DNS record is pointing to your GitLab server.
Then, still in the same file, make sure these are uncommented and modified as followings.
letsencrypt['enable'] = true
letsencrypt['contact_emails'] = ['you@yourdomain.com']
letsencrypt['auto_renew'] = true
Save the file then exit.
Now, we need to reconfigure Omnibus GitLab, and we need to do this every time we edit the /etc/gitlab/gitlab.rb file.
$ sudo gitlab-ctl reconfigure
Run the command above and wait – once completed you the SSL certificate from Let’s Encrypt should be installed and you should be able to access your GitLab at https://YOUR_DOMAIN_NAME.COM
Email Configuration
By default, GitLab should be able to send its email using sendmail. However, for a better email deliverability, you should consider using an SMTP server for this purpose. Please check our blog at https://rosehosting.com/blog and follow a tutorial on how to install a mail server on your Debian 11. With the SMTP credentials, we can configure GitLab to use SMTP to send its email.
Open /etc/gitlab/gitlab.rb
$ sudo nano /etc/gitlab/gitlab.rb
Then, find the following block of text:
# gitlab_rails['smtp_enable'] = true
# gitlab_rails['smtp_address'] = "smtp.server"
# gitlab_rails['smtp_port'] = 465
# gitlab_rails['smtp_user_name'] = "smtp user"
# gitlab_rails['smtp_password'] = "smtp password"
# gitlab_rails['smtp_domain'] = "example.com"
# gitlab_rails['smtp_authentication'] = "login"
# gitlab_rails['smtp_enable_starttls_auto'] = true
# gitlab_rails['smtp_tls'] = true
# gitlab_rails['smtp_pool'] = false
# gitlab_rails['smtp_openssl_verify_mode'] = 'none'
# gitlab_rails['smtp_ca_path'] = "/etc/ssl/certs"
# gitlab_rails['smtp_ca_file'] = "/etc/ssl/certs/ca-certificates.crt"
You need to uncomment the lines and use your SMTP credentials to make it work. Also make sure that your SMTP password does not contain any string delimiters used in a YAML file, otherwise it will not work. Save your changes then exit the file.
As mentioned earlier, we need to reconfigure Omnibus GitLab after editing the gitlab.rb file.
$ sudo gitlab-ctl reconfigure
That’s it. From now on, GitLab will send emails through SMTP, which will result a better email deliverability if compared to using sendmail. You can log in to your GitLab website at https://yourdomain.com and start using it.

Congratulations! You have successfully installed GitLab on Debian 11.
Of course, if you are one of our Debian Hosting customers, you don’t have to install GitLab on Debian 11 yourself – simply ask our admins, sit back, and relax. Our admins will install GitLab on Debian 11 for you immediately without any additional fee, along with many useful optimizations that we can do for you. Managing a GitLab website is not just about the installation, we can help you with optimizing your GitLab installation if you have a VPS with us.
PS. If you liked this post about how to install GitLab on Debian 11, please share it with your friends on the social networks, or simply leave a comment in the comments section. Thanks.