
NeoVim is a command-line text editor and superset of the original Vim editor, renowned for its simple maintenance, community contributions, and introduction of new features.
It's quite dynamic and advanced in terms of working, due to which many advanced applications such as LunarVim (a full-fledged CLI IDE) are built on NeoVim.
It removes a lot of bad stuff from traditional Vim and adds unique features, making it the best choice over the original Vim or any other CLI-based text editor.
Table of Contents
Features of NeoVim
The following is a list of NeoVim features that set it apart from other CLI text editors.
- Modern Graphical Interfaces.
- API access is available in multiple languages, such as C/C++, C#, Clojure, D, Elixir, Go, Haskell, Java/Kotlin, JavaScript/Node.js, Julia, Lisp, Lua, Perl, Python, Racket, Ruby, and Rust.
- Embedded, scriptable terminal emulator.
- Asynchronous job control.
- Shared data (shada) among multiple editor instances.
- XDG base directories support.
- Compatible with most Vim 8.x plugins, including Ruby and Python plugins.
To access the complete list of features, you can run :help nvim-features in NeoVim or run :help news to review the latest version changes.
How to Install NeoVim on Ubuntu and Other Linux Distros
NeoVim can be installed in multiple ways, each with its own pros and cons. For example, the simplest way to install it is using the default package manager, but the included NeoVim version might be older.
The second option is to add the official NeoVim PPA that allows you to install the latest version of NeoVim on your Ubuntu systems, but there is a possibility of discontinuation in the future, and lastly, using sandbox technology like Snap and Flatpak.
I'll guide you through each of these methods to allow you to decide on your own, but if you are a beginner, I would recommend installing it via the package manager.
Method 1: Install NeoVim Using Default Package Manager
To install NeoVim via the default package manager, simply open your terminal and execute one of the following commands relevant to your Linux distribution:
- On Debian, Ubuntu, Linux Mint, etc.
- sudo apt install neovim
- On RHEL, Fedora, Alma Linux, etc.
- sudo dnf install neovim
- On Arch, Manjaro, EndeavourOS, etc.
- sudo pacman -S neovim
Once the installation is finished, you can run the nvim -v command to verify and check the version of NeoVim installed.
Method 2: Install NeoVim Using NeoVim Launchpad PPA
This method is only applicable to Ubuntu-based distributions and involves adding an official NeoVim Launchpad PPA to your system, which will later be used by your package manager to install the latest NeoVim version.
The PPA is available in two variants: the latest stable version and the development version, which will allow you to get the latest features first but will be unstable. So, you can decide as per your requirements and execute one of the following commands to add the PPA.
- Add the stable version of NeoVim PPA (recommended)
- sudo add-apt-repository ppa:neovim-ppa/stable -y
- Add the unstable version of NeoVim PPA
- sudo add-apt-repository ppa:neovim-ppa/unstable -y
After adding the PPA, update your system's repository information and install the latest version of NeoVim using your default package manager.
📝 Note
Make sure to remove your current NeoVim package if it has already been installed.
- sudo apt update
- sudo apt install neovim
- nvim -v
Method 3: Install NeoVim Using Snap and Flatpak
This method involves installing NeoVim using two popular sandbox technologies. However, if you're running an Ubuntu system that comes with Snap installed, it's recommended to install NeoVim as a Snap package. Otherwise, if you prefer the Flatpak version, ensure that Flatpak is installed and configured on your system.
When you are ready for installation, open your terminal and execute one of the following commands based on your preferences:
- Using Snap
- sudo snap install nvim --classic
- Using Flatpak
- flatpak install flathub io.neovim.nvim
Once the installation is complete, you can run the nvim -v command to check the version of NeoVim installed.
Usage of NeoVim
To open NeoVim, you need to execute the following command in your terminal, with or without mentioning any filenames:
📝 Note
NeoVim usage closely resembles that of traditional Vim, so if you're familiar with that, you can easily apply the same methods and commands in NeoVim.
- nvim
Output:
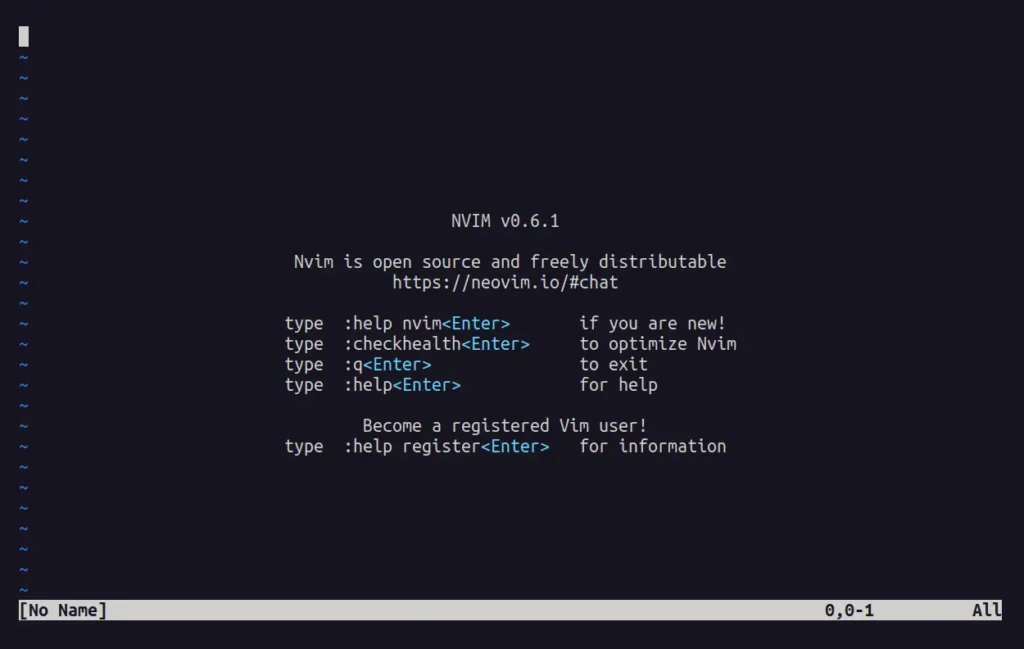
Here, you can start your journey with NeoVim, and if you forget the commands of traditional Vim, then check out this Vim cheatsheet.
How to Remove NeoVim from Ubuntu and Other Linux Distros
To remove NeoVim from your system, you can follow the respective method, depending on your installation approach. For example, if you have installed it from the default package manager, then run the appropriate command.
- On Debian, Ubuntu, Linux Mint, etc.
- sudo apt remove neovim
- On RHEL, Fedora, Alma Linux, etc.
- sudo dnf remove neovim
- On Arch, Manjaro, EndeavourOS, etc.
- sudo pacman -R neovim
On Ubuntu, if you added the PPA, then after removing it using the aforementioned command, you can remove the added PPA using the following command:
- Removing stable version of NeoVim PPA
- sudo add-apt-repository --remove ppa:neovim-ppa/stable -y
- Removing unstable version of NeoVim PPA
- sudo add-apt-repository --remove ppa:neovim-ppa/unstable -y
Lastly, if you installed it using Snap or Flatpak, then run:
- Using Snap
- sudo snap remove neovim
- Using Flatpak
- flatpak remove io.neovim.nvim
That's it for today's article.


")

