
GNOME Shell extensions are like browser extensions that allow users to add additional features to their GNOME DE by installing extensions from a large available catalog.
This can be as simple as adding GSConnect for wireless communication and data transfer with your smartphone, adding an internet speed meter or weather forecast into the top bar, adding a clipboard indicator, or transforming the default dash to dock for easier launching.
There are tons of extensions available on the GNOME Extensions website that can cater to almost all your needs, and the best part is that you can easily install those extensions from their pages by just installing simple browser extensions and the host connector.
Table of Contents
How to Install and Use GNOME Shell Extensions
To be able to install extensions from the GNOME Extensions website, you need to install "Shell integration" extensions for your browser (available for Firefox and Chrome) and the "GNOME Shell host connector" (available for Debian, Ubuntu, Arch, Fedora, Gentoo, etc.).
Once both installations are complete, the GNOME Extensions website will be able to communicate with and manage GNOME extensions on your system. So, let's begin with…
Step 1: Install the Browser Extension
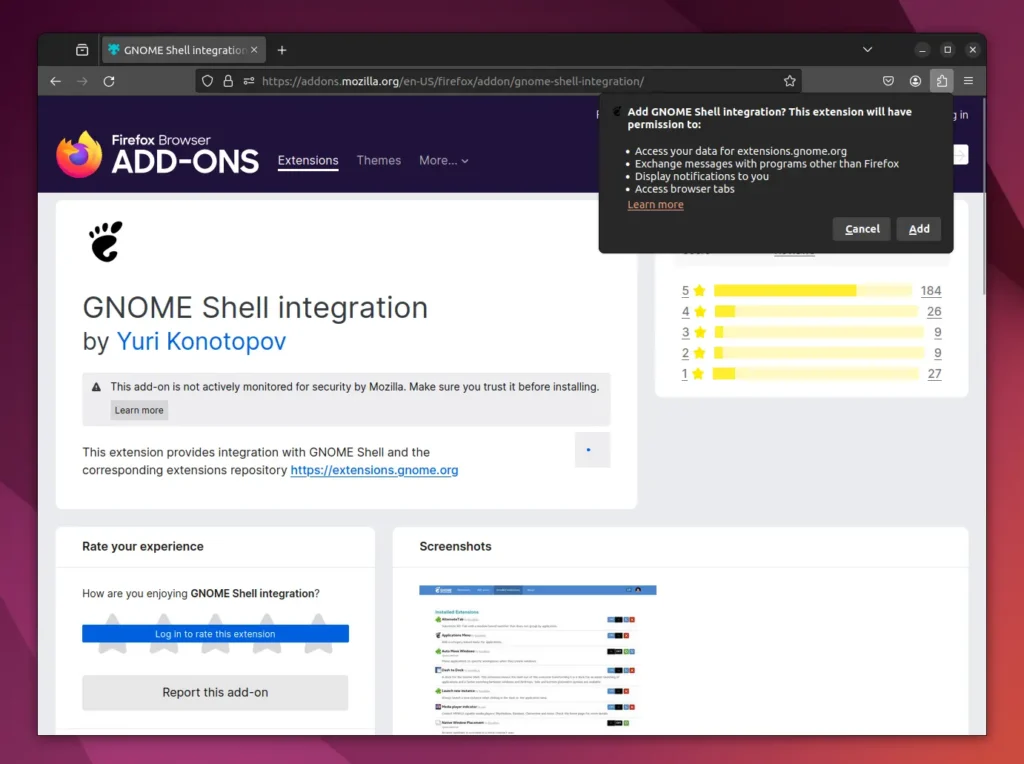
GNOME Shell integration is a free and open-source extension for the GNOME Extensions website, allowing communication between it and your system beyond your browser.
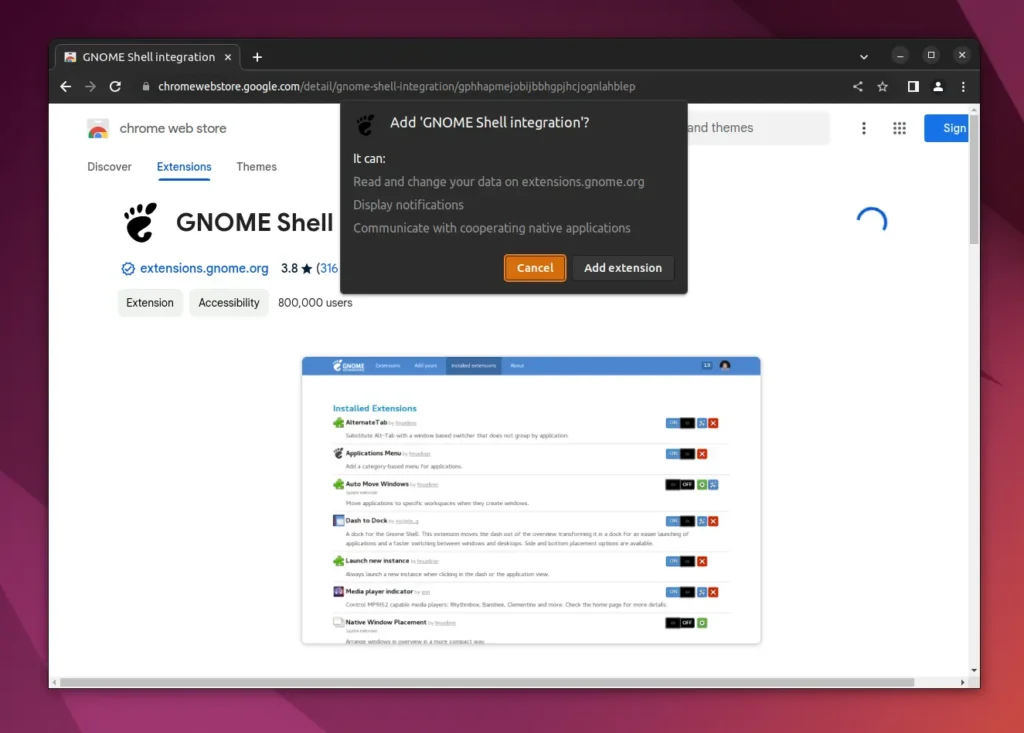
It is available for Firefox (which will also function for Floorp, Waterfox, Mullvad, etc.) and the Chrome extension (which will also function for Chromium-based browsers like Vivaldi, Ulaa, and Brave).
So, to install it on your Firefox-based browser, head over to the GNOME Shell integration add-on page and click on the "Add to Firefox" button.
And to install it on your Chromium-based browser, head over to the GNOME Shell integration extension page and click on the "Add to Chrome" button.
Step 2: Install the GNOME Shell Host Connector
Once the browser extension is installed, you need to install the GNOME Shell host connector package, also known as gnome-browser-connector (newer version), on your system.
To install it, open your terminal and execute one of the following commands according to your Linux distribution:
- On Ubuntu 23.04 or newer
- sudo apt install gnome-browser-connector
- On Debian and Ubuntu 22.04 or older
- sudo apt install chrome-gnome-shell
- On RedHat, Fedora, AlmaLinux, etc
- sudo dnf install gnome-browser-connector
- On Gentoo Linux
- sudo emerge -av gnome-extra/gnome-browser-connector
- On Arch, Manjaro, EndeavourOS, etc
- sudo pacman -Sy gnome-browser-connector
Once the installation is complete, you won't see any desktop shortcuts because it's an invisible application running in the background, and the error that is usually shown when the host connector is not installed, "although the GNOME Shell Integration Extension is running, the native host connector is not detected", will disappear.
Step 3: Install GNOME Extensions
Now that you have both the browser extension and host connector installed, make sure to restart your browser to apply the changes.
Then, visit the GNOME Extensions webpage and choose the extension you want to install. For example, I will show you how to install the Lock Keys extension, which basically highlights Numlock and Capslock status on the top bar.
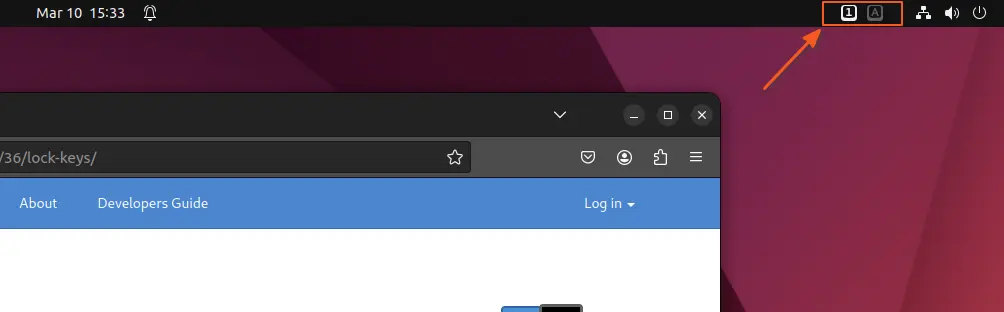
So, when you visit its extension page, you will find an "on/off" toggle displayed in the top right corner.
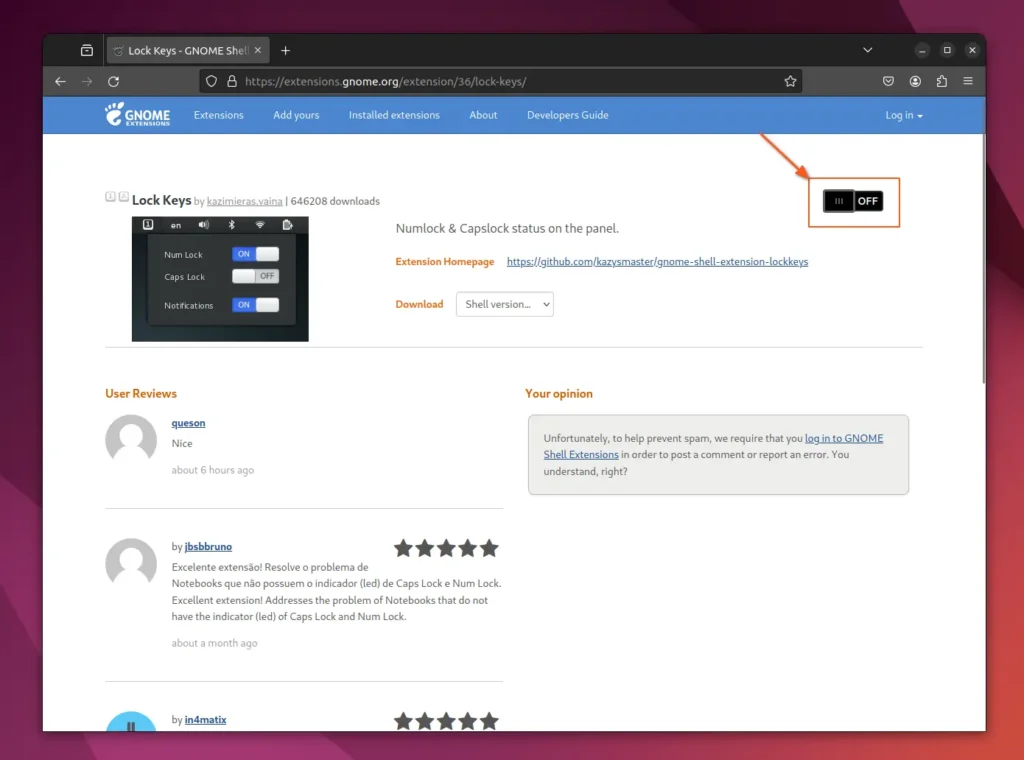
To install it, simply slide the toggle to the "on" position to install the extension on your system.
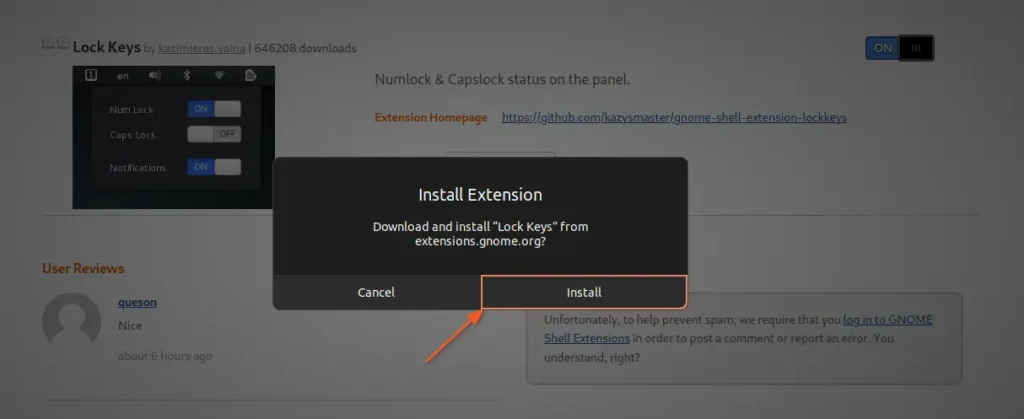
Once you click on the "Install" button to approve, it will download, unpack, and install the extension on your system. Depending on the extension, it will be immediately available for use. For example, in the case of the "Lock Keys" extension, you will find its icon in the top bar.
In some rare cases, if the extension is not available for use, try logging out and then back in after installing a GNOME extension to ensure it starts working properly.
Step 4: Manage GNOME Extensions
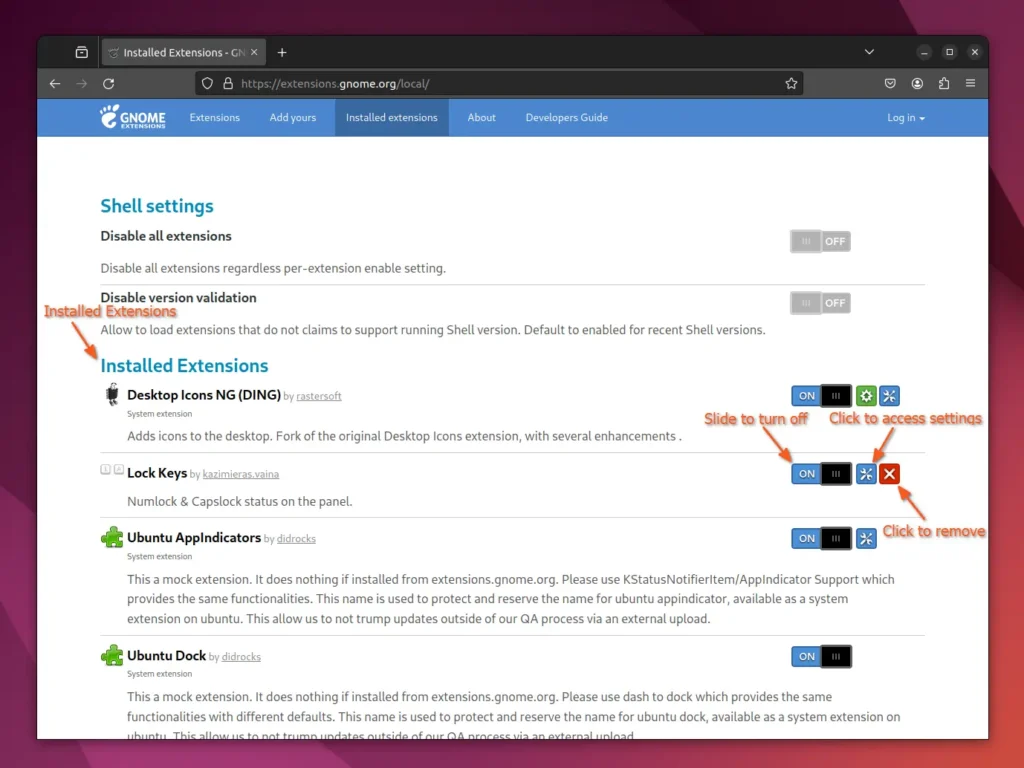
Accessing GNOME extension settings, removing GNOME extensions, and updating GNOME extensions can easily be done from the GNOME Extensions website itself.
To do so, head over to the extensions.gnome.org/local page, where you will find the list of all installed extensions with options to turn them "on/off", remove them, access settings, and update (there will be a "green arrow" when an update is available.).
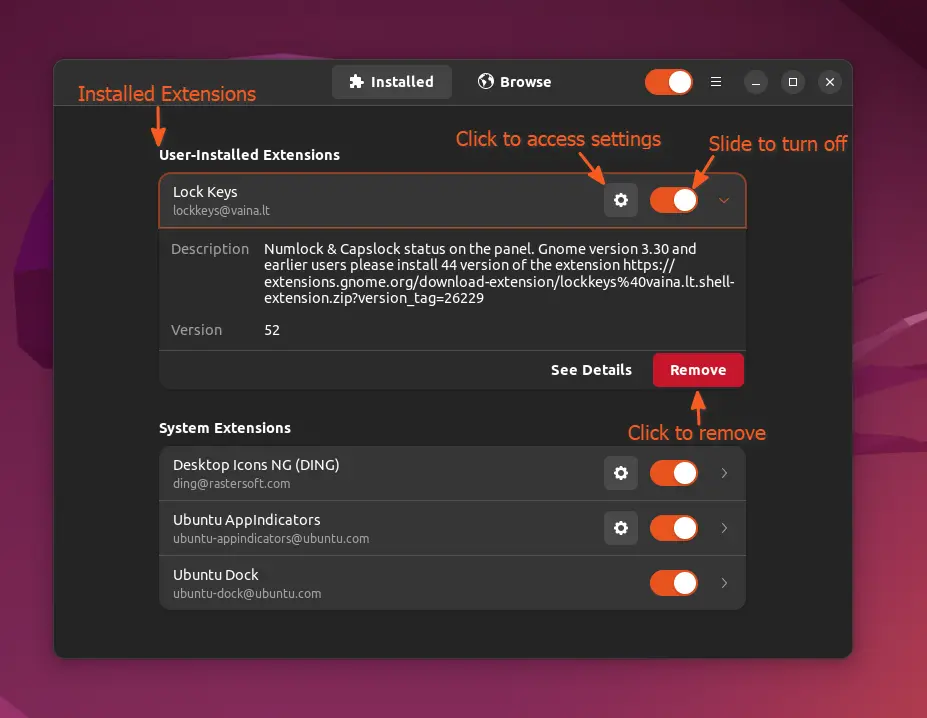
Alternatively, if you want to access your installed extension locally, you can use "Extension Manager" instead. The best part of using it is not depending on the internet connection to access the GNOME Extensions local page.
You can install it on the Debian or Ubuntu-based distribution by executing the following command:
- sudo apt install gnome-shell-extension-manager
Once installed, you can locate it through a simple search by its name, "Extension Manager", and launch it from there.
When it is launched, you will interact with the following window that has the same options as on the GNOME Extensions local page, such as options to toggle "on/off" extensions, remove them, access their settings, and update them.
That's all for today's article. I hope you were able to successfully set up the GNOME shell extensions on your Linux system.


")

")