
TensorFlow is a quite popular Python library that requires no introduction; however, for those who don't know, it is an open-source library that the Google Brain team developed back in 2012 (and open-sourced it in 2015) using Python, Cuda, and C++ programming languages.
It is commonly used in modern technology for various applications, including image and facial recognition, self-driving automobiles, virtual assistants, natural language processing (NLP), healthcare-related applications such as cancer and tumor detection, etc., and many more.
In this article, I'll guide you through the detailed steps to install the TensorFlow library in Ubuntu and other Linux distros.
Table of Contents
How to Install TensorFlow on Ubuntu and Other Linux Distros
Before we proceed, ensure that your system meets the following system requirements for TensorFlow, or at least is close to meeting them:
- 8GB of RAM
- 2GB+ of GPU
- 8GB+ of HD/SSD storage
- Python 3.9+ and PIP 19.0+
- OS must be based on the x64 architecture
- Supported OS are Ubuntu 16.04+, macOS 10.12.6+, and Windows 7+
Once you are ready, follow the below-mentioned steps to perform the TensorFlow installation on your system.
1. Install the Python Development Environment
First, ensure that you install the latest version of Python and PIP on your system by downloading the installer from python.org. For Ubuntu and other Linux distros, execute the appropriate command based on your Linux distribution for installation.
- On Debian, Ubuntu, Mint
- sudo apt install python3 python3-pip python3-virtualenv
- On RedHat, Fedora, AlmaLinux
- sudo dnf install python3 python3-pip python3-virtualenv
- On Arch, Manjaro, EndeavourOS
- sudo pacman -S python python-pip python-virtualenv
2. Create a Virtual Environment
Navigate to a location where you want to store your Python project for TensorFlow and then execute the following series of commands to set up the virtual environment.
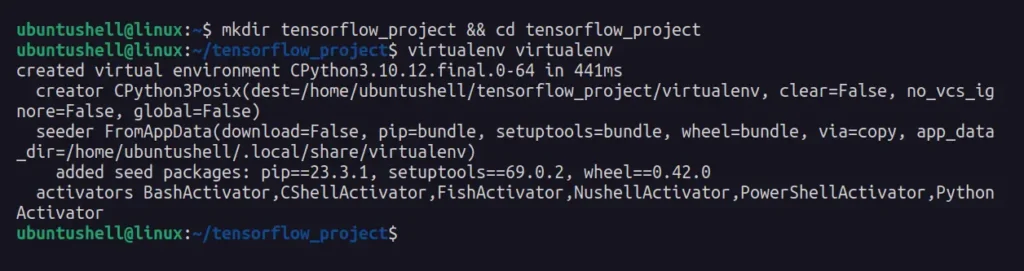
- mkdir tensorflow_project && cd tensorflow_project
- virtualenv virtualenv
Output:
3. Activate the Virtual Environment
After creating the virtual environment under the Python project directory, activate it by running the following command, which confirms that no actions performed under the virtual environment affect the host system.
📝 Note
Always enter the virtual environment when you want to work with the TensorFlow library in your Python project.
- On Linux and macOS
- source virtualenv/bin/activate
- On Windows
- virtualenv\Scripts\activate.bat
Output:

Then verify that you are in a virtual environment by checking the PIP location using the following command:
- pip --version
Output:

4. Install TensorFlow
The Python project directory is created, the virtual environment is installed and activated, so it's time to install the TensorFlow library (or package) on your system.
- For CPU users
- pip install tensorflow
- For GPU users
- pip install tensorflow[and-cuda]
Output:
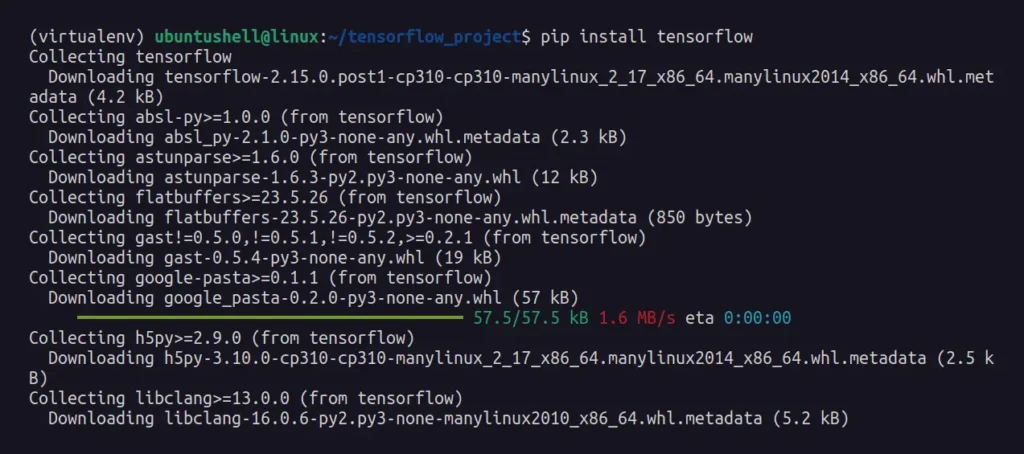
It will take some time to download and install the necessary package for TensorFlow before you can take a coffee break.
5. Verify and Use the TensorFlow
Once the installation is complete, you can execute the following command to verify that the TensorFlow installation was successful:
- For CPU users
- python3 -c "import tensorflow as tf; print(tf.reduce_sum(tf.random.normal([1000, 1000])))"
- For GPU users
- python3 -c "import tensorflow as tf; print(tf.config.list_physical_devices('GPU'))"
If a tensor is returned, you've installed TensorFlow successfully.
Or enter a Python interpreter session and import the TensorFlow library into your Python project.
- python
- import tensorflow


")

