 Server on Ubuntu")
Minecraft is quite a popular game among kids and teenagers, featuring amazing survival adventures and a unique presentation style that portrays various aspects of reality.
When you purchase the game, you receive the default vanilla (or universal) server from the server download section of Mojang’s website, which is good enough for beginners.
Yet, it could soon turn your adventure into a nightmare when you want to play with hundreds of users at once, which drastically reduces performance and overall spoils your gaming experience.
Instead of vanilla, you can install, configure, and start your own custom Minecraft PaperMC server on your PC or VPS to achieve better performance and anytime adjust the system configuration based on demand to control the budget.
Paper is a high-performance fork of Spigot that is more optimized, fixing gameplay and mechanic inconsistencies present in Spigot and thus providing better performance on both the server and client sides.
In this article, you will learn how to install, configure, and start a custom-hosted Minecraft PaperMC server on Ubuntu.
Prerequisites
The following is a requirement that must be fulfilled to set up your custom Minecraft server.
- A stable system, VPS, or server running on Ubuntu or an Ubuntu-based distribution.
- It could be better if the system was running on an x64 architecture.
- 1GB+ RAM, 2+ CPU cores, and 2GB+ HD/SDD storage.
- Good internet connection if using a VPS or server.
How to Host a Minecraft (PaperMC) Server on Ubuntu
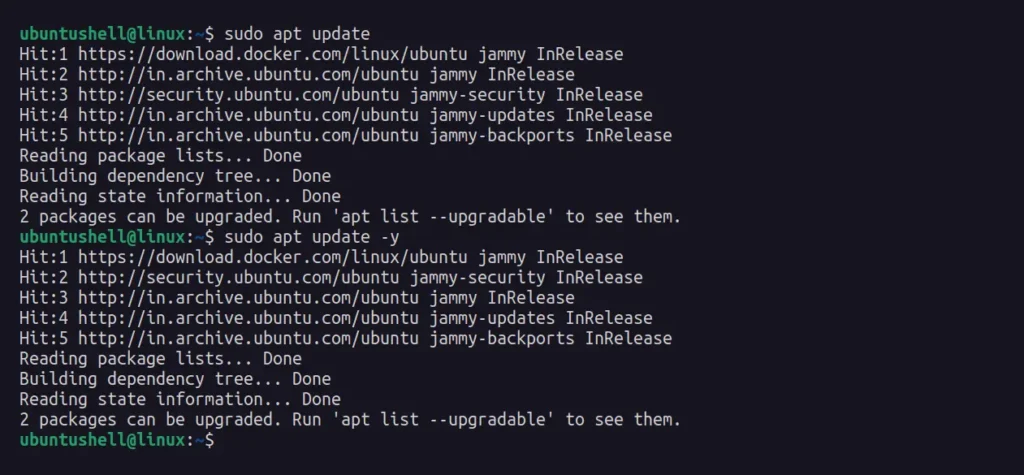
1. First, open your terminal, update your system repository information, and upgrade your system packages to their latest version.
- sudo apt update
- sudo apt upgrade -y
Output:
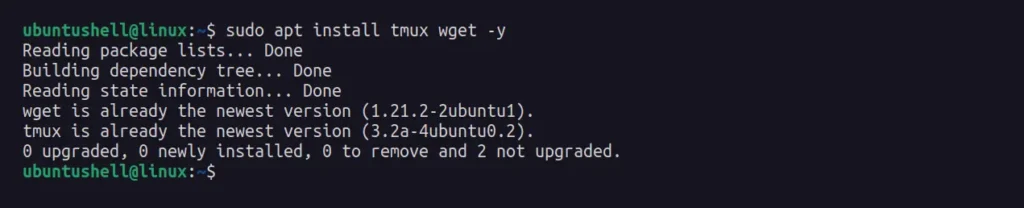
2. Install tmux and wget packages that will come in handy later.
- sudo apt install tmux wget -y
Output:
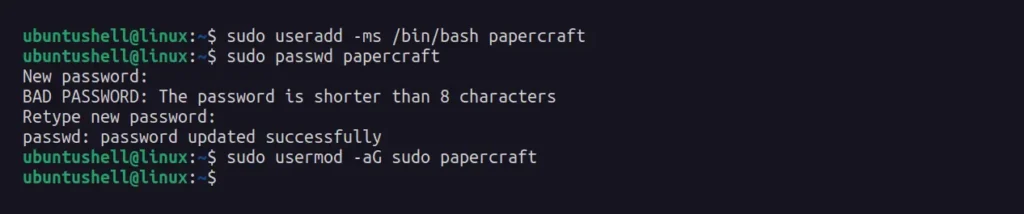
3. The default user account can be used for running the server, but it is advisable to create a separate user account to simplify the management and identification of the server and its related processes later on.
- Create a new "papercraft" user account.
- sudo useradd -ms /bin/bash papercraft
- Setting a password for the "papercraft" user account.
- sudo passwd papercraft
- (Optional) Adding a "papercraft" user account to the sudo group.
- sudo usermod -aG sudo papercraft
Output:
4. Switch to the newly created "papercraft" user account.
- sudo su - papercraft
Output:

5. Create a directory for the paper server and Minecraft world files to make the management of servers and worlds easier.
- mkdir papermc && cd papermc
Output:

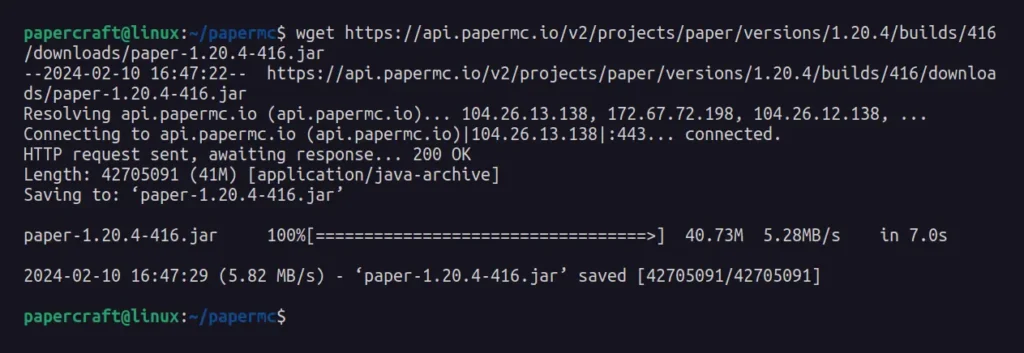
6. Navigate to the PaperMC download page, download the latest version of the Paper Java file, or execute the following command to download the current Paper 1.20.4 version using the wget command.
- wget https://api.papermc.io/v2/projects/paper/versions/1.20.4/builds/416/downloads/paper-1.20.4-416.jar
Output:
7. Now, you need to install Java on your system; it's kind of a tricky process, but the best way to install is the one supported by Minecraft. For instance, Minecraft 1.19 requires running the server with Java 17 or above.
- wget https://github.com/adoptium/temurin17-binaries/releases/download/jdk-17.0.4.1%2B1/OpenJDK17U-jdk_x64_linux_hotspot_17.0.4.1_1.tar.gz
Output:

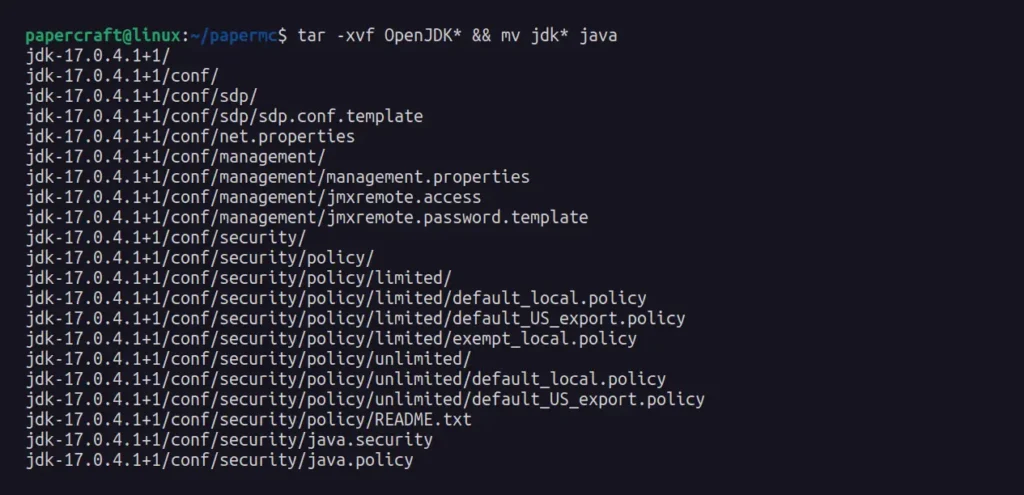
8. Extract the downloaded Java tar file and rename the extracted folder to "java".
- tar -xvf OpenJDK* && mv jdk* java
Output:
9. Before starting the Minecraft server, execute the following command to accept Mojang's EULA (end-user license agreement).
- echo "eula=true" > eula.txt
Output:

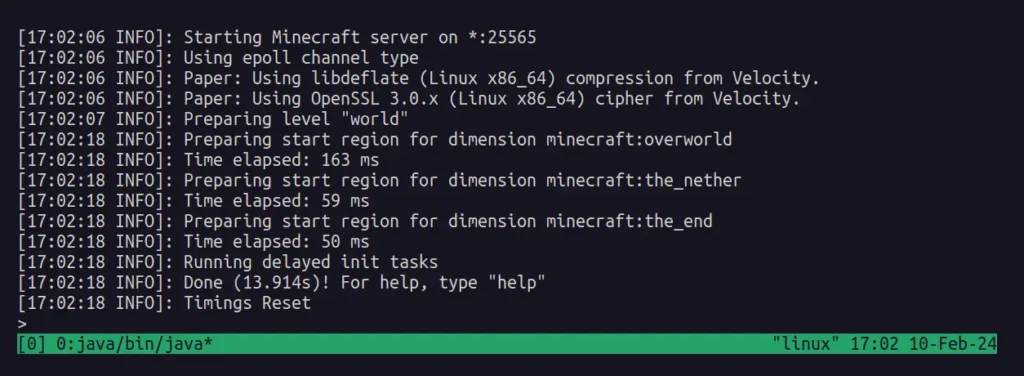
10. Finally, launch a tmux session (to later detach it from the shell session and keep the server running in the background), and within the tmux session, start the Minecraft PaperMC server.
📝 Note
The 512M and 1G parameters in -Xms512M -Xmx1G configure Java to use a minimum of 512MB and a maximum of 1GB of RAM for the Minecraft server. Never assign all available RAM to the paper; leave some space for the OS and tweak these parameters based on the server requirements.
- tmux
- java/bin/java -Xms512M -Xmx1G -jar paper*.jar nogui
Output:
11. Once your Minecraft server is started, it opens port 25565; here, you can detach the tmux session using Ctrl+b and then d on your keyboard. Later, you can check if your tmux session is running by executing the following command:
📝 Note
If you restart your system, VPS, or server, the Minecraft PaperMC server running in the background under the tmux session will also shut down.
- tmux ls
Output:

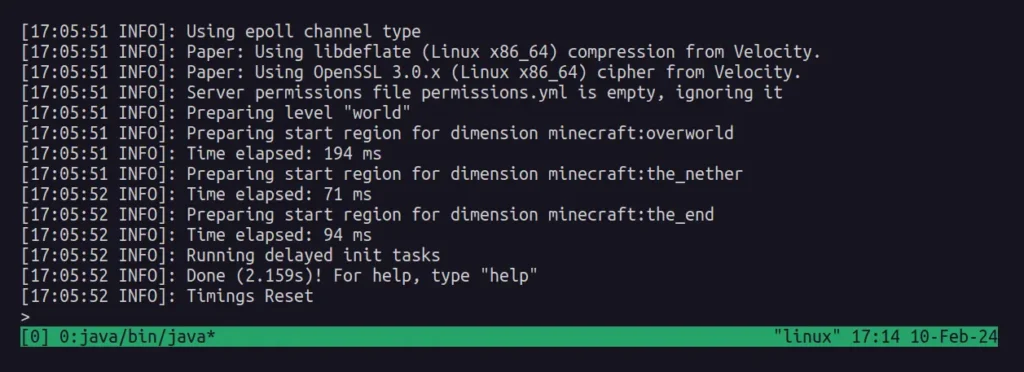
12. Later, when you want to check the logs or terminate the Minecraft server, simply attach to the tmux session running in the background by executing the following command:
- tmux a
Output:
 on Linux")


