Back Up Linux And Windows Systems With BackupPC
Version 1.0
Author: Falko Timme
This tutorial shows how you can back up Linux and Windows systems with BackupPC. BackupPC acts as a server and is installed on a Linux system, and from there it can connect to all Linux and Windows systems in your local network to back them up and restore them without interfering with the user's work on that system. On the clients minimal to no configuration is needed. BackupPC supports full and incremental backups, and it comes with a neat web frontend for the administrator and normal user so that backups and recoveries can be managed through a web browser. It should be noted, however, that BackupPC does file-based backups, not bit-wise backups like Ghost4Linux, for example, so it is not made for disk/partition imaging.
BackupPC comes with a clever pooling scheme that minimizes disk storage and disk I/O. Identical files across multiple backups of the same or different PCs are stored only once resulting in substantial savings in disk storage and disk I/O.
I want to say first that this is not the only way of setting up such a system. There are many ways of achieving this goal but this is the way I take. I do not issue any guarantee that this will work for you!
1 Preliminary Note
In this tutorial I will set up BackupPC on a Debian Etch server with the static IP address 192.168.0.100 and the hostname server1.example.com. The procedure should be similar or the same on Debian Sarge and Ubuntu.
BackupPC stores the backups in /var/lib/backuppc, so I've made that an extra partition of about 90 GB on the BackupPC server. It should be noted that this is still very small, especially if you want to back up lots of machines, so bigger is better. Also, you should consider using LVM for the /var/lib/backuppc partition so that you can enlarge it whenever you need it. You can learn more about LVM in this tutorial: https://www.howtoforge.com/linux_lvm
I will show how to back up and restore a Ubuntu Edgy Eft desktop system with the hostname/NetBIOS name falko-desktop and a Windows XP laptop with the NetBIOS name notebook. Both get their network settings through DHCP.
BackupPC supports three transfer methods, smb, rsync/rsyncd, and tar. rsync is the recommended method for Linux systems, so I will use that for the Ubuntu desktop, and smb is the preferred method for Windows systems, so I use it for the Windows laptop.
2 Install BackupPC
On server1.example.com, we run this command as root to install BackupPC:
server1.example.com:
apt-get install backuppc rsync libfile-rsyncp-perl par2 smbfs
You willl be asked a few questions:
Workgroup/Domain Name: <-- WORKGROUP (in fact, it doesn't matter what you enter here)
Modify smb.conf to use WINS settings from DHCP? <-- No
Then you will see this message:
Web administration default user created
BackupPC can be managed through its web interface:
http://server1.example.com/backuppc/
For that purpose, a web user named 'backuppc' with 'dAamcQIH' as password has been created. You can change this password by running 'htpasswd /etc/backuppc/htpasswd backuppc'. <-- Ok
Please make a note of the web frontend password (dAamcQIH in this case) for the user backuppc. If you don't like the password, you can change it by running
server1.example.com:
htpasswd /etc/backuppc/htpasswd backuppc
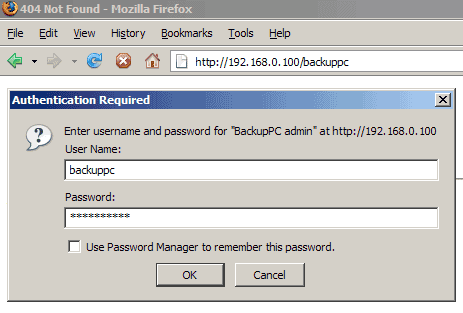
Then open a browser and type in http://192.168.0.100/backuppc/ (or http://server1.example.com/backuppc/ if you have a proper DNS record for server1.example.com in your network). If you get a login prompt, everything is fine, if not (like on my installation), run this command:
server1.example.com:
dpkg-reconfigure backuppc
You will see this question:
Add aliases for /backuppc/ to your apache config files ? <-- Yes
Afterwards, go to http://192.168.0.100/backuppc/ again and log in with the username backuppc and backuppc's password: