Run Your Own Webradio Station With Icecast2 And Ices2
Version 1.0
Author: Falko Timme
This tutorial describes how to set up an audio streaming server with Icecast2. In order that Icecast2 can stream audio to listeners we install Ices2. Ices2 is a program that sends audio data to an Icecast2 server to broadcast to clients. Ices2 can either read audio data from disk (Ogg Vorbis files), or sample live audio from a sound card and encode it on the fly. In this article we will let Ices2 read .ogg files from the local hard disk.
I do not issue any guarantee that this will work for you!
1 Preliminary Note
As mentioned in the introduction, Ices2 can read from multiple sources and send audio data to the Icecast2 server. In this article we will let Ices2 read .ogg files from the local hard disk (playlist mode), and we will install Icecast2 and Ices2 on the same system.
Ices2 supports Ogg Vorbis files only, so if you have .mp3 files that you want to stream you should convert them to .ogg. (In earlier versions Ices supported MP3 files as well, but this support was given up because MP3 is a patented and proprietary encoding technology whereas Ogg Vorbis is an open and patent-free audio encoding technology.)
In this example my system uses Debian Etch. The procedure should be identical for Ubuntu systems. My system has the IP address 192.168.0.100.
2 Install And Configure Icecast2
To install Icecast2 we simply run
apt-get install icecast2
Afterwards we must edit /etc/icecast2/icecast.xml. Most default values should work fine for now, but you should change the passwords in the <authentication>...</authentication> section. The source-password is the password that Ices2 will later on use to connect to Icecast2; the admin-password is the password that the admin will use in Icecast2's web interface; we won't use the relay-password, but anyway you should change it.
vi /etc/icecast2/icecast.xml
[...]
    <authentication>
        <!-- Sources log in with username 'source' -->
        <source-password>password1</source-password>
        <!-- Relays log in username 'relay' -->
        <relay-password>password2</relay-password>

        <!-- Admin logs in with the username given below -->
        <admin-user>admin</admin-user>
        <admin-password>password3</admin-password>
    </authentication>
[...]
|
Afterwards edit /etc/default/icecast2 and set ENABLE to true:
vi /etc/default/icecast2
# Defaults for icecast2 initscript # sourced by /etc/init.d/icecast2 # installed at /etc/default/icecast2 by the maintainer scripts # # This is a POSIX shell fragment # # Full path to the server configuration file CONFIGFILE="/etc/icecast2/icecast.xml" # Name or ID of the user and group the daemon should run under USERID=icecast2 GROUPID=icecast # Edit /etc/icecast2/icecast.xml and change at least the passwords. # Change this to true when done to enable the init.d script ENABLE=true |
That's it already, we can now start the Icecast2 server:
/etc/init.d/icecast2 start
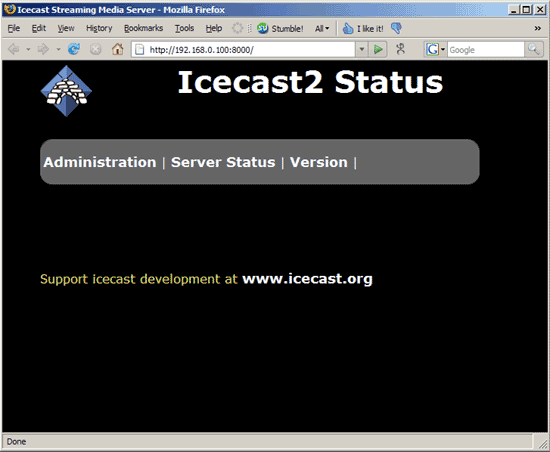
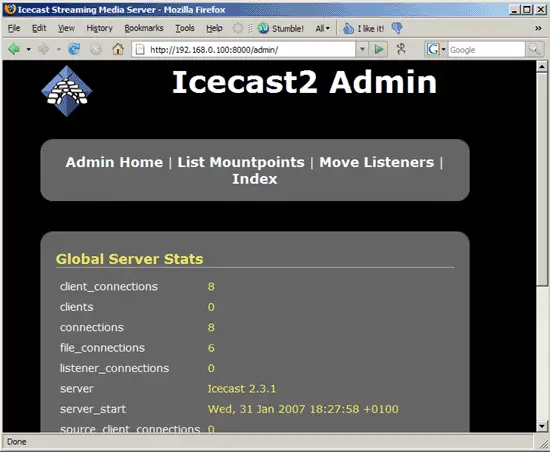
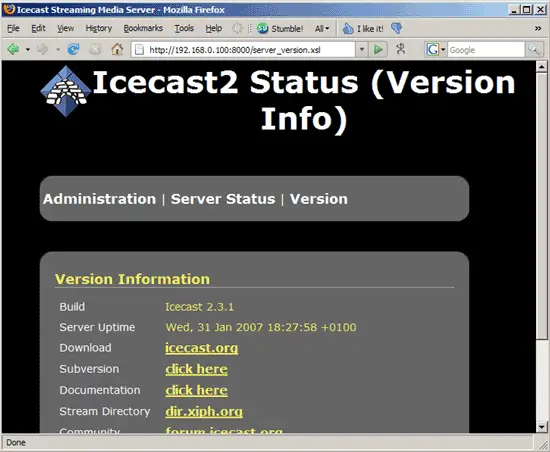
You can now direct your browser to http://192.168.0.100:8000/ (replace 192.168.0.100 with your own IP address or FQDN) and browse through the web interface: