vtiger CRM 5.02 on Ubuntu 6.06 LTS Server (Dapper Drake)
Version 1.1
Author: Xam
This is a detailed description about how to set up a vtiger CRM 5.02 on an Ubuntu 6.06 LTS (Dapper Drake) based server. vtiger is an Open Source Customer Relationship Management solution built over LAMP stack and other third-party open source packages.
Reference:
This fool's guide is based on three howtos:
https://www.howtoforge.com/perfect_setup_ubuntu_6.06
http://noiesmo.dnsalias.net/article.php?story=20060919210654623
http://www.vtiger.com/products/crm/help/vtigerCRM-Installation-Manual-Linux.pdf
I will just use the following two pieces of open source software:
Ubuntu 6.06 LTS Server (Dapper Drake) (http://www.ubuntu.com/products/GetUbuntu/download) and vtiger CRM 5.02 for Linux (vtigercrm-5.0.2.bin) (http://prdownloads.sourceforge.net/vtigercrm/vtigercrm-5.0.2.bin?download).
In the end you should have a working free CRM system that works reliably.
My system's IP address in this tutorial is 192.168.0.100, and my hostname is server1.example.com.
I want to say first that this is not the only way of setting up such a system. There are many ways of achieving this goal but this is the way I take. I do not issue any guarantee that this will work for you!
1 Requirements
To install such a system you will need the following 2 CD’s :
A) The Ubuntu 6.06 LTS Server installation CD (the list of mirrors is available here: http://www.ubuntu.com/download - I downloaded this one: http://nl.releases.ubuntu.com/releases/6.06/ubuntu-6.06.1-server-i386.iso).
B) vtigercrm-5.0.2.bin. Download the vtigercrm-5.0.2.bin file (http://prdownloads.sourceforge.net/vtigercrm/vtigercrm-5.0.2.bin). Download and burn it on a CD.
2 The Base System
Insert your Ubuntu install CD into your system and boot from it. Select Install to the hard disk. Do NOT try to Install a LAMP server because the vtiger installation file includes Apache, MySQL, PHP, and GD library:
")
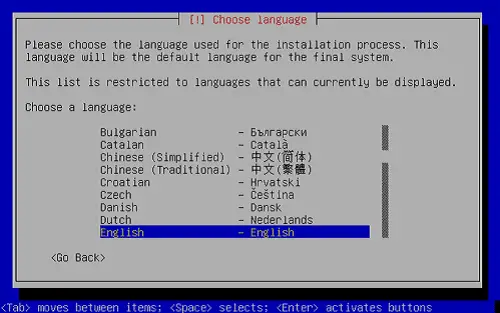
The installation starts, and first you have to choose your language:
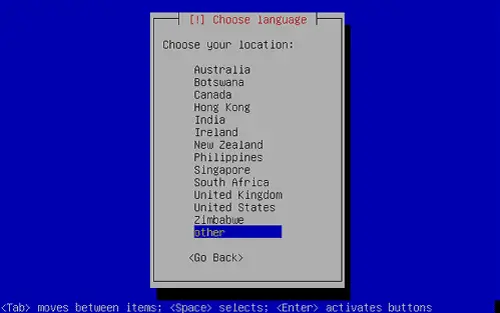
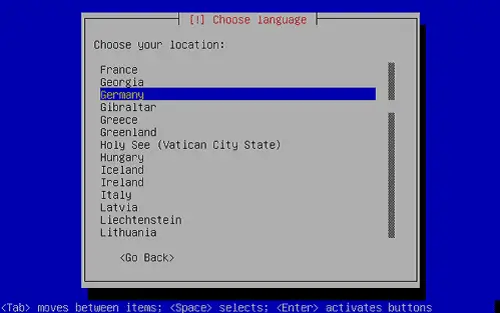
Then select your location:
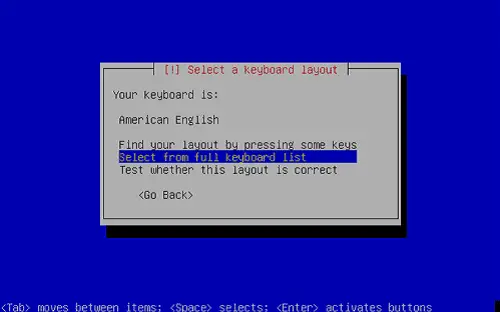
Choose a keyboard layout:
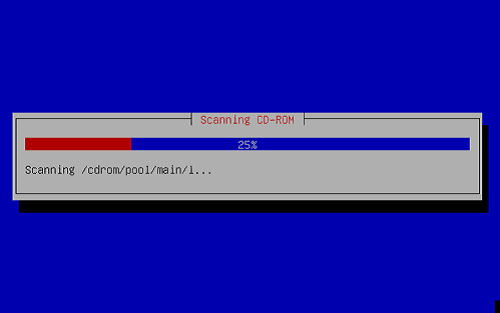
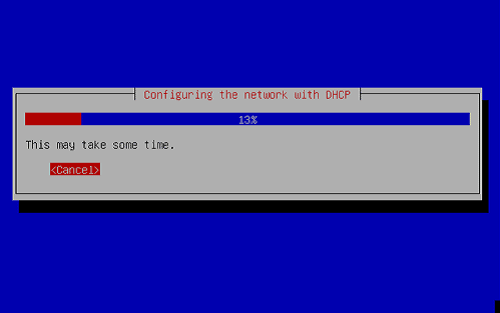
The installer checks the installation CD, your hardware, and configures the network with DHCP if there is a DHCP server in the network:
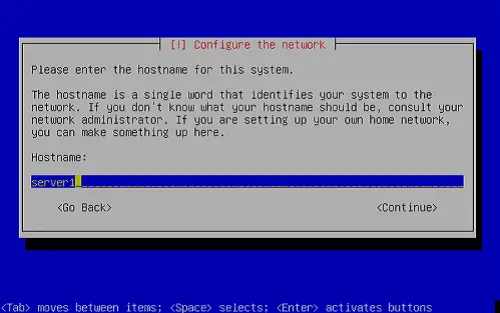
Enter the hostname. In this example, my system is called server1.example.com, so I enter server1:
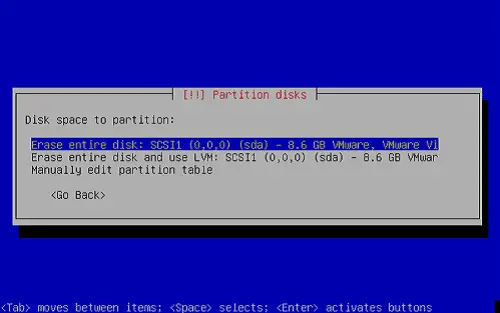
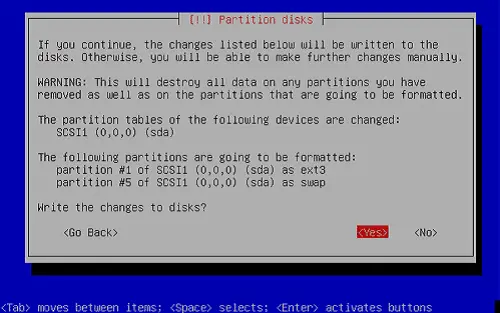
Now you have to partition your hard disk. I will create one big partition with the mount point / and a little swap partition so I select Erase entire disk:
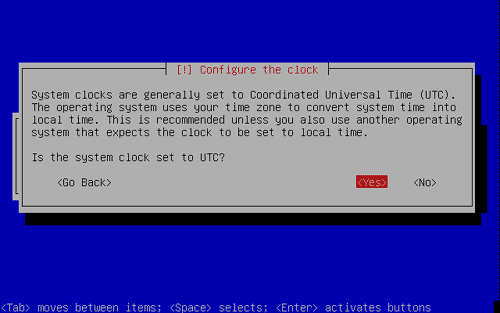
Configure your system's clock:
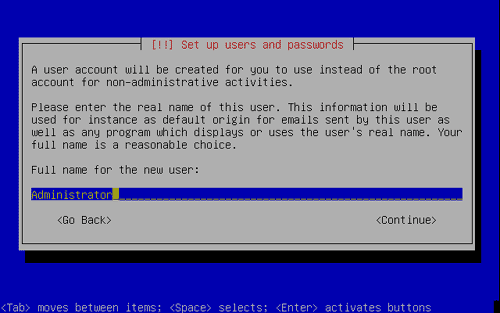
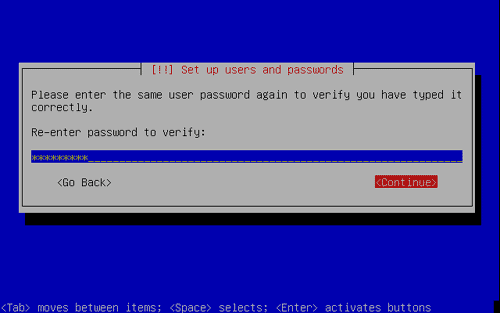
Create a user, for example the user Administrator with the user name admin:
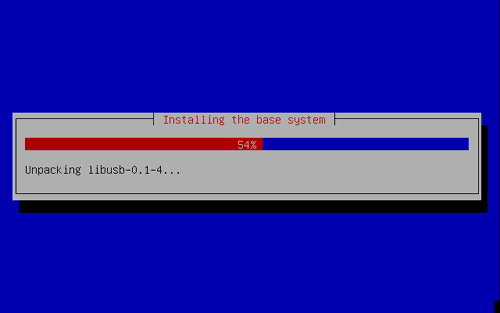
Now the base system is being installed:
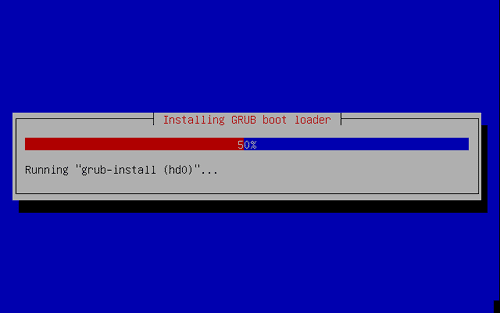
The GRUB boot loader gets installed:
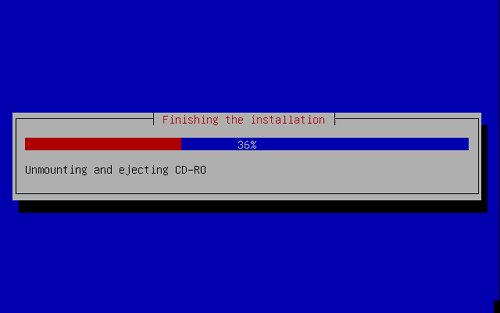
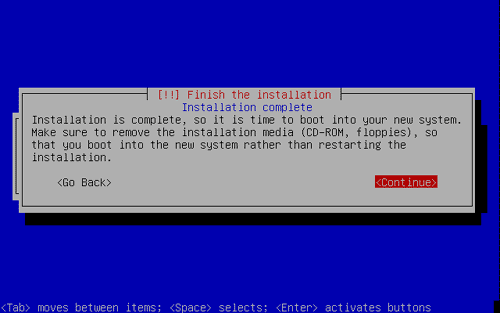
The base system installation is now finished. Remove the installation CD from the CD drive and hit Continue to reboot the system:
Login as admin with your just created password.

