The Perfect Desktop - Part 3: Ubuntu 6.10 Edgy Eft
This tutorial exists for these OS versions
- Ubuntu 14.10 (Utopic Unicorn)
- Ubuntu 13.10 (Saucy Salamander)
- Ubuntu 14.04 LTS (Trusty Tahr)
- Ubuntu 13.04 (Raring Ringtail)
- Ubuntu 12.10 (Quantal Quetzal)
- Ubuntu 12.04 LTS (Precise Pangolin)
On this page
With the release of Microsoft's new Windows operating system (Vista), more and more people are looking for alternatives to Windows for various reasons. This tutorial is the third in a series of articles where I will show people who are willing to switch to Linux how they can set up a Linux desktop (Ubuntu 6.10 Edgy Eft in this article) that fully replaces their Windows desktop, i.e. that has all software that people need to do the things they do on their Windows desktops. The advantages are clear: you get a secure system without DRM restrictions that runs also on older hardware, and the best thing is: all software comes free of charge.
I want to say first that this is not the only way of setting up such a system. There are many ways of achieving this goal but this is the way I take. I do not issue any guarantee that this will work for you!
1 Preliminary Note
To fully replace a Windows desktop, I want the Ubuntu Edgy Eft desktop to have the following software installed:
Graphics:
- The GIMP - free software replacement for Adobe Photoshop
- F-Spot - full-featured personal photo management application for the GNOME desktop
- Google Picasa - application for organizing and editing digital photos
Internet:
- Firefox
- Opera
- Flash Player 9
- gFTP - multithreaded FTP client
- Thunderbird - email and news client
- Evolution - combines e-mail, calendar, address book, and task list management functions
- aMule - P2P file sharing application
- Bittorrent client
- Azureus - Java Bittorrent client
- Gaim - multi-platform instant messaging client
- Skype
- Google Earth
- Xchat IRC - IRC client
Office:
- OpenOffice Writer - replacement for Microsoft Word
- OpenOffice Calc - replacement for Microsoft Excel
- Adobe Reader
- GnuCash - double-entry book-keeping personal finance system, similar to Quicken
- Scribus - open source desktop publishing (DTP) application
Sound & Video:
- Amarok - audio player
- Audacity - free, open source, cross platform digital audio editor
- Banshee - audio player, can encode/decode various formats and synchronize music with Apple iPods
- MPlayer - media player (video/audio), supports WMA
- Rhythmbox Music Player - audio player, similar to Apple's iTunes, with support for iPods
- gtkPod - software similar to Apple's iTunes, supports iPod, iPod nano, iPod shuffle, iPod photo, and iPod mini
- XMMS - audio player similar to Winamp
- dvd::rip - full featured DVD copy program
- Kino - free digital video editor
- Sound Juicer CD Extractor - CD ripping tool, supports various audio codecs
- VLC Media Player - media player (video/audio)
- Real Player
- Totem - media player (video/audio)
- Xine - media player, supports various formats; can play DVDs
- GnomeBaker - CD/DVD burning program
- K3B - CD/DVD burning program
- Multimedia-Codecs
Programming:
- Nvu- WYSIWYG HTML editor, similar to Macromedia Dreamweaver, but not as feature-rich (yet)
- Bluefish - text editor, suitable for many programming and markup languages
- Quanta Plus - web development environment, including a WYSIWYG editor
Other:
- VMware Server - lets you run your old Windows desktop as a virtual machine under your Linux desktop, so you don't have to entirely abandon Windows
- TrueType fonts
- Java
Ubuntu automatically installs the GNOME desktop.
Lots of our desired applications are available in the Ubuntu repositories, and some of these applications have been contributed by the Ubuntu community. The rest (except for VMware Server) can be obtained by using Automatix (which I have covered in another tutorial already: https://www.howtoforge.com/automatix_ubuntu). This makes it very easy to achieve our goal, at least compared to the first two tutorials of this series: The Perfect Desktop - Part 1: Fedora Core 6 and The Perfect Desktop - Part 2: Mandriva Free 2007.
I will use the username falko in this tutorial, and I will download all necessary files to falko's desktop which is equivalent to the directory /home/falko/Desktop. If you use another username (which you most probably do ;-)), please replace falko with your own username. So when I use a command like
cd /home/falko/Desktop
you must replace falko.
2 Installing The Base System
The installation of the base system is easy as 1-2-3 because the Ubuntu installer doesn't offer a lot of options to choose from, so you cannot go wrong.
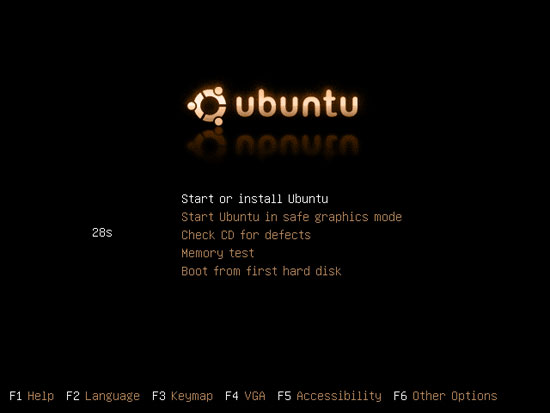
Download the Ubuntu Edgy Eft Desktop (not Server!) iso image from http://www.ubuntu.com/download, burn it onto a CD, and boot your computer from it. At the boot prompt, select Start or install Ubuntu:
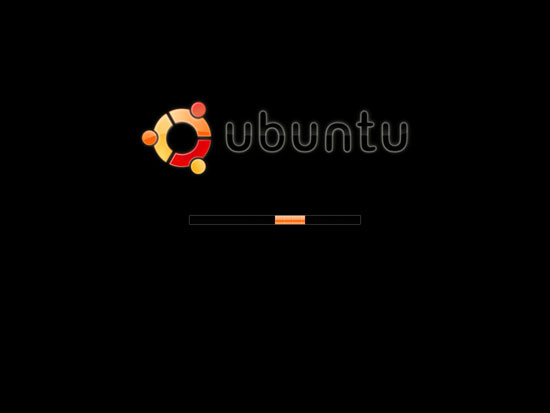
The system boots and starts a desktop that is run entirely in the RAM of your system (the Ubuntu installation CD is also a Live-CD) without changing anything on your hard disk. This has the advantage that you can test how Ubuntu works on your hardware before you finally install it.
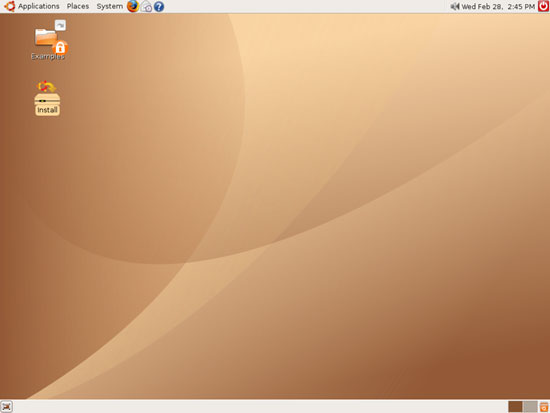
After the Live-CD desktop has started, double-click the Install icon on the desktop to start the installation to the hard drive:
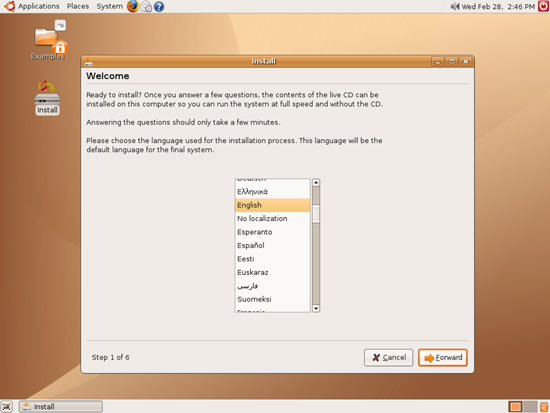
The installer starts. First, select your language:
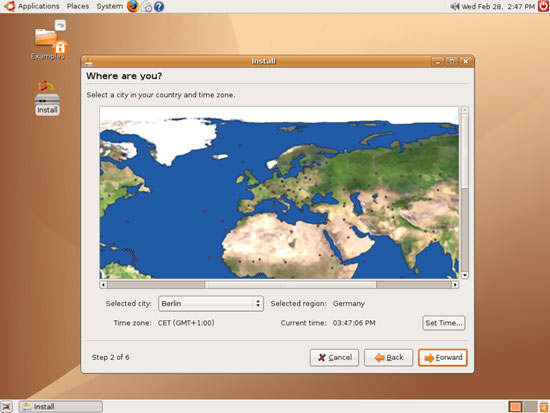
Then choose your time zone:
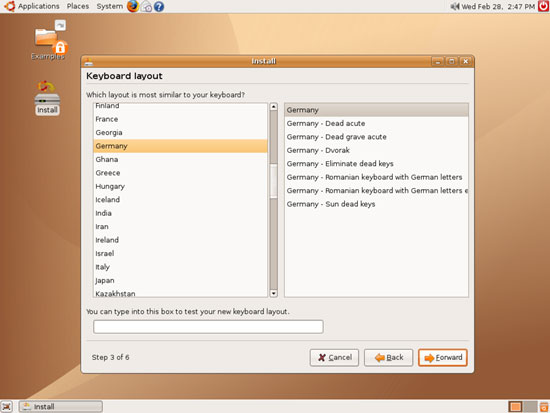
Change the keyboard layout, if necessary:
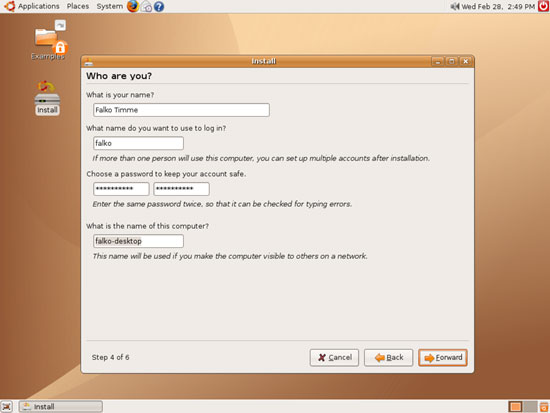
Type in your real name, your desired username along with a password, and click on Forward:
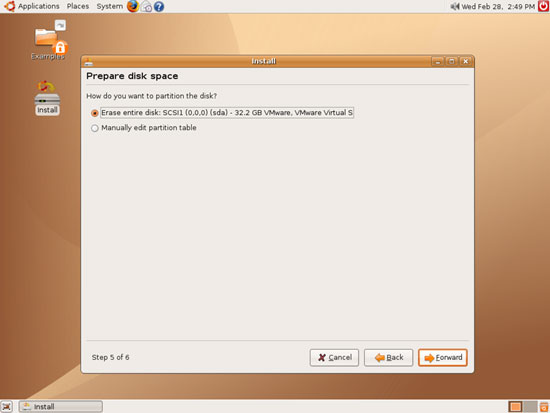
Now we come to the partitioning of our hard disk. Usually Erase entire disk is a good choice, unless you need custom partitions and know what you're doing. Erase entire disk will create one big / partition for us:
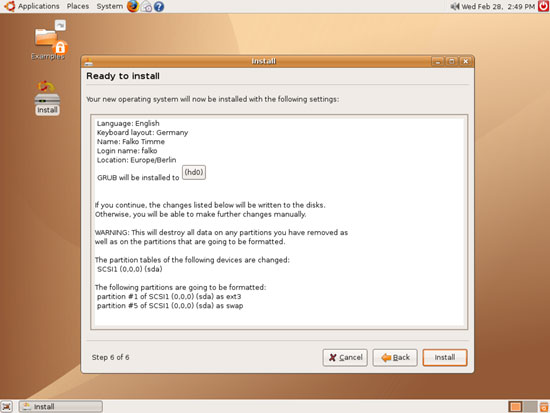
The next screen shows us a summary of the installation settings. Click on Install to start the installation:
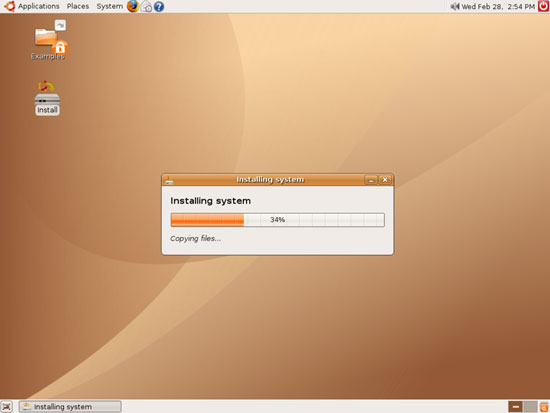
The hard drive is partitioned, and the Ubuntu system gets installed. This can take a few minutes, so be patient:
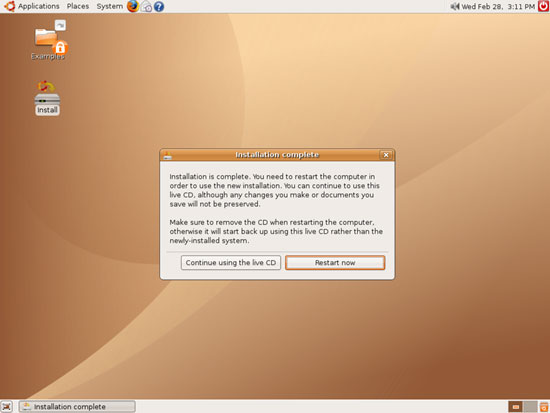
After the installation is complete, we must reboot the system to use it. Click on Restart now:
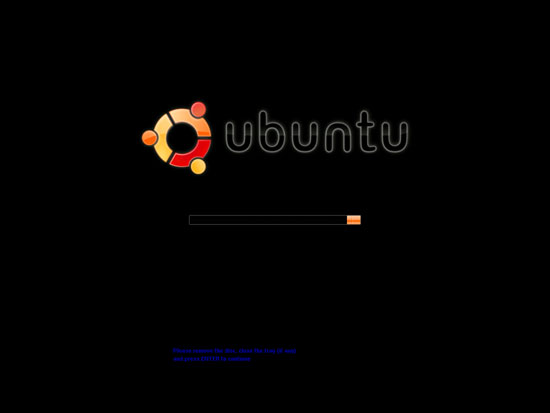
The Live-CD desktop shuts down. At the end (when you see the blue text at the bottom of this screen), the Ubuntu CD is ejected. Remove it from the CD drive and hit the <ENTER> key to boot into your new Ubuntu desktop:
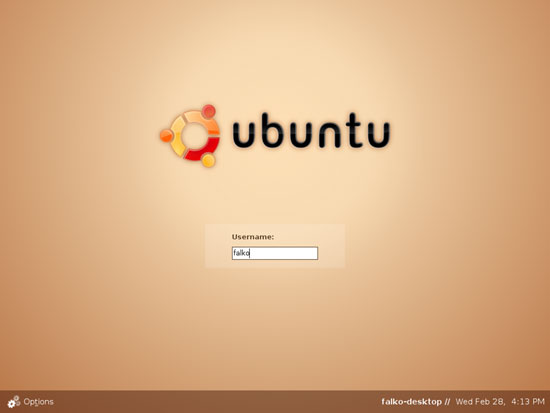
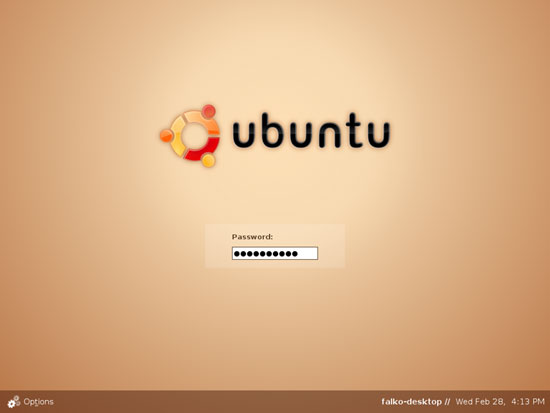
Your new Ubuntu system starts. Log in to the desktop with the username and password you provided during the installation:
Now the base system is ready to be used.

