How To Install VMware Server On A Fedora Core 6 Desktop
Version 1.0
Author: Falko Timme
This tutorial provides step-by-step instructions on how to install VMware Server on a Fedora Core 6 desktop system. With VMware Server you can create and run guest operating systems ("virtual machines") such as Linux, Windows, FreeBSD, etc. under a host operating system. This has the benefit that you can run multiple operating systems on the same hardware which saves a lot of money, and you can move virtual machines from one VMware Server to the next one (or to a system that has the VMware Player which is also free).
Also, with VMware Server you can let your old Windows desktop (that you previously converted into a VMware virtual machine with VMware Converter, as described in this tutorial: https://www.howtoforge.com/vmware_converter_windows_linux) run under your Fedora desktop. This can be useful if you depend on some applications that exist for Windows only, or if you want to switch to Linux slowly.
I want to say first that this is not the only way of setting up such a system. There are many ways of achieving this goal but this is the way I take. I do not issue any guarantee that this will work for you!
1 Installing Required Packages
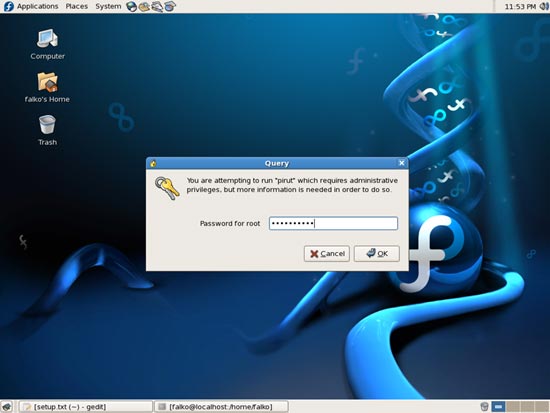
Before we install VMware Server, we must install some prerequisites. To install them, go to Applications > Add/Remove Software:

Type in the root password:
The Package Manager opens. Go to the Browse tab and select:
- Development > Development Libraries
- Development > Development Tools
Then go to the List tab. Select the following package for installation and click on Apply afterwards:
- xinetd
The Package Manager will then resolve all dependencies, download the packages, maybe ask you to accept some unknown software keys (please accept them), and finally install the packages.
2 VMware Server
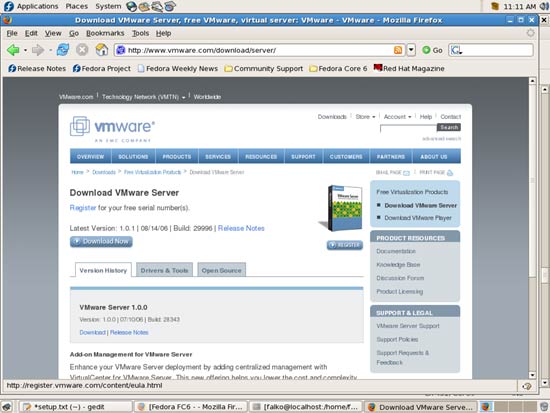
To download VMware Server, go to http://www.vmware.com/download/server/ and click on Download Now:
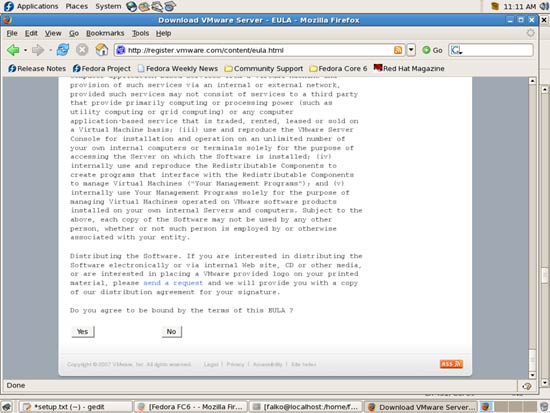
Accept the license agreement by clicking on Yes:
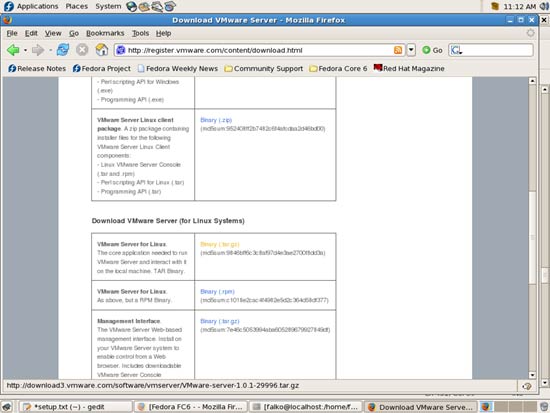
Then download the VMware Server for Linux .tar.gz file (not the rpm file!), e.g. to /home/falko/Desktop:
Then open a terminal and become root:
su
Then do this:
cd /home/falko/Desktop
tar xvfz VMware-server-*.tar.gz
It is possible that you get this error when you run the VMware installer later on:
make[1]: Entering directory `/usr/src/kernels/2.6.19-1.2911.fc6-i686'
  CC [M]  /tmp/vmware-config1/vmnet-only/driver.o
  CC [M]  /tmp/vmware-config1/vmnet-only/hub.o
  CC [M]  /tmp/vmware-config1/vmnet-only/userif.o
  CC [M]  /tmp/vmware-config1/vmnet-only/netif.o
  CC [M]  /tmp/vmware-config1/vmnet-only/bridge.o
  CC [M]  /tmp/vmware-config1/vmnet-only/procfs.o
/tmp/vmware-config1/vmnet-only/procfs.c:33:26: error: linux/config.h: No such file or directory
To avoid that, we simply create that config.h file now:
touch /usr/src/kernels/`uname -r`-i686/include/linux/config.h
Before we run the VMware installer, we should check our kernel version now by running:
uname -r
For me, the output looks like this:
[root@localhost Desktop]# uname -r
2.6.19-1.2911.fc6
Now we start the VMware installer:
cd vmware-server-distrib
./vmware-install.pl
The installer will ask you a lot of questions. You can always accept the default values simply by hitting <ENTER>. If you don't get any errors, go to chapter 19.1 Finishing The VMware Server Installation.
If your kernel is 2.6.19, you will most likely get an error like this:
Using 2.6.x kernel build system.
make: Entering directory `/tmp/vmware-config0/vmnet-only'
make -C /lib/modules/2.6.19-1.2911.fc6/build/include/.. SUBDIRS=$PWD SRCROOT=$PWD/. modules
make[1]: Entering directory `/usr/src/kernels/2.6.19-1.2911.fc6-i686'
  CC [M]  /tmp/vmware-config0/vmnet-only/driver.o
  CC [M]  /tmp/vmware-config0/vmnet-only/hub.o
  CC [M]  /tmp/vmware-config0/vmnet-only/userif.o
/tmp/vmware-config0/vmnet-only/userif.c: In function 'VNetCopyDatagramToUser':
/tmp/vmware-config0/vmnet-only/userif.c:629: error: 'CHECKSUM_HW' undeclared (first use in this function)
/tmp/vmware-config0/vmnet-only/userif.c:629: error: (Each undeclared identifier is reported only once
/tmp/vmware-config0/vmnet-only/userif.c:629: error: for each function it appears in.)
make[2]: *** [/tmp/vmware-config0/vmnet-only/userif.o] Error 1
make[1]: *** [_module_/tmp/vmware-config0/vmnet-only] Error 2
make[1]: Leaving directory `/usr/src/kernels/2.6.19-1.2911.fc6-i686'
make: *** [vmnet.ko] Error 2
make: Leaving directory `/tmp/vmware-config0/vmnet-only'
Unable to build the vmnet module.

For more information on how to troubleshoot module-related problems, please
visit our Web site at "http://www.vmware.com/download/modules/modules.html" and
"http://www.vmware.com/support/reference/linux/prebuilt_modules_linux.html".

Execution aborted.
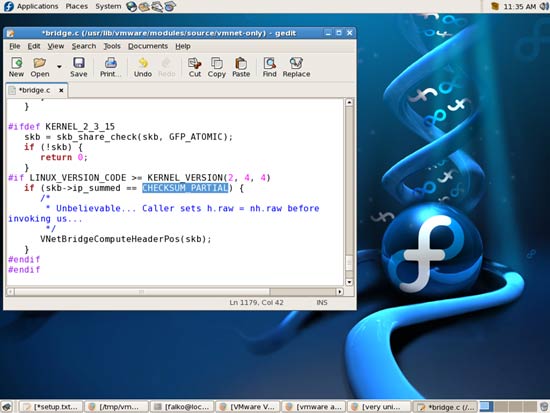
In kernel 2.6.19, CHECKSUM_HW has been replaced by CHECKSUM_PARTIAL. So if you get that error, do this:
cd /usr/lib/vmware/modules/source/
tar -xvvf vmnet.tar
cd vmnet-only/
gedit bridge.c
In the text editor that comes up replace CHECKSUM_HW with CHECKSUM_PARTIAL, then save the file:
Do the same for the file userif.c:
gedit userif.c
Then run
cd ..
tar -cvvf vmnet.tar vmnet-only/
/usr/bin/vmware-config.pl
This will take you through the VMware configuration again. Again, accept all default values.
If you get this error:
This program previously created the file /dev/vmmon, and was about to remove
it. Somebody else apparently did it already.
mknod: `/dev/vmmon': File exists
Unable to create the character device /dev/vmmon with major number 10 and minor
number 165.
Execution aborted.
simply run
/usr/bin/vmware-config.pl
again. This time the error will be gone, and the VMware Server installation should finally succeed.
2.1 Finishing The VMware Server Installation
At the end of the installation, you will be asked to enter a serial number:
Please enter your 20-character serial number.
Type XXXXX-XXXXX-XXXXX-XXXXX or 'Enter' to cancel:
Go to http://www.vmware.com/download/server/ again and click on the Register button:
Fill in your personal details. Afterwards you will get a page with serial numbers for VMware Server. Copy one of them and paste it into the terminal where you were asked for the serial number.

After the successful installation, you can delete the VMware Server download file and the installation directory:
cd /home/falko/Desktop
rm -fr vmware-server-distrib
rm -f VMware-server-*.tar.gz
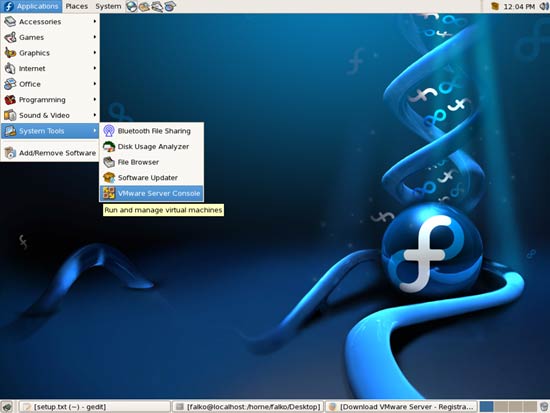
You will now find VMware Server under Applications > System Tools:
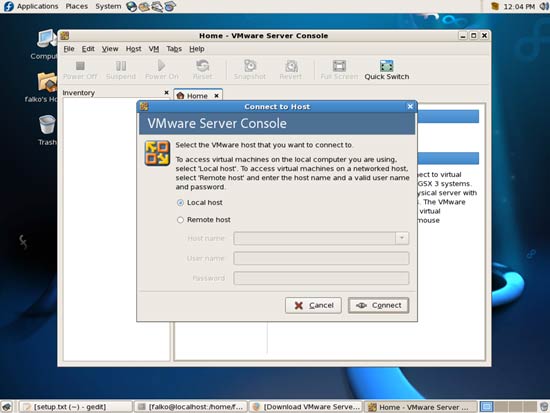
When you start it, select Local host:
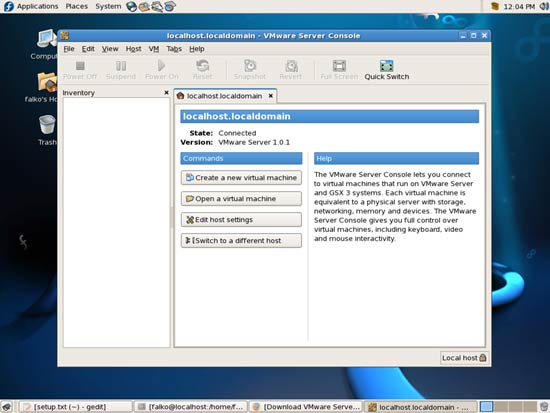
Afterwards, you can create virtual machines (or import your virtual Windows machine that you created with VMware Converter):
3 Links
- Fedora: http://fedora.redhat.com
- VMware Server: http://www.vmware.com/download/server

