Installing Beryl Or Compiz Fusion On A Fedora 7 Desktop
Version 1.0
Author: Falko Timme
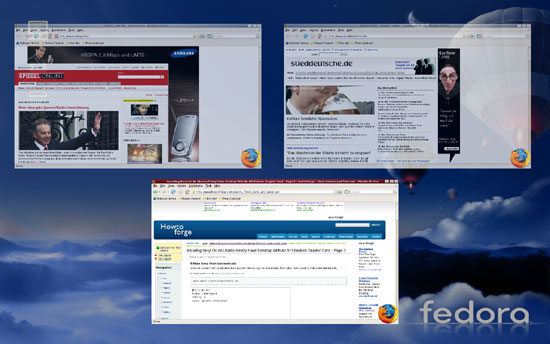
This tutorial shows how you can install and use Beryl or Compiz Fusion on a Fedora 7 desktop (the system must have a 3D-capable graphics card). With both Beryl and Compiz Fusion, you can make your desktop use beautiful 3D effects like wobbly windows or a desktop cube.
This document comes without warranty of any kind! I want to say that this is not the only way of setting up such a system. There are many ways of achieving this goal but this is the way I take. I do not issue any guarantee that this will work for you!
1 Preliminary Note
I have tried this on my 3-year old HP Pavilion zt3000 notebook which has an ATI Mobility Radeon 9200 graphic card, and it works really good there. I have used the Fedora Gnome desktop. If you use KDE, a few things might be different from this tutorial.
Beryl is a fork of the Compiz project, but both projects are currently merging, and the new project has the name Compiz Fusion. Beryl is quite stable and is available as a Fedora 7 package, whereas Compiz Fusion is bleeding edge and is not available in the official Fedora 7 repositories.
I will describe the installation of both packages in separate chapters. You shouldn't mix up both projects on your system, but decide in favour of just one project. If you want a stable 3D experience, choose Beryl, and if you're feeling rather adventurous, use Compiz Fusion.
2 Beryl
2.1 Installing Beryl
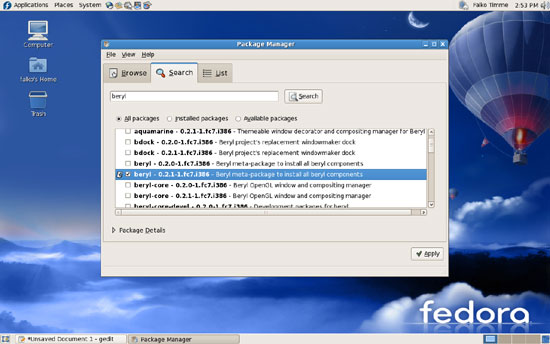
Beryl is available as a package in the official Fedora 7 repositories, so we can install it using the Package Manager (Applications > Add/Remove Software).
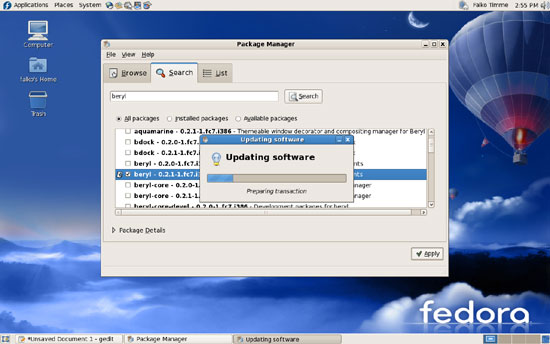
Go to the Search tab and search for beryl. You should get a list of results, from which you select the package beryl which is a meta-package that will install everything else that is needed for Beryl. (I got two entries for beryl in the results, so I chose the one with the higher version number.) Click on Apply afterwards:
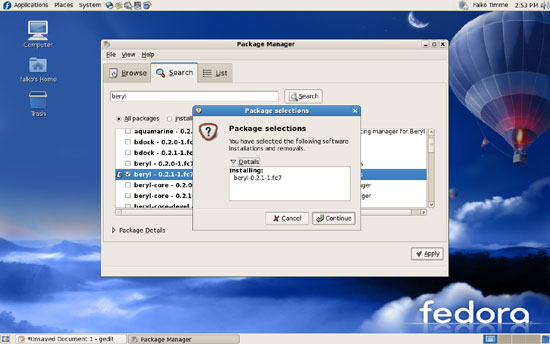
Confirm your selection by clicking on the Continue button:
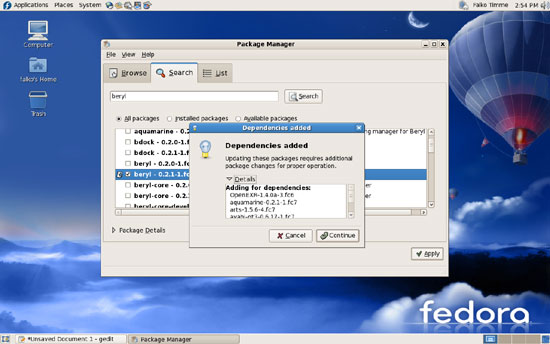
As I said before, the beryl package is a meta-package that will install lots of other packages that are needed for Beryl. Accept these other packages by clicking on the Continue button:
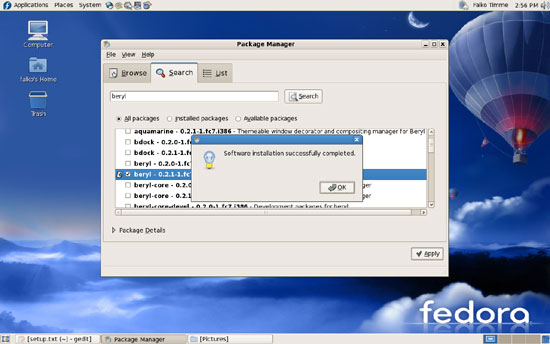
The packages are now being downloaded and installed:

Click on OK afterwards and leave the Package Manager:
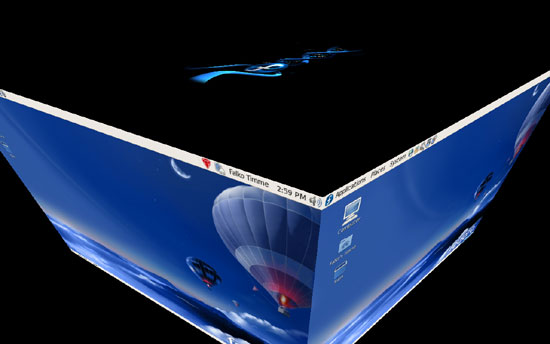
That's it. We can now start Beryl by going to Applications > System Tools > Beryl Manager. If all goes well, your desktop should now have 3D effects, and you should see the red Beryl gem in the top right corner of your desktop:
2.2 Make Beryl Start Automatically
Of course, you don't want to start Beryl manually each time you log in to your desktop. Fortunately, there's a way to make it start automatically. Open a terminal (Applications > System Tools > Terminal) and become root by typing:
su
First, we create the file /usr/bin/startberyl.sh:
gedit /usr/bin/startberyl.sh
#!/bin/sh beryl-manager sleep 4 exec gnome-session |
Then we make it executable:
chmod a+x /usr/bin/startberyl.sh
Afterwards, we create the file /usr/share/xsessions/Beryl.desktop:
gedit /usr/share/xsessions/Beryl.desktop
[Desktop Entry] Encoding=UTF-8 Name=Beryl Exec=/usr/bin/startberyl.sh Icon= Type=Application |
Then we log out of our current desktop session. On the login screen, go to Options > Select Session..., choose Beryl and click on the Change Session button. Then log in with your username and password. You will then be asked:
Do you wish to make Beryl the default for future sessions?
You can choose between Just For This Session and Make Default. If this is your first try, I recommend to select Just For This Session to see if Beryl really starts automatically. If it works, you can select Make Default at the next login.
2.3 Customize Beryl Behaviour And Window Themes
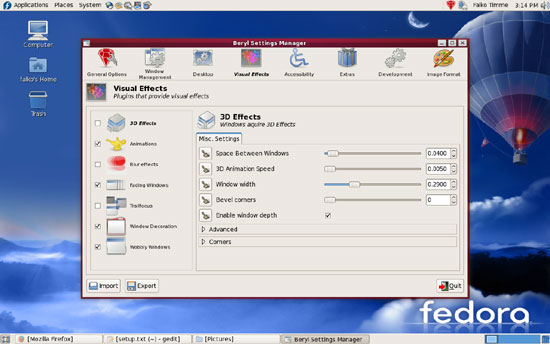
If you like to modify Beryl's behaviour and effects, you can go to Applications > System Tools > Beryl Settings Manager. You can then customize Beryl:
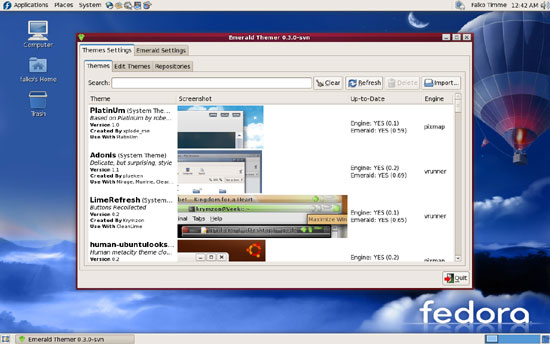
To change window decorations and themes, you must start the Emerald Theme Manager by going to System > Preferences > Emerald Theme Manager: