CentOS 4.6 Server Setup: LAMP, Email, DNS, FTP, ISPConfig (a.k.a. The Perfect Server)
Version 1.0
Author: Falko Timme
This tutorial shows how to set up a CentOS 4.6 based server that offers all services needed by ISPs and web hosters: Apache web server (SSL-capable), Postfix mail server with SMTP-AUTH and TLS, BIND DNS server, Proftpd FTP server, MySQL server, Dovecot POP3/IMAP, Quota, Firewall, etc. This tutorial is written for the 32-bit version of CentOS 4.6, but should apply to the 64-bit version with very little modifications as well.
I will use the following software:
- Web Server: Apache 2.0.x
- Database Server: MySQL 4.1
- Mail Server: Postfix
- DNS Server: BIND9 (chrooted!)
- FTP Server: proftpd
- POP3/IMAP server: dovecot
- Webalizer for web site statistics
In the end you should have a system that works reliably, and if you like you can install the free webhosting control panel ISPConfig (i.e., ISPConfig runs on it out of the box).
I want to say first that this is not the only way of setting up such a system. There are many ways of achieving this goal but this is the way I take. I do not issue any guarantee that this will work for you!
Requirements
To install such a system you will need the following:
- Download the CentOS 4.6 DVD or the four CD iso images from a mirror near you (the list of mirrors can be found here: http://www.centos.org/modules/tinycontent/index.php?id=13).
- a fast internet connection...
1 Install The Base System
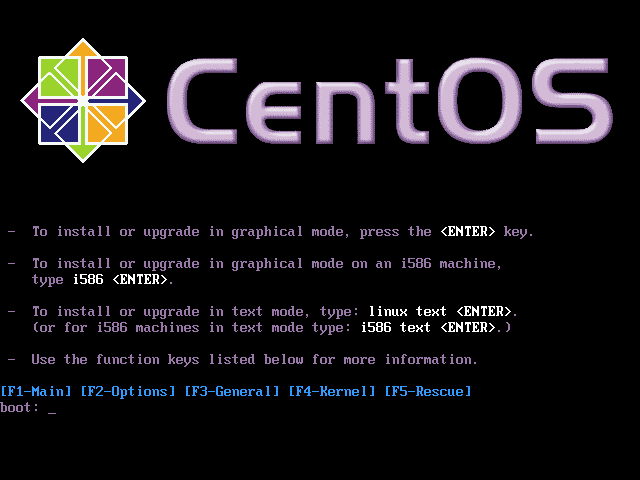
Boot from your CentOS 4.6 DVD or CD (CD 1).
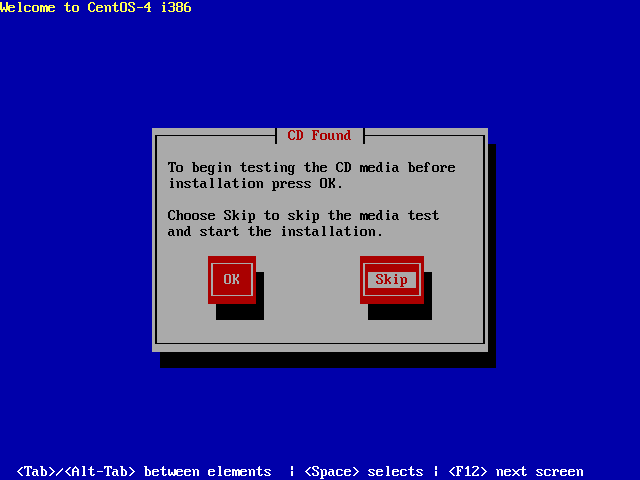
It can take a long time to test the installation media so we skip this test here:
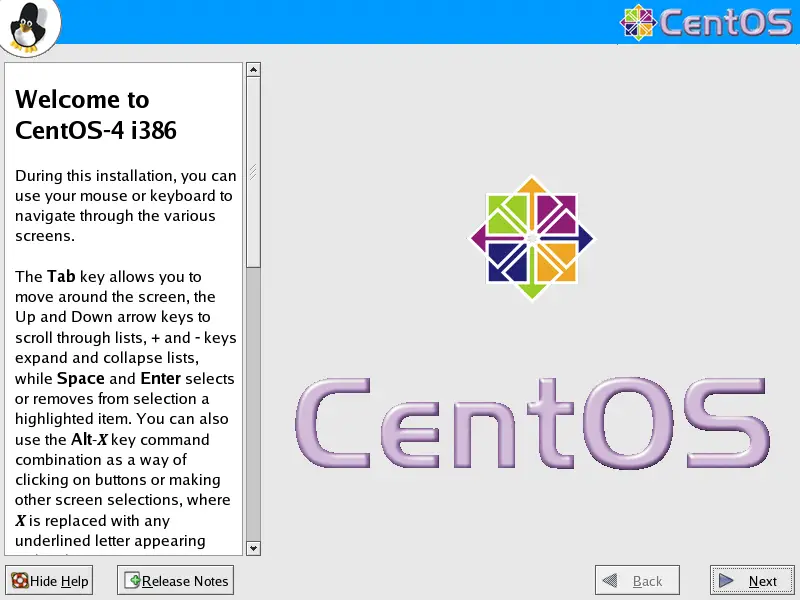
The welcome screen of the CentOS installer appears. Click on Next:
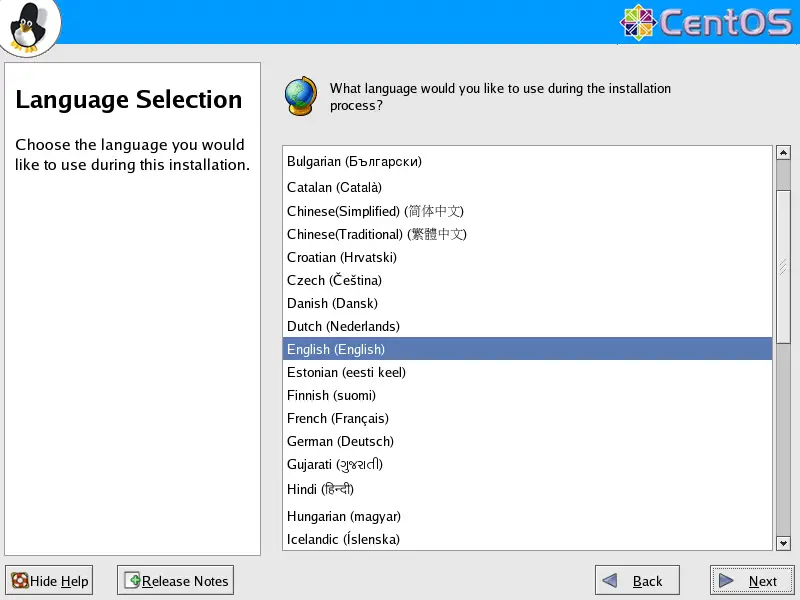
Choose your language next:
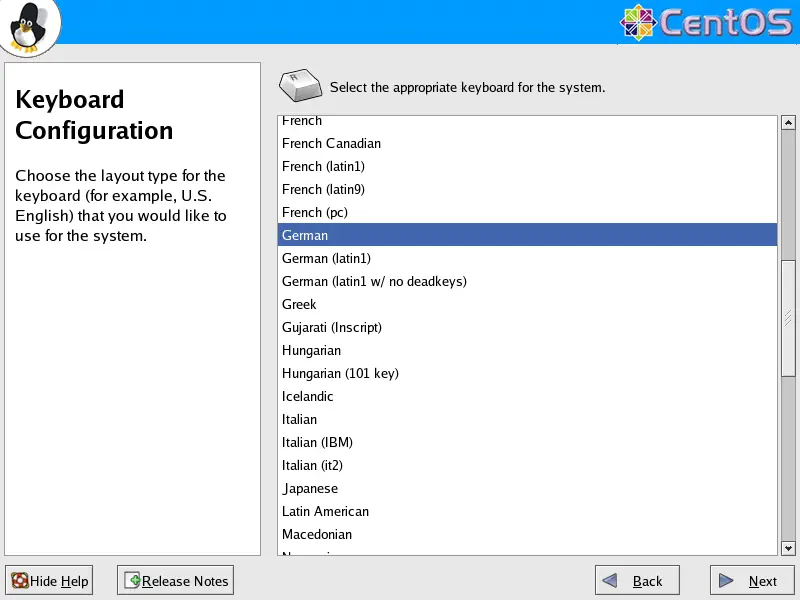
Select your keyboard layout:
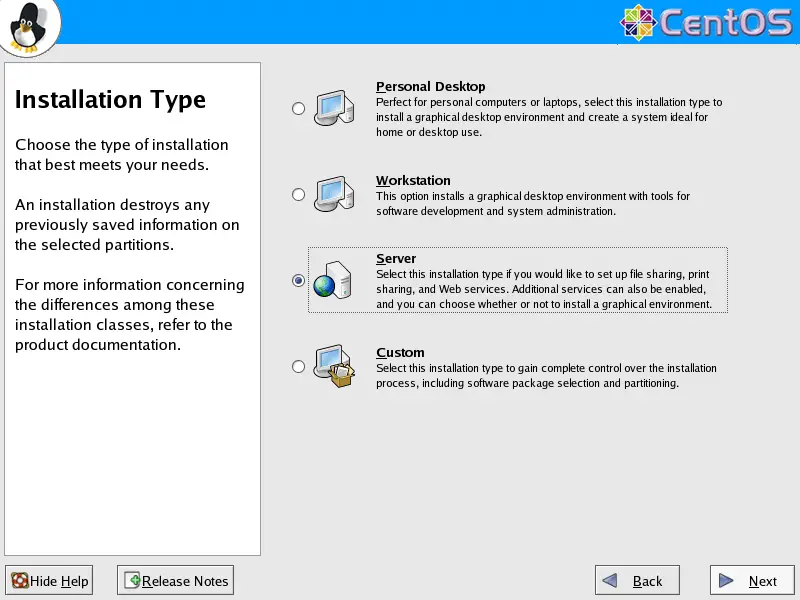
We want to install a server so we choose Server here:
Next we do the partitioning. Select Automatically partition. This will give you a smalll /boot partition and a large / partition which is fine for our purposes:

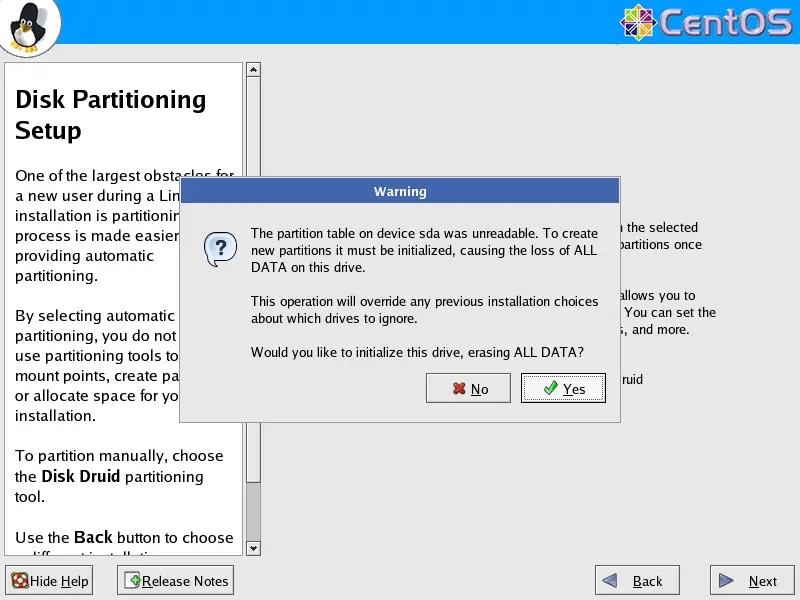
I'm installing CentOS 4.6 on a fresh system, so I answer Yes to the question Would you like to initialize this drive, erasing ALL DATA?
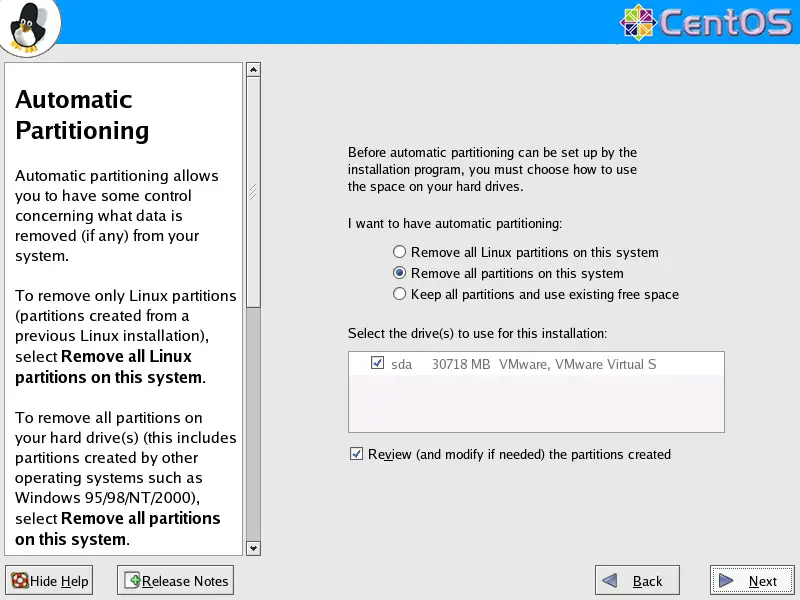
Select Remove all partitions on this system.
We want to remove all Linux partitions, so we answer Yes to the following question:

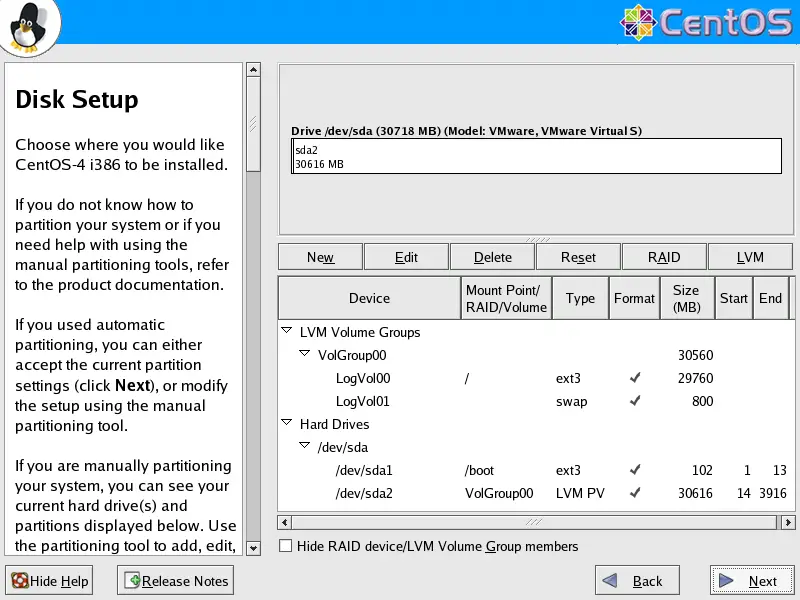
The installer presents you an overview of our new partitions. Click on Next:
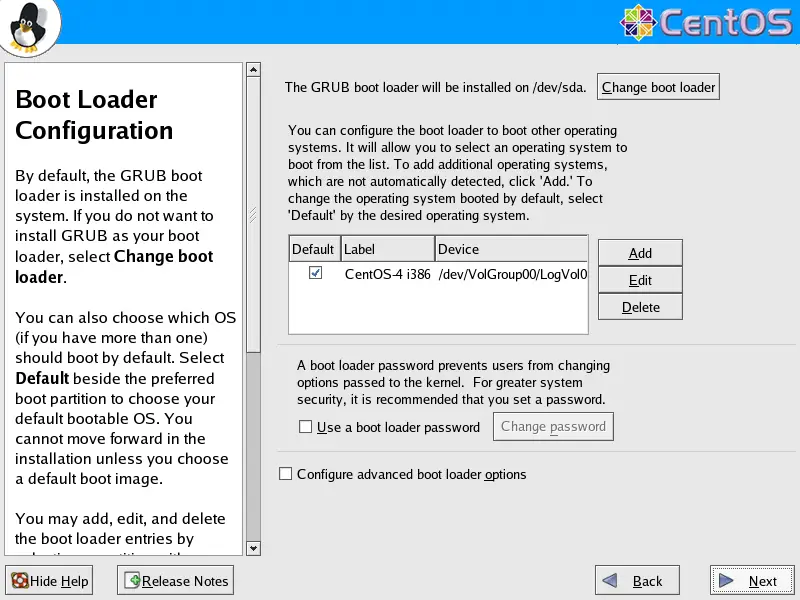
Now the boot loader GRUB will be installed. You can leave the default settings unchanged and click on Next: