Simple Home File Server (Based On Ubuntu)
Version 1.0
Author: Xam
This tutorial explains how to turn an old PC with additional hard disks into a simple home file server. The file server is intended for home use. The home file server is accessible by Windows and Linux computers in the home network.
The existing tutorials do not describe how to add additional disks or have a complex authorization or access procedure. Freenas (www.freenas.org) does have too many features for home users and more important it does not support the NTFS format.
This Home File Server can work with hard disks formatted in NTFS. So when you need or want to move the hard disk into a new computer, they are accessible by Windows and most Linux operating systems.
The server is built with Ubuntu Server 7.10 & Samba. Do not use Ubuntu Server 5.04 LTS because this version does not support the latest SATA Controllers (in an Pentium II or III you likely want to use a PCI SATA RAID controller to attach SATA hard disks).
I want to say first that this is not the only way of setting up such a
system. There are many ways of achieving this goal but this is the way
I take. I do not issue any guarantee that this will work for you!
1 Requirements
To install such a system you will need the following:- the Ubuntu Gutsy Gibbon server CD, available here: http://releases.ubuntu.com/7.10/ubuntu-7.10-server-i386.iso
- a fast internet connection
- a PC with at least 2 hard disks, one for the Ubuntu operating system and one for data storage
The hard disks for data storage in the file server must be formatted in the NTFS format. You can use the Gparted live CD to do this job, download the iso from: http://sourceforge.net/project/showfiles.php?group_id=115843&package_id=173828
I assume that you already know how to install a hard drive. I also assume that you knew how to make it a master or slave, you’ve checked to make sure that it shows up in bios, and that it was intalled properly.
2 Preliminary Note
In this tutorial I use the hostname server1.example.com with the IP address 192.168.0.100 and the gateway 192.168.0.1. These settings might differ for you, so you have to replace them where appropriate.
3 The Base System
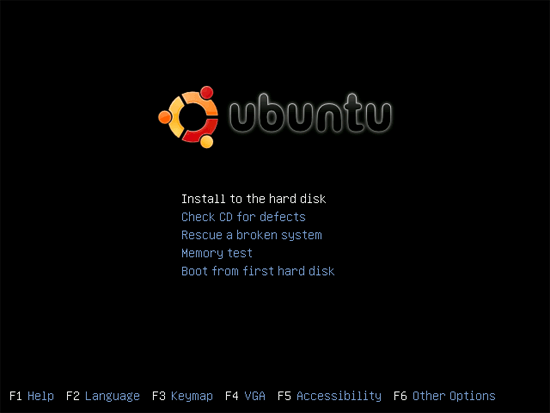
Insert your Ubuntu install CD into your system and boot from it. Select Install to the hard disk:
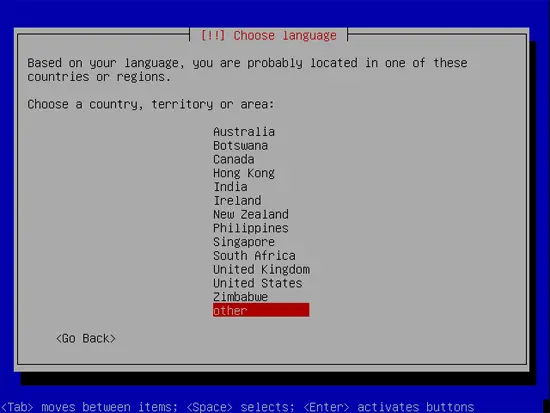
The installation starts, and first you have to choose your language:

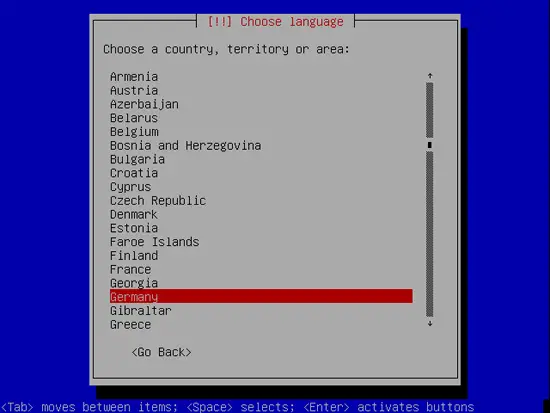
Then select your location:
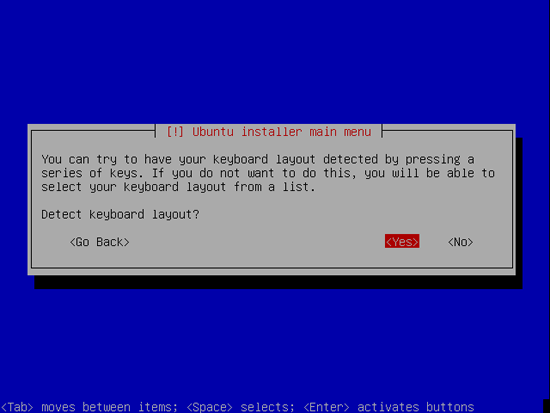
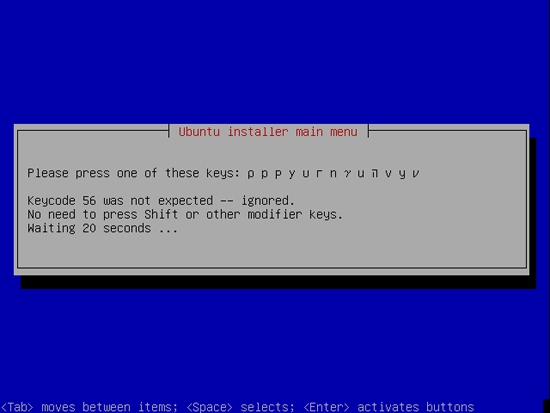
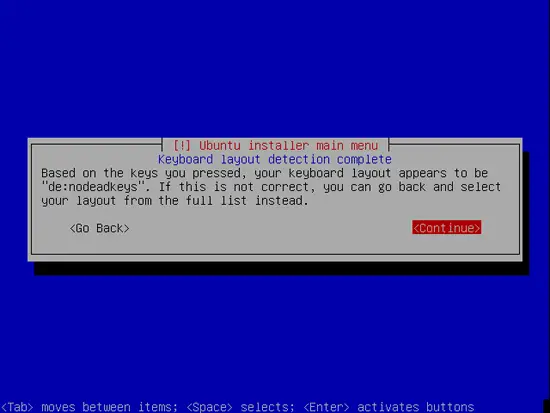
Choose a keyboard layout (you will be asked to press a few keys, and the installer will try to detect your keyboard layout based on the keys you pressed):
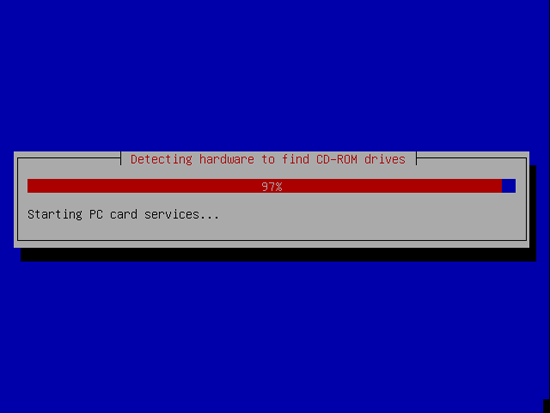
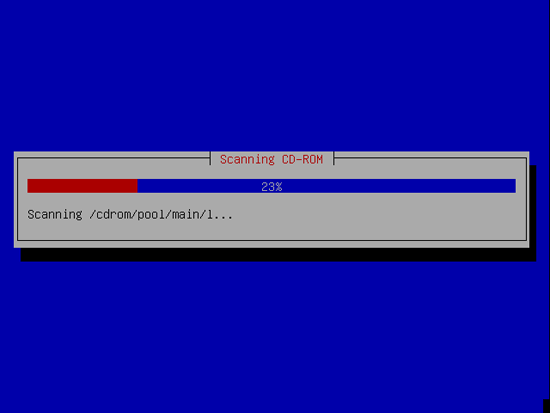
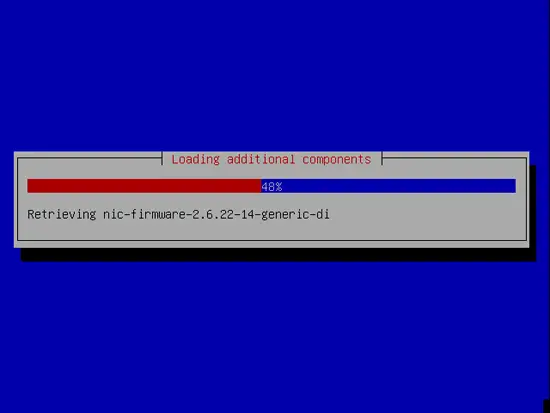
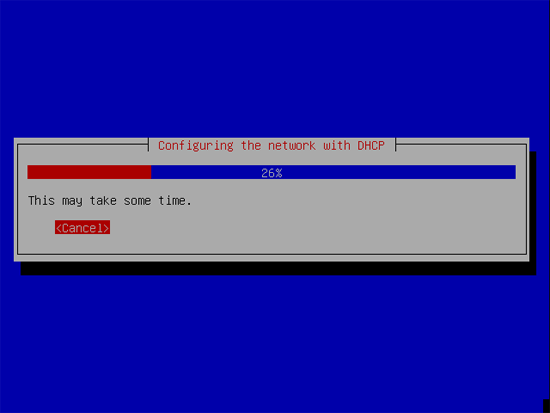
The installer checks the installation CD, your hardware, and configures the network with DHCP if there is a DHCP server in the network: