Don’t bother lugging around a standard laptop to administer your Linux servers. Considering Chrome OS is faster, less likely to flake out on you, and less expensive, a Chromebook makes for a great mobile admin tool for remote Linux servers.
If you’re working from another Linux box, ssh’ing to those servers is simple. Even within the Windows platform, you can always use PuTTY. But how do you secure shell from within Chrome OS?
At one point, it was as simple as opening up the Crosh shell and using the ssh command (as you might on a Linux box). However, the ssh command has been removed from Crosh, so you now have to install the Secure Shell extension for Chrome.
Installing the Secure Shell extension
- Open Chrome on your Chromebook.
- Point it to the Secure Shell extension page.
- Click Add To Chrome.
- When prompted, click Add App and allow the extension to install.
You should see the Secure Shell icon in your list of apps. Click the icon to open the extension.
Using the Secure Shell extension
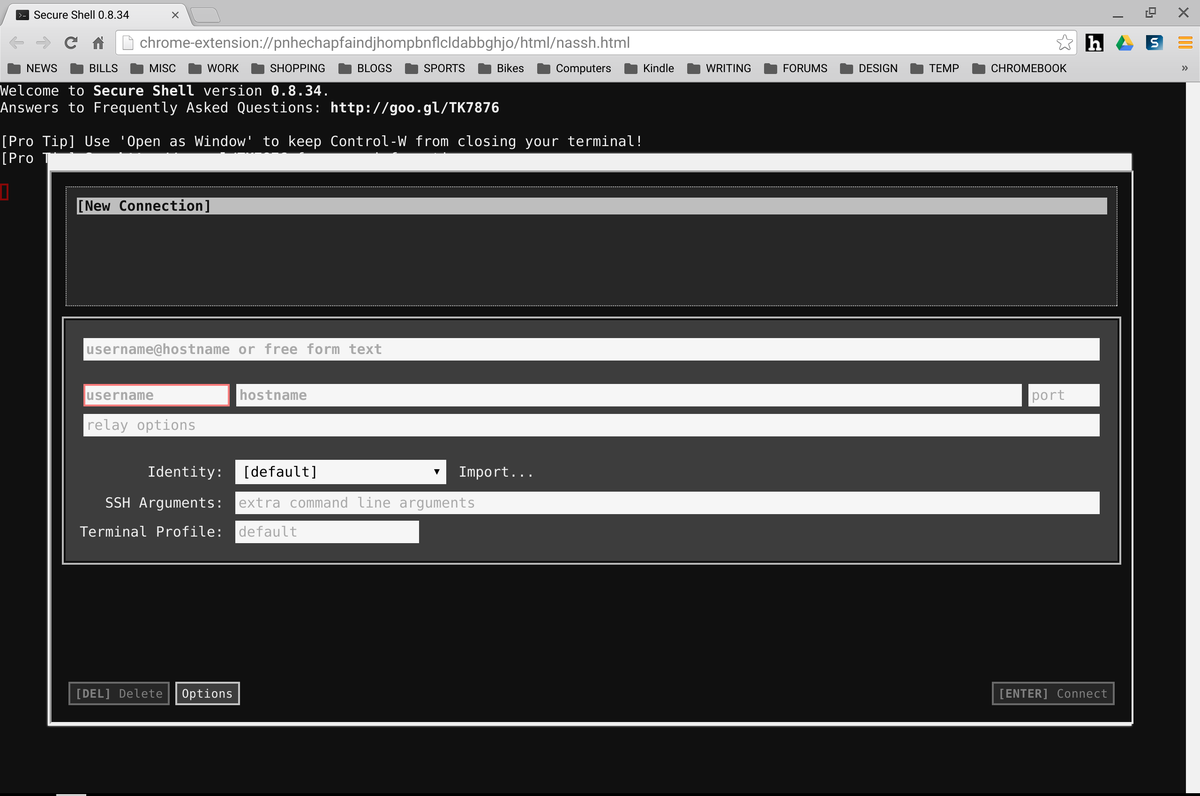
Once it’s open, the extension is simple to use. All you have to do enter the username, hostname, port (all three are required), and then click the Connect button or hit Enter (Figure A).
Figure A

The Secure Shell extension in action.
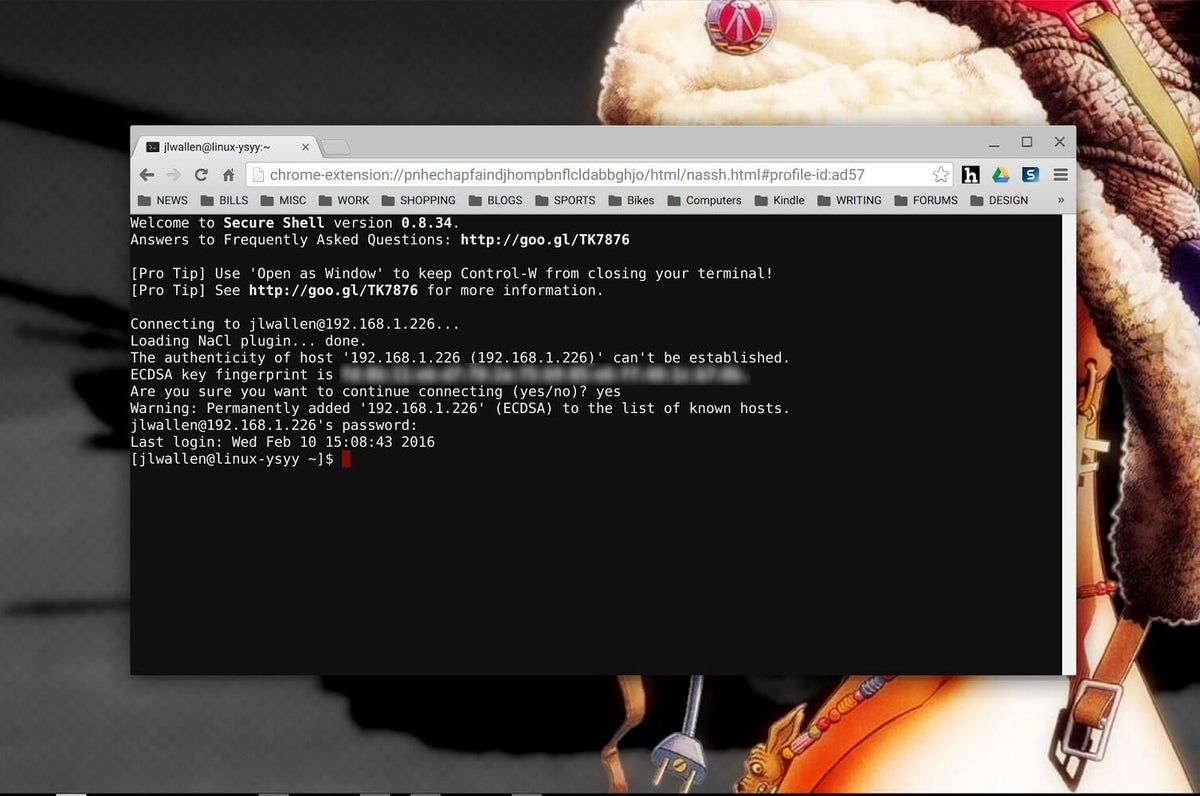
Once connected, you should see the familiar terminal of your server (Figure B). Enter your credentials as you would in any standard ssh session.
Figure B
Connected to a Ubuntu Server running on a System76 Lemur.
When you disconnect from a successful session, the Secure Shell extension will remember that connection for a quick reconnect. Click the previous connection in the window to open that session again. You’re ready to go!

