In this article, we will show you how to install NodeBB on an Ubuntu 18.04 VPS.
 NodeBB is an open-source forum software that runs on Node.js platform that is free and easy to use. It is great for powering any kind of community forums, discussion, or bulletin boards. NodeBB utilizes web sockets for instant interactions and real-time notifications.
Table of Contents
Prerequisites:
- An Ubuntu 18.04 VPS
- Node.js
- Database – We’ll be using MongoDB in this tutorial
- Nginx web server
- SSH access with root privileges
Step 1: Connect to Your Server
To connect to your server via SSH as the root user, use the following command:
and replace “IP_ADDRESS” and “PORT_NUMBER” with your actual server IP address and SSH port number.
Once logged in, make sure that your server is up-to-date by running the following commands:
Step 2: Install Node.js
On Ubuntu systems, you can install Node.js from the NodeSource repository:
After that, install the Node.js repository with the following command
After that, run the commands below to install Node.js:
That should install version 10 of Node.js alongside ‘npm’. You can verify versions using:
Step 3: Install MongoDB
MongoDB is the default database for NodeBB. Start the installation by importing the public key used by the package management system.
Add the MongoDB repository:
Update the apt package index and install the MongoDB server:
Start the MongoDB service:
Verify installation of MongoDB. You should have at least version 4.0:
Step 4: Configure MongoDB
Log in to MongoDB running the following commands:
Then switch the db to ‘admin’ and create a new admin user…
Create a new admin user named ‘admin’ with a new password…
Don’t forget to replace ‘admin_password‘ with a strong password.
Next, create a new database called nodebb
Then create a new NodeBB user named ‘nodebbuser’ with rights to administer the database…
Once again, don’t forget to replace ‘strong_password‘ with a real, complex password.
After that, exit the MongoDB shell.
After that, run the commands below to open MongoDB config file…
change the highlighted line to enabled.
when you’re done, save your changes.
Step 5: Install Nginx
NodeBB can work just fine with many web servers. In this tutorial, we will configure it to work with Nginx, one of the most customizable web servers around.
To install Nginx on your Ubuntu 18.04 server, you need to execute the following command:
After the installation is completed, start Nginx and enable it to start automatically after a reboot with these two commands:
Step 6: Install NodeBB
Go to the newly created directory by executing:
Clone NodeBB in this directory by running this command:
*replace v1.12.0 with the latest version.
Create a new nodebb user:
Now apply the recommended file and folder permissions of the /var/www/nodebb directory to the nodebb user:
Enter the nodeBB directory with
Initiate the installation by using the following command:
Answer each of the questions. This will install modules from npm and then enter the setup utility.
Now start NodeBB with this command:
Step 7: Create a systemd Unit File
This step will let us run NodeBB as a service within systemd. This allows us to have it start up on boot, as well as run independently of our terminal session.
If it’s already running, stop NodeBB:
In the next step, we will create a service unit file so that we can run NodeBB as a service.
Open your text editor (we’ll use nano):
and paste the configuration below:
Save and exit the file. You now need to reload the daemon so that the system can take the new unit that we created for systemd.
Finally, we can start the NodeBB instance with the command:
To check the status for the NodeBB service you can execute the following command:
Step 8: Configure Nginx
NodeBB by default runs on port 4567. We will configure Nginx to proxy requests to it.
Create an Nginx configuration file:
Then add the following content:
NOTE: Replace ‘your_domain.com‘ with your registered domain name.
Now, check the config file to make sure that there are no syntax errors. Any errors could crash the web server on restart.
Output:
If there are no errors, you can reload the Nginx config.
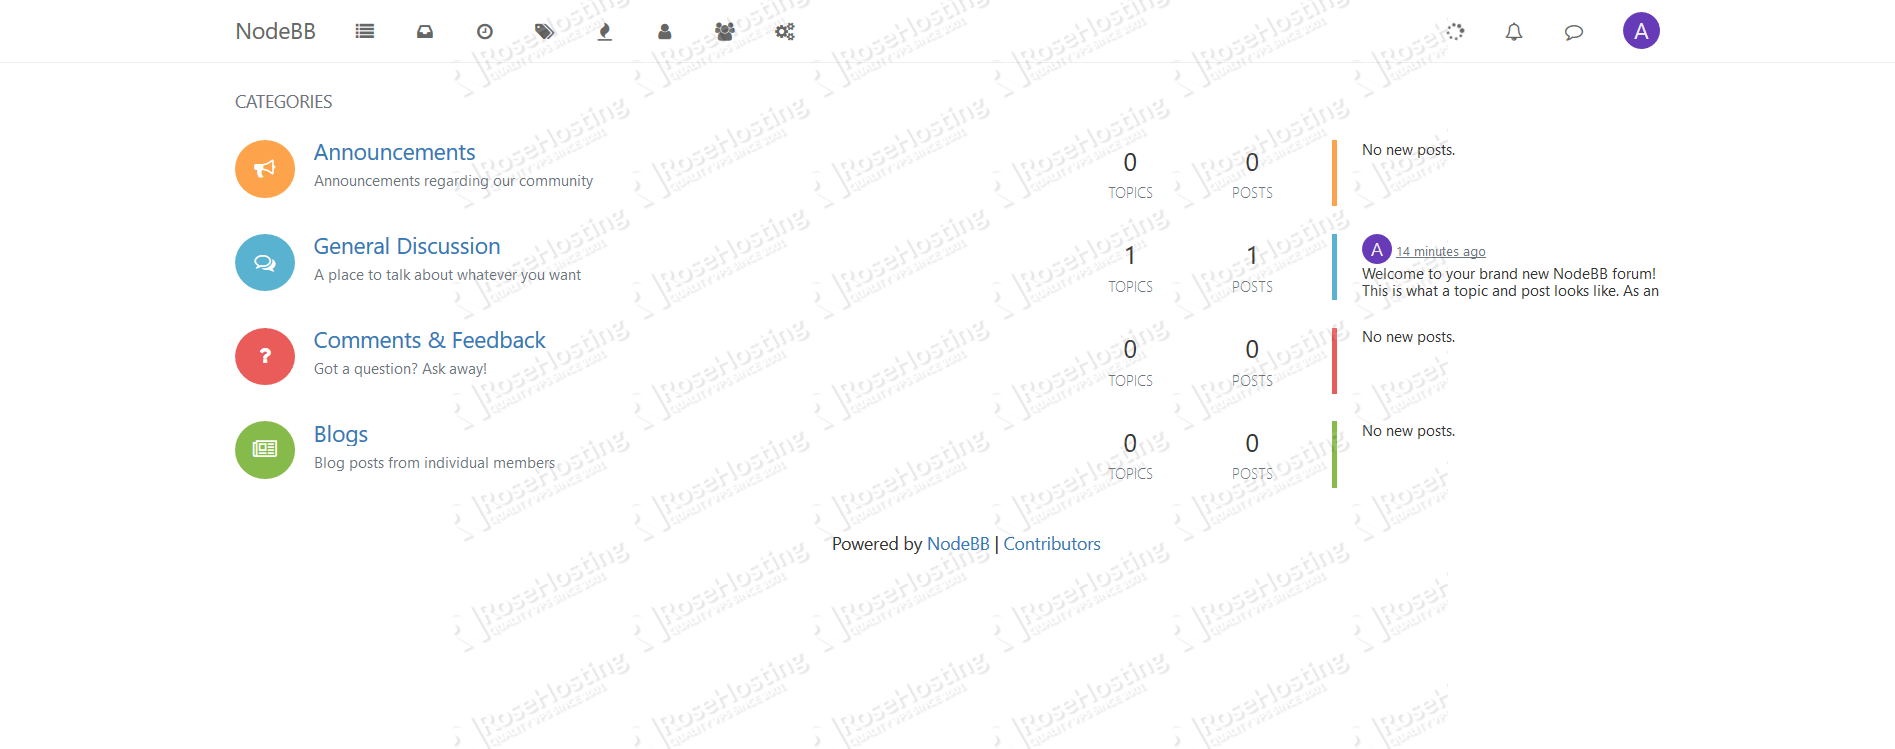
Step 9: Access the NodeBB Web Interface
At this point, you should have successfully installed NodeBB on your Ubuntu 18.04 server. You should be able to access http://forum.your_domain.com and interact with your forum.
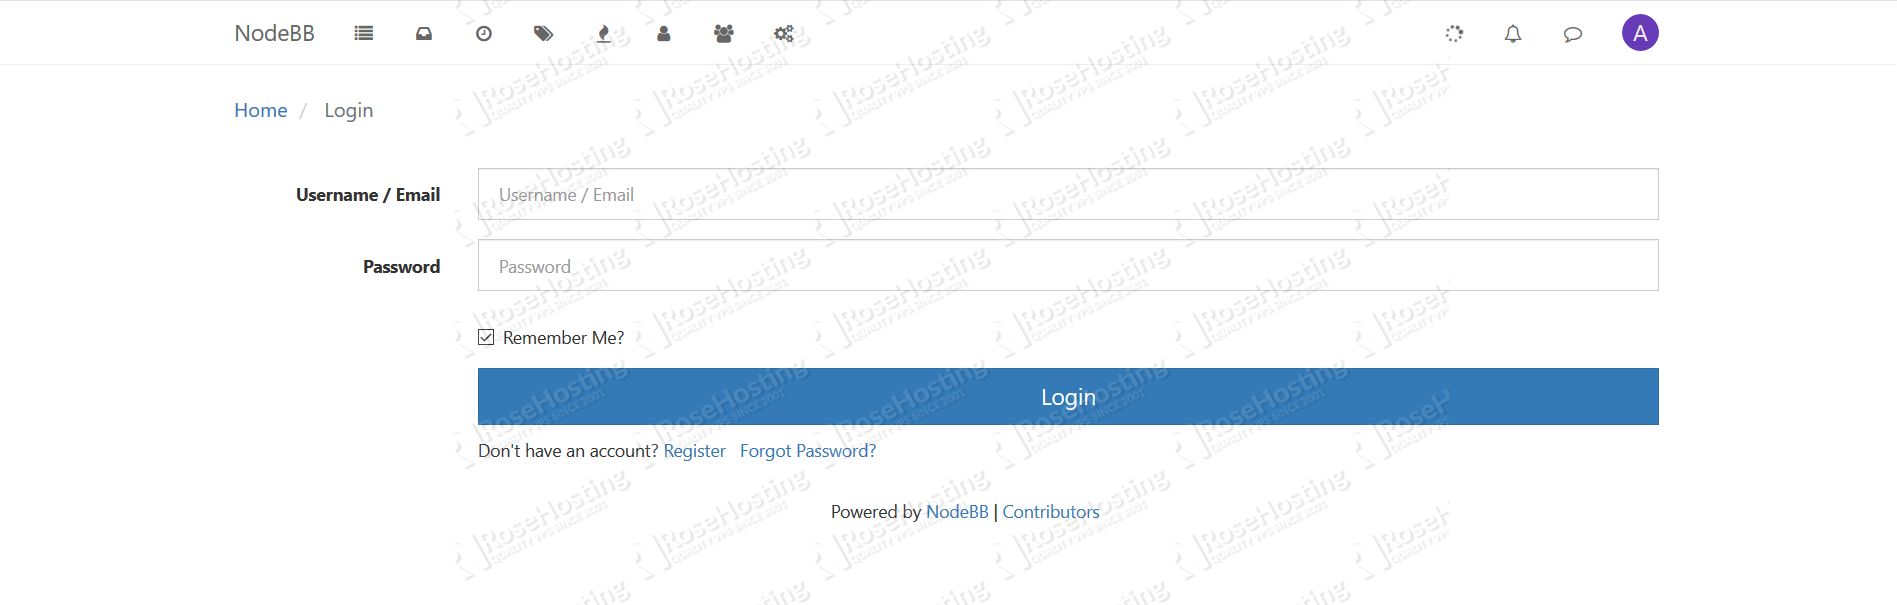
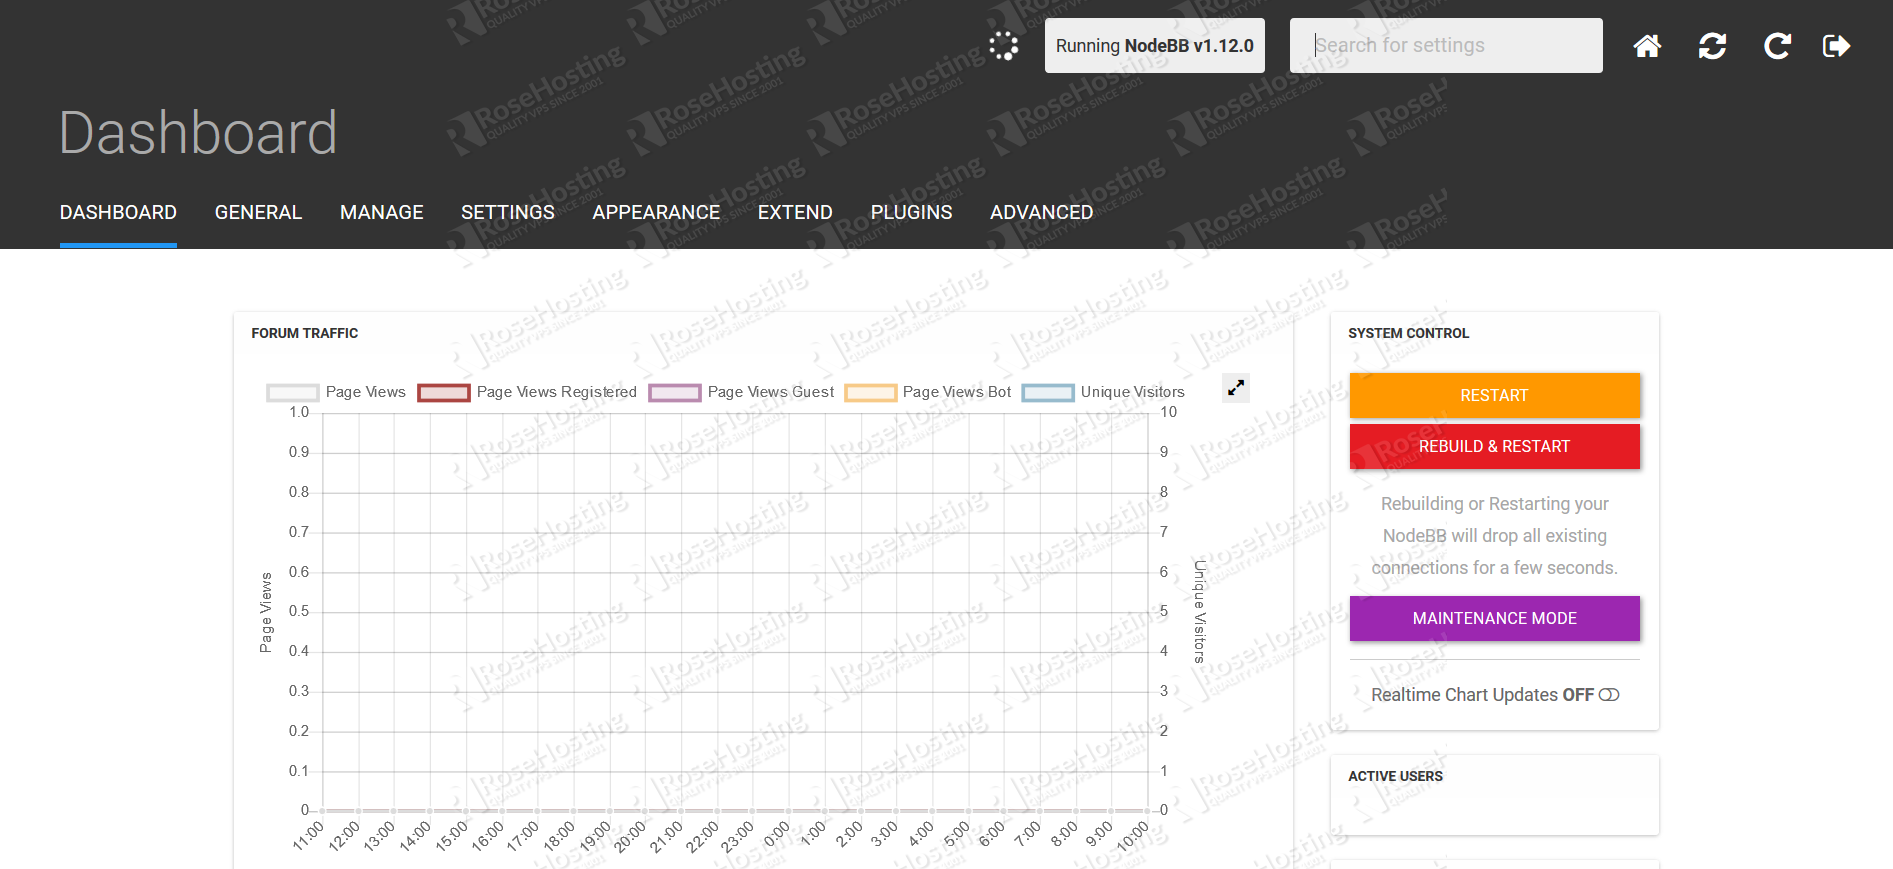
To access the admin dashboard, use http://forum.your_domain.com/admin instead and use the credentials you set earlier.
If you followed the steps correctly, then you should have a successful copy of NodeBB running on your server.
 Of course, you don’t have to install NodeBB on Ubuntu 18.04 if you have an Ubuntu VPS with us. You can simply ask our support team to install NodeBB on Ubuntu 18.04 for you. They are available 24/7 and will be able to help you with the installation.
PS. If you enjoyed reading this blog post on how to install NodeBB on Ubuntu 18.04, or if you found it helpful, feel free to share it on social networks using the shortcuts below, or simply leave a comment in the comments section. Thank you.