Installing An Ubuntu Hardy 8.04 LTS DNS Server With BIND
Please note that my main reference and source is Falko's article "The Perfect Server - Ubuntu 8.04 LTS" here with more DNS details.
Version 1.0
Author: Mohamed Ghaleb <Mohamed_Ghaleb [at] msn [dot] com> (English and German only please)
This tutorial shows how to set up an Ubuntu Hardy Heron (Ubuntu 8.04 LTS) based server that offers DNS services. This tutorial is written for the 32-bit version of Ubuntu 8.04 LTS, but should apply to the 64-bit version.
I will use the following software:
- DNS Server: BIND9
I want to say first that this is not the only way of setting up such a system. There are many ways of achieving this goal but this is the way I take. I do not issue any guarantee that this will work for you!
1 Requirements
To install such a system you will need the following:
- the Ubuntu 8.04 LTS server CD, available here: ftp://releases.ubuntu.com/releases/hardy/ubuntu-8.04-server-i386.iso
- a fast internet connection.
2 Preliminary Note
In this tutorial I use the hostname server1.tm.local with the IP address 192.168.0.100 and the gateway 192.168.0.1.. These settings might differ for you, so you have to replace them where appropriate.
3 The Base System
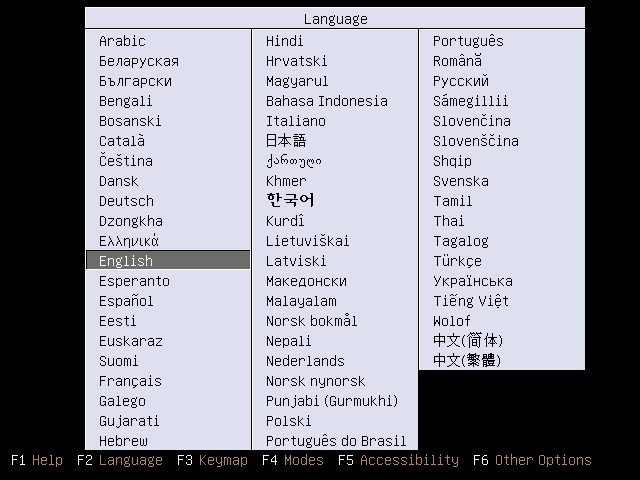
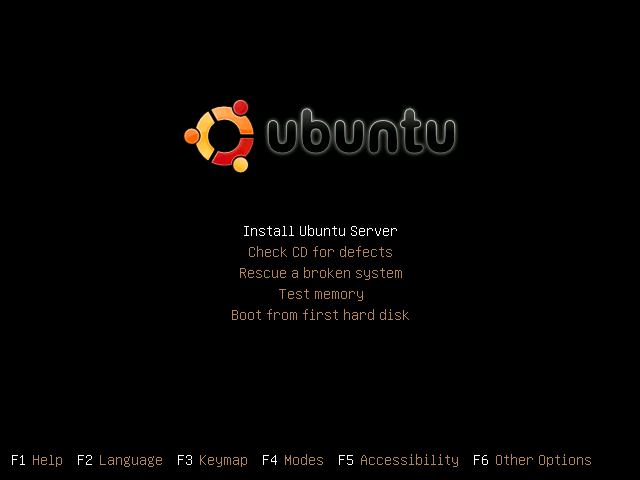
Insert your Ubuntu install CD into your system and boot from it. Select your language:
Then select Install Ubuntu Server:
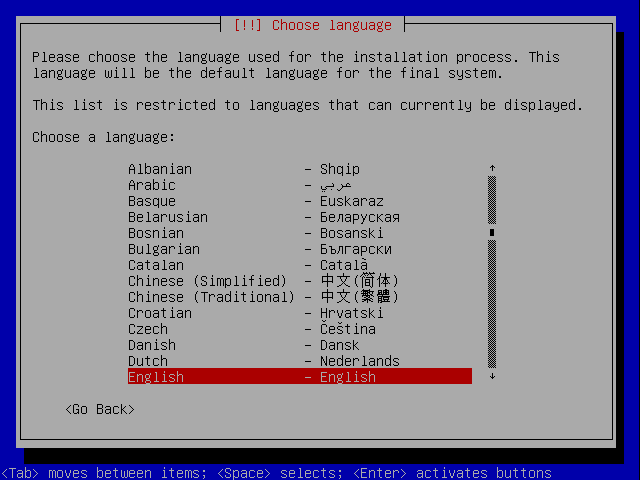
Choose your language again (?):
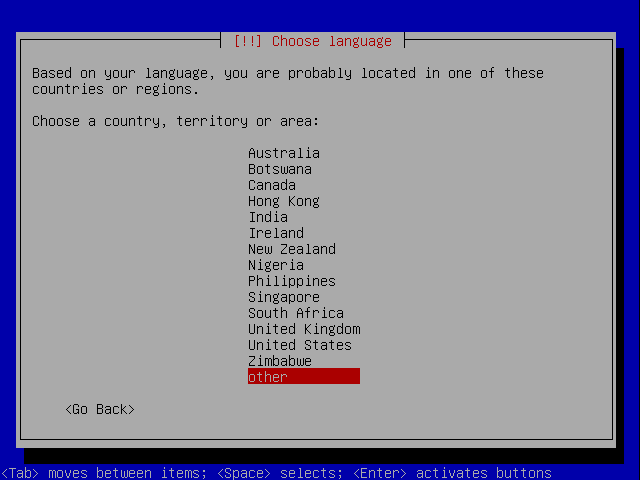
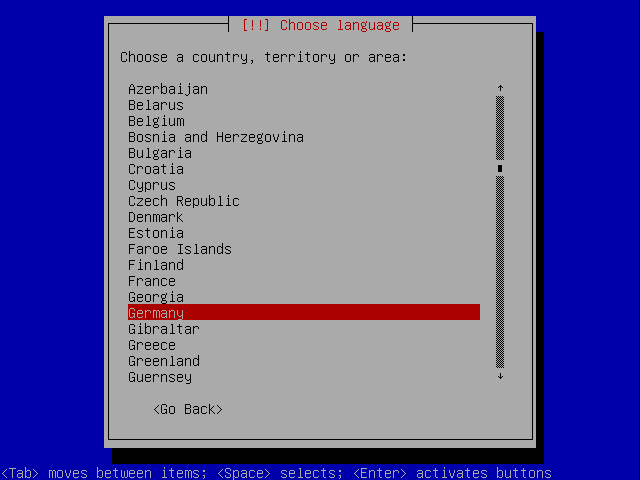
Then select your location:
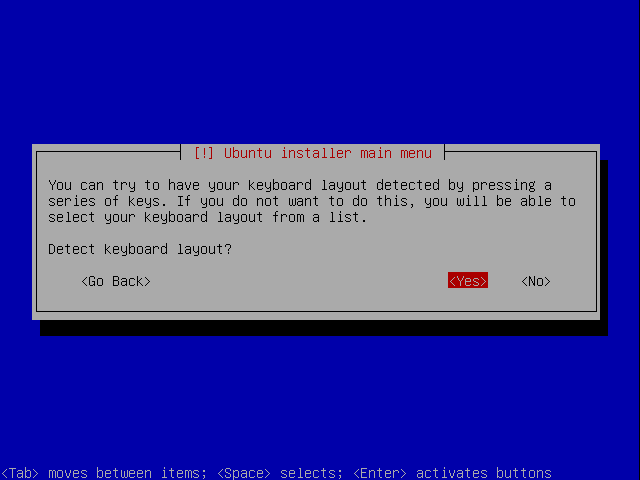
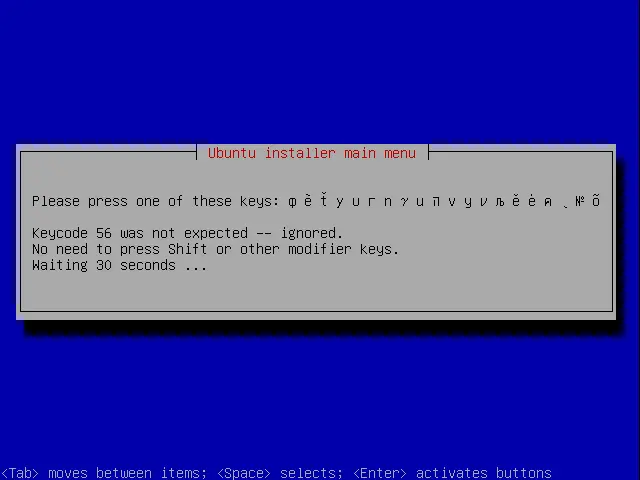
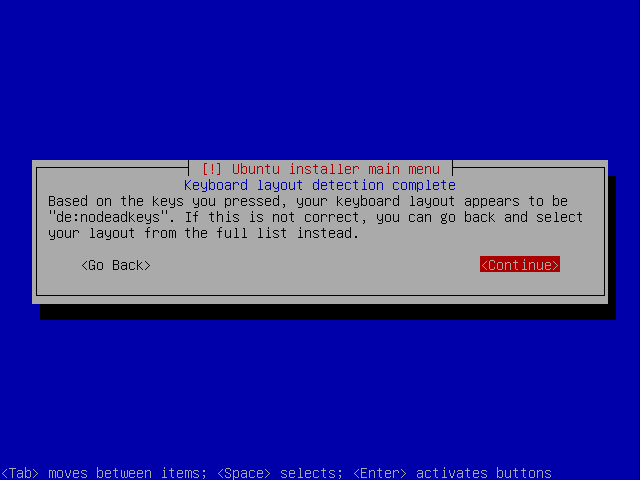
Choose a keyboard layout (you will be asked to press a few keys, and the installer will try to detect your keyboard layout based on the keys you pressed):
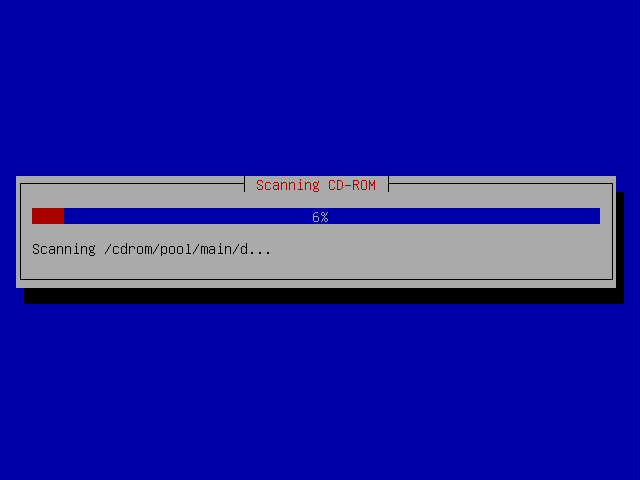
The installer checks the installation CD, your hardware, and configures the network with DHCP if there is a DHCP server in the network: