How To Install VMware Server (Version 1.0.6) On An Ubuntu 8.04 Desktop
Version 1.0
Author: Falko Timme
This tutorial provides step-by-step instructions on how to install VMware Server (version 1.0.6) on an Ubuntu 8.04 desktop system. With VMware Server you can create and run guest operating systems ("virtual machines") such as Linux, Windows, FreeBSD, etc. under a host operating system. This has the benefit that you can run multiple operating systems on the same hardware which saves a lot of money, and you can move virtual machines from one VMware Server to the next one (or to a system that has the VMware Player which is also free).
Also, with VMware Server you can let your old Windows desktop (that you previously converted into a VMware virtual machine with VMware Converter, as described in this tutorial: https://www.howtoforge.com/vmware_converter_windows_linux) run under your Ubuntu desktop. This can be useful if you depend on some applications that exist for Windows only, or if you want to switch to Linux slowly.
I want to say first that this is not the only way of setting up such a system. There are many ways of achieving this goal but this is the way I take. I do not issue any guarantee that this will work for you!
1 Preliminary Note
Prior to version 1.0.6, VMware Server needed to be patched in order to install/work properly on an Ubuntu 8.04 system because it did not support kernel 2.6.24 (see chapter 6.4.13 on https://www.howtoforge.com/the-perfect-desktop-ubuntu-8.04-lts-hardy-heron-p5). Starting with version 1.0.6 (released on May 29, 2008), this isn't necessary anymore.
2 Installing VMware Server
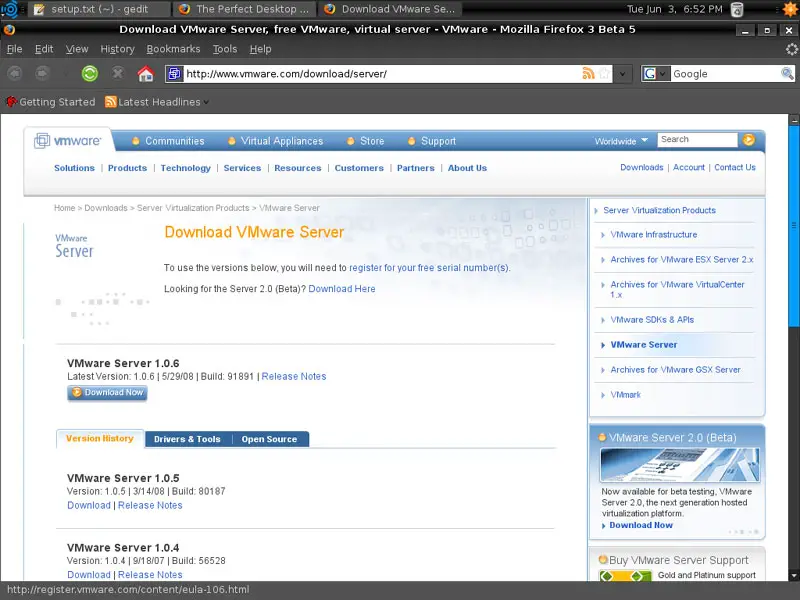
To download VMware Server, go to http://www.vmware.com/download/server/ and click on Download Now:
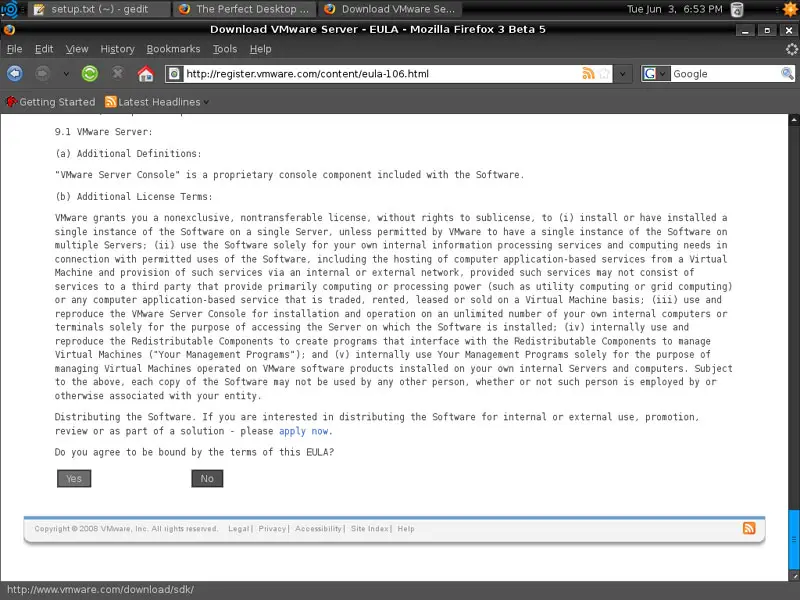
Accept the license agreement by clicking on Yes:
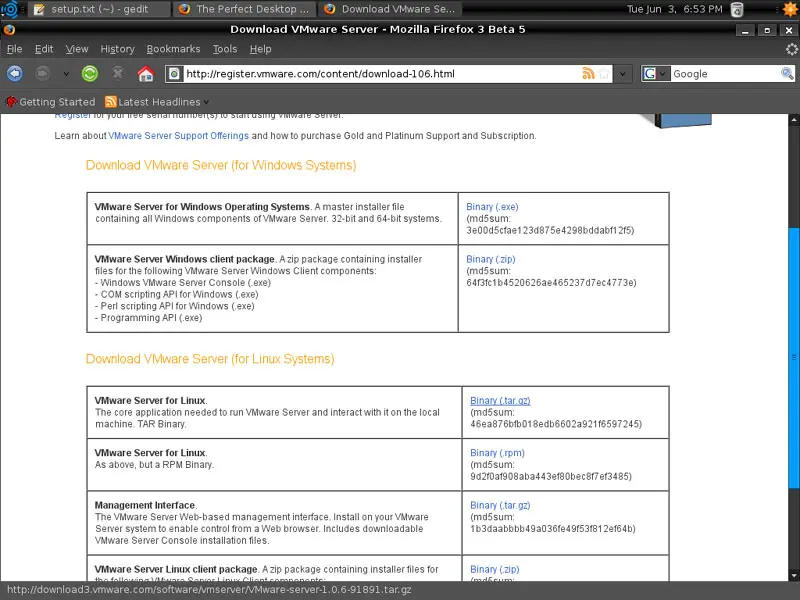
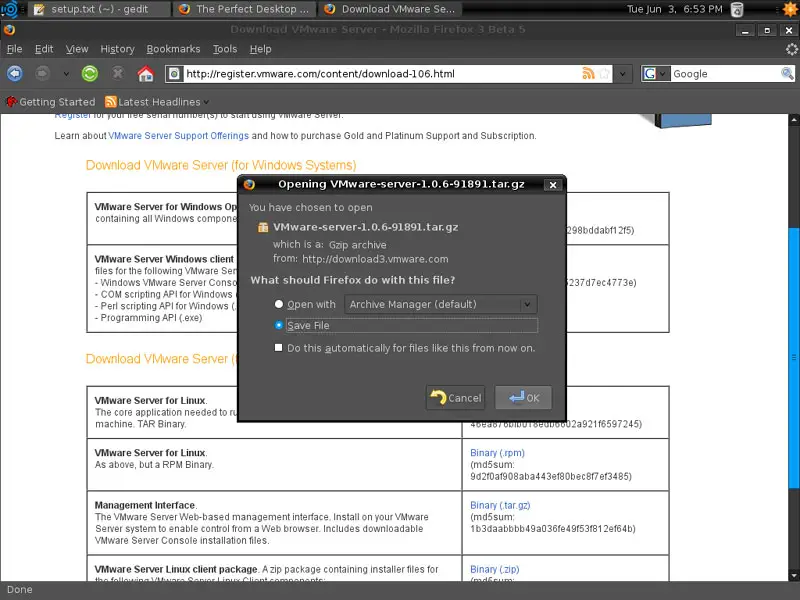
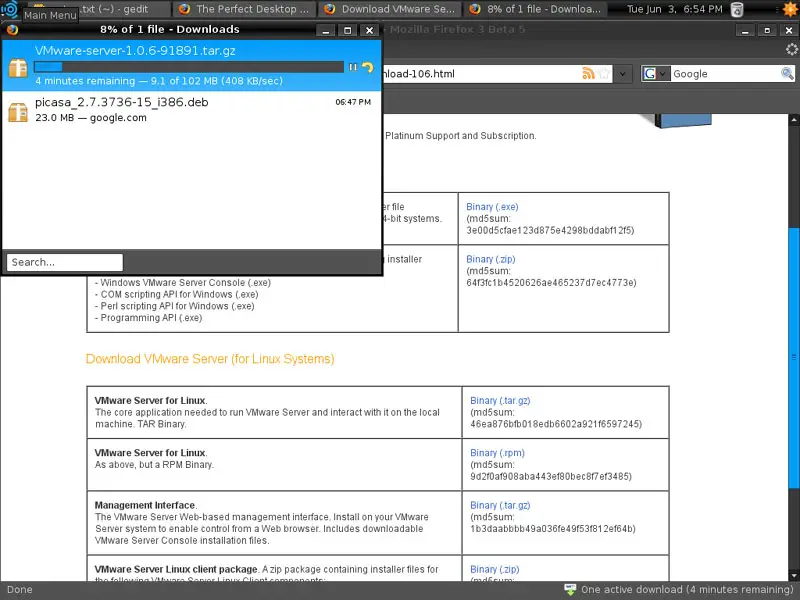
Then download the VMware Server for Linux .tar.gz file (not the rpm file!) to your desktop (e.g. to /home/falko/Desktop):
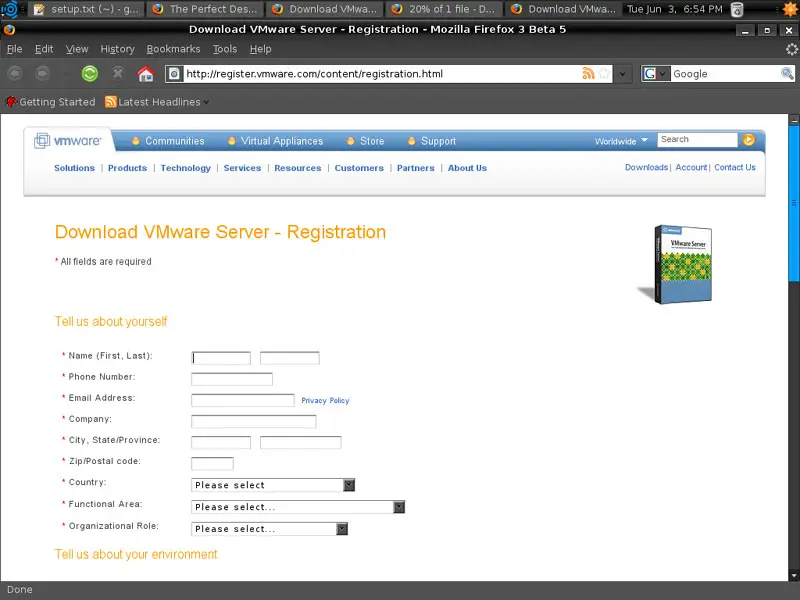
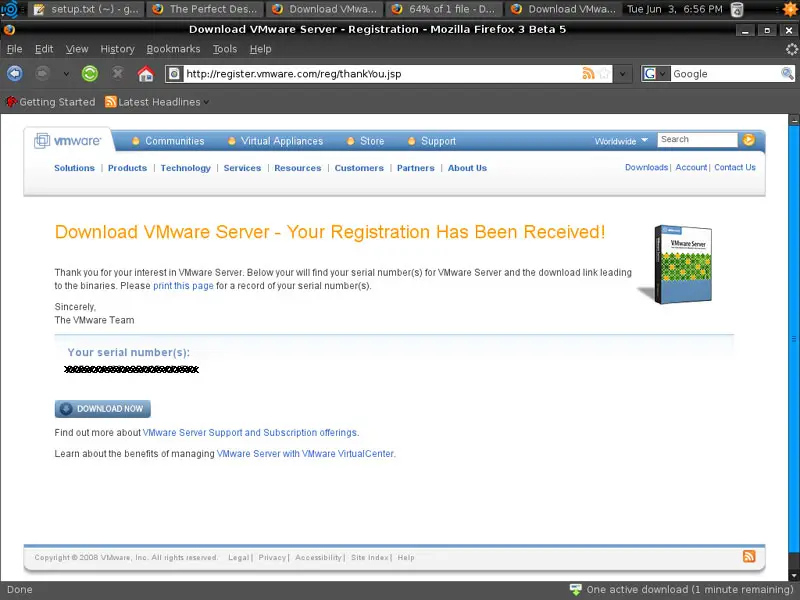
To get the serial number that you need to run VMware Server, go to http://register.vmware.com/content/registration.html. Fill in your personal details. Afterwards you will get a page with a serial number for VMware Server. Write it down or print it out:
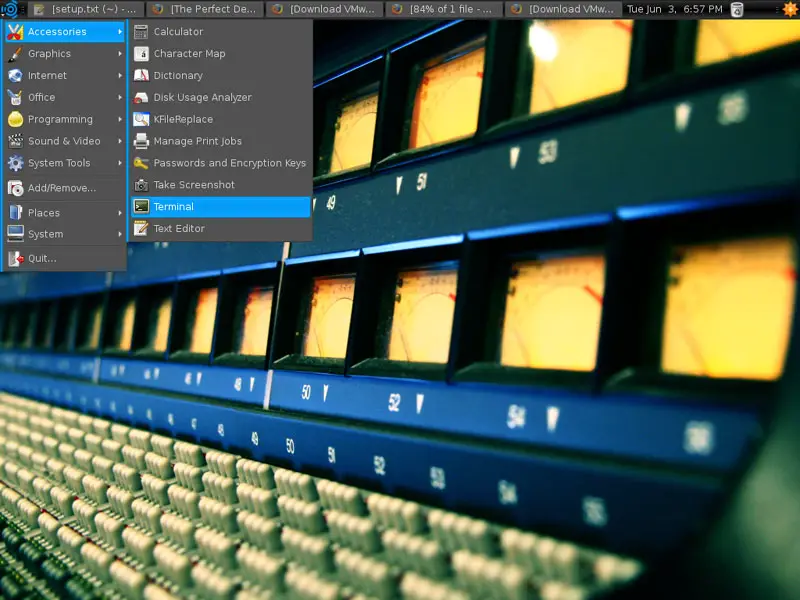
Then open a terminal (Accessories > Terminal):
Run the following command to install some necessary packages:
sudo apt-get install linux-headers-`uname -r` build-essential xinetd
Then go to the location where you saved the VMware Server .tar.gz file, e.g. /home/falko/Desktop (replace falko with your own username!):
cd /home/falko/Desktop
Unpack the VMware Server .tar.gz file and run the installer:
tar xvfz VMware-server-*.tar.gz
cd vmware-server-distrib
sudo ./vmware-install.pl
The installer will ask you a lot of questions. You can always accept the default values simply by hitting <ENTER>.
When the installer asks you
In which directory do you want to keep your virtual machine files?
[/var/lib/vmware/Virtual Machines]
you can either accept the default value or specify a location that has enough free space to store your virtual machines.
At the end of the installation, you will be asked to enter a serial number:
Please enter your 20-character serial number.
Type XXXXX-XXXXX-XXXXX-XXXXX or 'Enter' to cancel:
Fill in your serial number for VMware Server.
After the installation, please run:
sudo ln -sf /lib/libgcc_s.so.1 /usr/lib/vmware/lib/libgcc_s.so.1/libgcc_s.so.1
Otherwise VMware Server will refuse to start on Ubuntu 8.04.
After the successful installation, you can delete the VMware Server download file and the installation directory:
cd /home/falko/Desktop
rm -f VMware-server*
rm -fr vmware-server-distrib/
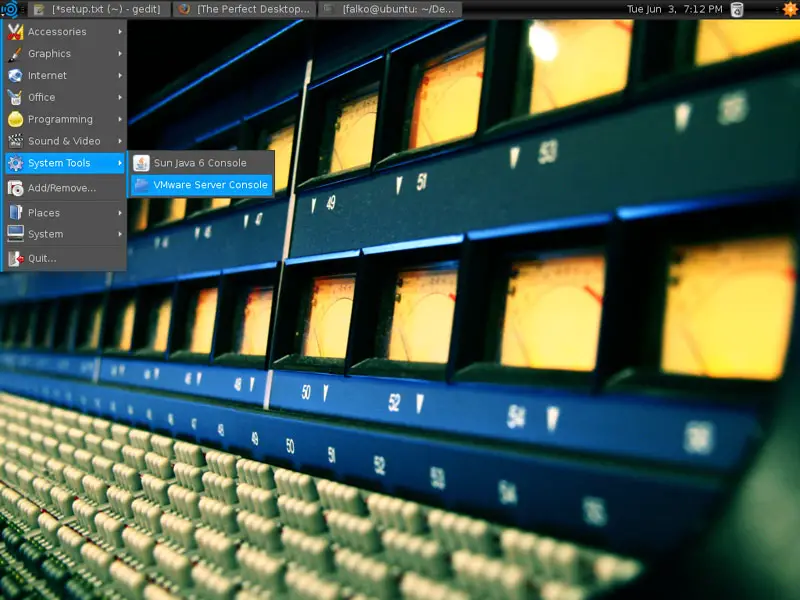
You will now find VMware Server under System Tools > VMware Server Console:
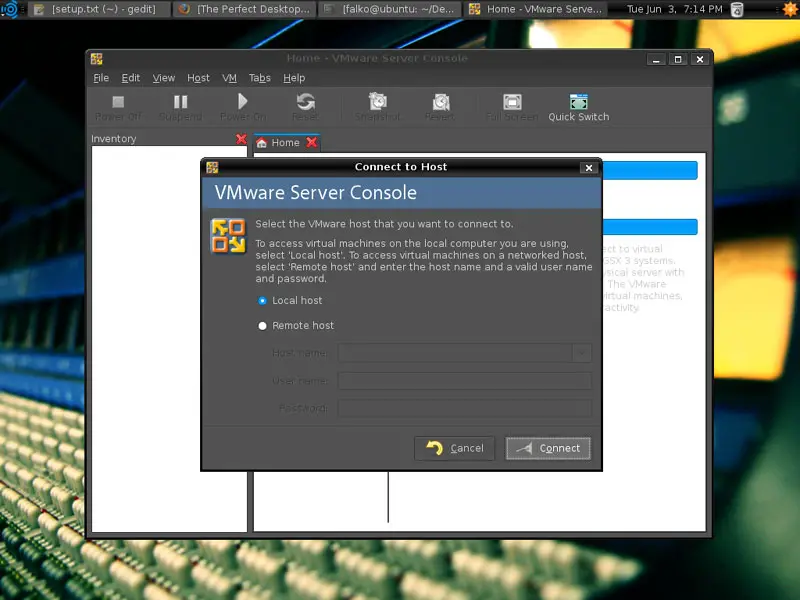
When you start it, select Local host:
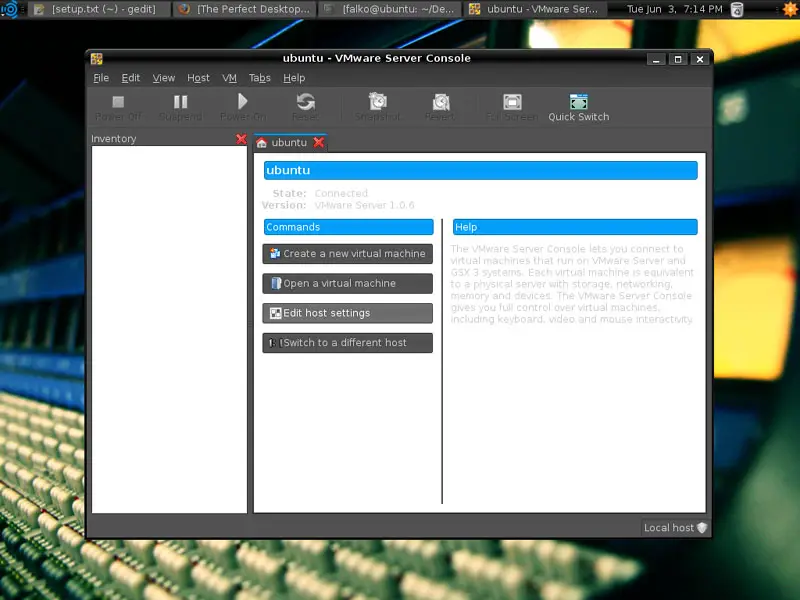
Afterwards, you can create virtual machines (or import your virtual Windows machine that you created with VMware Converter):
3 Links
- Ubuntu: http://www.ubuntu.com
- VMware Server: http://www.vmware.com/download/server

