Set Up A Fully Encrypted Raid1 LVM System
Author: Stephan Jau
Revision: v1.0
Last Change: November 30 2008
Introduction
For this Howto I use Debian Lenny (still testing and not "stable" for the simple reason as - contrary to Debian Etch and/or Ubuntu 8.04/8.10 - the install routine does setup the initrd correctly so that you can set up encrypted swap and also an encrypted raid1 lvm during install). This Howto will be heavy on screen shots again - a lot of them are repetitive as I setup multiple partitions at once.
Basically I will set up the system in a way that (a) everything [except for /boot] will be encrypted, (b) everything will be on a raid1 and (c) have a LVM for your data partition so that this one can be easily expanded.
Notice: The sizes used for this howto are just exemplary.... please consider carefully how you want to size your partitions! I did setup a real server using 500 MB for /boot, 2 GB for SWAP, 10 GB for / and the rest went into /data (in which I have also the data of the home folder, the /etc folder, the mysql databases and webroot)
The reason for Raid1 is that I wanted to setup the system in such a way that if one disk is failing the system can still be "setup" quickly and without knowledge. The only thing one has to know is to disconnect which of the drives and then boot the machine.
Installing the system (with one drive)
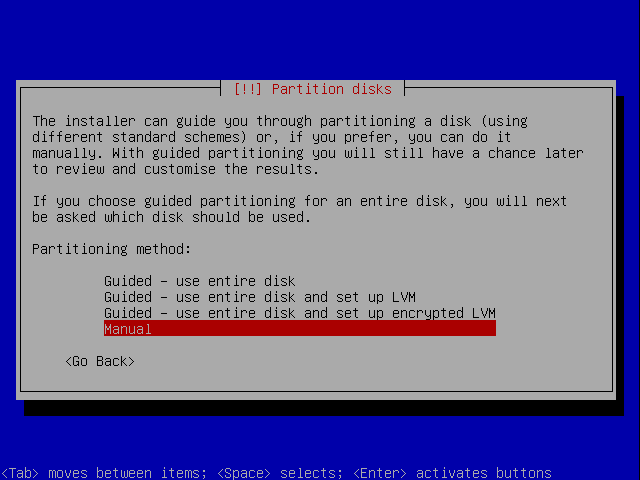
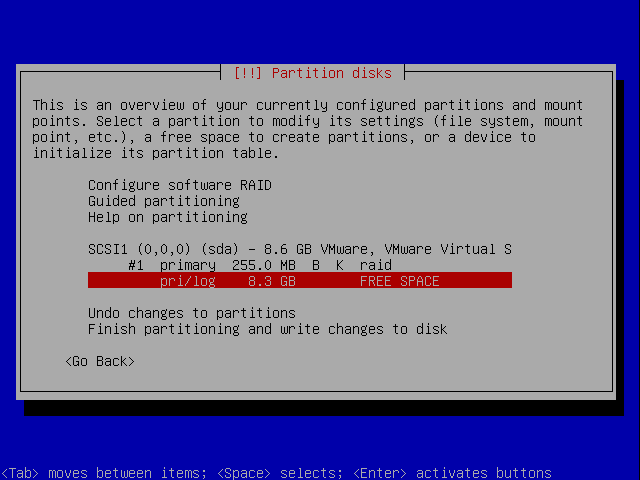
Step 1: Getting to the partitioner
So, once you reach the partitioner, select manual partitioning:
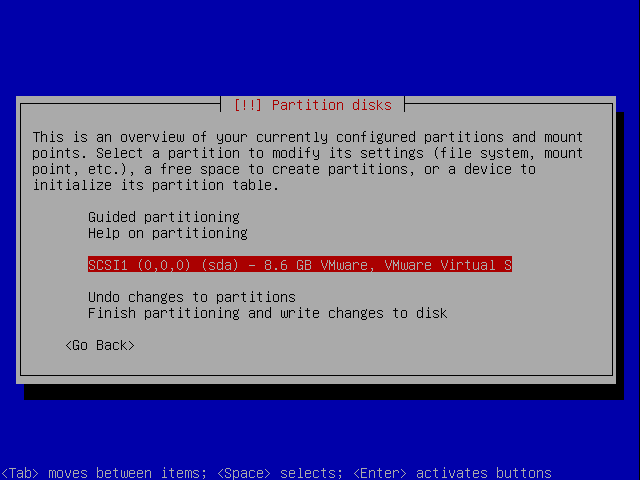
As I have a completely new harddisk (or rather virtual harddisk) I have to select it first:
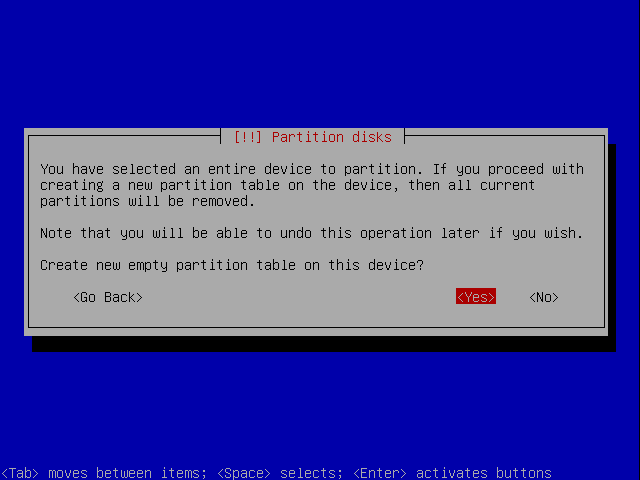
Then to create an empty partition list:
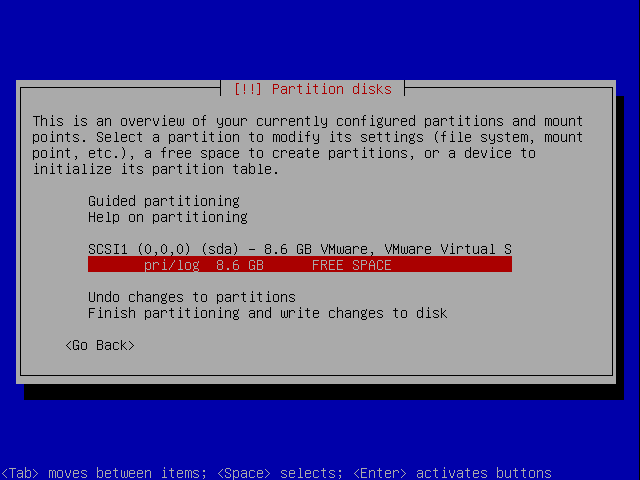
And we'll return at the previous screen, this time with an empty partition list.
Step 2: Creating the BOOT partition
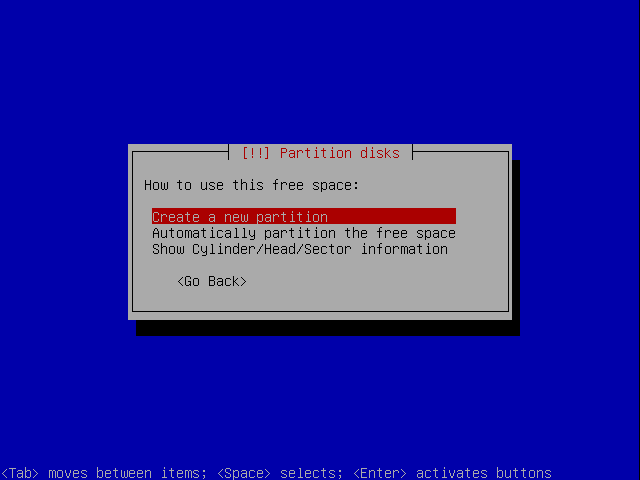
Select the FREE SPACE to create a new partition:
Now we select to create a new partition on the harddisk:

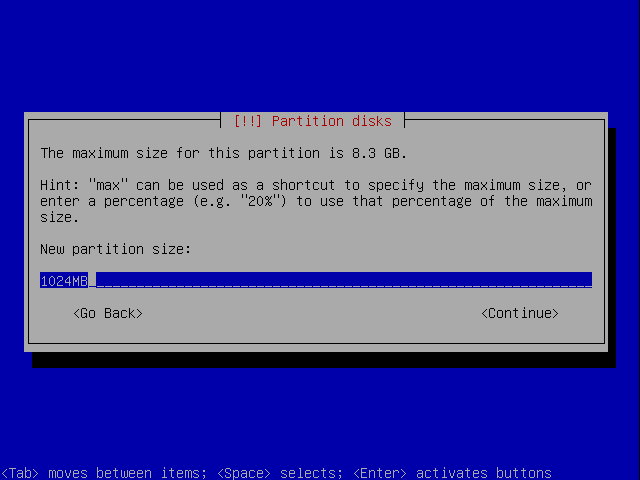
I make it 256MB - that should be sufficient for a few kernels. However make it larger if you want to run more kernels on it..
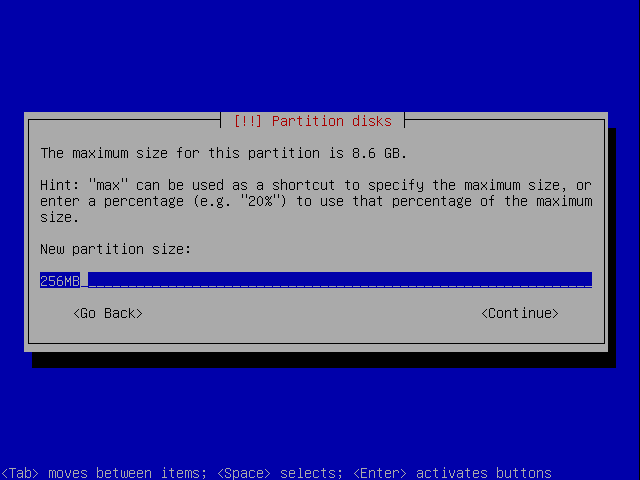
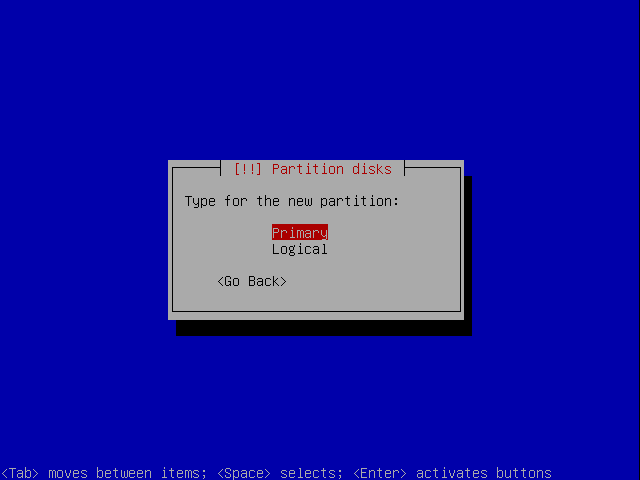
In this Howto I make all the partitions primary. So you should be well aware of the size and implications of it.

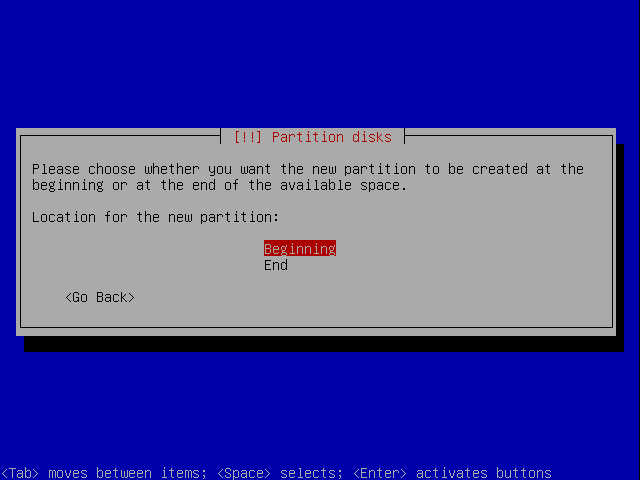
I set it at the beginning. You could also set it at the ened... IMHO it doesn't matter much.

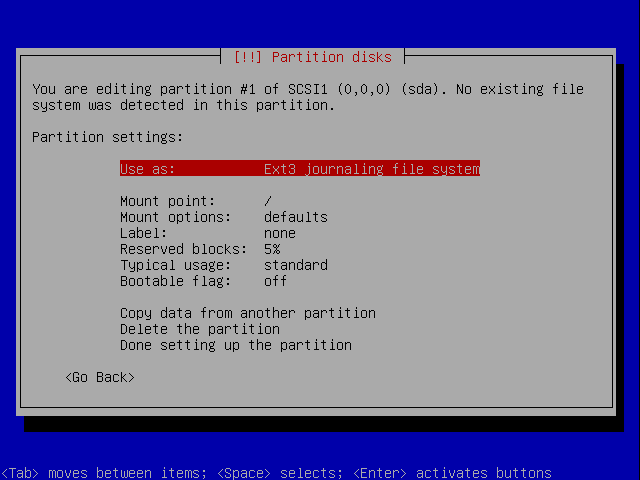
At the partition properties select "Use as":
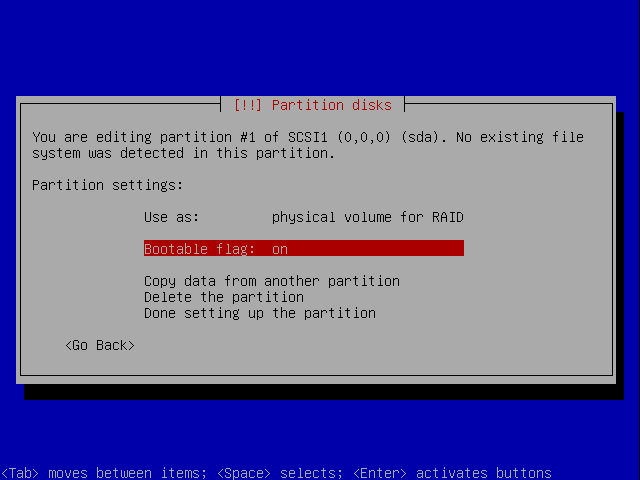
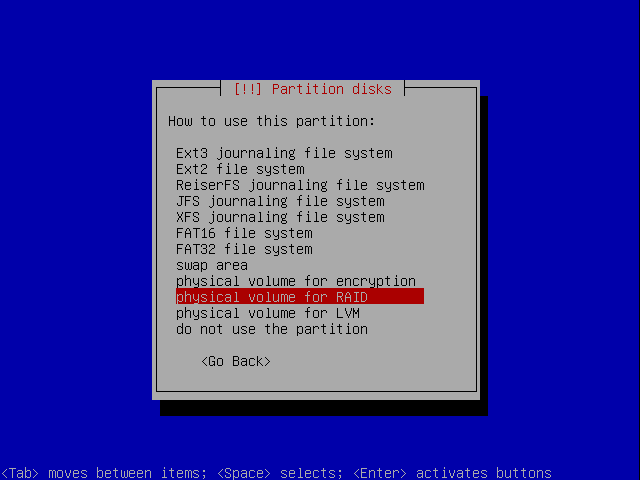
And now select it to be a raid:

As this is the boot partition it needs to be bootable. Change the according property:
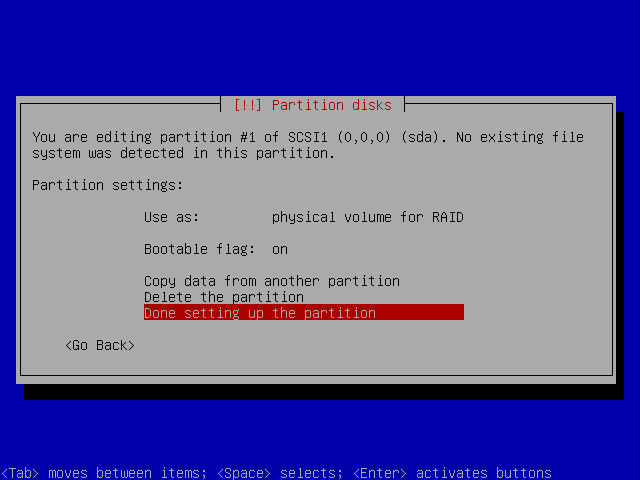
Now you are done here:
Step 3: Creating the SWAP Partition
Once again back at the partition overview, select the FREE SPACE to create a new partition:
Now we select to create a new partition on the harddisk:
I make it in this Howto 1024MB. General rule of thumb would be 1-2x the size of your ram. Note that on a 32bit system you can't just use more than 4GB ram, on 64bit you can (but there are also ways on 32bit)
Again make it a primary partitions:
I set it at the beginning. You could also set it at the end... IMHO it doesn't matter much.
At the partition properties select "Use as":

And now select it to be a raid:
Now you are done here:


