KVM Virtualization With Enomalism 2 On A Fedora 10 Server
Version 1.0
Author: Falko Timme
Enomalism ECP (Elastic Computing Platform) provides a web-based control panel that lets you design, deploy, and manage virtual machines on one or more host systems (in the case of multiple systems, we speak of a cluster or cloud). This article shows how you can use Enomalism (also know as Enomaly) to manage KVM guests on one Fedora 10 server.
I do not issue any guarantee that this will work for you!
1 Preliminary Note
I'm using a Fedora 10 server with the hostname server1.example.com and the IP address 192.168.0.100 here as my KVM host. The server is located in a private network with a DHCP server (on the router, IP 192.168.0.1). Enomalism usage might be different if you use it in a public network.
Before we start, run
system-config-firewall
and disable the firewall.
Also, make sure that SELinux is disabled. Open /etc/selinux/config...
vi /etc/selinux/config
... and set SELINUX to disabled:
# This file controls the state of SELinux on the system. # SELINUX= can take one of these three values: # enforcing - SELinux security policy is enforced. # permissive - SELinux prints warnings instead of enforcing. # disabled - No SELinux policy is loaded. SELINUX=disabled # SELINUXTYPE= can take one of these two values: # targeted - Targeted processes are protected, # mls - Multi Level Security protection. SELINUXTYPE=targeted |
Run
setenforce 0
... for the change to take effect.
Please check if your CPU supports hardware virtualization - if this is the case, the command
egrep '(vmx|svm)' --color=always /proc/cpuinfo
should display something, e.g. like this:
[root@server1 ~]# egrep '(vmx|svm)' --color=always /proc/cpuinfo
flags           : fpu vme de pse tsc msr pae mce cx8 apic sep mtrr pge mca cmov pat pse36 clflush mmx fxsr sse sse2 ht syscall
 nx mmxext fxsr_opt rdtscp lm 3dnowext 3dnow rep_good nopl pni cx16 lahf_lm cmp_legacy svm extapic cr8_legacy 3dnowprefetch
flags           : fpu vme de pse tsc msr pae mce cx8 apic sep mtrr pge mca cmov pat pse36 clflush mmx fxsr sse sse2 ht syscall
 nx mmxext fxsr_opt rdtscp lm 3dnowext 3dnow rep_good nopl pni cx16 lahf_lm cmp_legacy svm extapic cr8_legacy 3dnowprefetch
[root@server1 ~]#
If nothing is displayed, then your processor doesn't support hardware virtualization, and you must stop here.
2 Installing Enomalism 2
First do this:
wget http://downloads.sourceforge.net/enomalism/enomalism.public
rpm --import enomalism.public
wget http://downloads.sourceforge.net/enomalism/enomalism001.pubkey.asc
rpm --import enomalism001.pubkey.asc
To install KVM and Qemu, we run
yum install libvirt libvirt-python kvm qemu
ln -s /usr/bin/qemu-kvm /usr/bin/kvm
Then start the libvirt daemon:
/etc/init.d/libvirtd start
To check if KVM has successfully been installed, run
virsh -c qemu:///system list
It should display something like this:
[root@server1 ~]# virsh -c qemu:///system list
 Id Name                 State
----------------------------------

[root@server1 ~]#
If it displays an error instead, then something went wrong.
Next we need to set up a network bridge on our server so that our virtual machines can be accessed from other hosts as if they were physical systems in the network.
To do this, we install the package bridge-utils...
yum install bridge-utils
... and configure a bridge. Delete the system startup links for NetworkManager and create system startup links for network:
chkconfig --del NetworkManager
chkconfig --levels 235 network on
Then create the file /etc/sysconfig/network-scripts/ifcfg-virbr0 (please use the BOOTPROTO, DNS1 (plus any other DNS settings, if any), GATEWAY, IPADDR, NETMASK and SEARCH values from the /etc/sysconfig/network-scripts/ifcfg-eth0 file):
vi /etc/sysconfig/network-scripts/ifcfg-virbr0
DEVICE=virbr0 TYPE=Bridge BOOTPROTO=static DNS1=145.253.2.75 GATEWAY=192.168.0.1 IPADDR=192.168.0.100 NETMASK=255.255.255.0 ONBOOT=yes SEARCH="example.com" |
Modify /etc/sysconfig/network-scripts/ifcfg-eth0 as follows (comment out BOOTPROTO, DNS1 (and all other DNS servers, if any), GATEWAY, IPADDR, NETMASK, and SEARCH and add BRIDGE=virbr0):
vi /etc/sysconfig/network-scripts/ifcfg-eth0
# nVidia Corporation Unknown (0x0760) DEVICE=eth0 #BOOTPROTO=static #DNS1=145.253.2.75 #GATEWAY=192.168.0.1 HWADDR=00:1e:90:f3:f0:02 #IPADDR=192.168.0.100 #NETMASK=255.255.255.0 ONBOOT=yes #SEARCH="example.com" BRIDGE=virbr0 |
Then reboot the system:
reboot
After the reboot, run
ifconfig
It should now show the network bridge (virbr0):
[root@server1 ~]# ifconfig
eth0      Link encap:Ethernet  HWaddr 00:1E:90:F3:F0:02
          inet6 addr: fe80::21e:90ff:fef3:f002/64 Scope:Link
          UP BROADCAST RUNNING MULTICAST  MTU:1500  Metric:1
          RX packets:1611 errors:0 dropped:0 overruns:0 frame:0
          TX packets:1986 errors:0 dropped:0 overruns:0 carrier:0
          collisions:0 txqueuelen:1000
          RX bytes:133898 (130.7 KiB)  TX bytes:2092110 (1.9 MiB)
          Interrupt:22 Base address:0xa000

lo        Link encap:Local Loopback
          inet addr:127.0.0.1  Mask:255.0.0.0
          inet6 addr: ::1/128 Scope:Host
          UP LOOPBACK RUNNING  MTU:16436  Metric:1
          RX packets:17 errors:0 dropped:0 overruns:0 frame:0
          TX packets:17 errors:0 dropped:0 overruns:0 carrier:0
          collisions:0 txqueuelen:0
          RX bytes:1040 (1.0 KiB)  TX bytes:1040 (1.0 KiB)

virbr0    Link encap:Ethernet  HWaddr 00:1E:90:F3:F0:02
          inet addr:192.168.0.100  Bcast:192.168.0.255  Mask:255.255.255.0
          inet6 addr: fe80::21e:90ff:fef3:f002/64 Scope:Link
          UP BROADCAST RUNNING MULTICAST  MTU:1500  Metric:1
          RX packets:1533 errors:0 dropped:0 overruns:0 frame:0
          TX packets:1936 errors:0 dropped:0 overruns:0 carrier:0
          collisions:0 txqueuelen:0
          RX bytes:95507 (93.2 KiB)  TX bytes:2076556 (1.9 MiB)

[root@server1 ~]#
Also, the KVM kernel module should now be loaded:
lsmod | grep -i kvm
[root@server1 ~]# lsmod | grep -i kvm
kvm_amd                37644  2
kvm                   137976  1 kvm_amd
[root@server1 ~]#
(This output is from a system with an AMD-V processor. If your system uses an Intel VT CPU, it should display something like kvm_intel.)
Now we download the latest Enomalism .rpm package from http://sourceforge.net/project/showfiles.php?group_id=164855&package_id=186866&release_id=667675, e.g. as follows (please make sure you grab the PY2.5 package, not PY2.4!):
wget http://dfn.dl.sourceforge.net/sourceforge/enomalism/enomalism2-2.2.3.noarch.PY2.5.rpm
After the download has finished, we install Enomalism as follows:
yum install enomalism2-2.2.3.noarch.PY2.5.rpm
Then we create the system startup links for MySQL (so that MySQL starts automatically whenever the system boots) and start the MySQL server:
chkconfig --levels 235 mysqld on
/etc/init.d/mysqld start
Run
mysqladmin -u root password yourrootsqlpassword
mysqladmin -h server1.example.com -u root password yourrootsqlpassword
to set a password for the user root (otherwise anybody can access your MySQL database!).
If the last command throws an error at you...
[root@server1 named]# mysqladmin -h server1.example.com -u root password yourrootsqlpassword
mysqladmin: connect to server at 'server1.example.com' failed
error: 'Access denied for user 'root'@'localhost' (using password: NO)'
[root@server1 named]#
... we can set the password as follows: connect to MySQL:
mysql -u root -p
Type in the password for the MySQL root user. Then, on the MySQL shell, do this:
mysql> USE mysql;
mysql> UPDATE user SET Password = password('yourrootsqlpassword') WHERE Host = 'server1.example.com' AND User = 'root';
mysql> UPDATE user SET Password = password('yourrootsqlpassword') WHERE Host = '127.0.0.1' AND User = 'root';
Run
mysql> SELECT * FROM user;
to make sure that all rows where the user is root have a password.
If everything is looking ok, run
mysql> FLUSH PRIVILEGES;
... and leave the MySQL shell:
mysql> quit;
Now we must configure Enomalism. Run
cd /opt/enomalism2
scripts/init-db.sh yourrootsqlpassword enomalism enomalismpassword
Replace yourrootsqlpassword with your MySQL root password. enomalism is the name of the database user that Enomalism will use to connect to the MySQL database, and enomalismpassword is the database password for the user enomalism. Replace both with a username/passsword of your choice.
In the /opt/enomalism2 directory, there should be a file called server1.example.com.cfg. We copy that file to the /opt/enomalism2/config directory:
cp server1.example.com.cfg config/server1.example.com.cfg
Run
uuidgen
and write down the ID that the command generates (we need it in the next step where we modify /opt/enomalism2/config/server1.example.com.cfg):
[root@server1 enomalism2]# uuidgen
2d54480f-66c6-4c15-aafc-7242208456e0
[root@server1 enomalism2]#
Now we edit /opt/enomalism2/config/server1.example.com.cfg:
vi config/server1.example.com.cfg
Please adjust the following four values:
[...] sqlobject.dburi="mysql://enomalism:enomalismpassword@localhost:3306/enomalism2" [...] enomalism2.baseurl="http://192.168.0.100:8080/rest/" [...] enomalism2.ip_addr="192.168.0.100" [...] enomalism2.self="2d54480f-66c6-4c15-aafc-7242208456e0" [...] |
Make sure you use the correct database user and password for the MySQL database and the correct IP address for the next two settings. In the enomalism2.self line, you should use the ID generated by uuidgen.
You will also find the settings enomalism2.drivestorage='file' and enomalism2.storagetarget='file:///xen/' in that file. Currently, Enomalism doesn't support LVM, so you should not change these settings!
Next edit /etc/libvirt/qemu.conf...
vi /etc/libvirt/qemu.conf
... and uncomment the line vnc_listen = "0.0.0.0":
[...] vnc_listen = "0.0.0.0" [...] |
(Otherwise you won't be able to connect to the KVM guests via VNC from a remote machine!)
Restart libvirtd afterwards:
/etc/init.d/libvirtd restart
Now we create the system startup links for Enomalism and start it:
chkconfig --levels 235 enomalism2.sh on
/etc/init.d/enomalism2.sh start
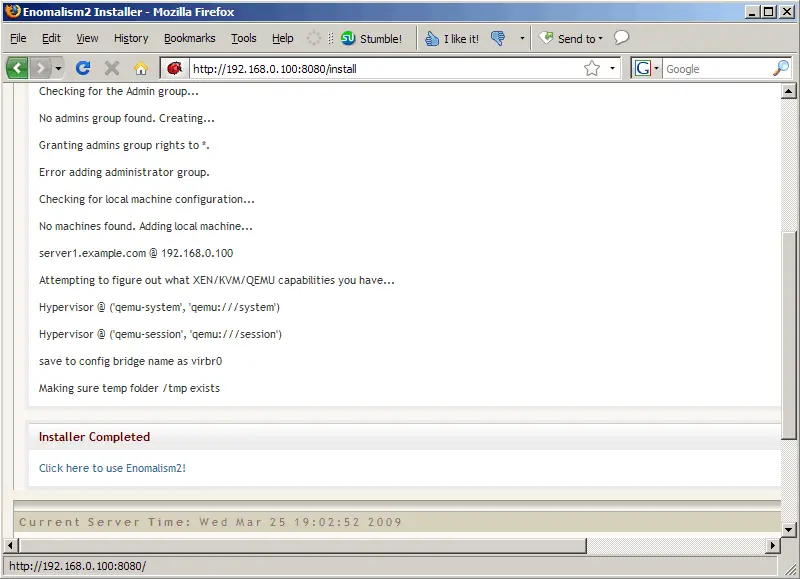
Now open a browser and go to http://192.168.0.100:8080. This should finish the Enomalism installation:
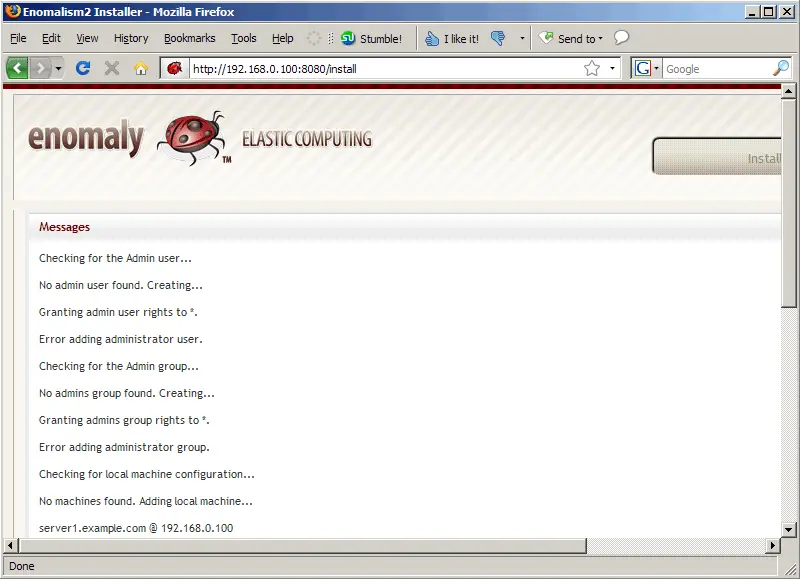
Click on the Click here to use Enomalism2! link: