Virtualization With XenServer 5.5.0
Version 1.0
Author: Falko Timme
This Howto covers the installation of XenServer 5.5.0 and the creation of virtual machines with the XenCenter administrator console. XenServer is a free virtualization platform from Citrix, the company behind the well known Xen virtualization engine. XenServer makes it easy to create, run and manage Xen virtual machines with the XenCenter administrator console. The XenServer installation CD contains a full Linux distribution which is customized to run XenServer.
I do not issue any guarantee that this will work for you!
1 Preliminary Note
Take a look at the XenServer installation guide to find out if your system fulfills the minimum requirements. You must have a 64bit processor and at least 1GB RAM. Support for hardware virtualization in the CPU is not required if you want to run Linux guests, but a must if you want to run Windows guests.
2 Installing XenServer
Visit http://www.citrix.com/xenserver/download. Follow the instructions and download the two ISO images FREE_XenServer-5.5.0-install-cd.iso (includes XenServer, XenCenter administration console installer) and FREE_XenServer-5.5.0-linux-cd.iso (includes templates and other tools required for support of Linux guests). Burn the ISO images on two CDs and boot from the FREE_XenServer-5.5.0-install-cd.iso CD (the installer will later on ask for the FREE_XenServer-5.5.0-linux-cd.iso CD).
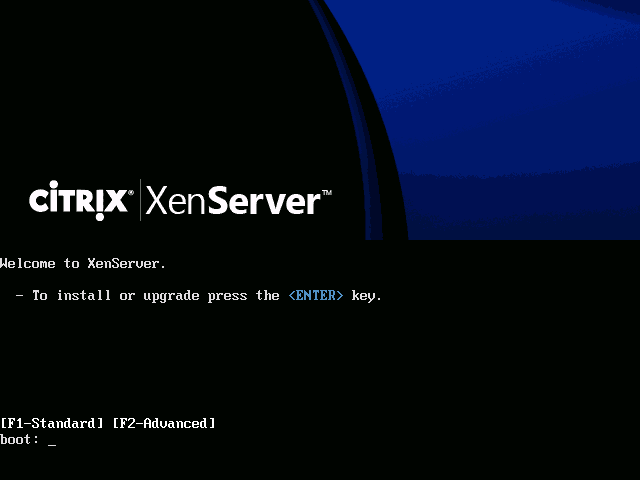
Press ENTER:
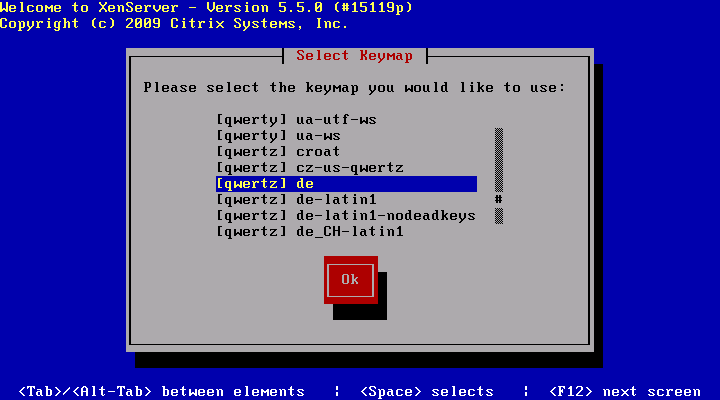
Select your keyboard layout:
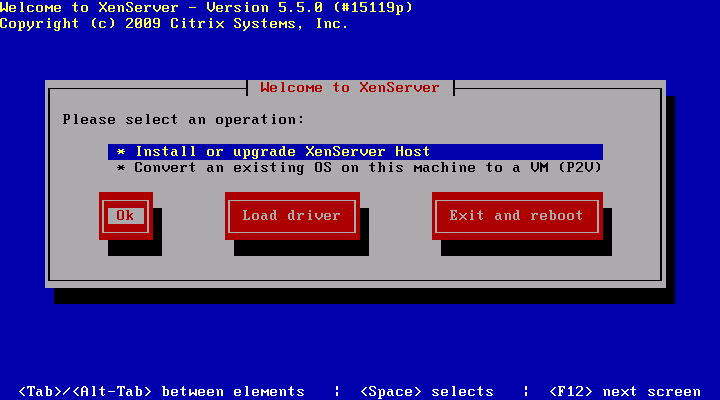
Select Install or upgrade XenServer Host:
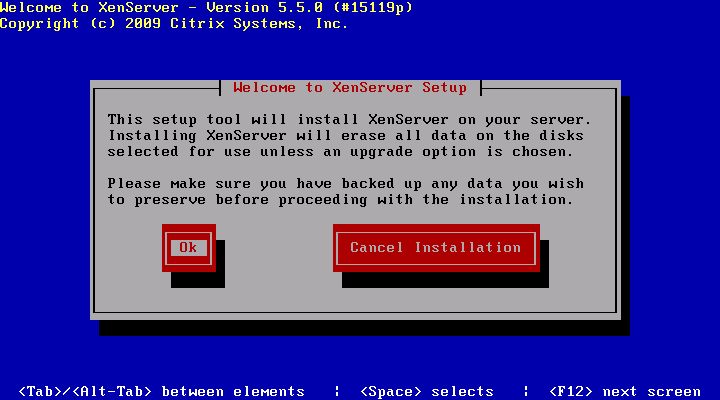
Confirm that you wish to install XenServer (this is because all existing data on the hard drive will be erased by the installation):
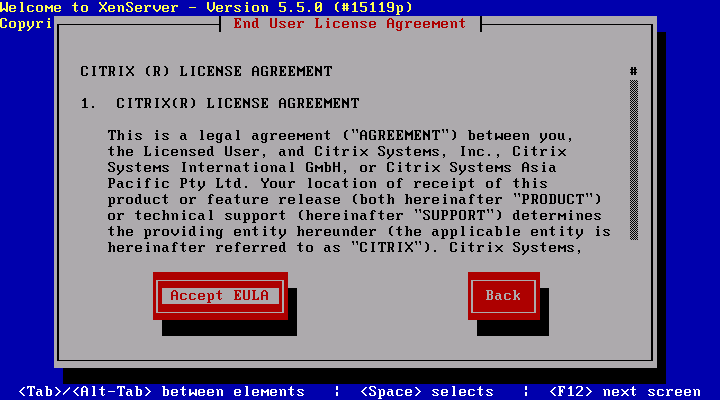
Accept the XenServer license:
In case the server does not support the latest hardware virtualization techniques from Intel or AMD, you will get this screen. You will still be able to run various Linux distributions as virtual machines.
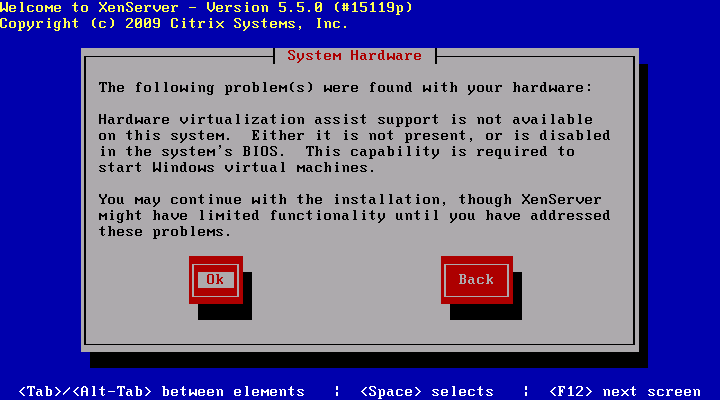
If you want to run virtualized versions of Linux only, this is fine. But Windows virtualization won't work without hardware virtualization support.
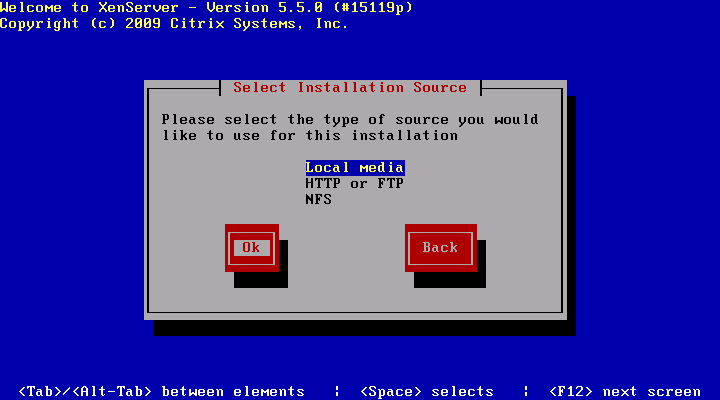
Select Local media as installation media:
If you get the error message "A base installation repository was not found at that location." now, this is probably because you have an SATA hard drive and an IDE DVD/CD drive, and the installer didn't load the IDE driver. To fix this, hit Alt+F2 to switch to another console window and run
modprobe ide-generic
in that console window. Then switch back to the install window by hitting Alt+F1 and select Local media again.
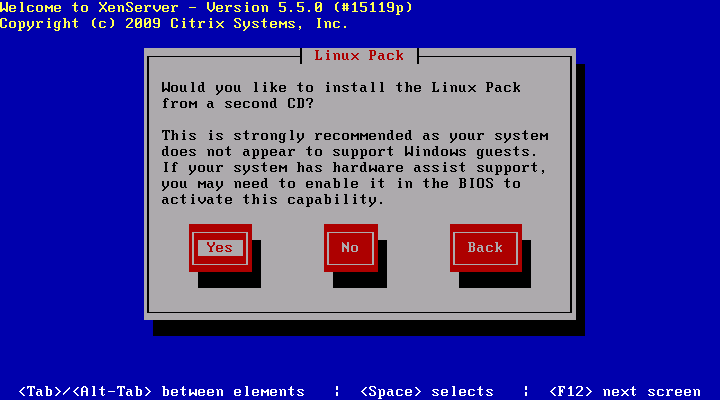
Now the installer asks you about the second CD you downloaded (the one with support for Linux guests). Select Yes to install support for Linux guests:
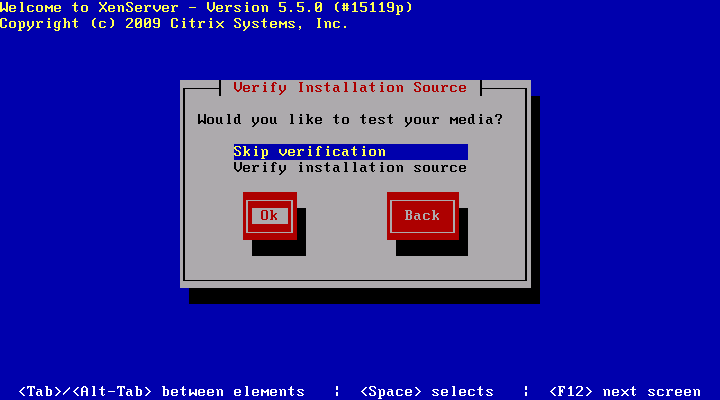
You can skip the media verification because it can take a long time:
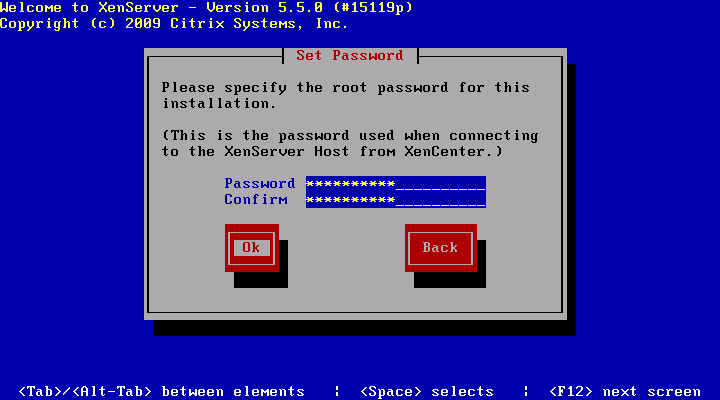
Specify the root password. This password will also be used to connect to the XenServer host from the XenCenter later on:
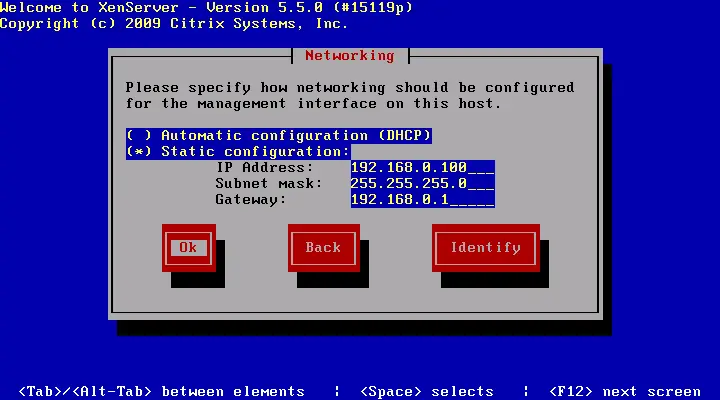
Specify your network configuration. As this is a server, it's a good idea to specify a static IP address:
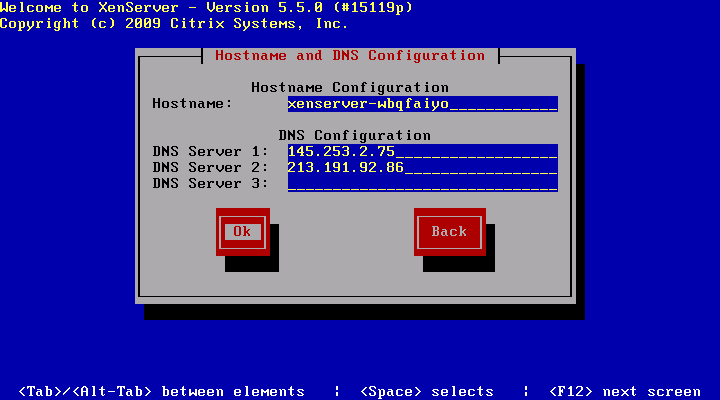
Next specify a hostname (you can as well leave the default one) and fill in up to three DNS servers (e.g. 145.253.2.75 and 213.191.92.86):