Creating Snapshot-Backups with BackerUpper On Ubuntu 9.04
Version 1.0
Author: Falko Timme  Follow me on Twitter
BackerUpper is a tool similar to Apple's TimeMachine. It is intended to create snapshot-backups of selected directories or even your full hard drive. From the BackerUpper project page: "Backerupper is a simple program for backing up selected directories over a local network. Its main intended purpose is backing up a user's personal data." This article shows how to install and use BackerUpper on Ubuntu 9.04 (Jaunty Jackalope).
I do not issue any guarantee that this will work for you!
1 Installing BackerUpper
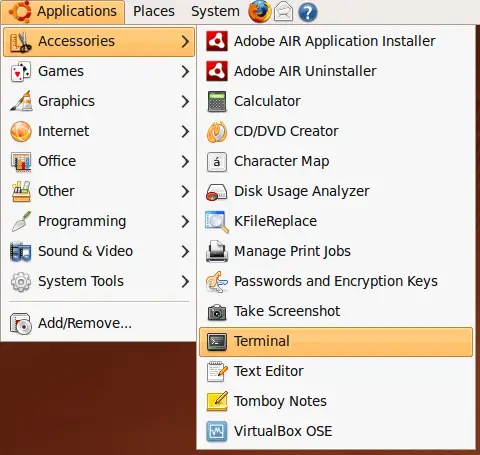
First open a terminal (Applications > Accessories > Terminal)...
... and run
uname -m
to find out your system's architecture - this is important to make sure that you download the correct BackerUpper version. My test system is a 64bit system which means I must download the 64bit version of BackerUpper:
falko@falko-desktop:~$ uname -m
x86_64
falko@falko-desktop:~$
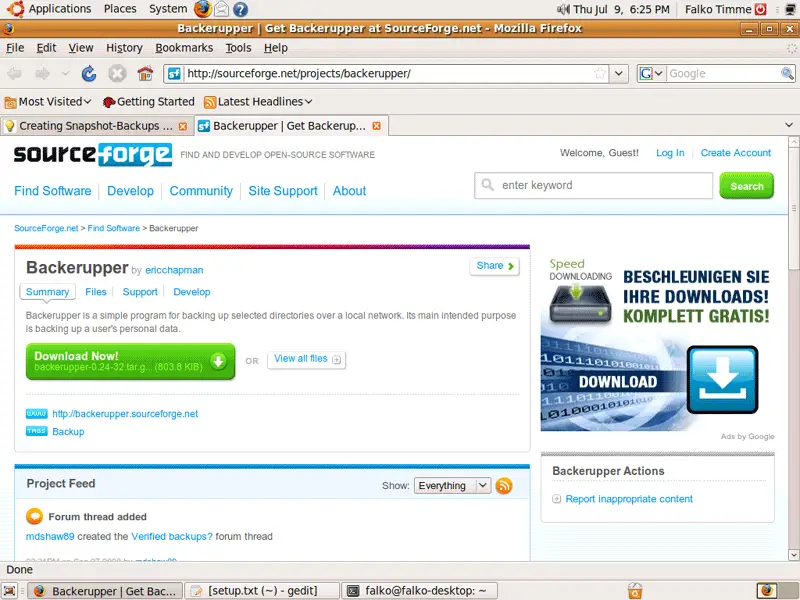
Open a browser (e.g. Firefox) and go to the BackerUpper project page on SourceForge. Click on View all files (this will give you a list of available downloads for 32- and 64bit systems whereas the Download Now! button will give you the 32bit version)...
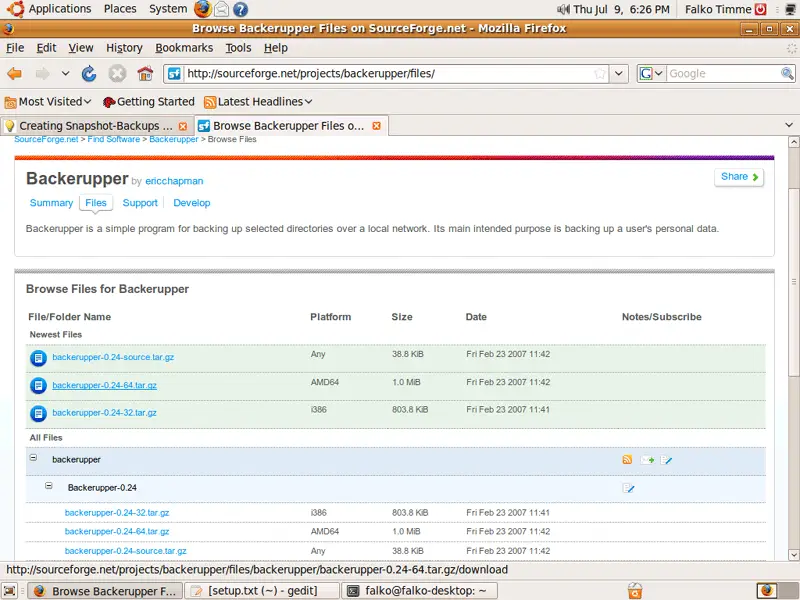
... and select the tar.gz file that is suitable for your system (-32.tar.gz for 32bit systems, -64.tar.gz for 64bit systems):
In the Firefox download dialogue, select Open with Archive Manager (default):

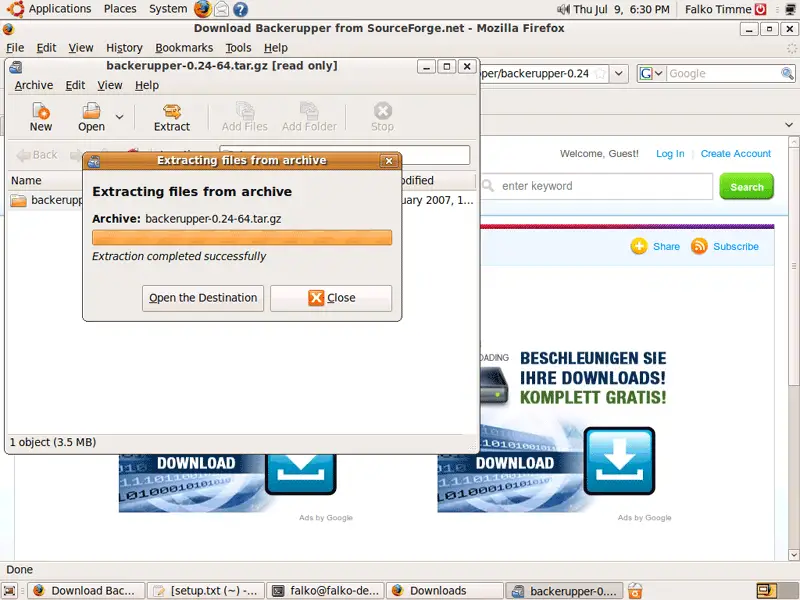
After the download has finished, the Archive Manager opens. Click on Extract:
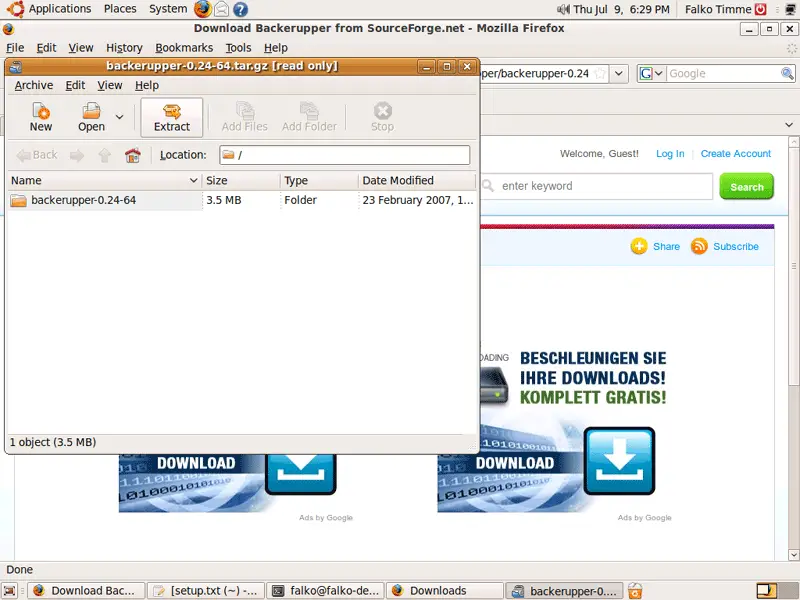
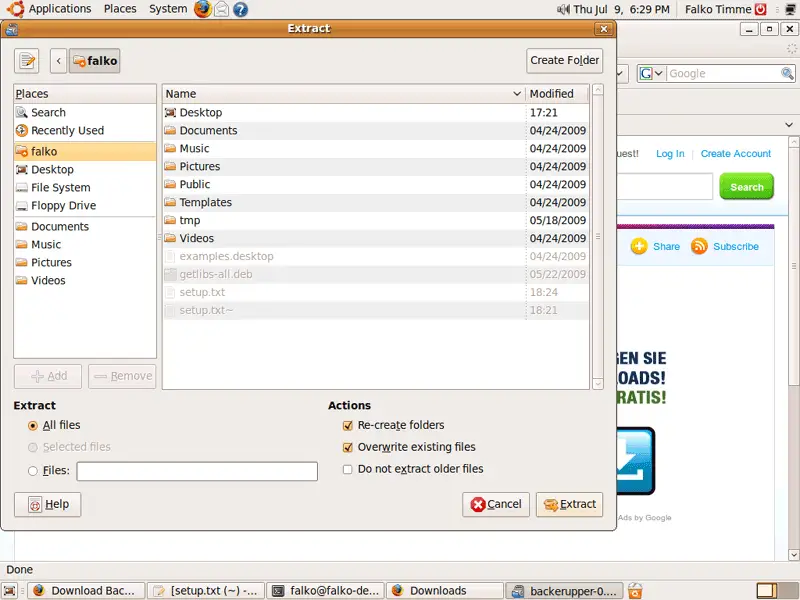
Select the directory where you want to extract the archive, e.g. your home directory (/home/falko in this example), and then click on Extract again:
Click on Close afterwards to leave the Archive Manager:
Next open a terminal again.
Go to the backerupper directory (e.g. /home/falko/backerupper-0.24-64/)...
cd /home/falko/backerupper-0.24-64/
... and install BackerUpper as follows:
sudo ./install.sh

