Installing Cherokee With PHP5 And MySQL Support On Mandriva 2009.1
Version 1.0
Author: Falko Timme  Follow me on Twitter
Cherokee is a very fast, flexible and easy to configure Web Server. It supports the widespread technologies nowadays: FastCGI, SCGI, PHP, CGI, TLS and SSL encrypted connections, virtual hosts, authentication, on the fly encoding, load balancing, Apache compatible log files, and much more. This tutorial shows how you can install Cherokee on a Mandriva 2009.1 server with PHP5 support (through FastCGI) and MySQL support.
I do not issue any guarantee that this will work for you!
1 Preliminary Note
In this tutorial I use the hostname server1.example.com with the IP address 192.168.0.100. These settings might differ for you, so you have to replace them where appropriate.
2 Installing MySQL 5
First we update our package database:
urpmi.update -a
To install MySQL 5, we simply run:
urpmi MySQL MySQL-client
By default, networking is not enabled in Mandriva 2009.1's MySQL package. We can change this by commenting out the line skip-networking in /etc/my.cnf.
vi /etc/my.cnf
[...] # Don't listen on a TCP/IP port at all. This can be a security enhancement, # if all processes that need to connect to mysqld run on the same host. # All interaction with mysqld must be made via Unix sockets or named pipes. # Note that using this option without enabling named pipes on Windows # (via the "enable-named-pipe" option) will render mysqld useless! # #skip-networking [...] |
Afterwards, we create the system startup links for MySQL...
chkconfig mysqld on
... and start it:
/etc/init.d/mysqld start
Next, run
mysqladmin -u root password yourrootsqlpassword
mysqladmin -h server1.example.com -u root password yourrootsqlpassword
to set a password for the user root (otherwise anybody can access your MySQL database!).
3 Installing Cherokee And php-fcgi
Cherokee is available as a Mandriva package, therefore we can install it like this (together with the php-fcgi package):
urpmi cherokee php-cgi php-fcgi
Next we create the system startup links for Cherokee and start it:
chkconfig cherokee on
/etc/init.d/cherokee start
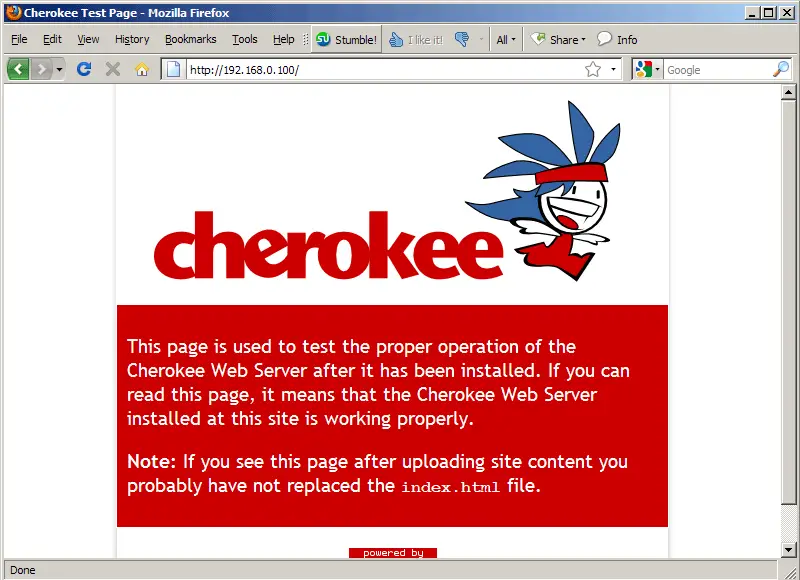
Now direct your browser to http://192.168.0.100, and you should see the Cherokee placeholder page:
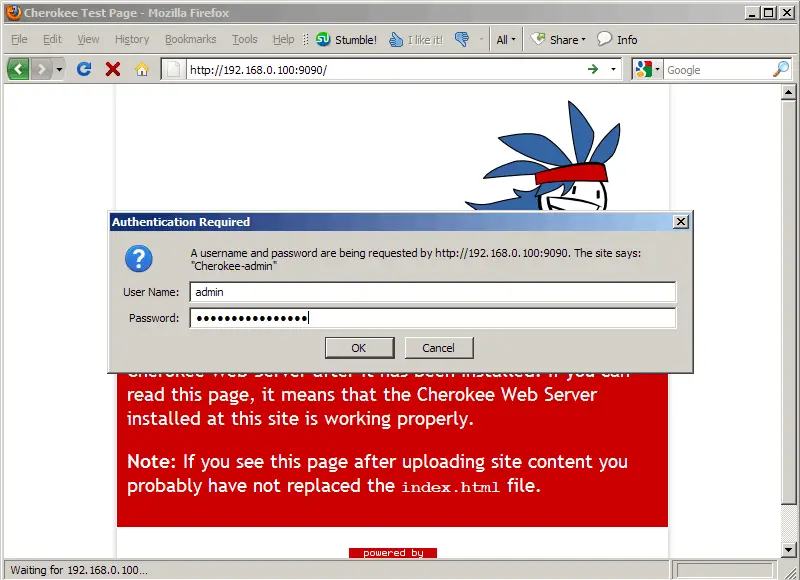
Cherokee can be configured through a web-based control panel which we can start as follows:
cherokee-admin -b
(By default cherokee-admin binds only to 127.0.0.1 (localhost), which means you can only connect to it from the same system. With the -b parameter you can specify the network address to listen to. If no IP is provided, it will bind to all interfaces.)
Output should be similar to this one:
[root@server1 ~]# cherokee-admin -b

Login:
  User:              admin
  One-time Password: sT7GnE4BQqVRELdK

Cherokee Web Server 0.99.4 (Mar 30 2009): Listening on port ALL:9090, TLS
disabled, IPv6 disabled, using epoll, 1024 fds system limit, max. 505
connections, caching I/O, single thread
You need the username and password to log into the web interface which can be found on http://192.168.0.100:9090/:
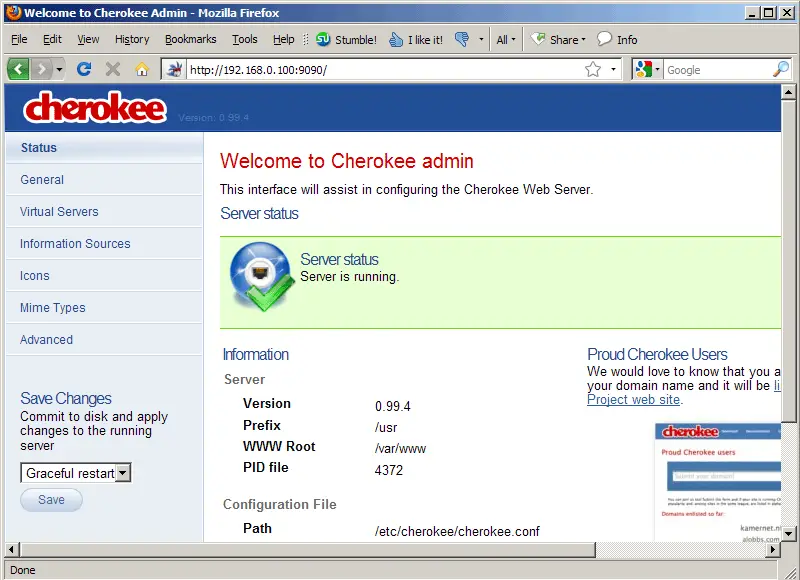
This is how the web interface looks:
To stop cherokee-admin, type CTRL+C on the shell.
4 Configuring PHP5
We must modify /etc/php.ini and add the line cgi.fix_pathinfo = 1 right at the end of the file:
vi /etc/php.ini
[...] cgi.fix_pathinfo = 1 |
Then we restart Cherokee:
/etc/init.d/cherokee restart

