Using eBox As Windows Primary Domain Controller
eBox Platform is an open source small business server that allows you to manage all your services like firewall, DHCP, DNS, VPN, proxy, IDS, mail, file and printer sharing, VoIP, IM and much more. These functionalities are tightly integrated, automating most tasks, avoiding mistakes and saving time for system administrators.
This tutorial shows you step by step how to use eBox as Windows Primary Domain Controller. At the end of it you will be using eBox Platform 1.2 for users and shared resources management on your Windows domain.
1. Installing the eBox server
The system installation can be done in two different ways:
- Using the eBox Platform Installer (recommended).
- Using an existing Ubuntu LTS Server Edition installation..
In the second case, you need to add eBox Platform PPA repositories to your sources.list and install the packages you are interested in.
Nevertheless, in the first case eBox Platform installation and deployment is easier as all the dependencies are in a single CD and in addition, some pre- configuration is made during the installation process. For this reason we will take this approach on this tutorial.
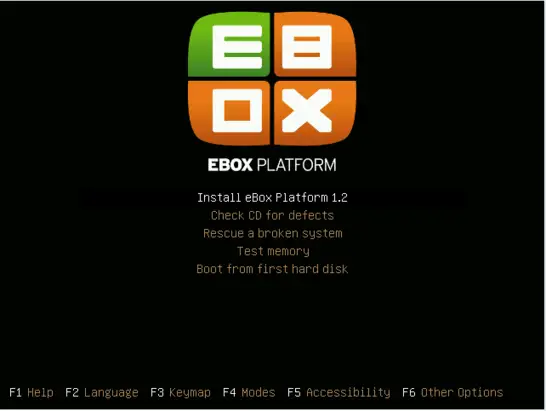
The eBox Platform installer is based on the Ubuntu installer and therefore those who are already familiar with it will find the installation process very similar. We will not cover here the Ubuntu system installation, but you can check the official installation documentation
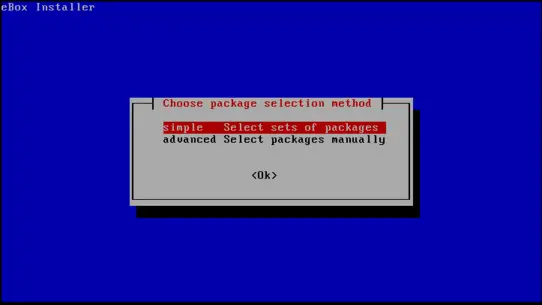
When the base system installation ends, the system will reboot and the eBox installation process will begin. Then will first ask you which software components are going to be installed. There are two methods for selecting the functionalities you want to deploy on your system, we will choose the 'simple' method.
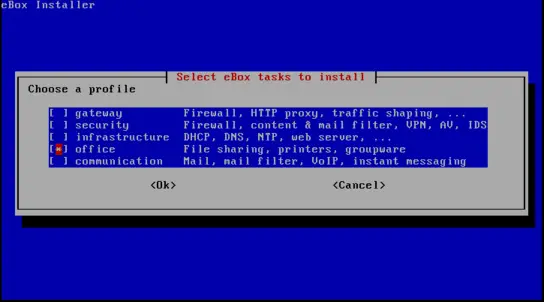
After choosing the 'simple' method, you will get a list of software profiles. In this case we will choose only the 'Office' profile which contains all the software components needed for the PDC. This selection is not final and if you need more functionalities on the future you can install and remove packages according to your needs.
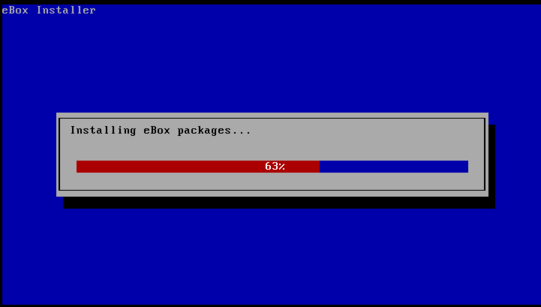
Once you have selected the components to install, a progress bar will show you the installation process status.
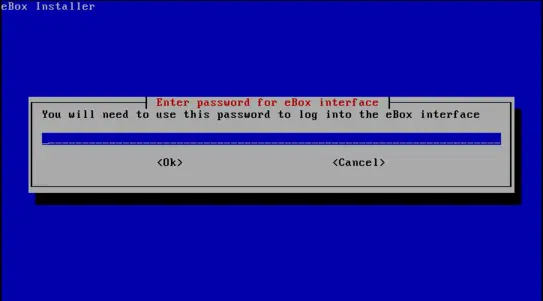
When the installation finish, you will be requested to enter a password to access the eBox Platform web interface.
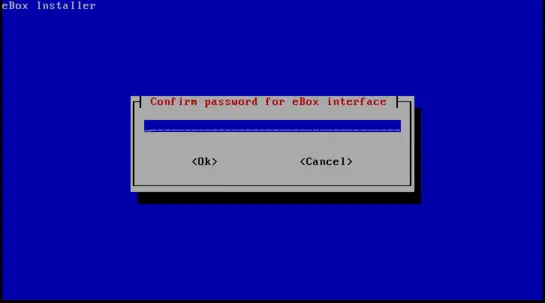
You need to confirm the password.
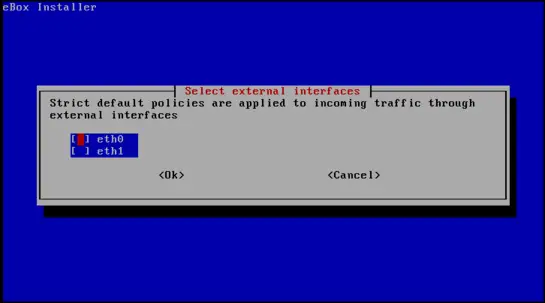
The installer will try to pre-configure some basic configuration parameters. First, it will ask you if any of your network interfaces are external (not within the local network), i.e. used to connect to the Internet. Strict policies for all incoming traffic through external network interfaces will be applied. Depending on the role the server plays, i.e. placed inside your local network, there might be no external interfaces at all.
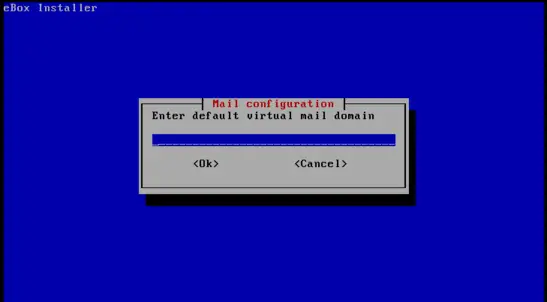
Then it will ask you for your default mail virtual domain name. As we will not be using the email server on this tutorial you can enter here any name you like.
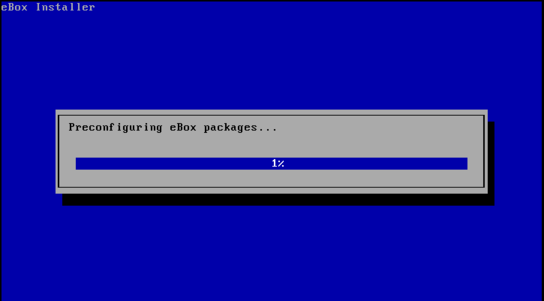
Once you have answered these questions, each module you installed will be pre- configured.
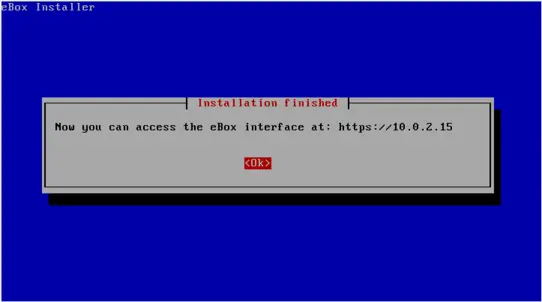
After this process is completed, a message will inform you on how to connect to the web interface of eBox Platform.