The Perfect Server - Fedora 15 x86_64 [ISPConfig 2]
Version 1.0
Author: Falko Timme
 Follow me on Twitter
This is a detailed description about how to set up a Fedora 15 server that offers all services needed by ISPs and hosters: Apache web server (SSL-capable) with PHP5/Ruby/Python, Postfix mail server with SMTP-AUTH and TLS, BIND DNS server, Proftpd FTP server, MySQL server, Dovecot POP3/IMAP, Quota, Firewall, etc. This tutorial is written for the 64-bit version of Fedora 15, but should apply to the 32-bit version with very little modifications as well. In the end you should have a system that works reliably, and if you like you can install the free webhosting control panel ISPConfig (i.e., ISPConfig runs on it out of the box).
I will use the following software:
- Web Server: Apache 2.2.17
- PHP 5.3.6
- Ruby
- Python
- Database Server: MySQL 5.5.12
- Mail Server: Postfix
- DNS Server: BIND9 (chrooted)
- FTP Server: proftpd
- POP3/IMAP server: Dovecot
- Webalizer for web site statistics
Please note that this setup does not work for ISPConfig 3! It is valid for ISPConfig 2 only!
I want to say first that this is not the only way of setting up such a system. There are many ways of achieving this goal but this is the way I take. I do not issue any guarantee that this will work for you!
1 Requirements
To install such a system you will need the following:
- Download the Fedora 15 DVD iso image from a mirror near you (the list of mirrors can be found here: http://mirrors.fedoraproject.org/publiclist/Fedora/15/), e.g. http://ftp.tu-chemnitz.de/pub/linux/fedora/linux/releases/15/Fedora/x86_64/iso/Fedora-15-x86_64-DVD.iso
- an Internet connection...
2 Preliminary Note
In this tutorial I use the hostname server1.example.com with the IP address 192.168.0.100 and the gateway 192.168.0.1. These settings might differ for you, so you have to replace them where appropriate.
Please make sure that the system that you want to upgrade has more than 600 MB of RAM - otherwise the system might hang when it tries to boot with the following message:
Trying to unpack rootfs image as initramfs...
3 Install The Base System
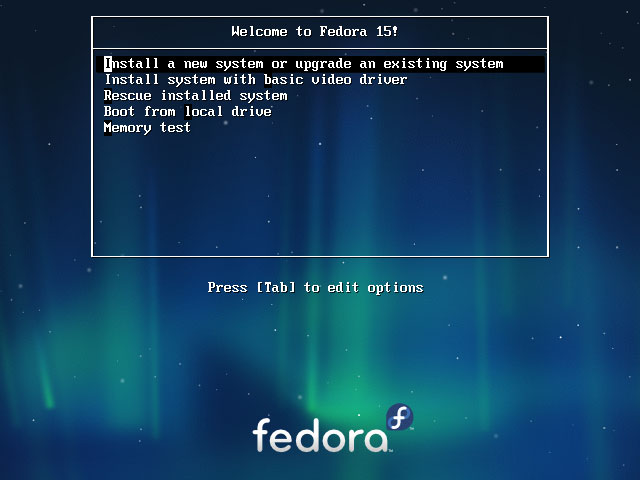
Boot from your Fedora 15 DVD. Select Install a new system or upgrade an existing system:
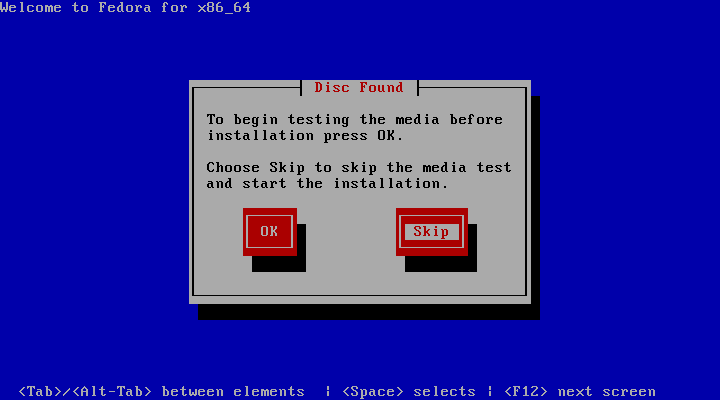
It can take a long time to test the installation media so we skip this test here:
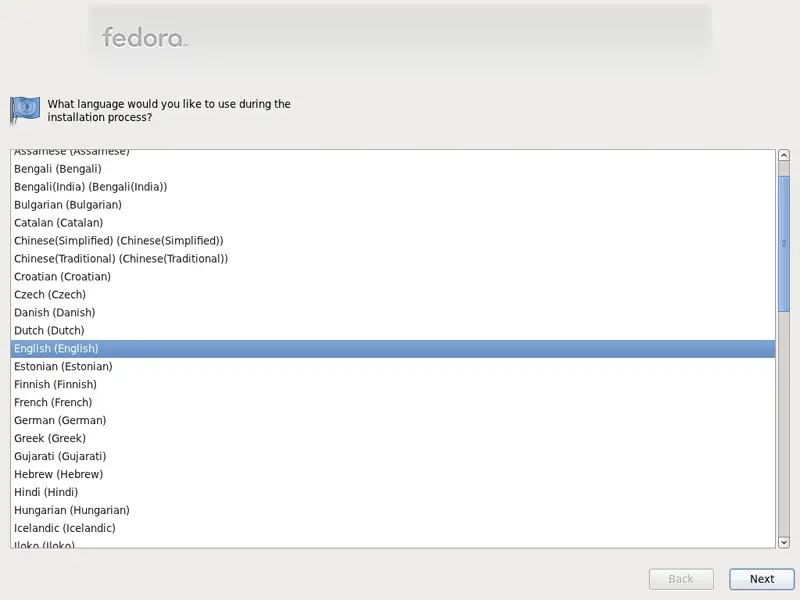
Choose your language next:
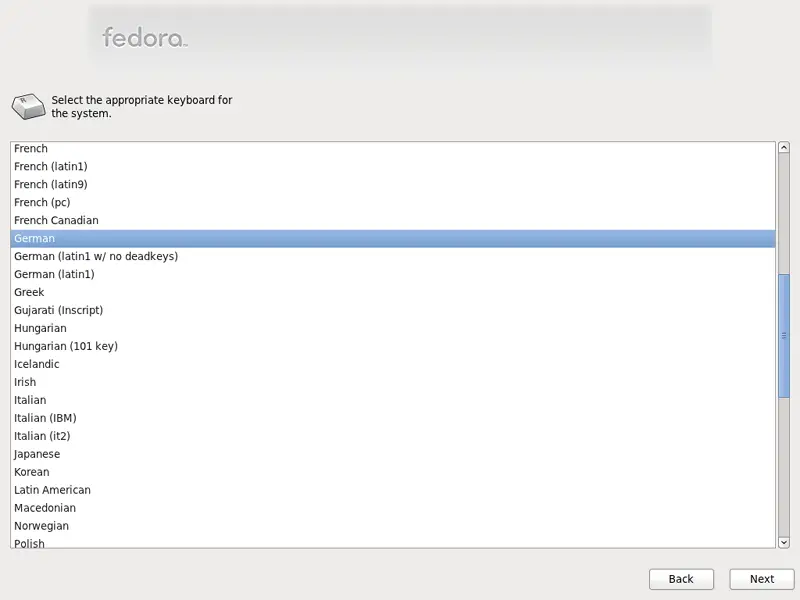
Select your keyboard layout:
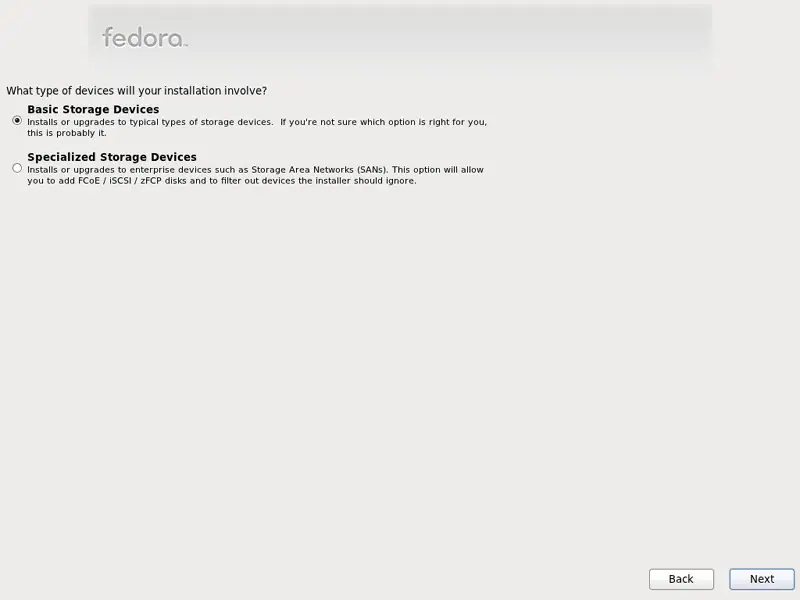
I assume that you use a locally attached hard drive, so you should select Basic Storage Devices here:
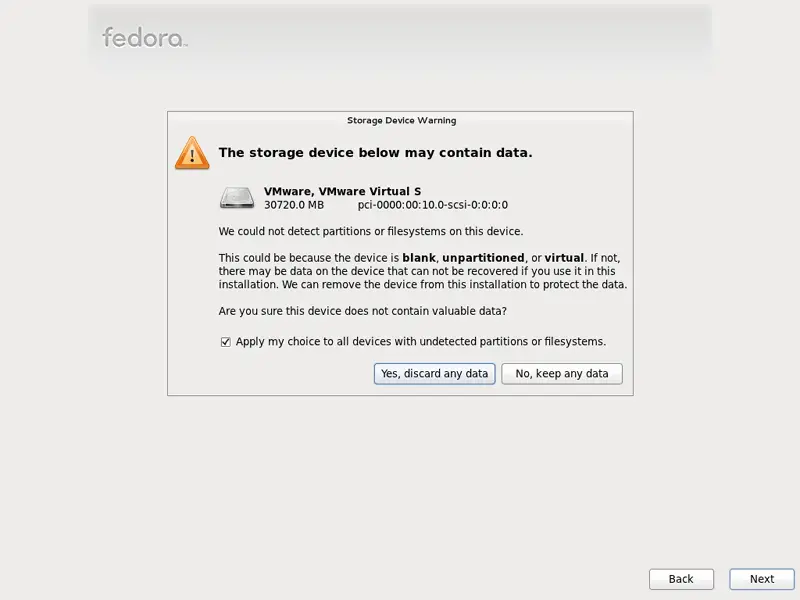
As we want a fresh Fedora installation, click on the Yes, discard any data button next:
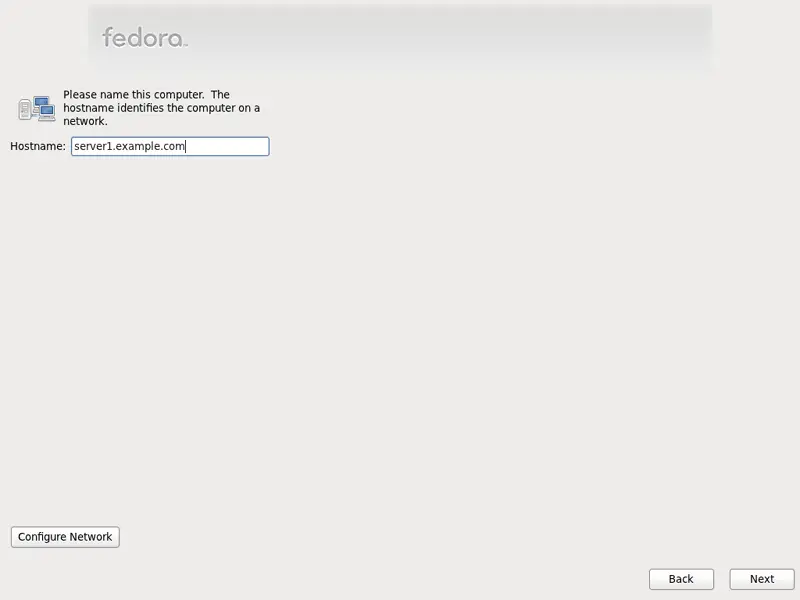
Fill in the hostname of the server:
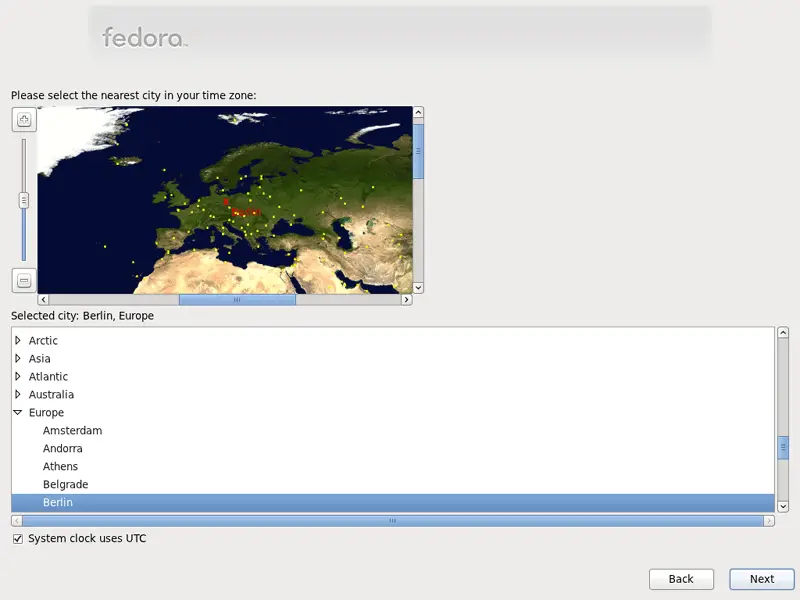
Choose your time zone:
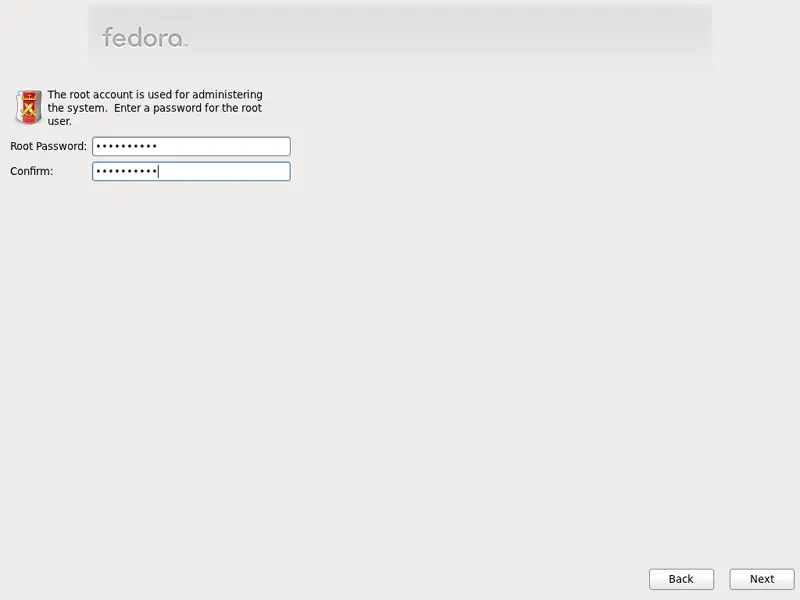
Give root a password:
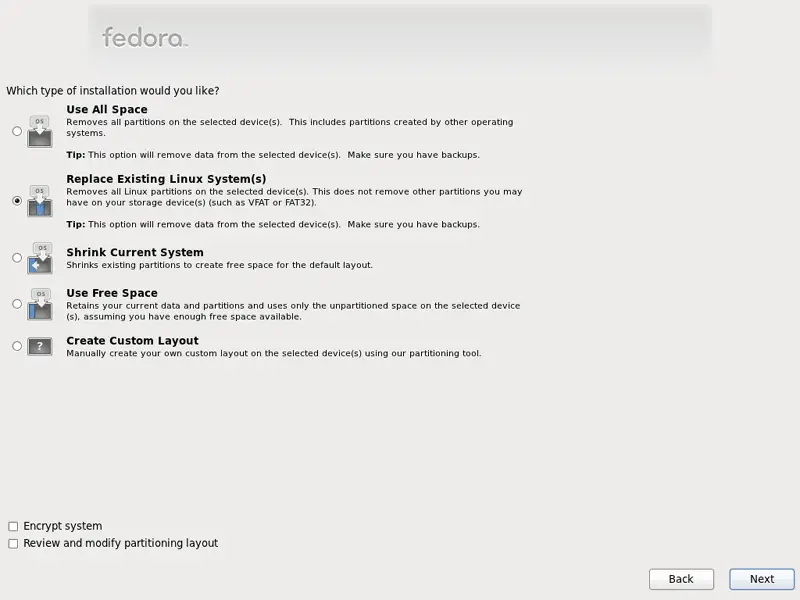
Next we do the partitioning. Select Replace Existing Linux System(s). This will give you a small /boot partition and a large / partition which is fine for our purposes:
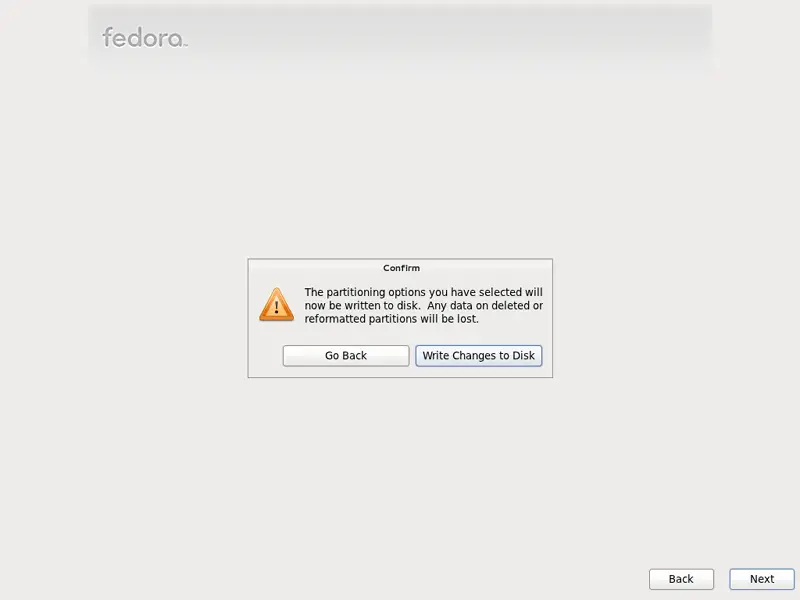
Select Write Changes to Disk:
The hard drive is being formatted:
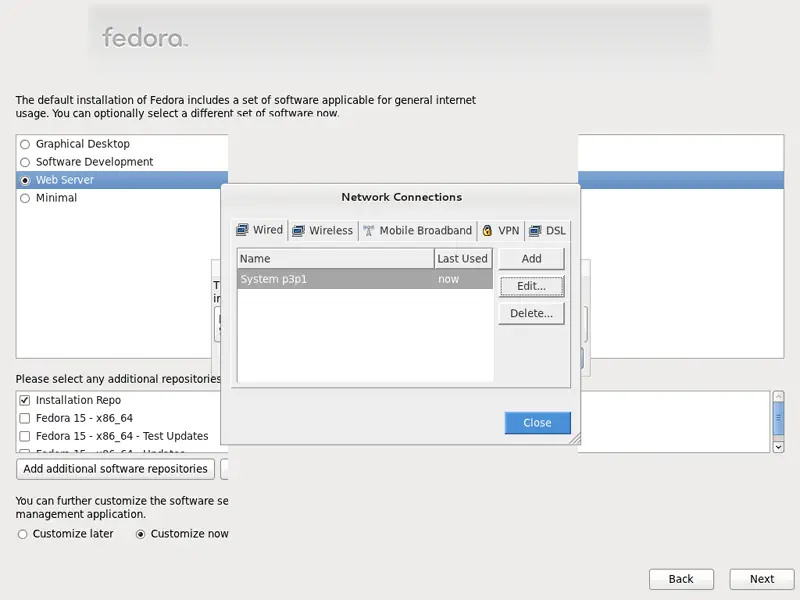
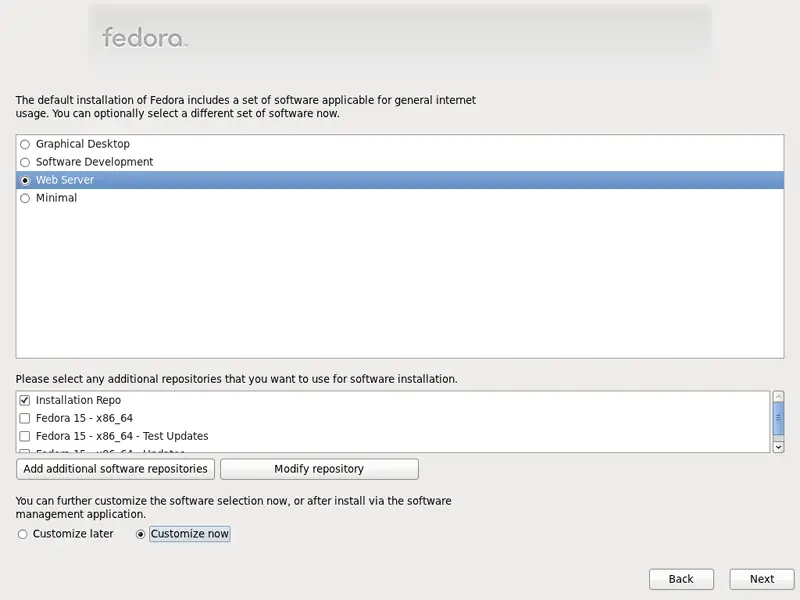
Now we select the software we want to install. Uncheck Graphical Desktop and check Web Server instead. Then check Customize now. Afterwards, select the additional repositories Fedora 15 - x86_64 and Fedora 15 - x86_64 - Updates (if you are on an i686 system, the names are probably Fedora 15 - i686 and Fedora 15 - i686 - Updates):
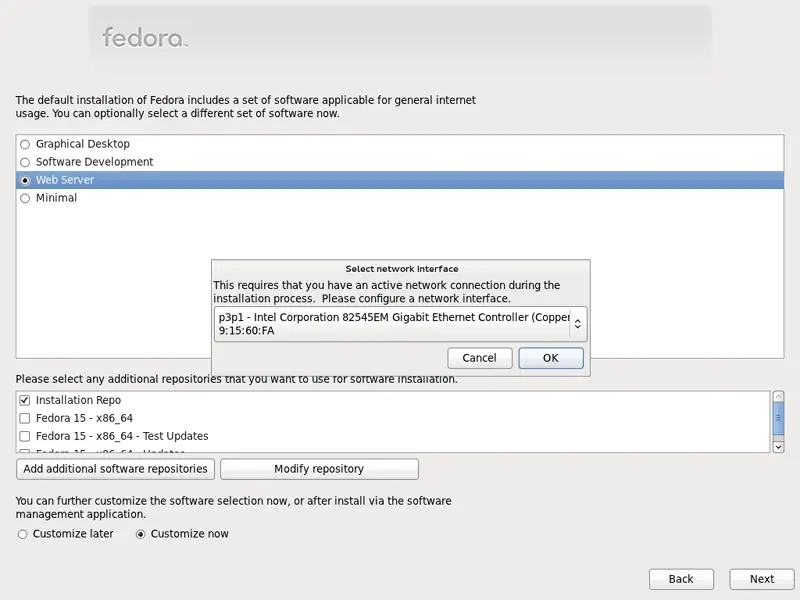
As the last two repositories need an Internet connection, a new window pops up where you have to configure your network card. Select your network card and click on OK:
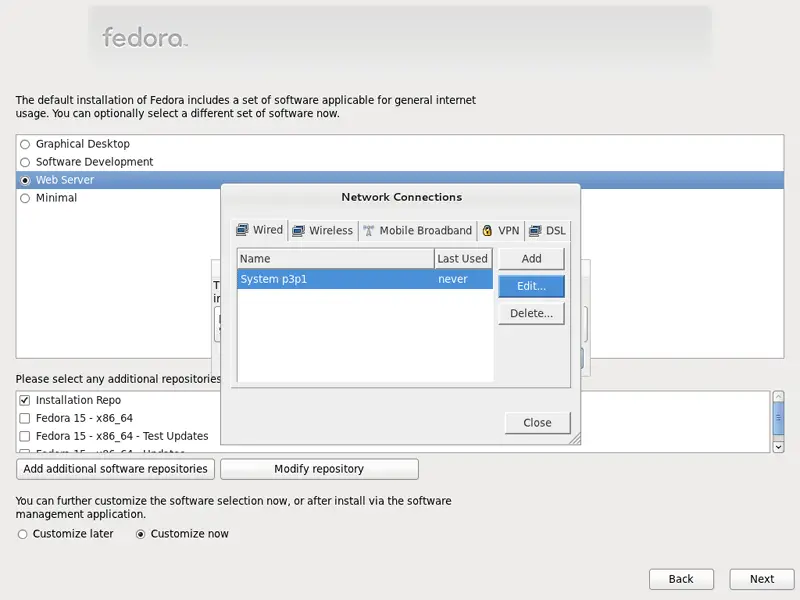
Go to the Wired tab, select the network interface (please note that Fedora 15 uses BIOS names for devices, that's why your network card is named like p3p1 instead of eth0 - we will change that later on; you can find more info about this on http://fedoraproject.org/wiki/Features/ConsistentNetworkDeviceNaming) and click on Edit...:
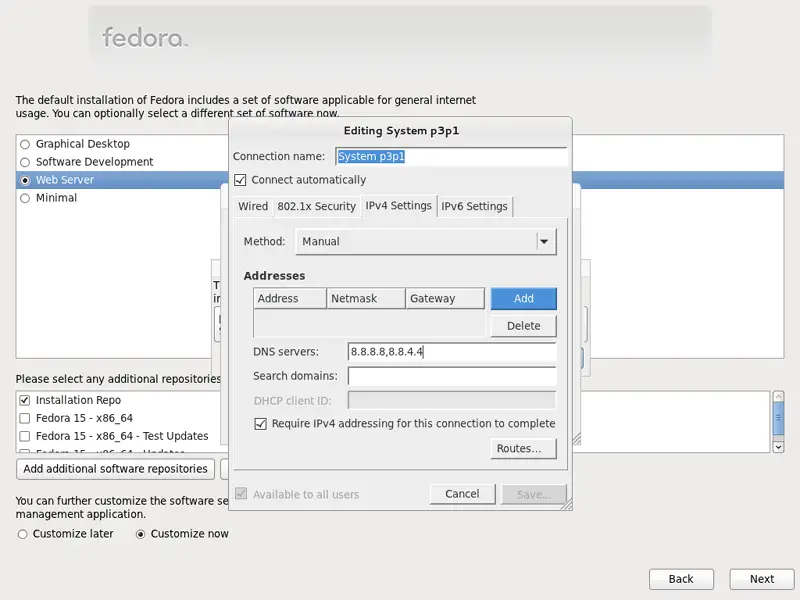
Mark the Connect automatically checkbox and go to the IPv4 Settings tab and select Manual in the Method drop-down menu. Fill in one, two, or three nameservers (separated by comma) in the DNS servers field (e.g. 8.8.8.8,8.8.4.4), then click on the Add button next to the Addresses area:
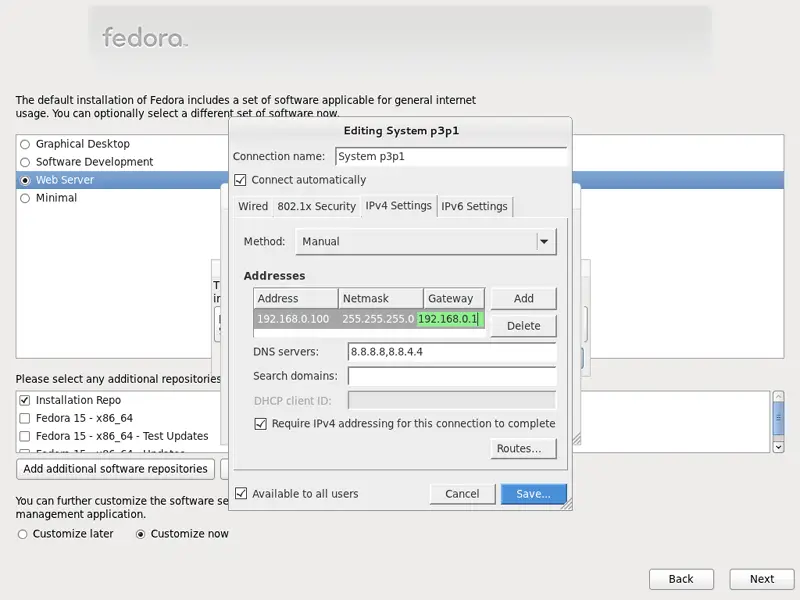
Now give your network card a static IP address and netmask (in this tutorial I'm using the IP address 192.168.0.100 and netmask 255.255.255.0 for demonstration purposes; if you are not sure about the right values, http://www.subnetmask.info might help you). Also fill in your gateway (e.g. 192.168.0.1) and click on the Save... button:
Next click on Close in the Network Connections window: