How To Take A Screenshot Of Your Login Screen
Version 1.0
Author: Falko Timme
 Follow me on Twitter
Normally you use a screenshot tool to take screenshots of your Linux desktop. Unfortunately, this doesn't work if you want to take a screenshot of your login prompt. This tutorial explains how you can take a screenshot of your Linux desktop login screen nevertheless.
I do not issue any guarantee that this will work for you!
1 Find Out The Virtual Terminal (VT) Of The Login Screen
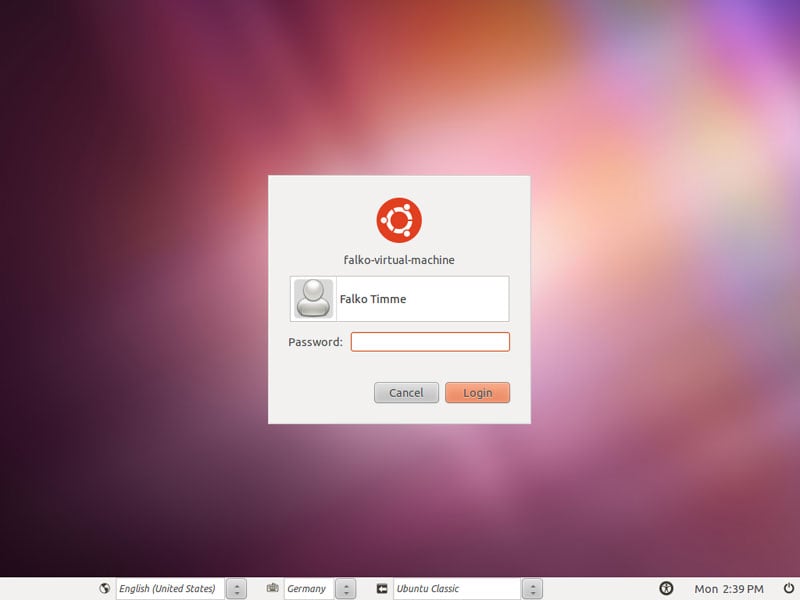
First, log out of your desktop session so that you get to the login screen:
Now press CTRL + ALT + F1 to get to a command prompt:
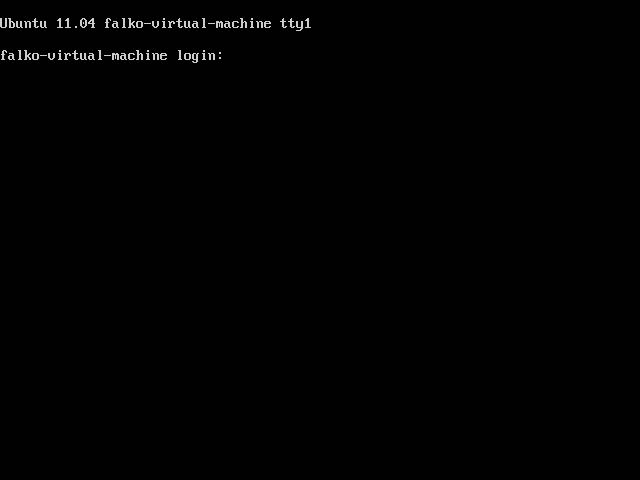
While you are at the command prompt, type CTRL + ALT + F8 or CTRL + ALT + F7 to get back to the login screen - usually it is at CTRL + ALT + F8 which means your VT is 8. (It is possible that it is located at another VT - if you don't find it at 7 or 8, please try your other F keys).
2 Taking The Screenshot
Now that you know the number of the VT of the login screen, go back to the command prompt (CTRL + ALT + F1) and log in. We need to have the packages imagemagick and xnest installed; on Ubuntu, we can install them as follows:
sudo apt-get install imagemagick xnest
Now make sure you have root privileges - on Ubuntu you can achieve this by typing
sudo su
We can now take the screenshot with this command:
chvt 8; sleep 5; XAUTHORITY=/var/gdm/:0.Xauth DISPLAY=:0.0 import -window root /tmp/gdm-login-shot.png
Make sure you use the correct VT of the login screen in the chvt command (if your VT is 7, use chvt 7; instead).
This command will switch to your login screen automatically and take a screenshot. Log into your desktop and open a file browser. You should find your login screenshot in /tmp/gdm-login-shot.png.

