Changing From Microsoft Windows To Linux Mint 11
Version 1.0
Author: Christian Schmalfeld <c [dot] schmalfeld [at] projektfarm[dot] de>
This is a tutorial for people originally using the Windows Operating System who want to try out Linux Mint 11. It is supposed to show the differences and similarities between the two systems and depict Linux' functions with examples.
1 Preliminary Note
I am using Linux Mint 11 for this tutorial and am referring to functions of Microsoft Windows XP. I assume you have already fully installed Linux Mint 11.
2 Similarities
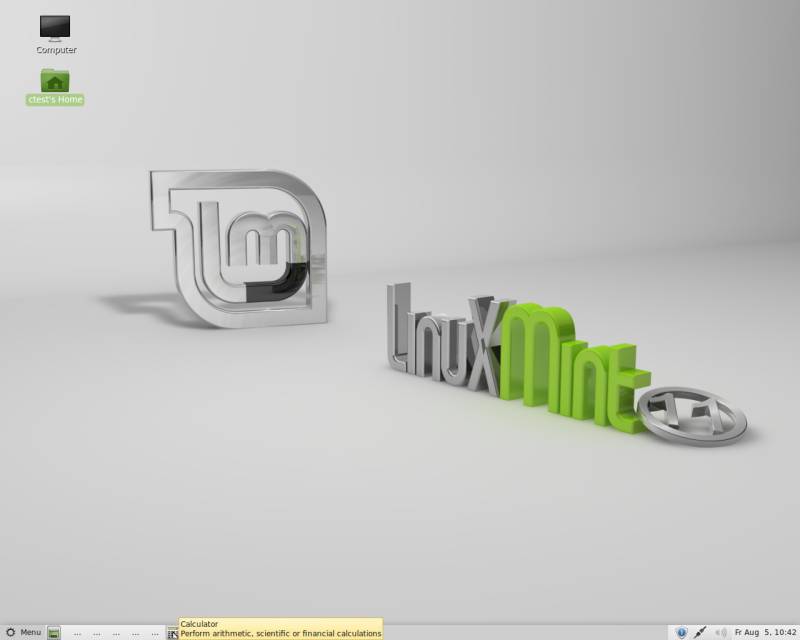
The first thing to notice is that Linux Mint's working space is dominated by the taskbar at the bottom of the screen. It does the exact same as the Windows taskbar. It displays the main menu button, open system tabs and different panels on the right side. Already installed panels are the "show desktop only" panel on the far left and the update, connection, sound and date panels on the far right. You can drag, drop, add and move other panels on it via right-clicking the taskbar.
If you click on the Menu button on the bottom left corner of your desktop, which does about as the same as Windows' Start button, you will be shown different actions to choose from, listed under the categories System, Places and Applications. Under Applications, you will also find a Favorites button and a search bar.
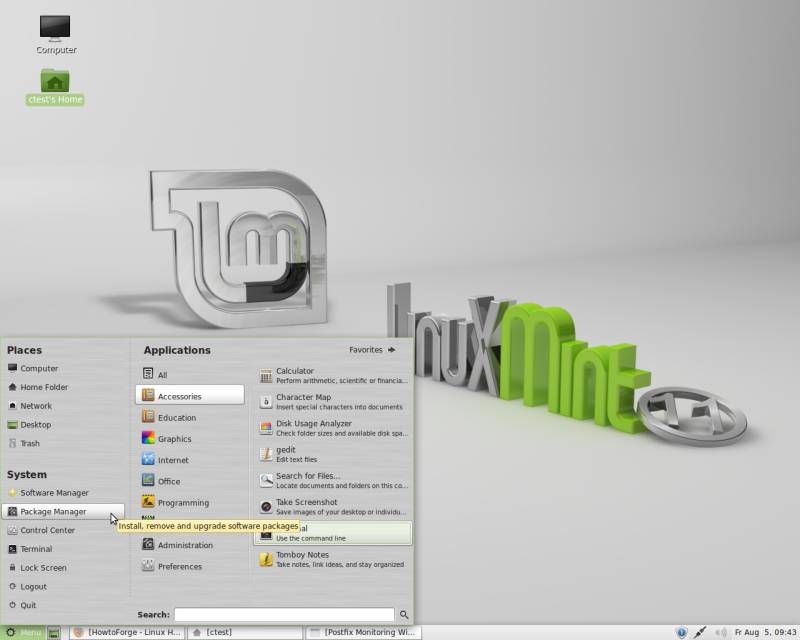
These categories all do what their name says. Under system, you will find the most important features of the menu, being the software installer tools, the Terminal and the Logout and Quit tools. You will learn more about these later. The Places section gives you fast access to the most important folders on your computer. You will find many resemblances to the hierarchy of Windows folders on the Linux Mint system. The Computer folder, for instance, is about the same as the My Computer folder on windows, as well as the Home folder contains all the personal documents of the current user, just as the My Documents folder on Windows. It is also positioned inside a subfolder of Computer.
The Application section is handled similar to the one in the Windows menu, but while you have to browse through your program folders there if you do not have them in your favorite list, under Linux Mint you can just enter their name in the search bar at the bottom of the menu instead of browsing through the categories.
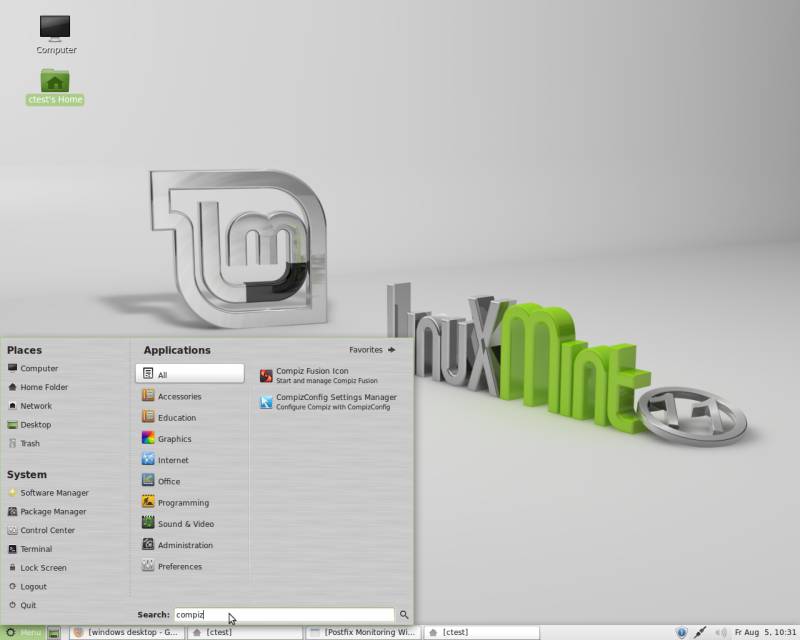
All the applications whose name includes the given keywords are shown in the right column then. You can also drag the icons of your most used applications onto the Favorites button and move them around there to have fast access on those.
3 Software Installation
I you have already tried to find and install software from the internet, you might have noticed that there is not much to get out of your internet browser if you ask for Linux software while there are plenty of search results for Windows downloads. Linux has a different way to handle the downloads available for its different distributions.
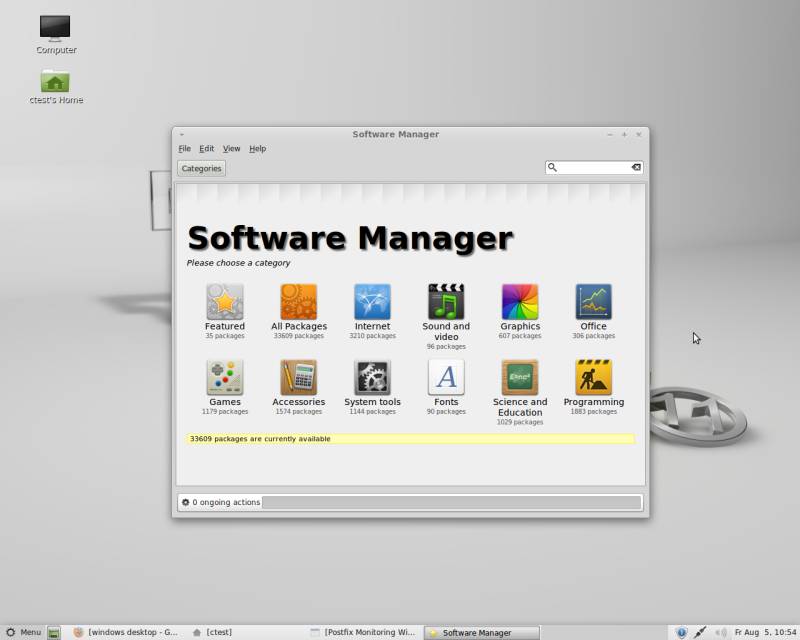
To show you that, click on the Menu button and browse the System section. On Linux Mint 11 you have two Appilcations which can handle your software from the beginning, which are the Software Manager and the Package Manager. Both of them actually do the same things but Software Manager may have a more user friendly interface. The package managing on Linux works almost the same as the App Store on Apple computers or smartphones.
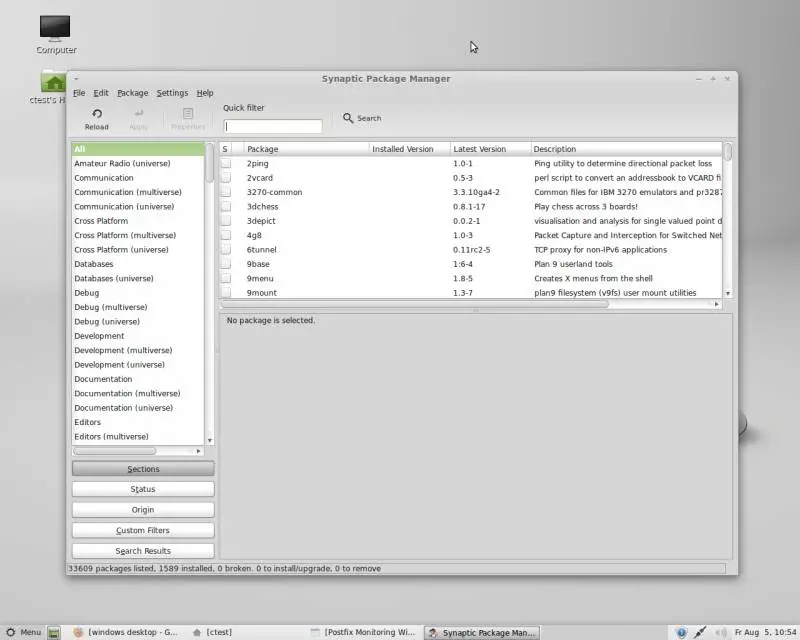
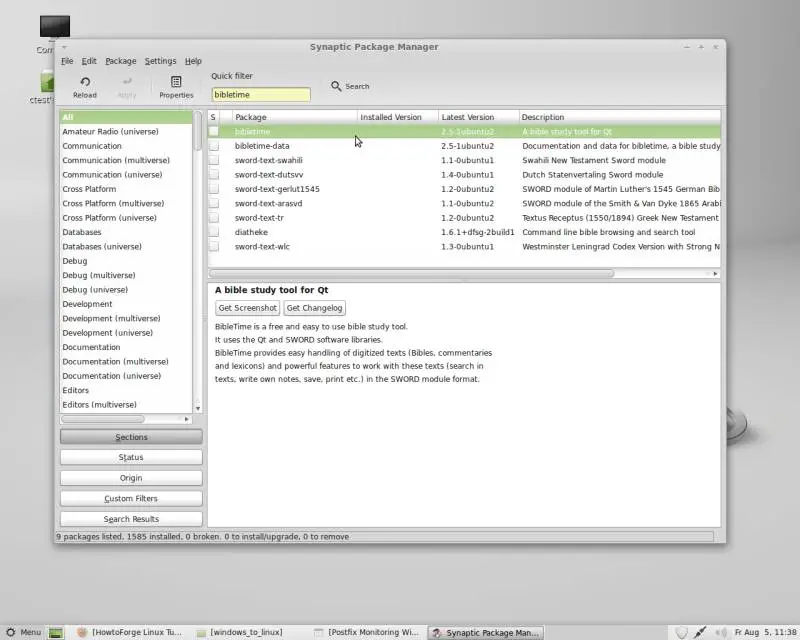
However I am going to proceed with the Package Manager in this tutorial. On startup, you will be asked for your password. You cannot install or remove software without entering your password first, which is to guarantee safety for your computer. On the left side of the Package Manager, you will be shown a column of sections under which all available packages are sorted. You can change the sorting mechanism on the bottom of the same column. To search for packages by name, there is a search bar at the top of the manager window. Simply enter a name and alls similar packages will be shown in the main window. The main window shows all available packages on startup, sorted alphabetically. It displays the status of a package (installed, not installed, etc...) within the boxes on the far left, the name, installed version, latest version and the description of a package from left to right.
You may notice the different words in brackets next to the package section in the left column. These stand for the level of support that is given to theincluded packages by Linux Mint. The repositories, which is what the different software archives are called, are seperated into sections:
free: The applications of this section are completely free and officially supported
non free: The applications of this section are supported, but are not (completely) free
universe: Includes free, community maintained packages
multiverse: Includes non free, community maintained packages
contrib: Includes packages provided by contributors
I am going to show you how to install packages via Package Manager now. For this, I first search for the bibletime package.