How To Speed Up Drupal 7.7 With Boost And nginx (Debian Squeeze)
Version 1.0
Author: Falko Timme  Follow me on Twitter
This tutorial shows how you can speed up your Drupal 7.7 installation on a LAMP stack (Debian Squeeze) with the help of Boost and nginx. Boost provides static page caching for Drupal enabling a very significant performance and scalability boost for sites that receive mostly anonymous traffic. Boost makes sure that your logged-in users always get fresh content by not caching pages for logged-in users. In a first step I will show how to make your site faster by enabling Boost on a normal LAMP stack (Apache2, PHP, MySQL), and in a second step I explain how to make your site even faster by using nginx as a reverse proxy sitting in front of Apache and delivering the static HTML pages cached by Boost. nginx delivers static files a lot of faster than Apache and uses less memory/CPU.
I do not issue any guarantee that this will work for you!
1 Preliminary Note
I'm using a normal LAMP stack here on Debian Squeeze, for example as shown on Installing Apache2 With PHP5 And MySQL Support On Debian Squeeze (LAMP). My Drupal 7.7 installation uses the domains www.example.com and example.com, and my document root is /var/www/www.example.com/web.
I'm assuming you already have a working Drupal 7.7 installation using clean URLs.
Make sure that the Apache modules rewrite, headers, and expires are enabled:
a2enmod rewrite
a2enmod headers
a2enmod expires
/etc/init.d/apache2 restart
2 Creating A Cache Directory In Memory With tmpfs
By default, Boost will cache files in the cache directory in your document root (i.e., /var/www/www.example.com/web/cache in my case). It makes sense to store the cached files in memory to make your site faster so that Apache does not have to access the hard drive. We can use the tmpfs file system to create a cache partition in memory (see Storing Files/Directories In Memory With tmpfs).
First we (re-)create the cache directory:
rm -fr /var/www/www.example.com/web/cache
mkdir /var/www/www.example.com/web/cache
Then add the following line to /etc/fstab:
vi /etc/fstab
[...] tmpfs /var/www/www.example.com/web/cache tmpfs size=256M,mode=0777 0 0 |
size=256M means that the partition has a size of 256MB. That should be sufficient for most sites - for very big sites you might have to increase the size, for small sites you can use far less memory. Make sure your system has enough memory left for the specified size!
Now remount all partitions:
mount -a
You should now see your cache partition in the outputs of...
mount
root@server1:/var/www/www.example.com/web# mount
/dev/sda1 on / type ext3 (rw,errors=remount-ro)
tmpfs on /lib/init/rw type tmpfs (rw,nosuid,mode=0755)
proc on /proc type proc (rw,noexec,nosuid,nodev)
sysfs on /sys type sysfs (rw,noexec,nosuid,nodev)
udev on /dev type tmpfs (rw,mode=0755)
tmpfs on /dev/shm type tmpfs (rw,nosuid,nodev)
devpts on /dev/pts type devpts (rw,noexec,nosuid,gid=5,mode=620)
tmpfs on /var/www/www.example.com/web/cache type tmpfs (rw,size=256M,mode=0777)
root@server1:/var/www/www.example.com/web#
... and:
df -h
root@server1:/var/www/www.example.com/web# df -h
Filesystem            Size  Used Avail Use% Mounted on
/dev/sda1              29G  1.1G   27G   4% /
tmpfs                 502M     0  502M   0% /lib/init/rw
udev                  497M  100K  497M   1% /dev
tmpfs                 502M     0  502M   0% /dev/shm
tmpfs                 256M     0  256M   0% /var/www/www.example.com/web/cache
root@server1:/var/www/www.example.com/web#
If you are on an OpenVZ virtual machine where there is no /etc/fstab, you can add the following line to /etc/rc.local so that you can have a cache directory in memory as well:
vi /etc/rc.local
[...] /bin/mount -t tmpfs -o size=256M,mode=0777 tmpfs /var/www/www.example.com/web/cache [...] |
This will automatically mount the partition whenever you boot the system. To mount it right now so that you don't have to reboot, run:
mount -t tmpfs -o size=256M,mode=0777 tmpfs /var/www/www.example.com/web/cache
3 Installing And Configuring Boost
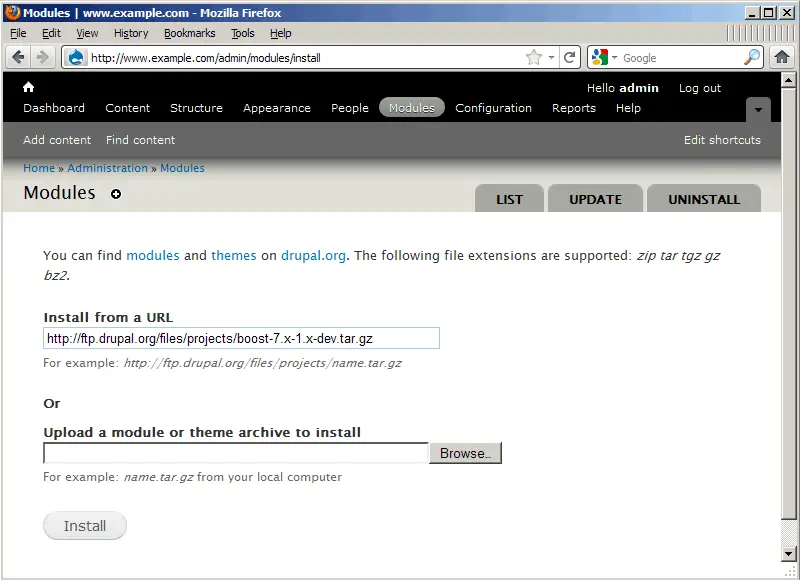
Log into Drupal as the admin user and go to the Modules section (http://www.example.com/admin/modules/install). Fill in http://ftp.drupal.org/files/projects/boost-7.x-1.x-dev.tar.gz in the Install from a URL field and click on the Install button (you can always find the latest Boost version for Drupal 7 on http://drupal.org/project/boost; at the time of this writing there was only the boost-7.x-1.x-dev.tar.gz package):
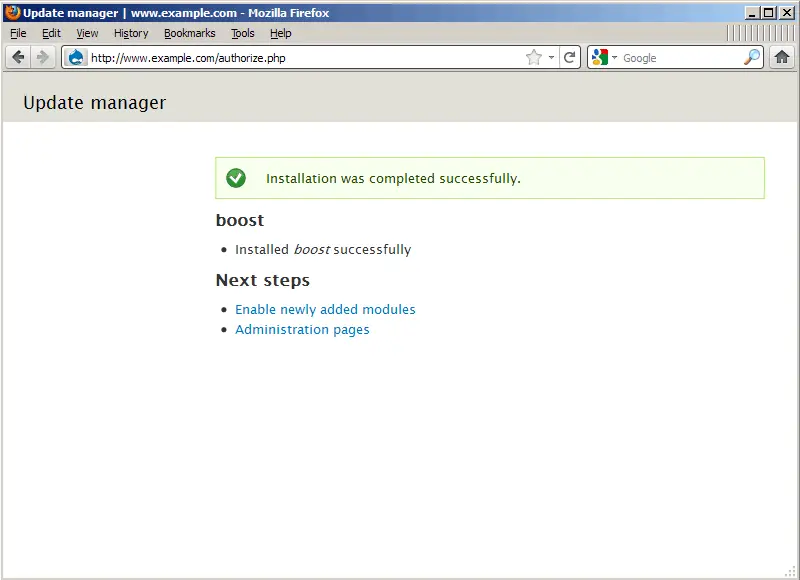
After the successful installation you will see this screen. Click on the Enable newly added modules link to enable Boost:
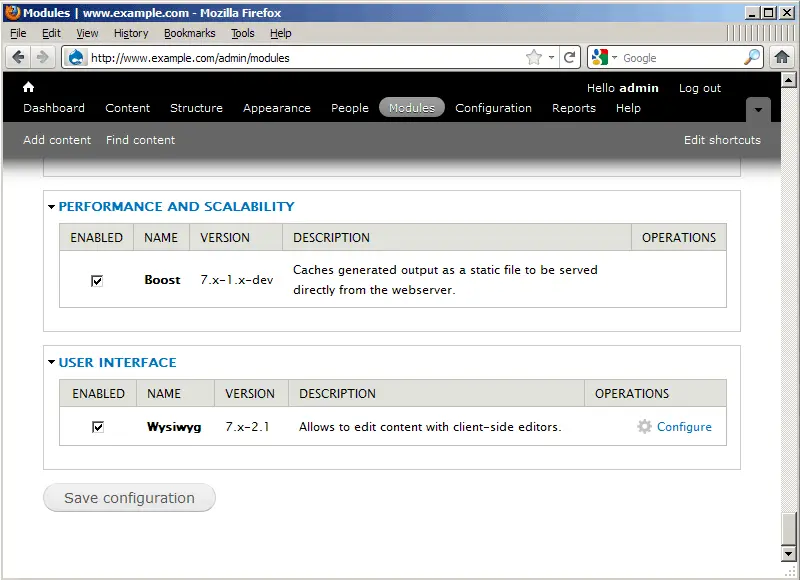
This will bring you to the list of modules (http://www.example.com/admin/modules). Scroll down to the Boost module, check it and click on Save configuration:
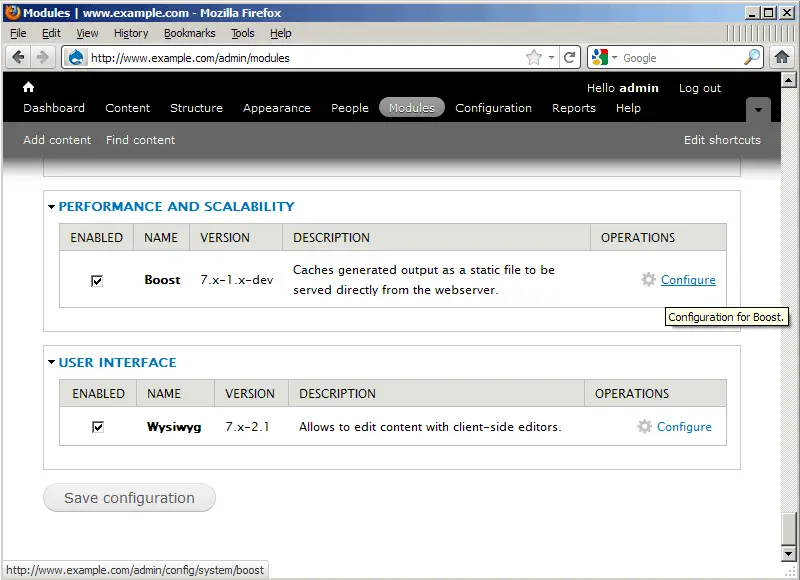
Afterwards, you should find a Configure link behind the Boost module. Click on that link to start the Boost configuration:
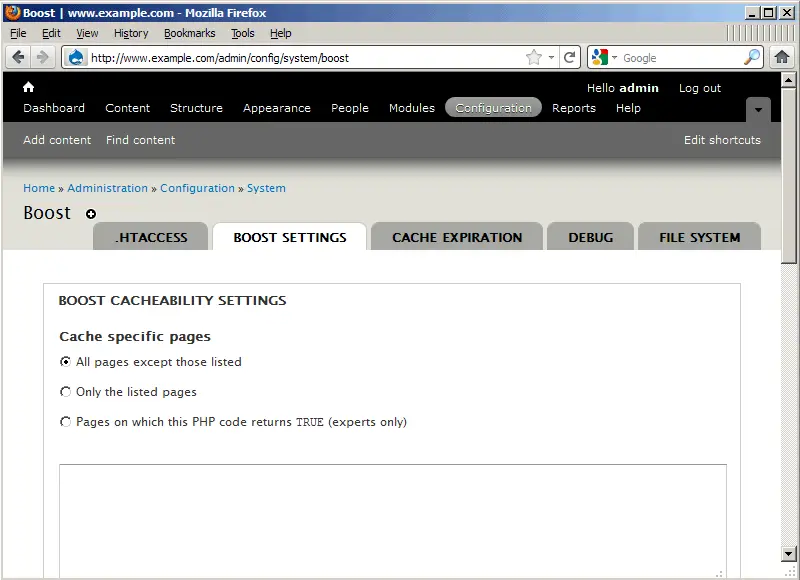
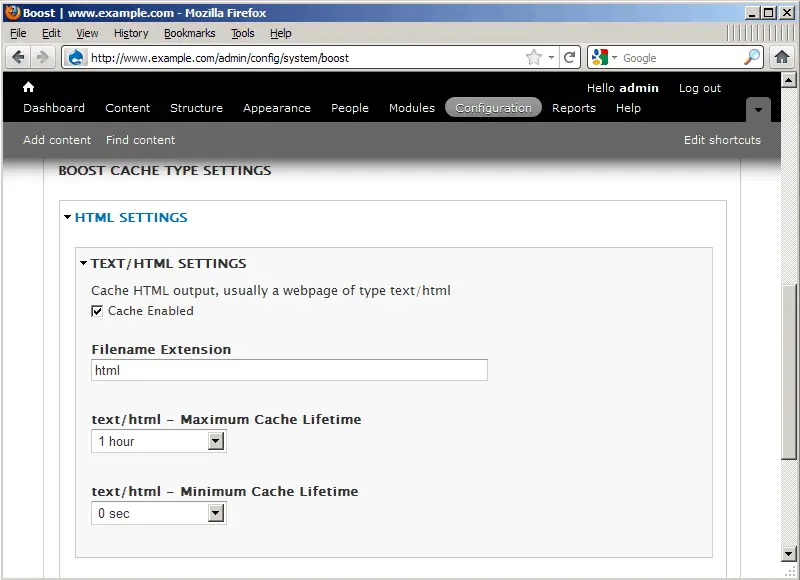
Now in the Boost configuration (http://www.example.com/admin/config/system/boost), you should find yourself on the BOOST SETTINGS tab. It is ok to accept the default values - click on Save configuration:
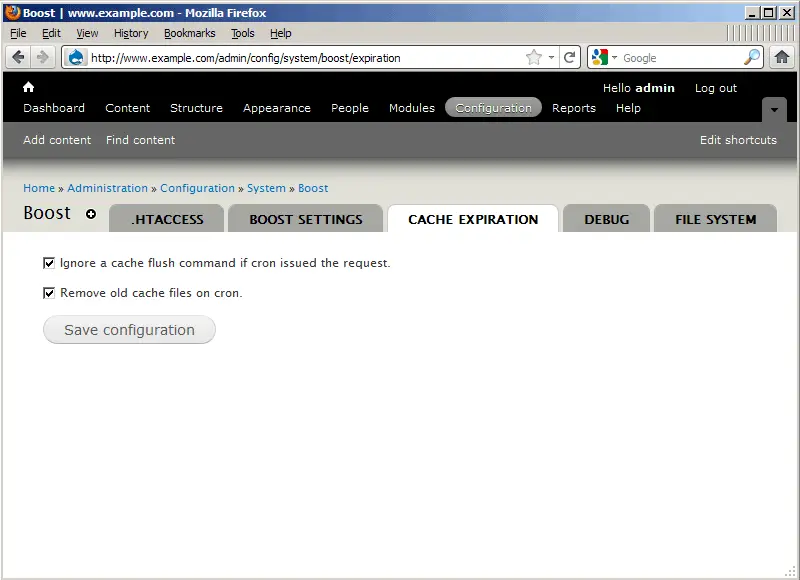
Go to the CACHE EXPIRATION tab. Again, the default settings should be ok, so click on Save configuration again:
Next go to the FILE SYSTEM tab. Make sure you have cache in the Root cache directory field (that should be the default value) - this translates to our cache directory /var/www/www.example.com/web/cache. The other default values are ok as well, so click on Save configuration:


