Running SquirrelMail On Nginx (LEMP) On Debian Squeeze/Ubuntu 11.04
Version 1.0
Author: Falko Timme
 Follow me on Twitter
The SquirrelMail package from the Debian/Ubuntu repositories comes with a configuration file for Apache, but not for nginx. This tutorial shows how you can use the Debian Squeeze/Ubuntu 11.04 SquirrelMail package in an nginx vhost. Nginx is a HTTP server that uses much less resources than Apache and delivers pages a lot of faster, especially static files.
I do not issue any guarantee that this will work for you!
1 Preliminary Note
I want to use SquirrelMail in a vhost called www.example.com/example.com here with the document root /var/www/www.example.com/web.
You should have a working LEMP installation, as shown in these tutorials:
- Installing Nginx With PHP5 And MySQL Support On Debian Squeeze
- Installing Nginx With PHP5 (And PHP-FPM) And MySQL Support On Ubuntu 11.04
A note for Ubuntu users:
Because we must run all the steps from this tutorial with root privileges, we can either prepend all commands in this tutorial with the string sudo, or we become root right now by typing
sudo su
2 Installing APC
APC is a free and open PHP opcode cacher for caching and optimizing PHP intermediate code. It's similar to other PHP opcode cachers, such as eAccelerator and XCache. It is strongly recommended to have one of these installed to speed up your PHP page.
APC can be installed as follows:
apt-get install php-apc
If you use PHP-FPM as your FastCGI daemon (like in Installing Nginx With PHP5 (And PHP-FPM) And MySQL Support On Ubuntu 11.04), restart it as follows:
/etc/init.d/php5-fpm restart
If you use lighttpd's spawn-fcgi program as your FastCGI daemon (like in Installing Nginx With PHP5 And MySQL Support On Debian Squeeze), we must kill the current spawn-fcgi process (running on port 9000) and create a new one. Run
netstat -tap
to find out the PID of the current spawn-fcgi process:
root@server1:~# netstat -tap
 Active Internet connections (servers and established)
 Proto Recv-Q Send-Q Local Address           Foreign Address         State       PID/Program name
 tcp        0      0 *:sunrpc                *:*                     LISTEN      734/portmap
 tcp        0      0 *:www                   *:*                     LISTEN      2987/nginx
 tcp        0      0 *:ssh                   *:*                     LISTEN      1531/sshd
 tcp        0      0 *:57174                 *:*                     LISTEN      748/rpc.statd
 tcp        0      0 localhost.localdom:smtp *:*                     LISTEN      1507/exim4
 tcp        0      0 localhost.localdom:9000 *:*                     LISTEN      1542/php5-cgi
 tcp        0      0 localhost.localdo:mysql *:*                     LISTEN      1168/mysqld
 tcp        0     52 server1.example.com:ssh 192.168.0.198:2462      ESTABLISHED 1557/0
 tcp6       0      0 [::]:www                [::]:*                  LISTEN      2987/nginx
 tcp6       0      0 [::]:ssh                [::]:*                  LISTEN      1531/sshd
 tcp6       0      0 ip6-localhost:smtp      [::]:*                  LISTEN      1507/exim4
 root@server1:~#
In the above output, the PID is 1542, so we can kill the current process as follows:
kill -9 1542
Afterwards we create a new spawn-fcgi process:
/usr/bin/spawn-fcgi -a 127.0.0.1 -p 9000 -u www-data -g www-data -f /usr/bin/php5-cgi -P /var/run/fastcgi-php.pid
3 Vhost Configuration
If you haven't set up an nginx vhost already, you can set one up as follows:
The document root of my www.example.com web site is /var/www/www.example.com/web - if it doesn't exist, create it as follows:
mkdir -p /var/www/www.example.com/web
Next we create a basic nginx vhost configuration for our www.example.com vhost in the /etc/nginx/sites-available/ directory as follows:
vi /etc/nginx/sites-available/www.example.com.vhost
server {
       listen 80;
       server_name www.example.com example.com;
       root /var/www/www.example.com/web;
       if ($http_host != "www.example.com") {
                 rewrite ^ http://www.example.com$request_uri permanent;
       }
       index index.php index.html;
       location = /favicon.ico {
                log_not_found off;
                access_log off;
       }
       location = /robots.txt {
                allow all;
                log_not_found off;
                access_log off;
       }
       # Make sure files with the following extensions do not get loaded by nginx because nginx would display the source code, and these files can contain PASSWORDS!
        location ~* \.(engine|inc|info|install|make|module|profile|test|po|sh|.*sql|theme|tpl(\.php)?|xtmpl)$|^(\..*|Entries.*|Repository|Root|Tag|Template)$|\.php_ {
                deny all;
        }
       # Deny all attempts to access hidden files such as .htaccess, .htpasswd, .DS_Store (Mac).
       location ~ /\. {
                deny all;
                access_log off;
                log_not_found off;
       }
       location ~*  \.(jpg|jpeg|png|gif|css|js|ico)$ {
                expires max;
                log_not_found off;
       }
       location ~ \.php$ {
                try_files $uri =404;
                include /etc/nginx/fastcgi_params;
                fastcgi_pass 127.0.0.1:9000;
                fastcgi_param SCRIPT_FILENAME $document_root$fastcgi_script_name;
       }
}
|
To enable that vhost, we create a symlink to it from the /etc/nginx/sites-enabled/ directory:
cd /etc/nginx/sites-enabled/
 ln -s /etc/nginx/sites-available/www.example.com.vhost www.example.com.vhost
Reload nginx for the changes to take effect:
/etc/init.d/nginx reload
4 Installing SquirrelMail + SquirrelMail Vhost Configuration
Next we install SquirrelMail as follows:
apt-get install squirrelmail
Now we must configure SquirrelMail and at least tell it which POP3-IMAP daemon we use (I use Courier in this example, please adjust this to your situation):
squirrelmail-configure
We must tell SquirrelMail that we are using Courier-IMAP/-POP3:
SquirrelMail Configuration : Read: config.php (1.4.0)
---------------------------------------------------------
Main Menu --
1. Organization Preferences
2. Server Settings
3. Folder Defaults
4. General Options
5. Themes
6. Address Books
7. Message of the Day (MOTD)
8. Plugins
9. Database
10. Languages
D. Set pre-defined settings for specific IMAP servers
C Turn color on
S Save data
Q Quit
Command >> <-- D
SquirrelMail Configuration : Read: config.php
---------------------------------------------------------
While we have been building SquirrelMail, we have discovered some
preferences that work better with some servers that don't work so
well with others. If you select your IMAP server, this option will
set some pre-defined settings for that server.
Please note that you will still need to go through and make sure
everything is correct. This does not change everything. There are
only a few settings that this will change.
Please select your IMAP server:
bincimap = Binc IMAP server
courier = Courier IMAP server
cyrus = Cyrus IMAP server
dovecot = Dovecot Secure IMAP server
exchange = Microsoft Exchange IMAP server
hmailserver = hMailServer
macosx = Mac OS X Mailserver
mercury32 = Mercury/32
uw = University of Washington's IMAP server
gmail = IMAP access to Google mail (Gmail) accounts
quit = Do not change anything
Command >> <-- courier
SquirrelMail Configuration : Read: config.php
---------------------------------------------------------
While we have been building SquirrelMail, we have discovered some
preferences that work better with some servers that don't work so
well with others. If you select your IMAP server, this option will
set some pre-defined settings for that server.
Please note that you will still need to go through and make sure
everything is correct. This does not change everything. There are
only a few settings that this will change.
Please select your IMAP server:
bincimap = Binc IMAP server
courier = Courier IMAP server
cyrus = Cyrus IMAP server
dovecot = Dovecot Secure IMAP server
exchange = Microsoft Exchange IMAP server
hmailserver = hMailServer
macosx = Mac OS X Mailserver
mercury32 = Mercury/32
uw = University of Washington's IMAP server
quit = Do not change anything
Command >> courier
imap_server_type = courier
default_folder_prefix = INBOX.
trash_folder = Trash
sent_folder = Sent
draft_folder = Drafts
show_prefix_option = false
default_sub_of_inbox = false
show_contain_subfolders_option = false
optional_delimiter = .
delete_folder = true
Press any key to continue... <-- ENTER
SquirrelMail Configuration : Read: config.php (1.4.0)
---------------------------------------------------------
Main Menu --
1. Organization Preferences
2. Server Settings
3. Folder Defaults
4. General Options
5. Themes
6. Address Books
7. Message of the Day (MOTD)
8. Plugins
9. Database
10. Languages
D. Set pre-defined settings for specific IMAP servers
C Turn color on
S Save data
Q Quit
Command >> <-- S
SquirrelMail Configuration : Read: config.php (1.4.0)
---------------------------------------------------------
Main Menu --
1. Organization Preferences
2. Server Settings
3. Folder Defaults
4. General Options
5. Themes
6. Address Books
7. Message of the Day (MOTD)
8. Plugins
9. Database
10. Languages
D. Set pre-defined settings for specific IMAP servers
C Turn color on
S Save data
Q Quit
Command >> S
Data saved in config.php
Press enter to continue... <-- ENTER
SquirrelMail Configuration : Read: config.php (1.4.0)
---------------------------------------------------------
Main Menu --
1. Organization Preferences
2. Server Settings
3. Folder Defaults
4. General Options
5. Themes
6. Address Books
7. Message of the Day (MOTD)
8. Plugins
9. Database
10. Languages
D. Set pre-defined settings for specific IMAP servers
C Turn color on
S Save data
Q Quit
Command >> <-- Q
You can now find SquirrelMail in the /usr/share/squirrelmail/ directory. Now we must configure our vhost so that nginx can find SquirrelMail in that directory.
Open /etc/nginx/sites-available/www.example.com.vhost...
vi /etc/nginx/sites-available/www.example.com.vhost
... and add the following part to the server {} container:
server {
[...]
        location /squirrelmail {
               root /usr/share/;
               index index.php index.html index.htm;
               location ~ ^/squirrelmail/(.+\.php)$ {
                       try_files $uri =404;
                       root /usr/share/;
                       fastcgi_pass 127.0.0.1:9000;
                       fastcgi_index index.php;
                       fastcgi_param SCRIPT_FILENAME $document_root$fastcgi_script_name;
                       include /etc/nginx/fastcgi_params;
               }
               location ~* ^/squirrelmail/(.+\.(jpg|jpeg|gif|css|png|js|ico|html|xml|txt))$ {
                       root /usr/share/;
               }
        }
        location /webmail {
               rewrite ^/* /squirrelmail last;
        }
[...]
}
|
Reload nginx:
/etc/init.d/nginx reload
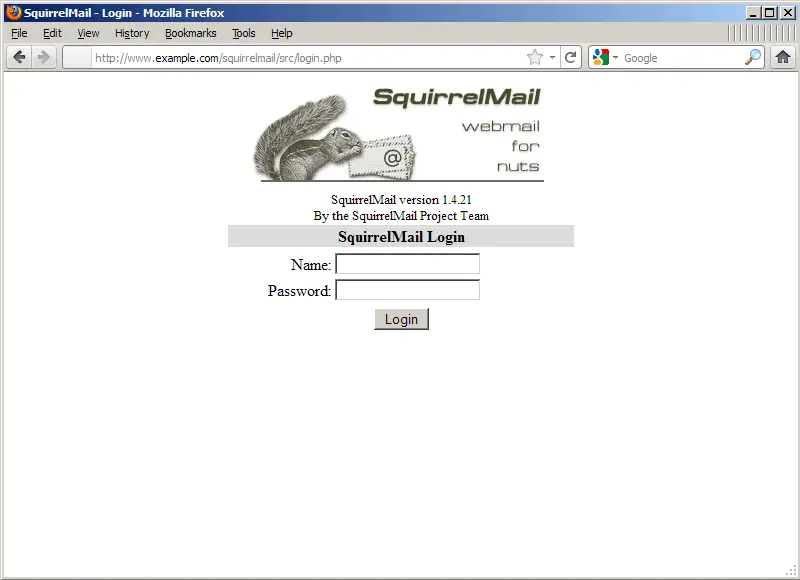
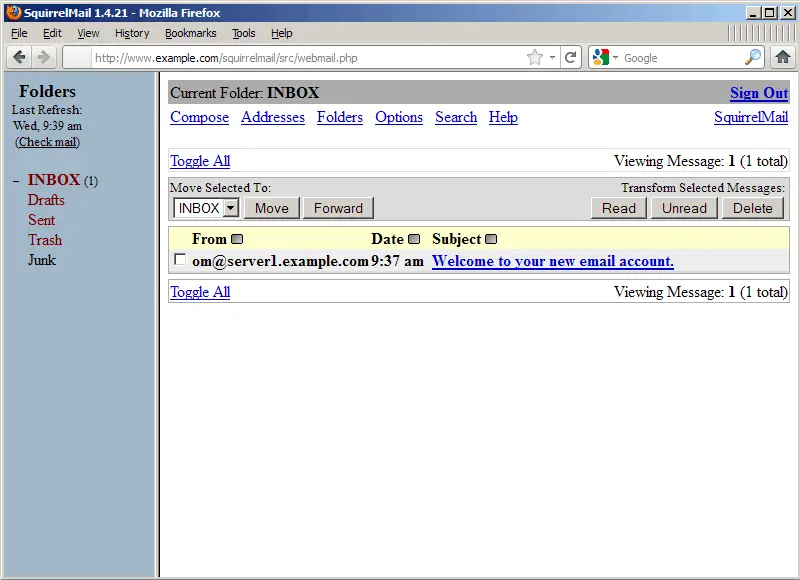
That's it! You can now go to http://www.example.com/squirrelmail or http://www.example.com/webmail in a browser, and if all goes well, you can log into SquirrelMail:
If you use https instead of http for your vhost, you should add the line fastcgi_param HTTPS on; to your SquirrelMail configuration like this:
vi /etc/nginx/sites-available/www.example.com.vhost
server {
[...]
        location /squirrelmail {
               root /usr/share/;
               index index.php index.html index.htm;
               location ~ ^/squirrelmail/(.+\.php)$ {
                       try_files $uri =404;
                       root /usr/share/;
                       fastcgi_pass 127.0.0.1:9000;
                       fastcgi_param HTTPS on; # <-- add this line
                       fastcgi_index index.php;
                       fastcgi_param SCRIPT_FILENAME $document_root$fastcgi_script_name;
                       include /etc/nginx/fastcgi_params;
               }
               location ~* ^/squirrelmail/(.+\.(jpg|jpeg|gif|css|png|js|ico|html|xml|txt))$ {
                       root /usr/share/;
               }
        }
        location /webmail {
               rewrite ^/* /squirrelmail last;
        }
[...]
}
|
If you use both http and https for your vhost, you need to add the following section to the http {} section in /etc/nginx/nginx.conf (before the two include lines) which determines if the visitor uses http or https and sets the $fastcgi_https variable (which we will use in our www.example.com vhost) accordingly:
vi /etc/nginx/nginx.conf
[...]
http {
[...]
        ## Detect when HTTPS is used
        map $scheme $fastcgi_https {
          default off;
          https on;
        }
        ##
        # Virtual Host Configs
        ##
        include /etc/nginx/conf.d/*.conf;
        include /etc/nginx/sites-enabled/*;
}
[...]
|
Then open your vhost configuration file, and instead of fastcgi_param HTTPS on; you add the line fastcgi_param HTTPS $fastcgi_https; so that you can use SquirrelMail for both http and https requests:
vi /etc/nginx/sites-available/www.example.com.vhost
server {
[...]
        location /squirrelmail {
               root /usr/share/;
               index index.php index.html index.htm;
               location ~ ^/squirrelmail/(.+\.php)$ {
                       try_files $uri =404;
                       root /usr/share/;
                       fastcgi_pass 127.0.0.1:9000;
                       fastcgi_param HTTPS $fastcgi_https; # <-- add this line
                       fastcgi_index index.php;
                       fastcgi_param SCRIPT_FILENAME $document_root$fastcgi_script_name;
                       include /etc/nginx/fastcgi_params;
               }
               location ~* ^/squirrelmail/(.+\.(jpg|jpeg|gif|css|png|js|ico|html|xml|txt))$ {
                       root /usr/share/;
               }
        }
        location /webmail {
               rewrite ^/* /squirrelmail last;
        }
[...]
}
|
Don't forget to reload nginx afterwards:
/etc/init.d/nginx reload
5 Links
- SquirrelMail: http://squirrelmail.org/
- nginx: http://nginx.org/
- nginx Wiki: http://wiki.nginx.org/
- Debian: http://www.debian.org/
- Ubuntu: http://www.ubuntu.com/
About The Author

Falko Timme is the owner of ![]() Timme Hosting (ultra-fast nginx web hosting). He is the lead maintainer of HowtoForge (since 2005) and one of the core developers of ISPConfig (since 2000). He has also contributed to the O'Reilly book "Linux System Administration".
Timme Hosting (ultra-fast nginx web hosting). He is the lead maintainer of HowtoForge (since 2005) and one of the core developers of ISPConfig (since 2000). He has also contributed to the O'Reilly book "Linux System Administration".

