Install GNOME 3 (With Mint GNOME Shell Extensions) Or Mate On Ubuntu 11.10 (Oneiric Ocelot)
Version 1.0
Author: Christian Schmalfeld <c [dot] schmalfeld [at] projektfarm [dot] de>
This tutorial shows you how you can install the GNOME 3 desktop on Ubuntu 11.10 with the shell extensions that are used in the Linux Mint 12 release (Lisa) (these shell extensions are called Mint GNOME Shell Extensions - mgse). These shell extensions give GNOME 3 the look and feel of GNOME 2. For those who prefer GNOME 2 this tutorial shows how to install Mate from the Linux Mint repositories on Ubuntu 11.10. Mate is a GNOME 2 fork.
This document comes without warranty of any kind! I do not issue any guarantee that this will work for you!
1 Preliminary Note
I have tried this on a desktop computer with an NVIDIA GeForce 8200. It should work the same way with all other NVIDIA graphics cards capable of 3D acceleration.
2 Add Gnome Repository
To download the GNOME 3 package you first need to add the appropriate repository and update the software list. For that, open a terminal and enter following:
sudo add-apt-repository ppa:webupd8team/gnome3
sudo apt-get update
3 Install Gnome 3
To install the needed packages, enter following into the terminal:
sudo apt-get install mgse-bottompanel mgse-menu mgse-windowlist gnome-shell-classic-systray gnome-tweak-tool
After the installation, log out of your current session and click on the cog-wheel icon on the log-in screen to find the desktop options:
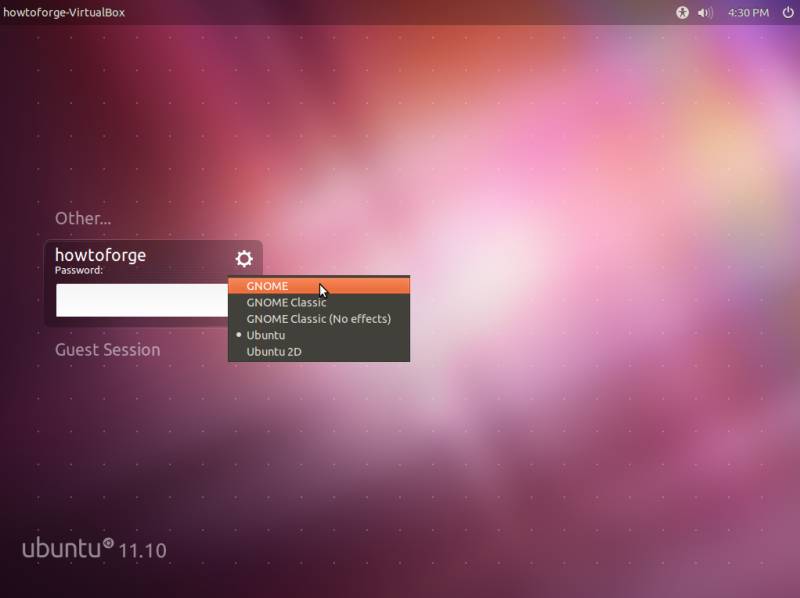
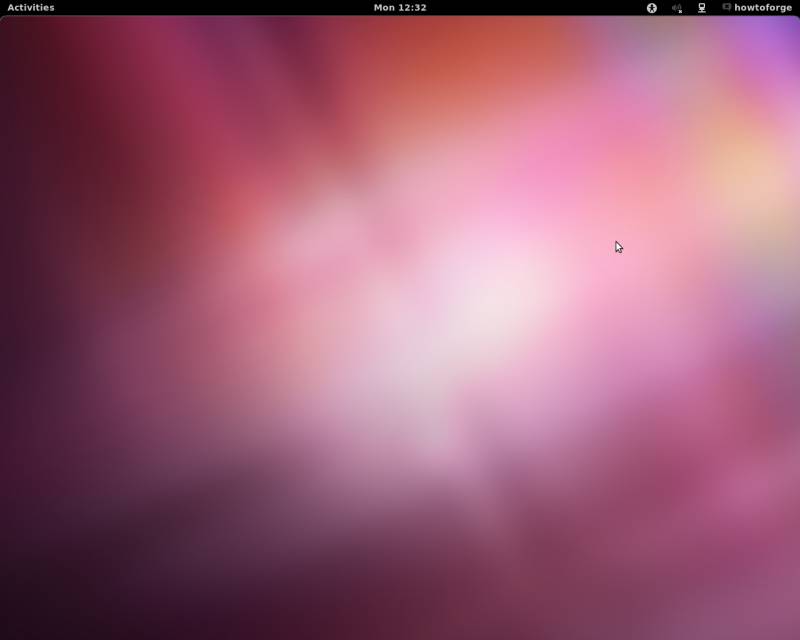
Choose GNOME here to start with the full Gnome 3 desktop. This is what you desktop will look like afterwards:
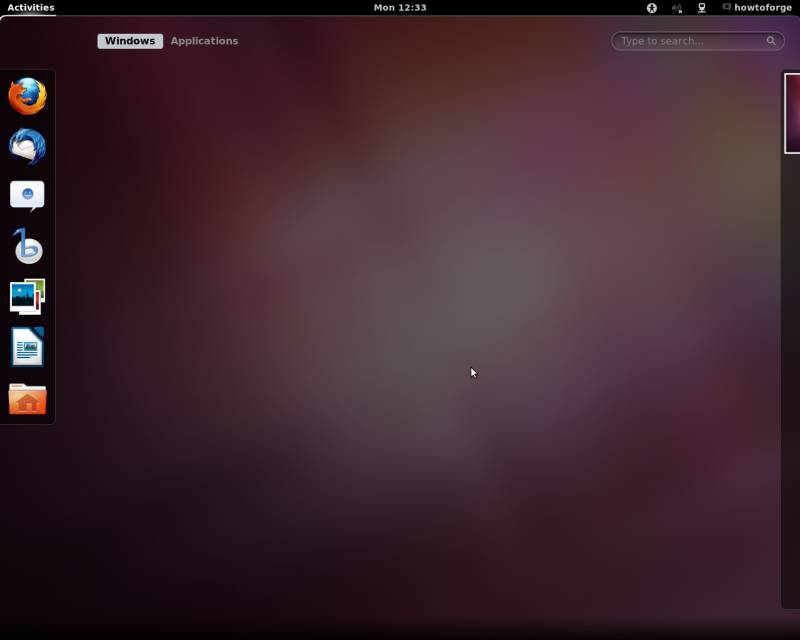
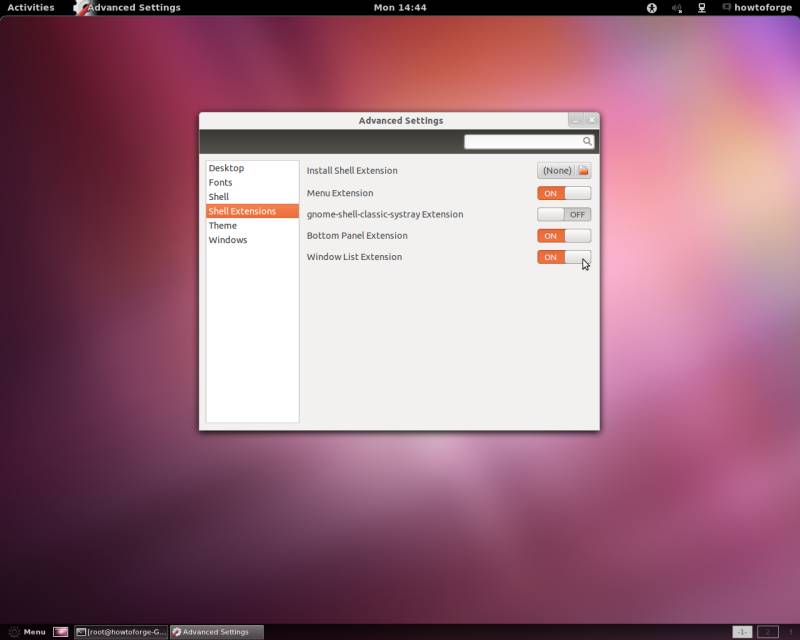
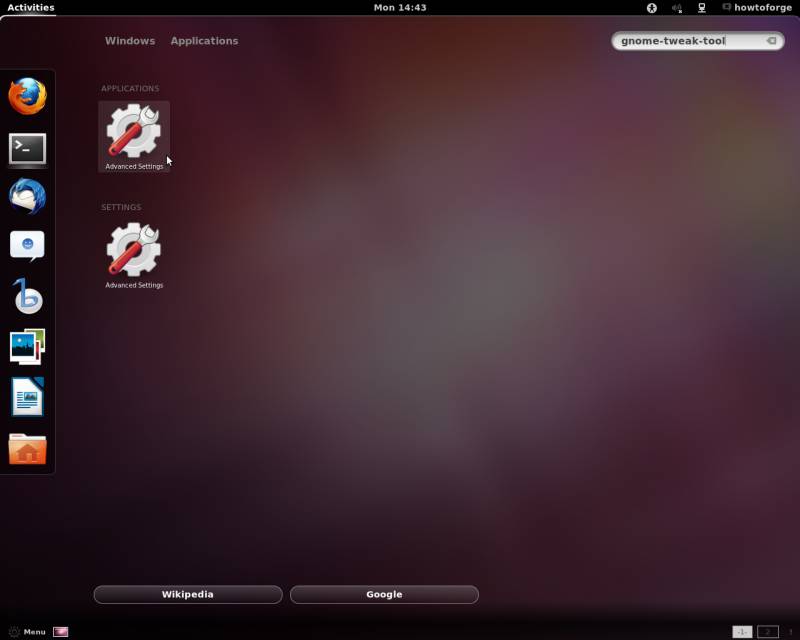
To enable all the installed features, you first have to configure them with the Gnome Tweak Tool. Search for it in the Activities screen and click on Advanced Settings:
Select Shell Extensions from the left panel and activate the features you want to have: