Tag Sound Files With Easytag (Linux Mint 12)
Version 1.0
Author: Christian Schmalfeld <c [dot] schmalfeld [at] projektfarm [dot] de>
This tutorial is supposed to show you how to change your sound files' information like artist or title, also called tags, in a fast way using Easytag.
1 Preliminary Note
I am using Linux Mint 12 as an operating system, however the steps should not differ greatly from other Ubuntu based distributions. Easytag is only capable of tagging MP3, MP2, FLAC, Ogg Vorbis, MP4/AAC, MusePack or Monkey's Audio files.
I do not issue any guarantee that this will work for you!
2 Install Easytag
For installation, open a terminal and enter following:
sudo apt-get install easytag
After you typed in your password and confirmed with enter, the package will be downloaded and installed. Alternatively, you can also open Synaptic Package Manager and use the search bar to look for Easytag.
3 Tag Your Soundfiles
You can find Easytag in Applications > Sound & Video > Easytag after installation. Open it and use the left Tree panel to browse to the directory where the files you want to tag are located in. All the folder's compatible audio content is then displayed in the mid panel.
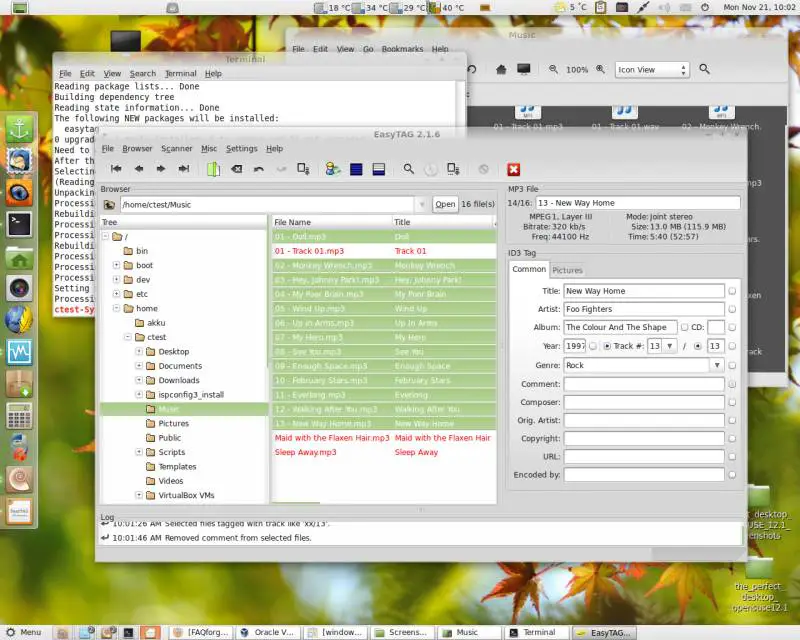
To select multiple items left-click them with the Ctrl key pressed. The available tags are then displayed on the right Tag panel. If you have more than one item selected and want to apply a tag for all of them equally, fill it in to the appropriate tag field and click the small button right next to it. Save the file after you are done with all your changes. You can proceed tagging the files manually or use the database search to retrieve possible information from the internet:
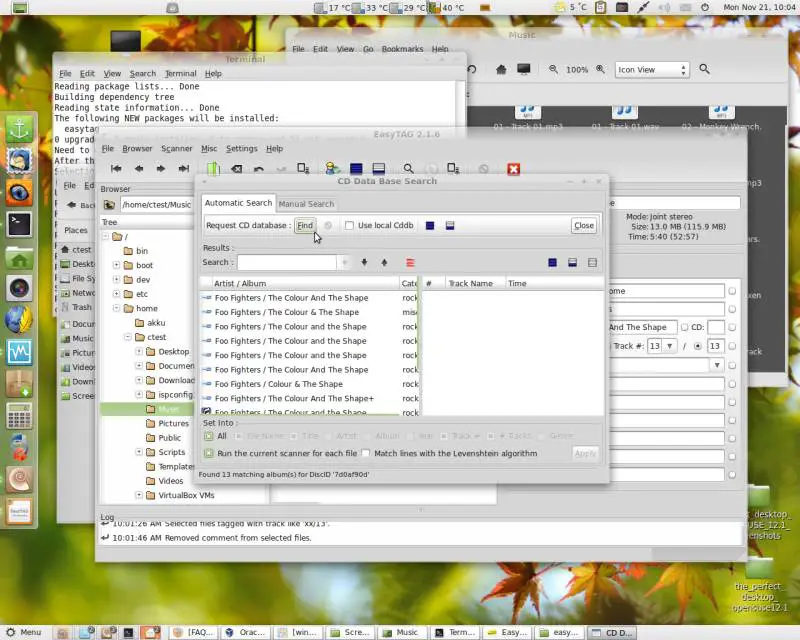
This method needs all of the album's tracks to work best however, it is unlikely you will find the correct album information if one or more tracks are missing. Which database you are using is configurable in the program settings as well as many other options.

