Running A Small Business Server With ClearOS 6.3.0 (Community Edition)
Version 1.0
Author: Falko Timme  Follow me on Twitter
This guide shows how you can install and run a Small Business Server with ClearOS 6.3.0 (Community Edition). With ClearOS, you can run various services (such as a file- and print server, a web proxy and content filter, a mail server, etc.) in your local network and manage them through an easy web interface. ClearOS provides apps for each of these tasks from its marketplace - many of them are free, some of them have to be paid for. ClearOS Community is open-source and free. There's also a professional version available for which you have to pay, but which in return provides better support, better tested apps and updates, etc.
I do not issue any guarantee that this will work for you!
1 Preliminary Note
In this tutorial I use the hostname server1.example.com with the IP address 192.168.0.100. These settings might differ for you, so you have to replace them where appropriate.
ClearOS is based on RHEL/CentOS, so you might be familiar with its installer already.
2 Installing ClearOS 6.3.0
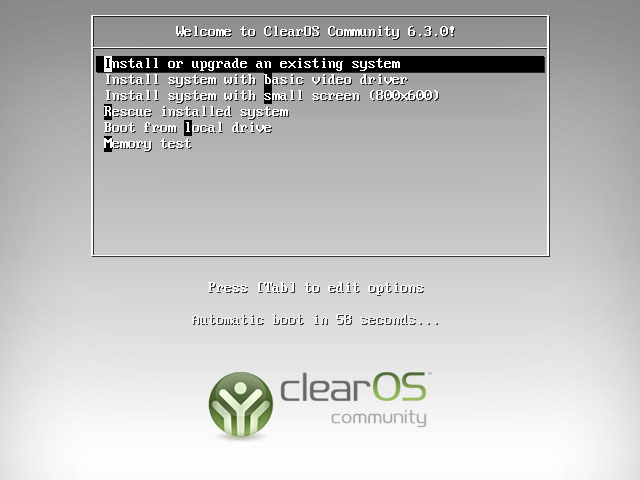
Download the ClearOS 6.3 Community ISO image from http://www.clearfoundation.com/Software/downloads.html, burn it onto a CD, and boot from it. Select Install or upgrade an existing system:
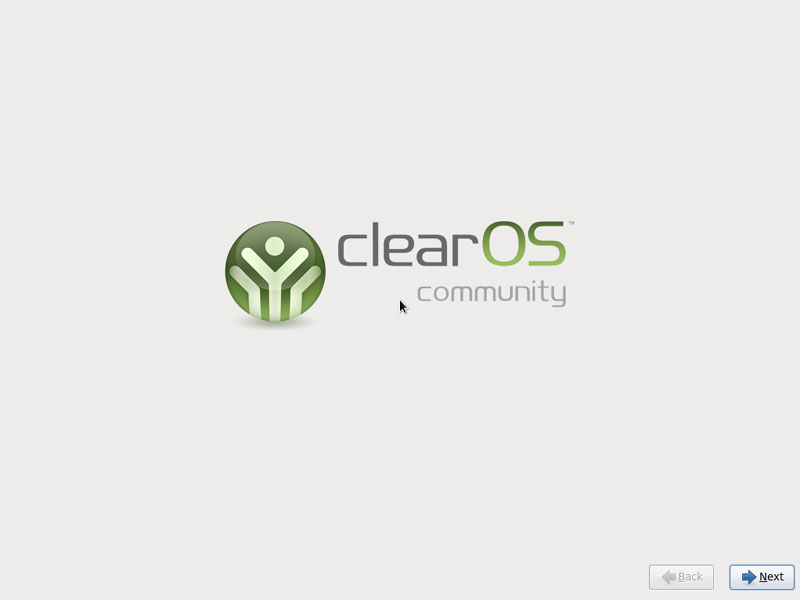
The welcome screen of the ClearOS installer appears. Click on Next:
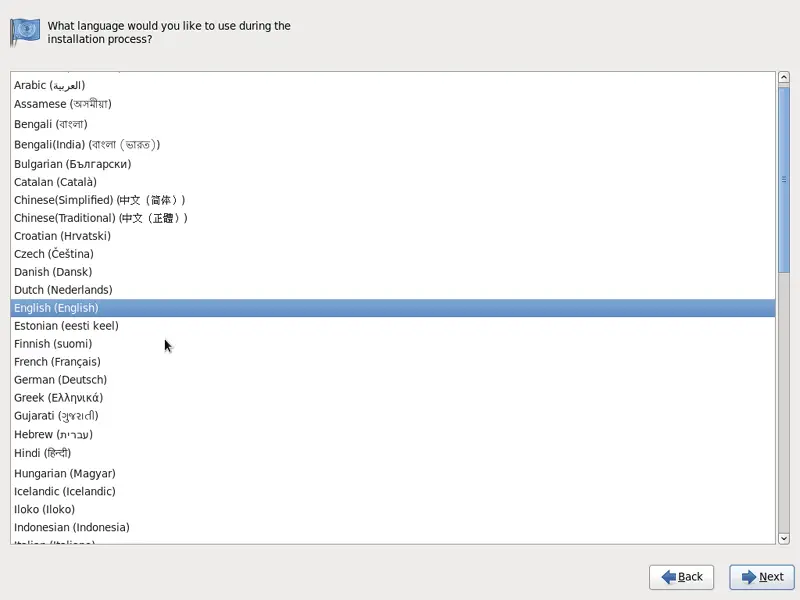
Choose your language next:
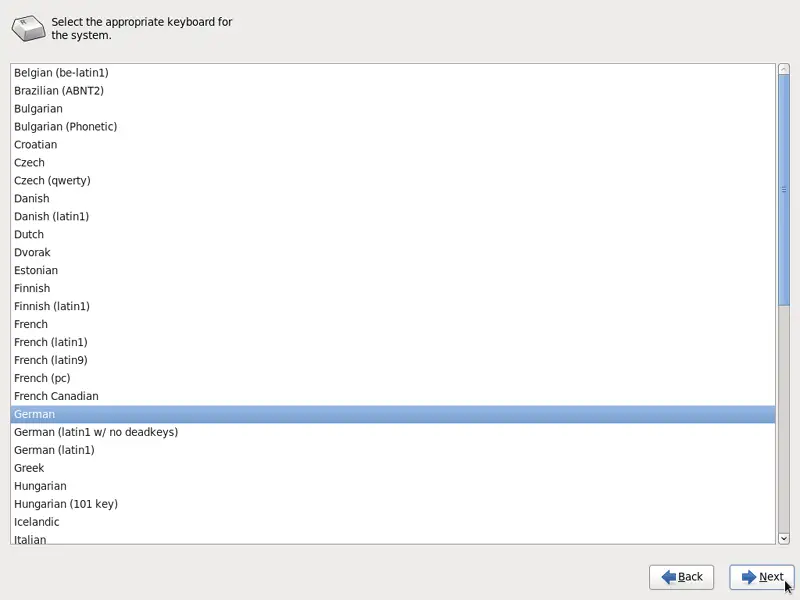
Select your keyboard layout:
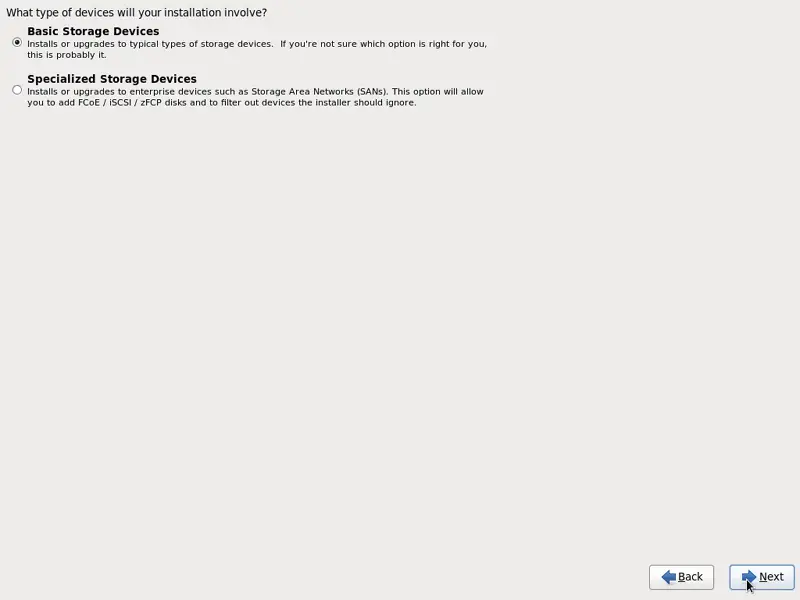
I assume that you use a locally attached hard drive, so you should select Basic Storage Devices here:
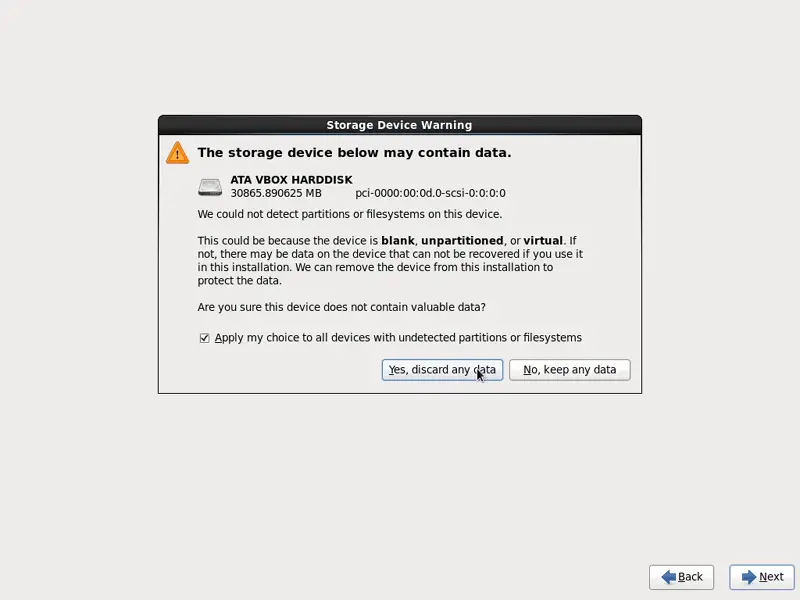
You might see the following warning - The storage device may contain data. If you see this click on the Yes, discard any data button to proceed:
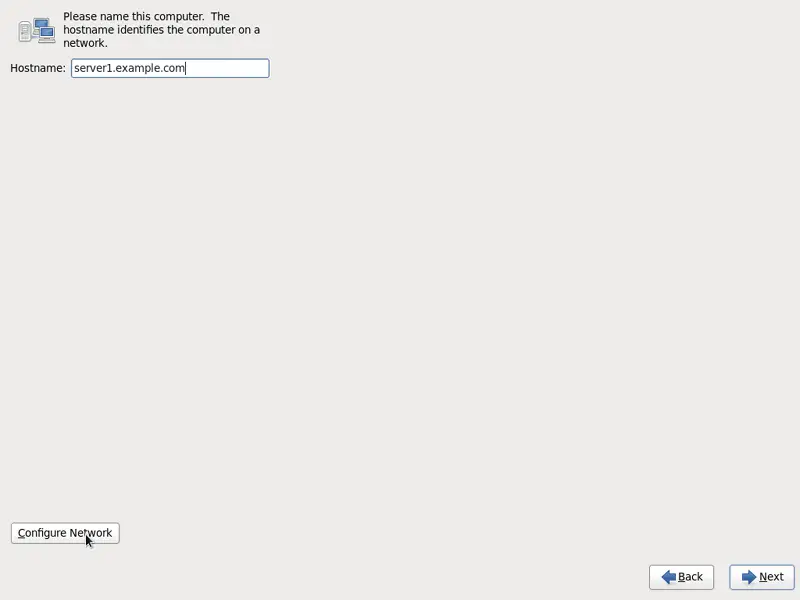
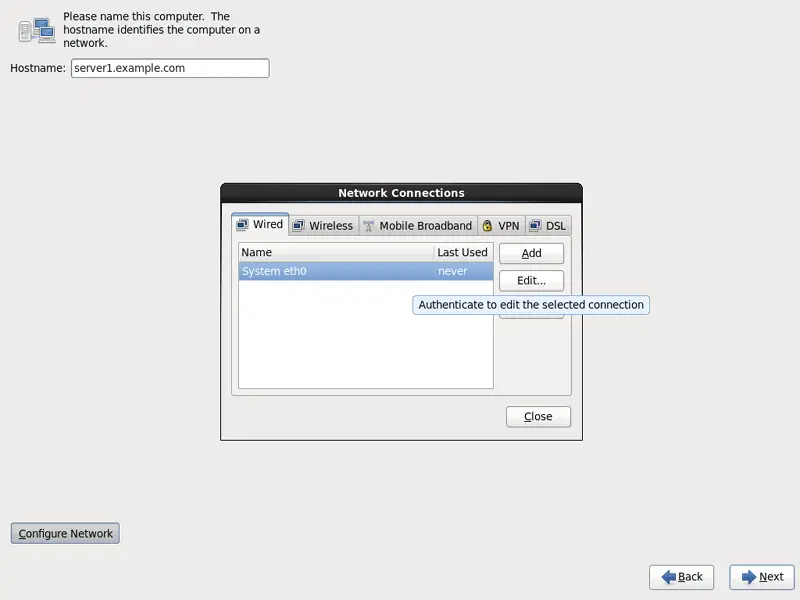
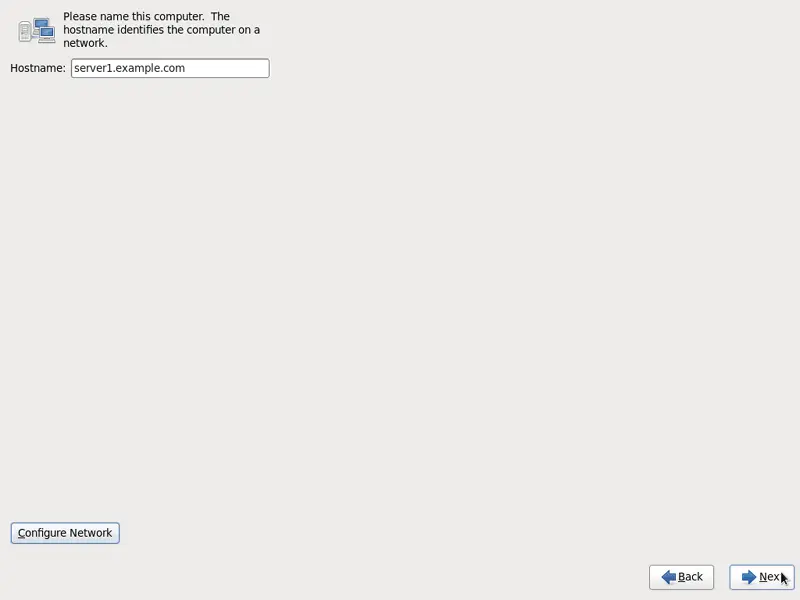
Fill in the hostname of the server (e.g. server1.example.com), then click on the Configure Network button:
Go to the Wired tab, select the network interface (probably eth0) and click on Edit...:
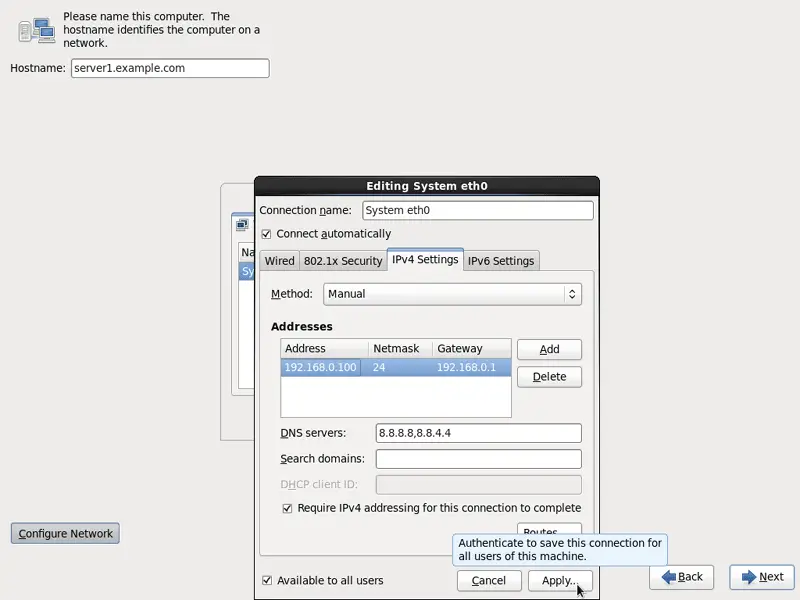
Mark the Connect automatically checkbox and go to the IPv4 Settings tab and select Manual in the Method drop-down menu. Fill in one, two, or three nameservers (separated by comma) in the DNS servers field (e.g. 8.8.8.8,8.8.4.4), then click on the Add button next to the Addresses area. Now give your network card a static IP address and netmask (in this tutorial I'm using the IP address 192.168.0.100 and netmask 255.255.255.0 or 24 for demonstration purposes; if you are not sure about the right values, http://www.subnetmask.info might help you). Also fill in your gateway (e.g. 192.168.0.1) and click on the Apply... button:
The network configuration is now finished. Click on the Next button:
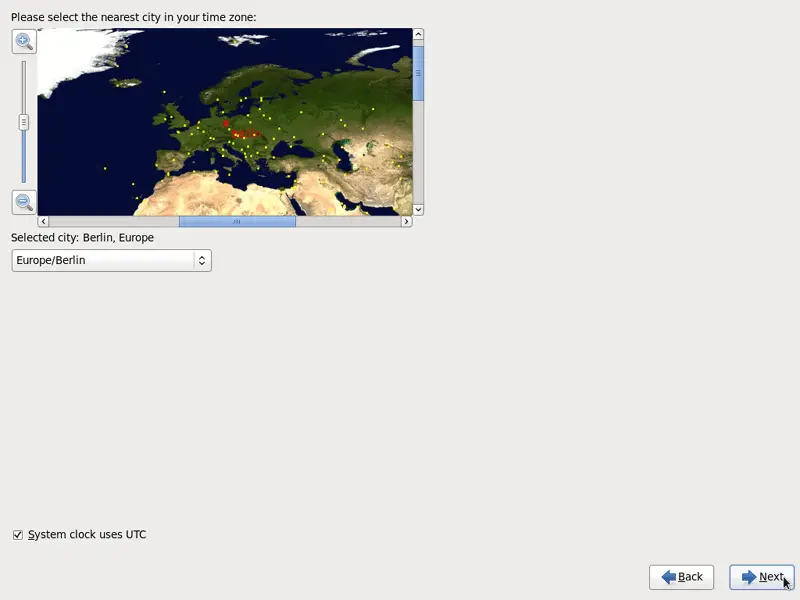
Choose your time zone:
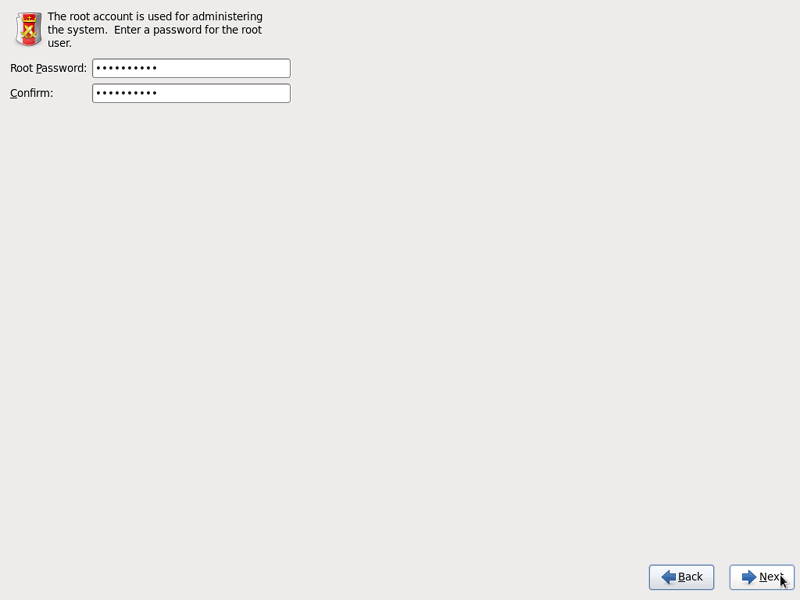
Give root a password:
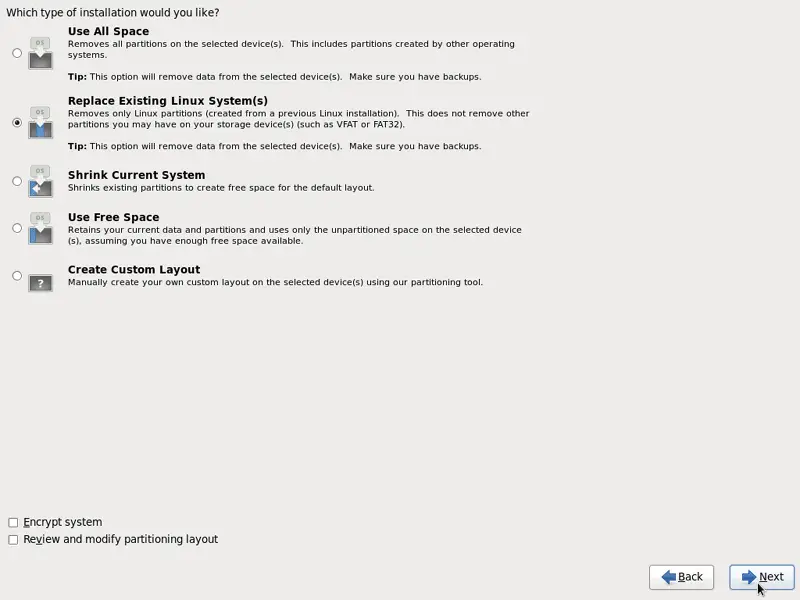
Next we do the partitioning. Select Replace Existing Linux System(s). This will give you a small /boot partition and a large / partition which is fine for our purposes:
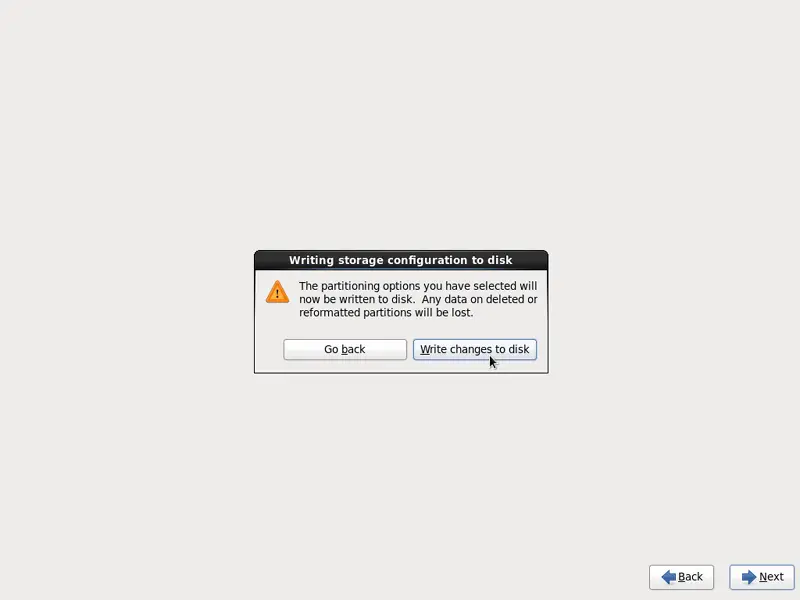
Select Write changes to disk:
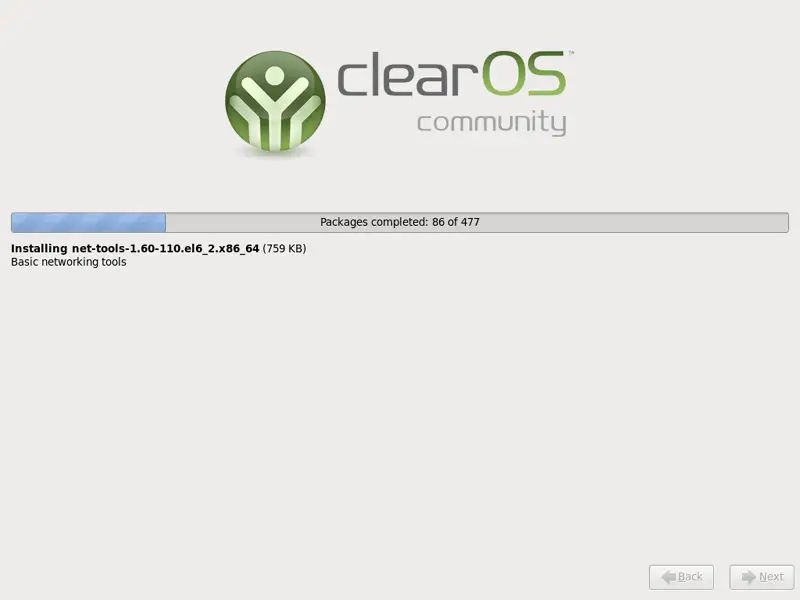
The hard drive is being formatted, and the installation begins. This will take a few minutes:
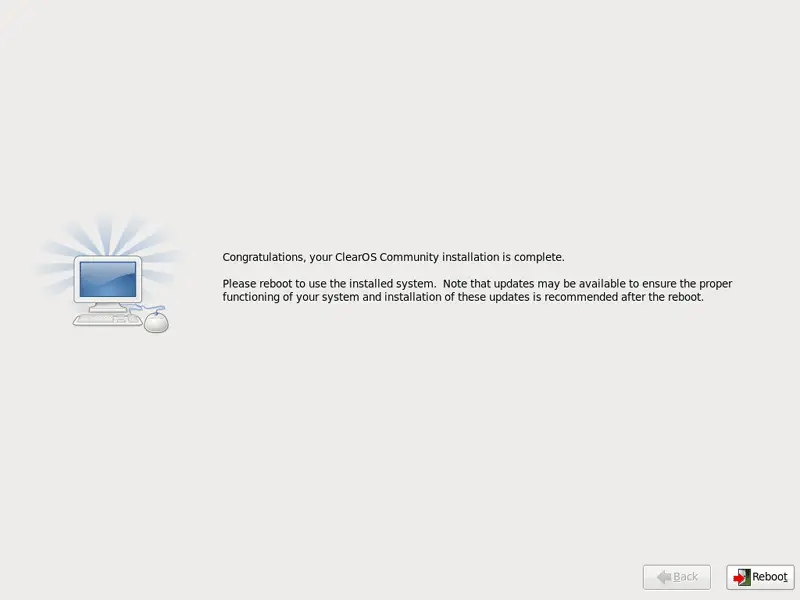
Finally, the installation is complete, and you can remove your CD from the computer and reboot it:
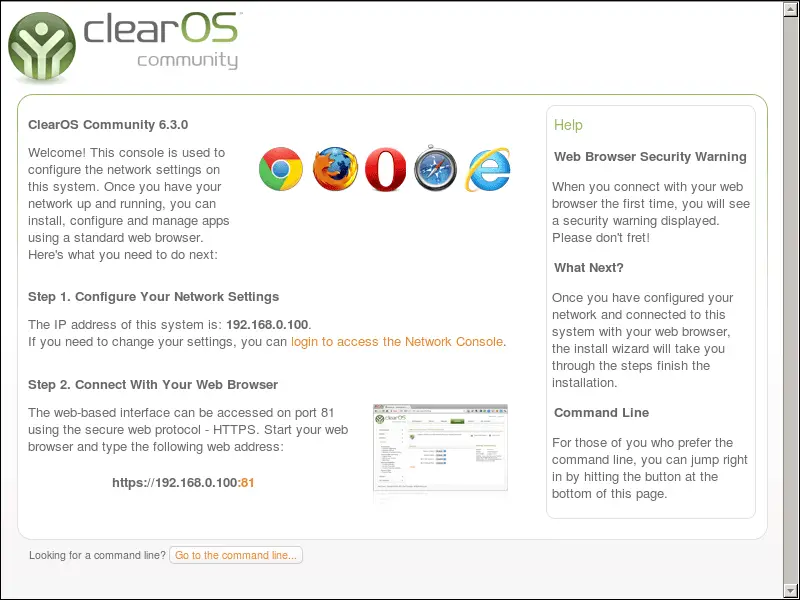
After the first reboot...
... you will see the following screen which tells you to use a browser to configure ClearOS and which URL to use to connect to the ClearOS web interface (https://192.168.0.100:81 in this case):