Howto enroll and use a Yubikey with privacyIDEA
Get privacyIDEA
We use the latest 0.9.1 of privacyIDEA.
Get the privacyidea server, either via pip or from github:
$ git clone https://github.com/privacyidea/privacyidea.git
In the main directory you can simply start the server using the paster command:
$ python setup.py build
$ paster serve config/privacyidea.ini.example
Starting server in PID 29608.
serving on 0.0.0.0:5001 view at http://127.0.0.1:5001
privacyIDEA uses an integrated authentication for the administrative users. The admin accounts are located in config/admin-users.
In the git repo there is aa admin (password:test) and an admin2 (password:secret). You should delete this file and create a new administrator:
$ tools/privacyidea-create-pwidresolver-user -u admin -p yourPassword -i 1000 > config/admin-users
Now you can login to the management UI at http://localhost:5001 with the user "admin@admin" and the password "yourPassword".
Enroll a Yubikey
Get the privacyidea admin client. For enrolling the Yubikey you need the pyusb and python-yubico modules.
$ git clone https://github.com/privacyidea/privacyidea.git
Now you can call the command to enroll the yubikey. The client will make up a secret key, store it on the yubikey and send the secret key to the server for the creation of the new token:
$ ./privacyideaadm -U http://localhost:5001 --admin=admin@admin -C yubikey_mass_enroll --yubislot=1
Please enter password for 'admin@admin':
Please insert the next yubikey.
Found Yubikey with serial '00508326'

{ u'status': True, u'value': True}

Please insert the next yubikey.^C
In the web management you will now see a token with the serial UBOM..., meaning "Yubikey, Oath Mode". Pressing the Yubikey button will emit a 6 digit OTP value. Try it!
Where are my users?
Point your browser to the the privacyIDEA management http://localhost:5001. You will see a login form. This login is used by normal users to access the selfservice portal but also by administrators to access the token management interface.
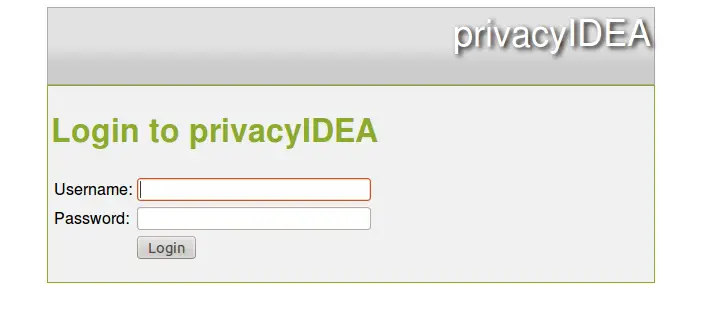
Login with the administrator account, you created. Remember to add a @admin, so if you created a uses superruth, you should login as superruth@admin
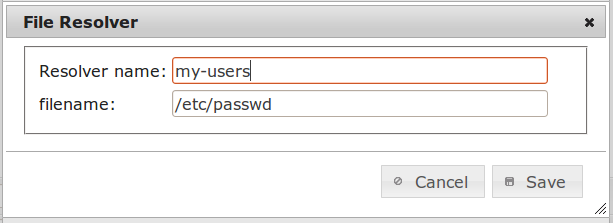
Now you create your first Resolver, which in fact is a kind of pointer to the location where your users are.
Go to privacyIDEA Config -> useridresolvers choose "new" and create a "flat file" resolber from your /etc/passwd
Now you put the resolver into a realm. Go to privacyIDEA config -> realms, create a new realm, enter a realm name and select the resolver that you just created.

You will be able to see the users in the tab "user view".
Select the user and select the token. Click the button "assign" on the left side. The token now belongs to the user, you can enter an additional PIN like "test".
Check it out!
As the token now belongs to the user, the user is now able to authenticate with this token.
Reinsert the yubikey.
We will use the web API to test the authentication. In your browser you may call:
http://localhost:5001/validate/check?user=bin&pass=test......
which will give you the following result:
{

    "version": "privacyIDEA 0.9",
    "jsonrpc": "2.0",
    "result": {
        "status": true,
        "value": true
    },
    "id": 0

}
"value":"true" means that the authentication was successful.
Being a fork of LinOTP, as of now privacyIDEA uses the same API with the same response like LinOTP. I.e. you may use authentication modules/plugins that can also be used for LinOTP.
If everything goes wrong you should take a look at the audit tab.
Production
For productive use you should use a database like MySQL or PostgreSQL and the Apache or nginx webserver instead of the paster. This will be part of a next howto.

